Playbooks

At a Glance
In 27 playbooks
Overview
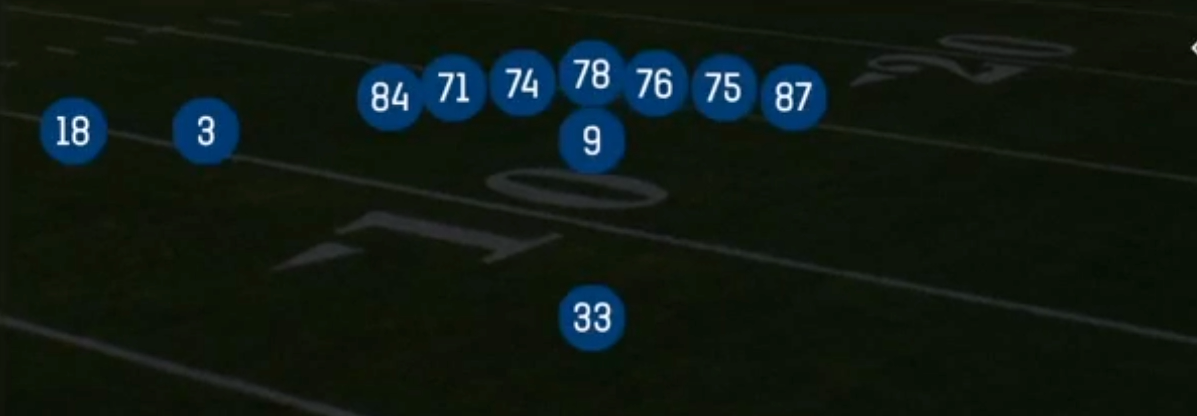
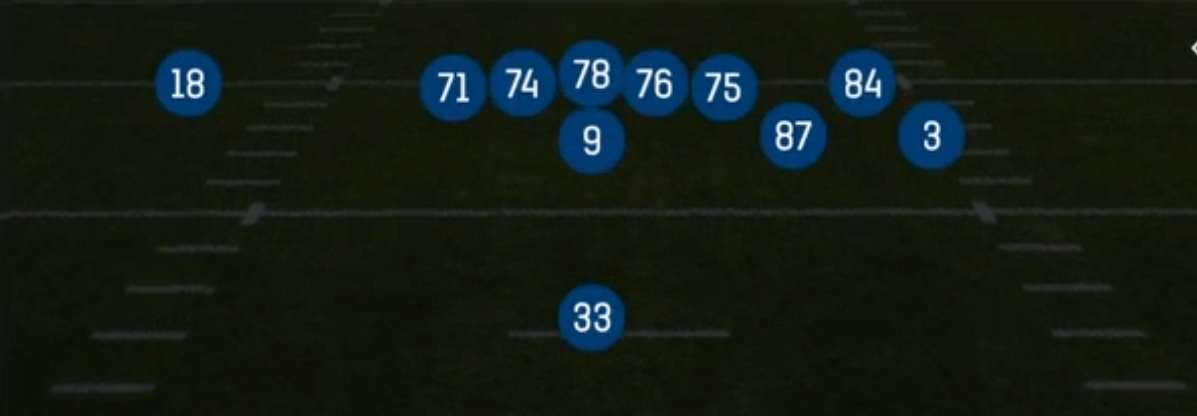
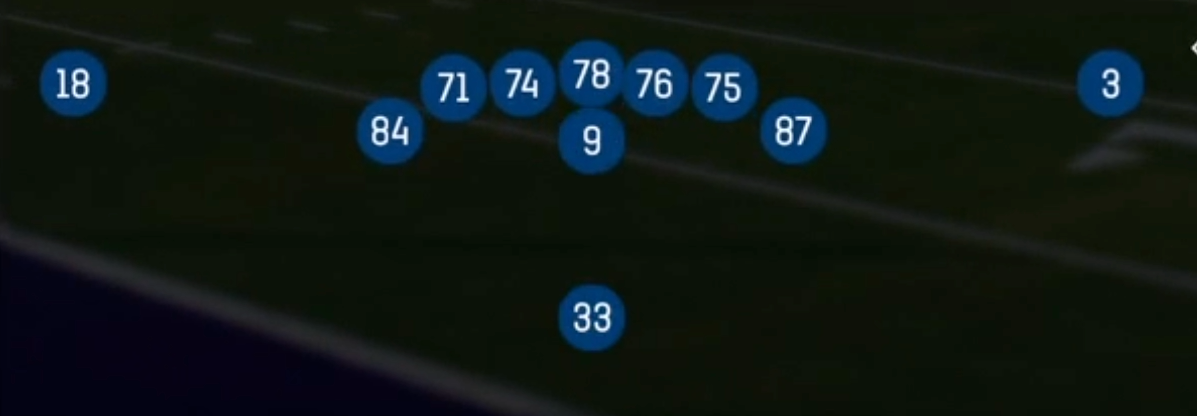
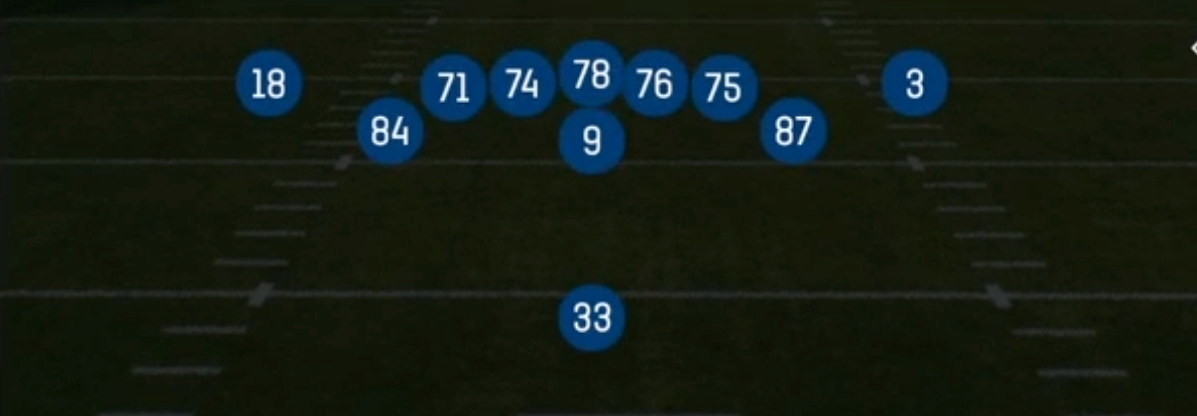
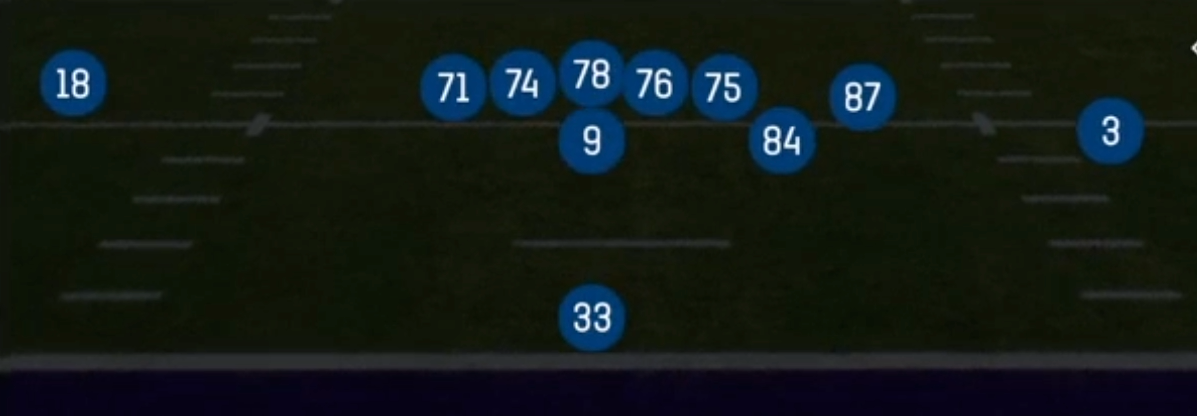
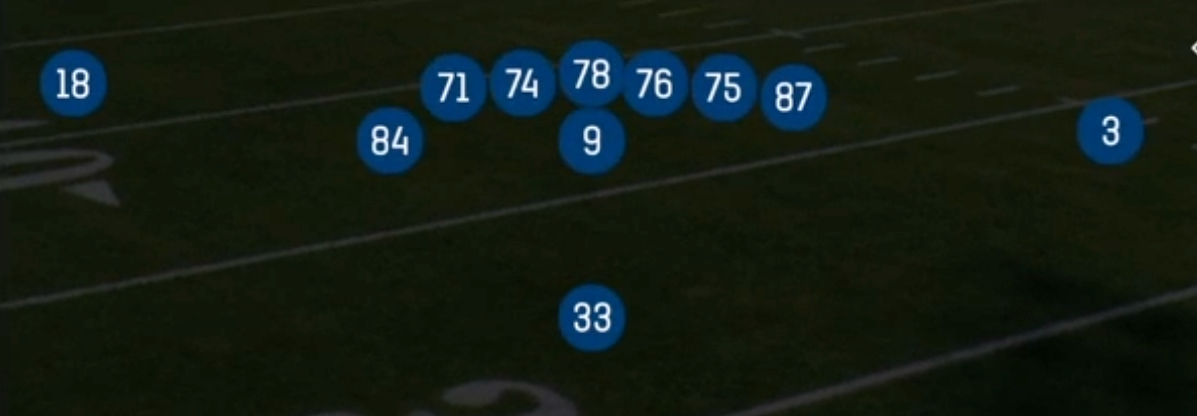
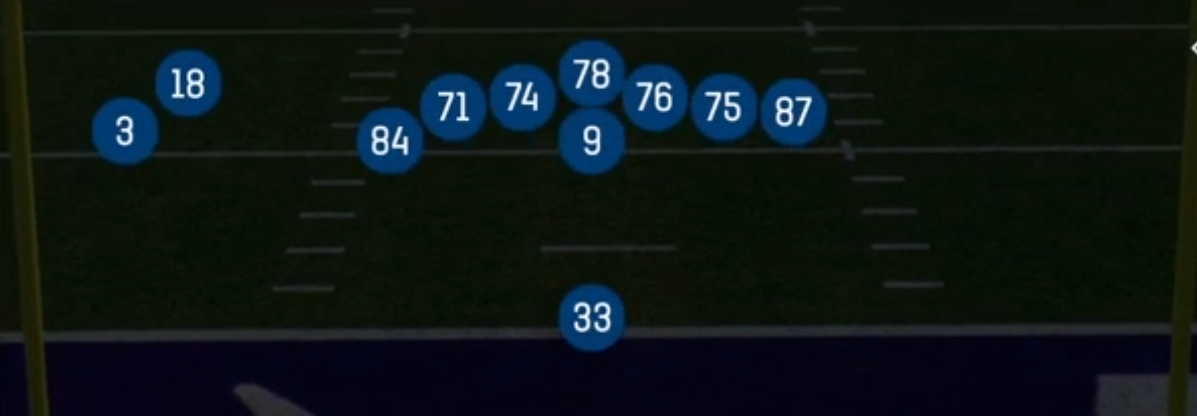
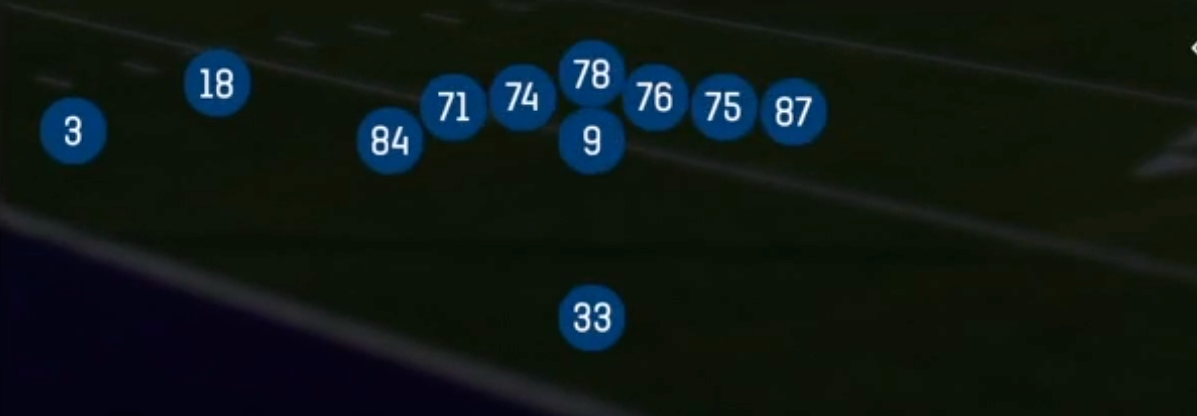
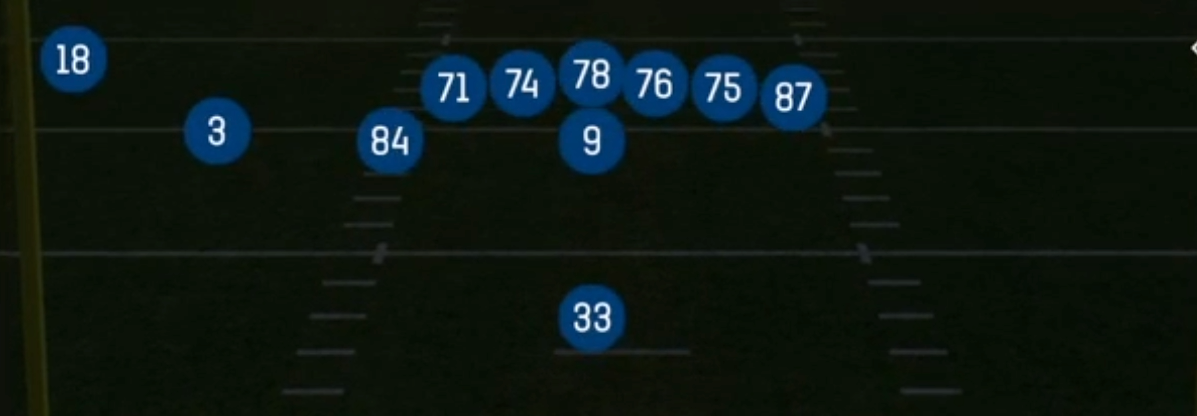
Singleback Ace is the balanced 12 personnel look of the Singleback formation: one running back directly behind the quarterback, two tight ends attached inline on opposite sides of the line, and a single wide receiver split out to each side (X and Z). Other Singleback sets push a tight end into the slot or spread three receivers. Ace keeps both tight ends attached, so the defense sees the same strength to either side and gets no pre-snap tell about run direction. That symmetry makes Ace one of the most flexible under center sets in the game. The playbook runs from HB Dive and Inside Zone through HB Counter, Pin Pull Sweep, and HB Stretch to both directions.
The personnel package forces a tough choice. Most defenses match 12 personnel with base 4-3 or 3-4 and bring a linebacker-heavy box, which leaves the two outside receivers in isolated one-on-one matchups against corners with little safety help underneath. If the defense subs nickel to cover, the two inline tight ends and a downhill back can punish lighter fronts with HB Slam, 26 Duo, and Mtn Inside Zone. Because both tight ends release from the line, they can attack linebackers and safeties on concepts like TE Seam Option, TE Option, Y Shallow Cross, and Dual TE Flat. That is where Ace builds most of its matchup advantages.
The Gadget tag reflects the misdirection built into this set. Jet Sweep, PA Jet Sweep, Zone Fake Jet, HB Misdirection, Mtn HB Lead Misdirection, and PA Counter all use motion and backfield action to pull linebackers and safeties the wrong way. A deep play action menu sits behind those looks: PA Boot, PA Boot Left, PA Roll Rt, PA Ctr Waggle, PA Shot Post, and PA Post Cross Shot. The heavy run look sets up Ace, and the gadget and boot concepts make defenders pay for flowing hard to the ball.
Strengths
- The balanced two inline tight end alignment shows no run strength pre-snap, and the run menu goes both directions (Inside Zone, HB Counter, Pin Pull Sweep, HB Stretch, 26 Duo), so defenses cannot cheat their front or shade their user to one side.
- PA Boot, PA Boot Left, PA Roll Rt, and PA Ctr Waggle give you elite zone beaters off a convincing run fake: flat, intermediate cross, and deep comeback or corner stretch Cover 3 and Cover 4 defenders vertically and horizontally on the rollout side.
- Gadget motion plays like Jet Sweep, PA Jet Sweep, Zone Fake Jet, and HB Misdirection punish aggressive linebacker flow and defenders who key the running back, and they create easy yards against over-pursuing users.
- Isolated X and Z receivers face single coverage when defenses load the box against 12 personnel, so Skinny Posts, Double Sluggo, PA DBL Go, and PA Shot Post become strong man beaters against Cover 1 and Cover 0 looks.
- Tight ends matched on linebackers create consistent mismatches on TE Seam Option, TE Option, Y Shallow Cross, and TE Cross, especially when you hot route the second tight end to a streak to clear the seam defender.
Weaknesses
- Only two true wide receivers are on the field, so against Cover 2 Man or well-disguised 2 Man Under you have limited horizontal spacing and fewer quick answers when both outside receivers get jammed.
- Both tight ends are inline, which telegraphs a max protect or run-heavy identity. Opponents who keep base personnel and bring edge pressure or a nano blitz off the boot side can blow up PA Boot and PA Roll Rt before the rollout develops.
- A disciplined user-controlled middle linebacker or robber safety sitting in the hook zone can take away the TE crossers and Y Shallow Cross, the primary reads on many Ace passing concepts.
- Play action and misdirection plays like PA Jet Sweep and HB Misdirection have long developing mesh points, so an unblocked edge or a well-timed A-gap blitz can produce tackles for loss or sacks before the fake sells.
- With only two receivers, a single safety over the top can bracket your best wideout, and against quarters coverage the X and Z vertical concepts are frequently capped without a slot threat to occupy the underneath defenders.
Usage Tips
Use Ace on first down and short yardage to establish Inside Zone, HB Slam, and 26 Duo. Once the defense stacks eight in the box, go to PA Boot or PA Shot Post from the same look to hit the isolated receivers behind the linebackers.
Read the safety rotation pre-snap: a single high safety with press corners signals Cover 1 or Cover 3, so audible to Skinny Posts or PA Post Cross Shot. Two high safeties invite HB Counter or Mtn Wide Zone against the lighter box.
Hot route the backside tight end to a block or slant on PA Boot and PA Roll Rt when you see edge pressure, and keep the running back in to chip. That buys time for the deep comeback and crosser to develop against zone.
Chain your Gadget plays together. Run Jet Sweep early, then call Zone Fake Jet or PA Jet Sweep to exploit defenders who start chasing the motion man and leaving the middle or backside open.
In the red zone, use TE Seam Option, Dual TE Flat, and Corner Strike to attack linebackers in man coverage. Motion a tight end to create a stack or bunch release and beat press and user-controlled jumps.
Plays (74)
 23 Zone OpenRun Play, Outside Zone, Zone Run +1
- 24 Zone OpenRun Play
 26 DuoDuo, Run Play, Power Run
- Ace OverloadDrag, Crosser, Post Corner +3
 Ace TE DragDrag, Pass Play, Post +3
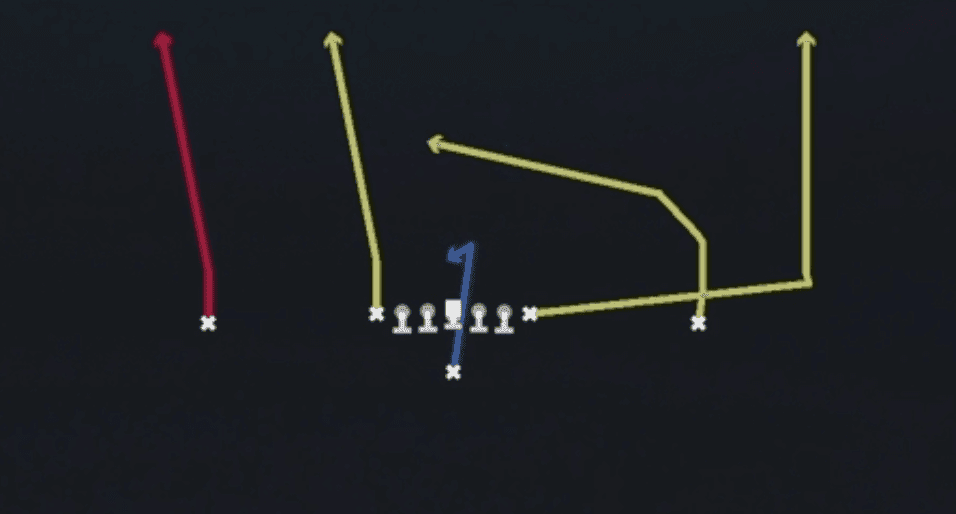 Ace WR StretchBlock and Release, Deep Cross, Crosser +3
 Corner StrikeCorner, Pass Play, Block and Release +1
 Curl FlatsFlat, Curl, Pass Play +1
 Double HitchHitch, Pass Play, Corner +1
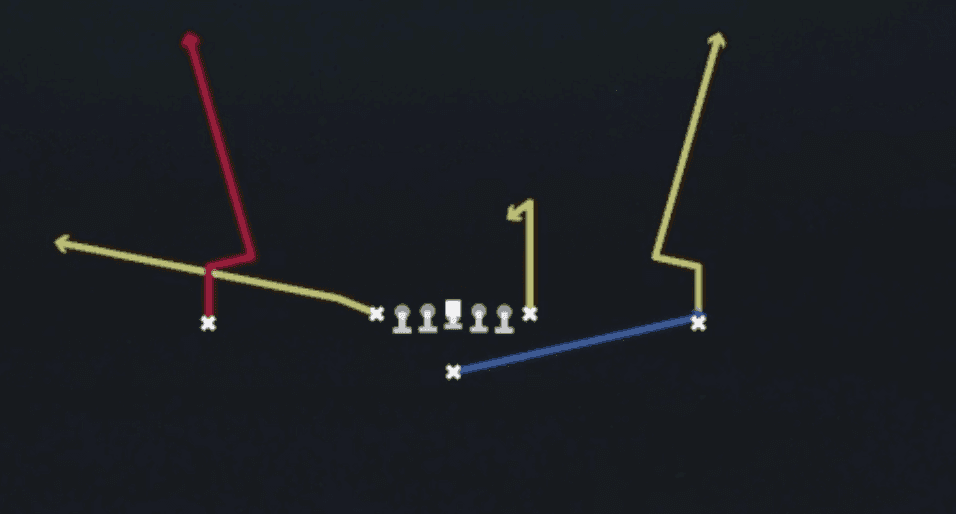 Double SluggoSluggo, Pass Play, Man Beater +3
- Drive U CornerCorner, Block and Release, Post +4
 Dual TE FlatFlat, Pass Play, Block and Release +1
 Flanker CurlCurl, Pass Play, Post +2
 Flanker DriveDrive, Pass Play, Cover 4 Beater +6
- Fl CornerCorner, Pass Play, Flat +2
 FL UnderPass Play, Corner, Out +7
 HB Blunt DiveDive, Run Play
 HB CounterCounter, Run Play, Power Run
- HB Counter StrCounter, Run Play, Power Run
 HB DiveDive, Run Play
 HB DrawDraw, Run Play
- HB MisdirectionMisdirection, Run Play
- HB Misdirection MtnRun Play
 HB Off TackleOff Tackle, Run Play
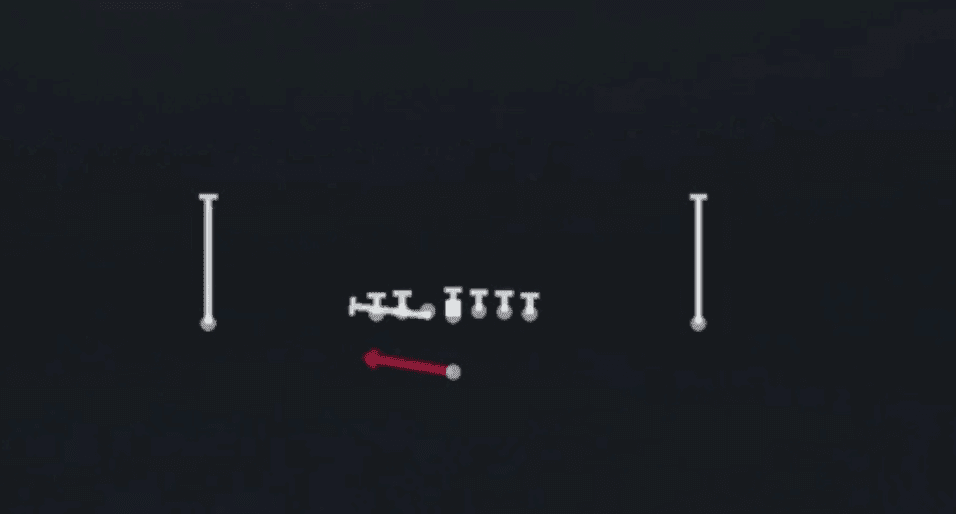 HB PitchToss, Run Play
 HB Pump DrawDraw, Run Play
 HB SlamDive, Run Play
 HB Slam MtnDive, Motion, Run Play
 HB Slip ScreenScreen Pass, Hb Screen, Pass Play +3
 HB StretchOutside Zone, Run Play, Zone Run
 HB Stretch Alert X LookieOutside Zone, Run Play, Zone Run +2
 HB Stretch Alert X SmokeOutside Zone, Run Play, Zone Run +2
 HB Zone WkInside Zone, Run Play, Zone Run
 HB Zone Wk Alert Z SmokeInside Zone, Run Play, Zone Run +2
 Inside CrossCrosser, Pass Play, Block and Release +3
 Inside ZoneInside Zone, Run Play, Zone Run
 Jet SweepSweep, Jet Sweep, Motion +1
- Lions ComebacksComeback, Pass Play, Block and Release
- Mtn HB Lead MisdirectionRun Play
 Mtn Inside ZoneInside Zone, Motion, Run Play +1
- Mtn PA Z SlideBlock and Release, Comeback, Deep Cross +6
- Mtn Wide ZoneRun Play
 PA All GoPlay Action, Go, Pass Play +2
 PA BootPlay Action, Pass Play, Block and Release +3
 PA Boot LeftPlay Action, Pass Play, Block and Release +4
- PA Boot RollPlay Action, Pass Play, Block and Release +3
- PA CounterPlay Action, Pass Play, Comeback +2
 PA Ctr WagglePlay Action, Pass Play, Block and Release +4
 PA DBL GoPlay Action, Go, Pass Play +3
 PA Deep InPlay Action, Pass Play, Comeback +4
- PA FloodPlay Action, Flood, Pass Play +5
 PA Jet SweepSweep, Jet Sweep, Play Action +5
- PA Post Cross ShotPlay Action, Post, Crosser +3
- PA Post DigPlay Action, Dig, Post +4
 PA Roll RtPlay Action, Pass Play, Block and Release +4
 PA Shot PostPlay Action, Post, Pass Play
- PA Sprint HB FlatPlay Action, Flat, Pass Play +3
 PA StretchPlay Action, Pass Play, Comeback +5
- PA X Burst CrossPlay Action, Crosser, Pass Play +3
 Pin Pull SweepSweep, Pin And Pull, Run Play +1
 Quick SlantsSlant, Pass Play, Flat
 Skinny PostsPost, Skinny Post, Pass Play +2
 TE CrossCrosser, Pass Play, Deep Cross +3
 TE OptionOption Route, Pass Play, Corner +4
 TE Seam OptionSeam, Option Route, Pass Play +3
 TE UnderPass Play, Drag, Shallow Cross +10
 WR OptionOption Route, Pass Play, Block and Release +2
- WR ScreenScreen Pass, Wr Screen, Pass Play +3
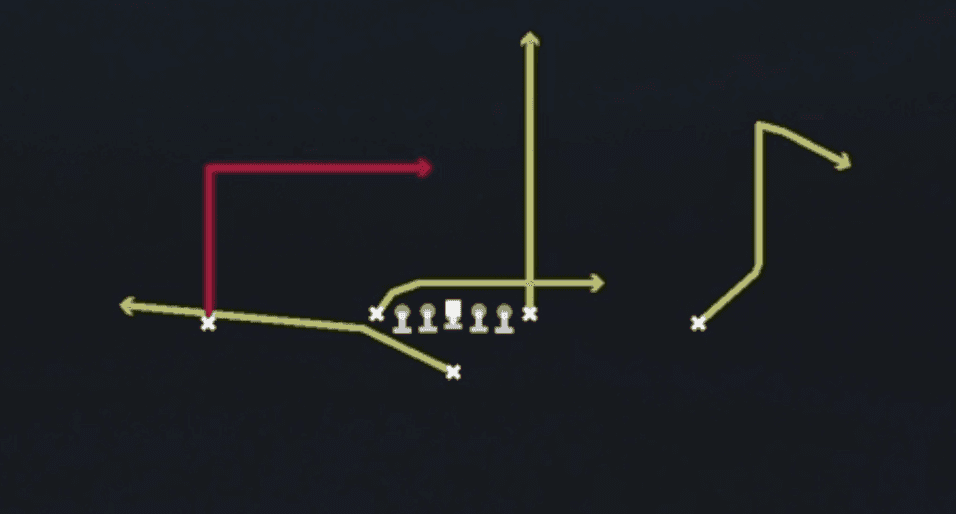 X FollowPass Play, Go, Seam +9
 X PostPost, Pass Play, Flat +1
 Y Shallow CrossShallow Cross, Crosser, Pass Play +3
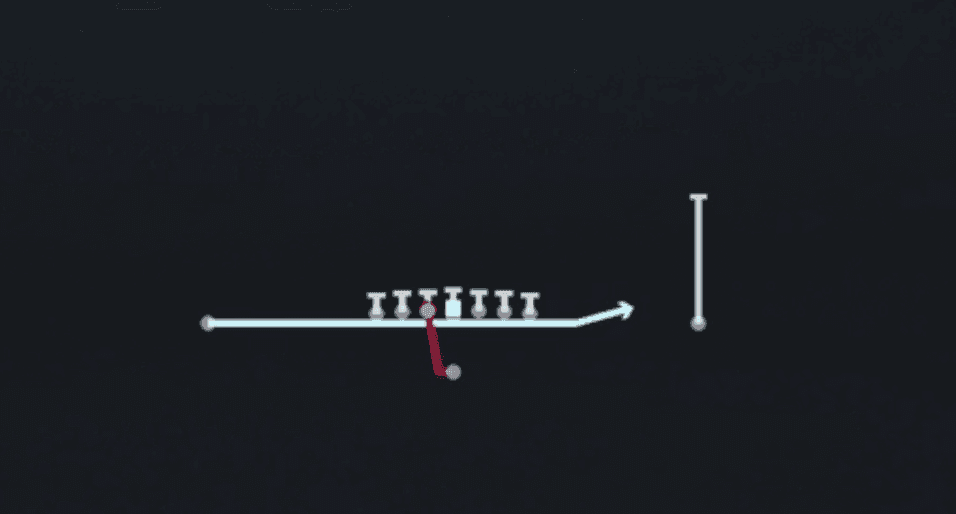 Zone Fake JetMotion, Run Play
- Z Post Y OutOut, Post, Pass Play +2
 Z SpotSpot, Pass Play, Cover 3 Beater +4