Playbooks

At a Glance
Overview
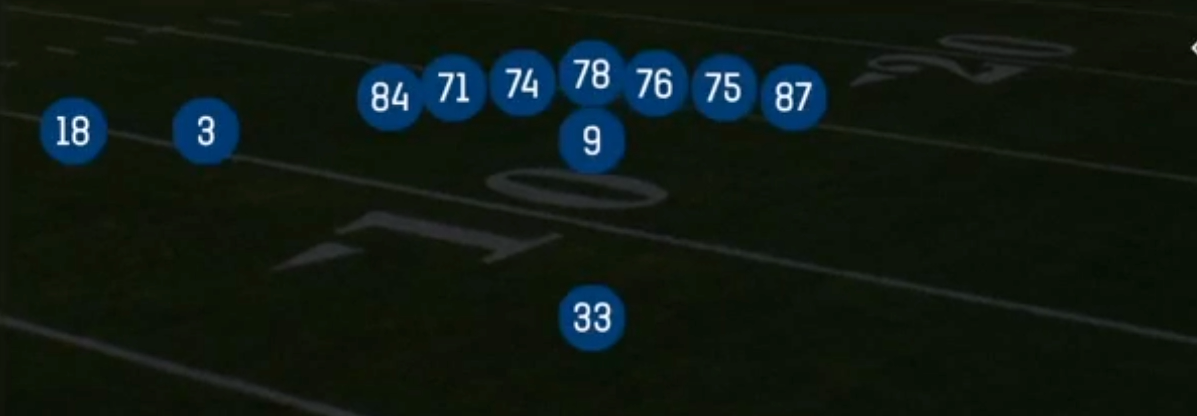
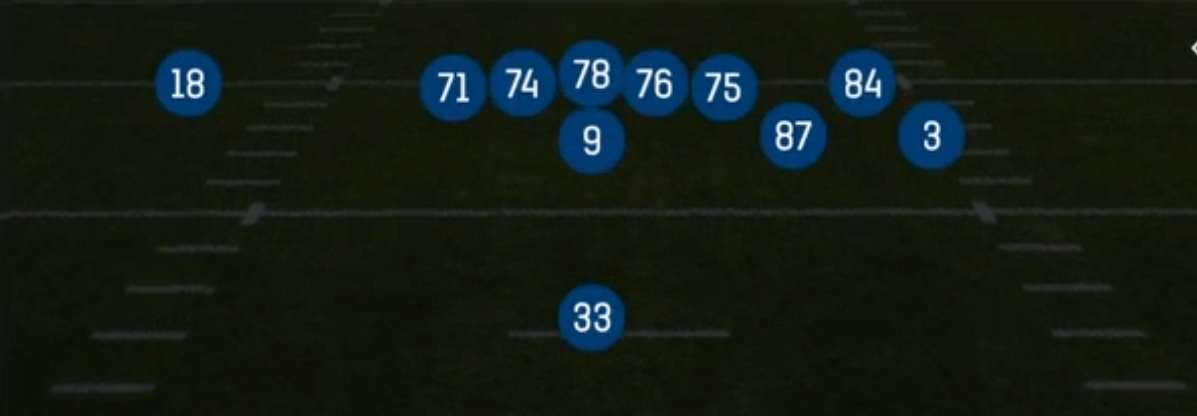
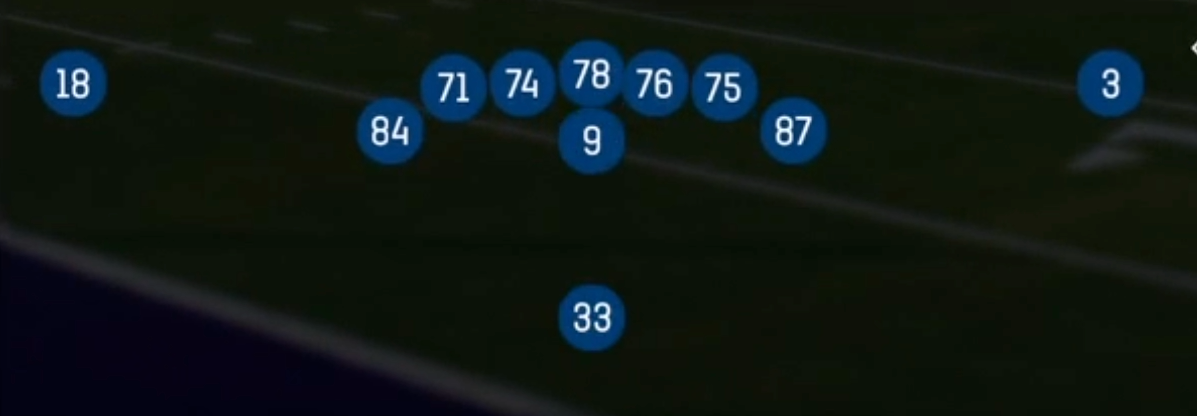
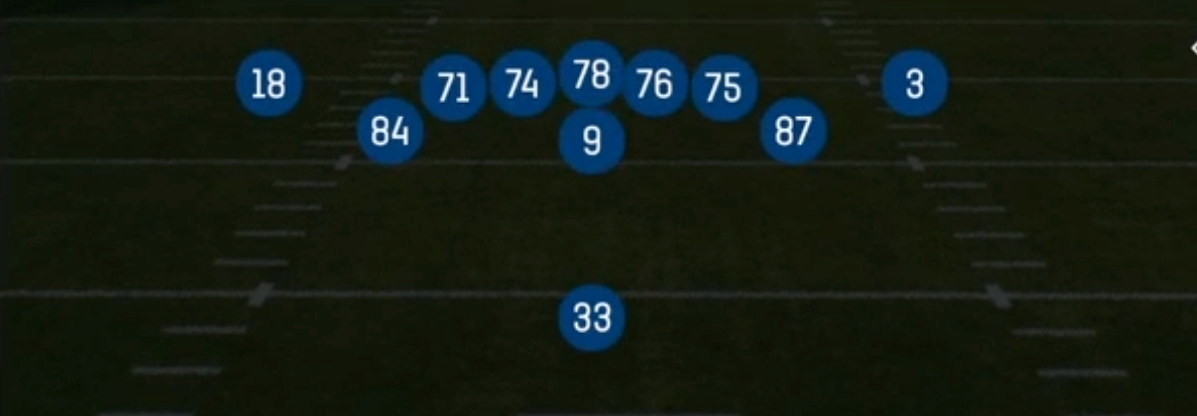
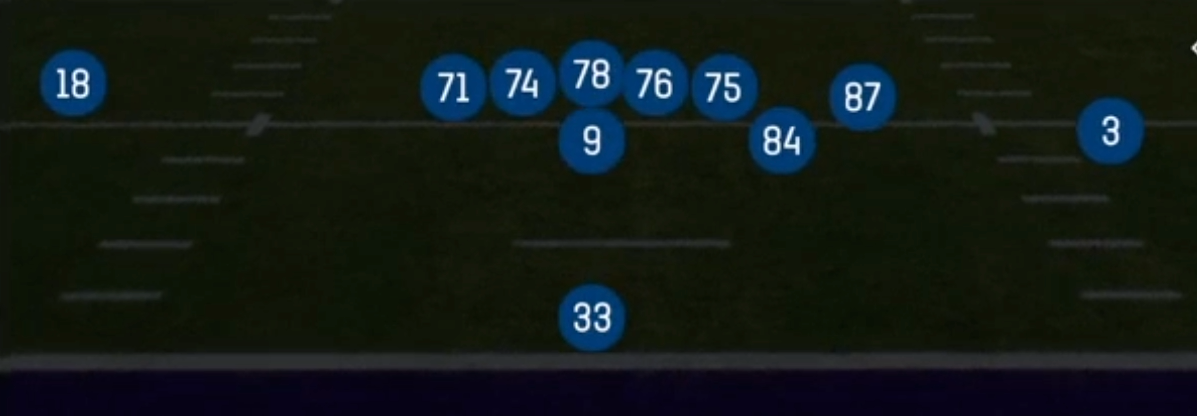
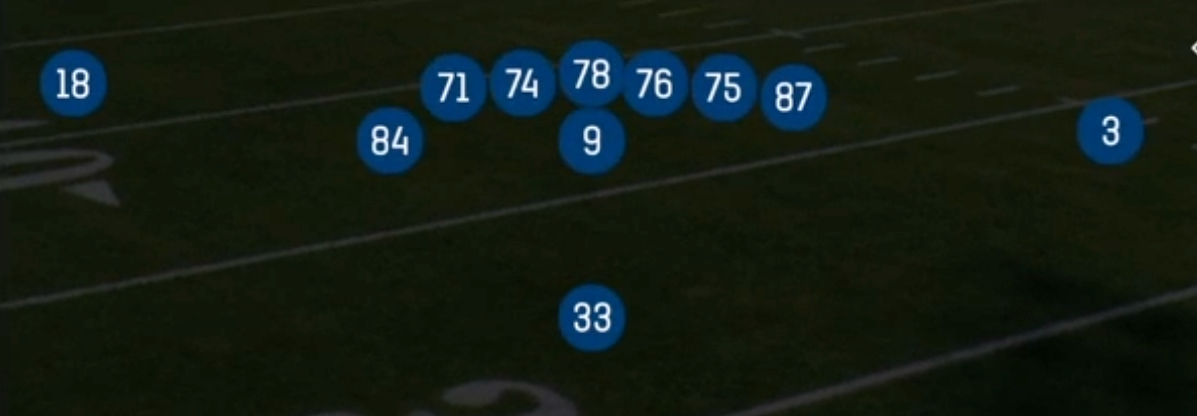
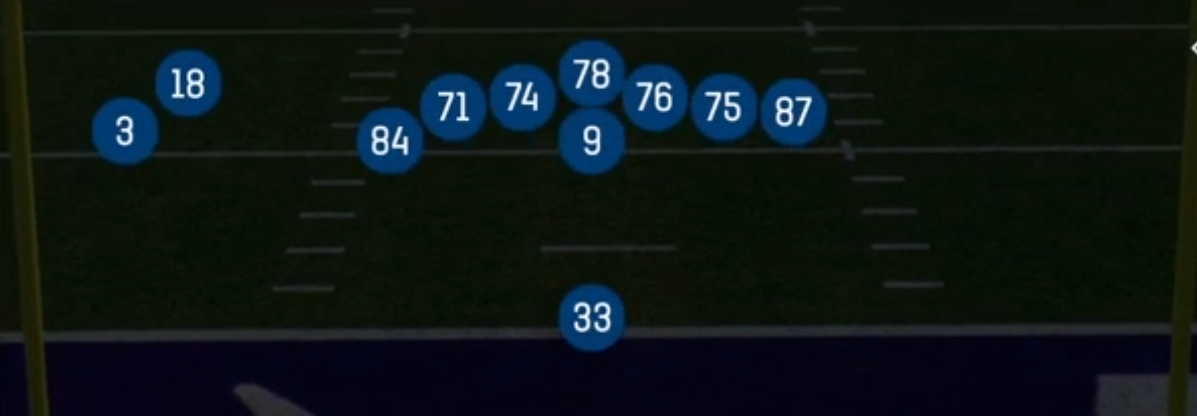
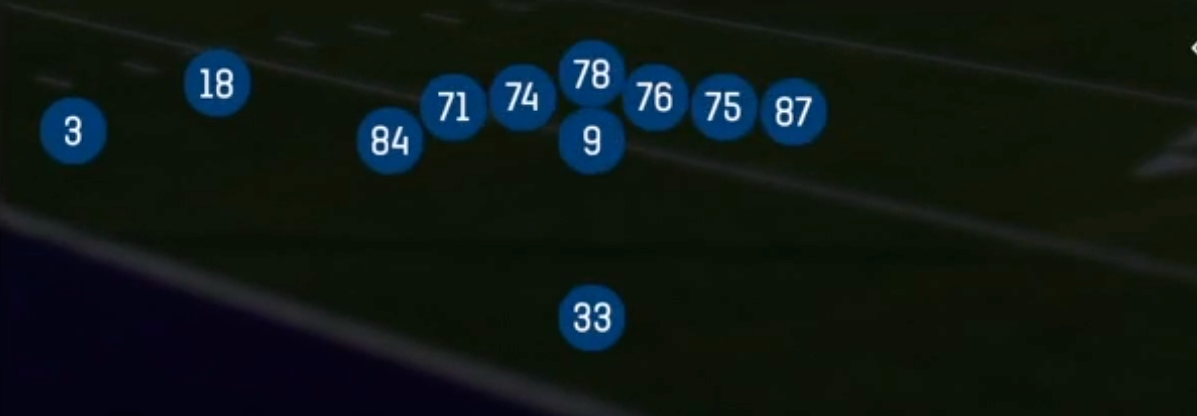
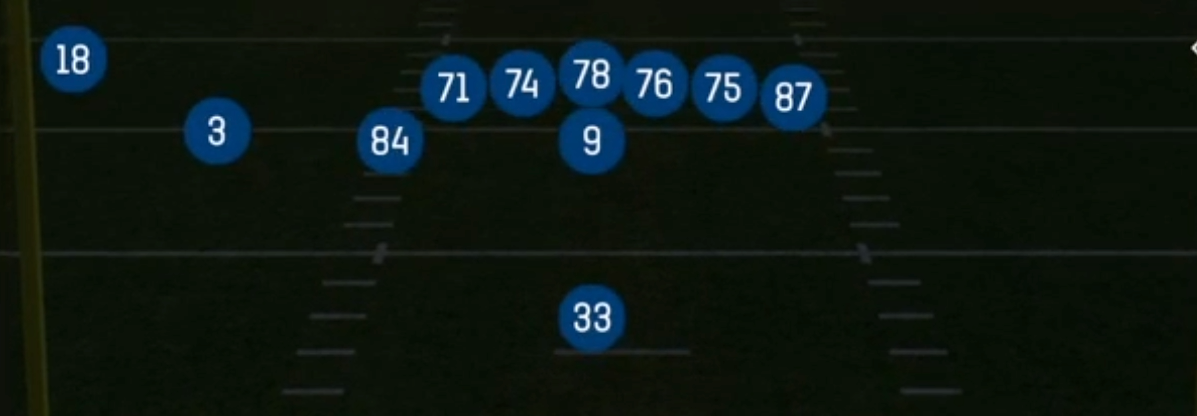
Ace Close is the gadget variant of Singleback 12 personnel. You get two inline tight ends bracketing the formation, a single back at standard depth, and both wide receivers pulled into reduced, condensed splits near the box. Standard Ace and Ace Pair spread the wideouts toward the numbers. Close keeps everyone tight, which shrinks the field horizontally but gives you jet motion lanes, crack blocking angles, and rub opportunities that wider sets cannot produce. The receivers start close enough to the ball to motion across the formation with a real threat of taking the handoff, and that is the backbone of this set's identity.
Because the alignment looks like a heavy run formation, defenses tend to respond with base or big nickel personnel and walk safeties down into the alley. That is exactly what Ace Close wants. Jet Sweep, PA Jet Sweep, and Zone Fake Jet all build off the same pre-snap motion, so a defense that commits to the jet leaves the back side vulnerable to HB Zone Wk, and a defense that plugs the interior gets outflanked by the sweep. HB Stretch and HB Toss attack the edge with two tight ends sealing, and the condensed receivers crack down on force defenders instead of blocking from wide splits where they lose leverage.
The passing game leans on that run threat. Close PA Cross drags receivers across a vacated second level after linebackers bite on the fake. Close Y Seam isolates a tight end up the hash against a linebacker or strong safety who was keyed on run fit. Stick and Bench give you quick answers when the defense plays soft and wide. Reduced splits also let receivers use the formation as natural picks against press man. The overall effect is a set where one TE or slot defender can be isolated against a mismatched body while the defense is still processing the motion.
Strengths
- Jet motion packages (Jet Sweep, PA Jet Sweep, Zone Fake Jet) all share identical pre-snap looks, forcing defenders to guess and punishing users who commit to the flat or the edge early
- Condensed receiver splits create natural rubs and stacks, making Stick and Close PA Cross reliable man beaters against Cover 1 and Cover 0 without needing to hot route a slant
- Two inline tight ends give HB Stretch and HB Toss extra seal blockers on the edge, and reduced WR splits let receivers crack down on force players against 4-3 and 3-4 base looks
- Close Y Seam and Close PA Cross attack the void between hook and deep third when linebackers trigger downhill on the run fake, making them strong zone beaters versus Cover 3 and Cover 1 Robber
- The heavy look often baits base personnel, giving you linebacker and safety matchups on your tight ends that you can exploit with seams and crossers
Weaknesses
- Condensed splits compress the field, so Cover 2 and Cover 4 defenders can squeeze routes without much space to cover, and there is little horizontal stretch to punish two high shells
- A user linebacker or safety who hovers the middle and ignores the jet can take away Close PA Cross and Close Y Seam, which are the primary shot plays in the set
- Edge pressure and nano blitzes off the boundary can blow up long developing play action concepts, especially when a tight end releases and the back is carrying out a fake instead of picking up the blitz
- The play list is heavily run and gadget focused, so defenses that stop the jet with a force contain defender and a spill linebacker can make the set predictable on passing downs
- Limited vertical spacing means Cover 0 with a deep user safety can sit on the seam while man defenders jam the reduced splits at the line
Usage Tips
Open drives with Jet Sweep to establish the motion, then call PA Jet Sweep or Zone Fake Jet from the identical look once the defense starts flowing hard to the jet side
If the defense shows single high with a safety walked into the box, audible to Close Y Seam or Close PA Cross, since the post safety cannot bracket the tight end and the crosser at the same time
Against press man, stay in Stick or Bench and let the reduced splits create rubs; hot route the back to a block or a quick out if you see a slot or edge blitz tell pre-snap
Use HB Stretch and HB Toss on first and second down against light boxes or even fronts, and flip the play to the side of the tight end matched on the weaker edge defender
In short yardage and red zone situations, Ace Close is a strong call because the condensed alignment keeps routes in tight windows that defenses struggle to cover, and the jet threat stresses goal line fronts horizontally
Plays (10)
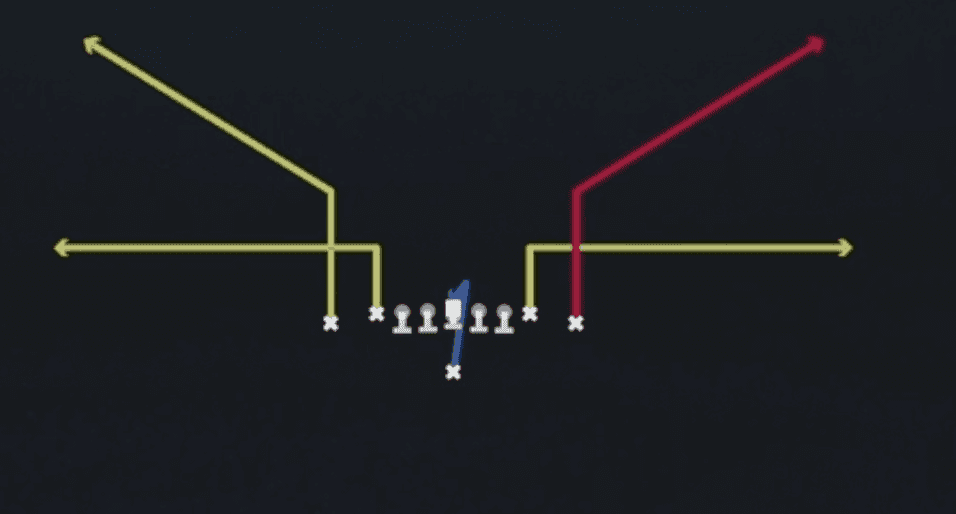 BenchBench, Pass Play, Block and Release +2
 Close PA CrossPlay Action, Crosser, Pass Play +3
 Close Y SeamSeam, Pass Play, Corner Stop +5
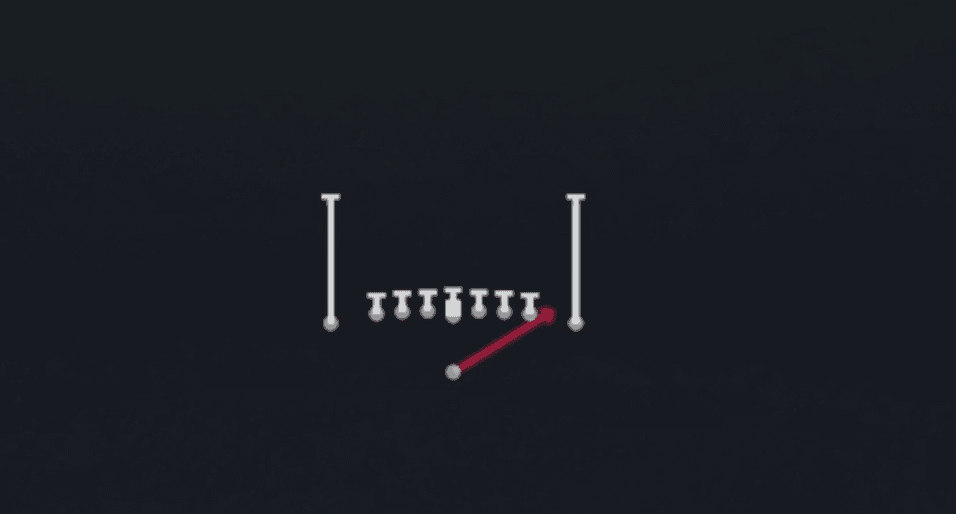 HB StretchOutside Zone, Run Play, Zone Run
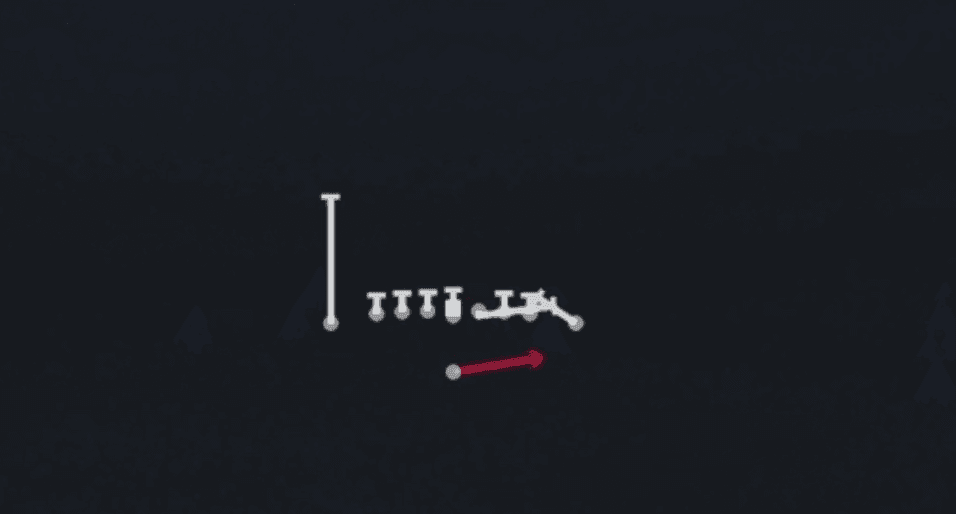 HB TossToss, Run Play
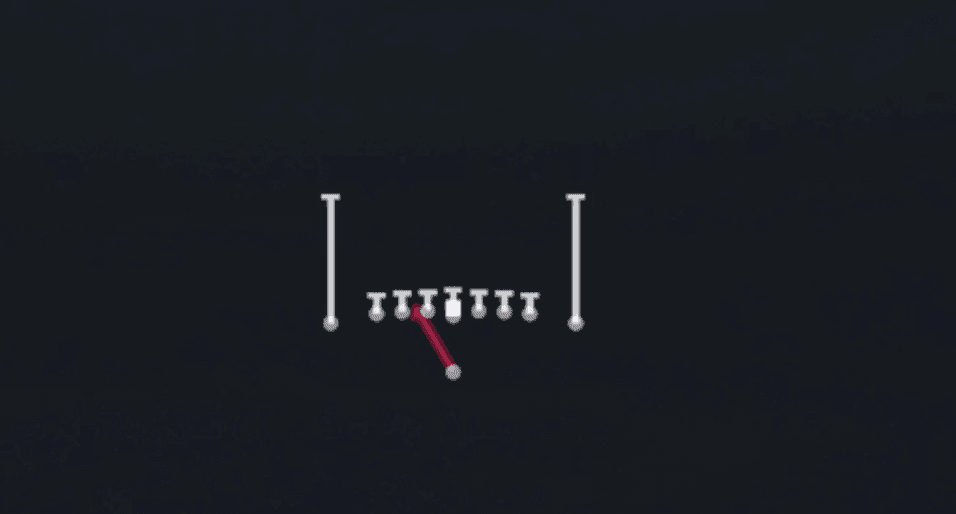 HB Zone WkInside Zone, Run Play, Zone Run
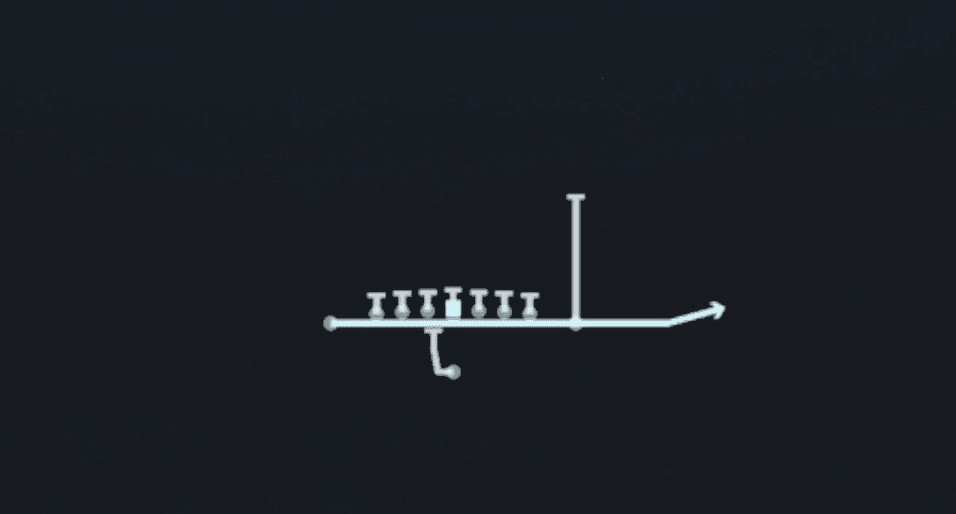 Jet SweepSweep, Jet Sweep, Motion +1
 PA Jet SweepSweep, Jet Sweep, Play Action +6
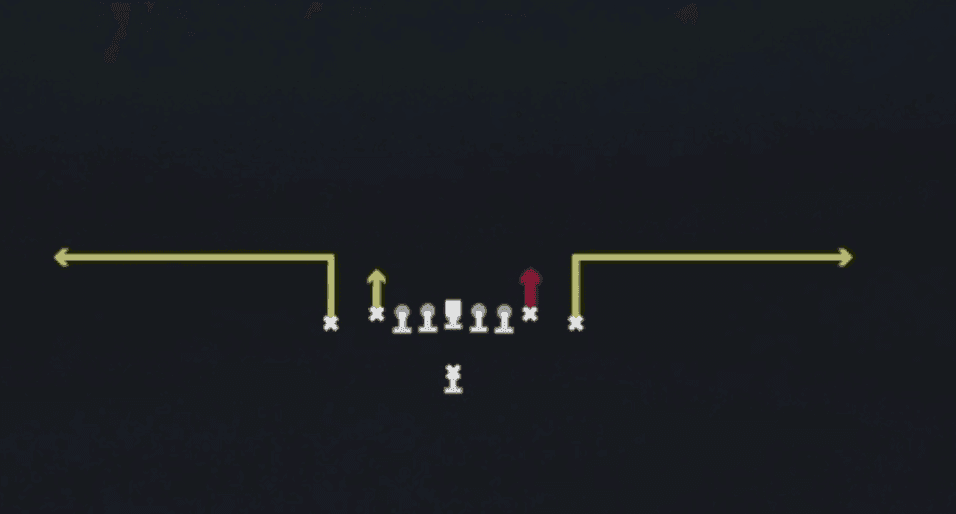 StickStick, Stick Concept, Pass Play +1
 Zone Fake JetMotion, Run Play