Playbooks

At a Glance
In 10 playbooks
Overview
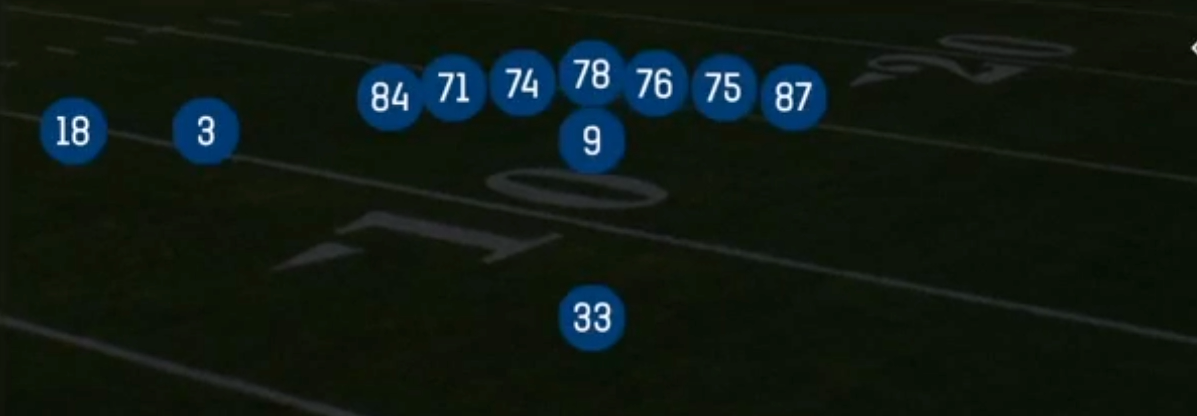
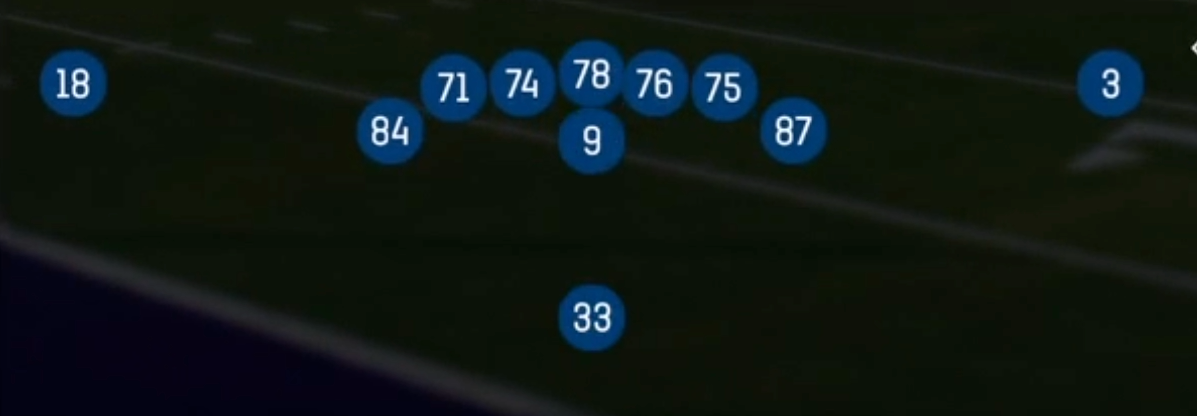
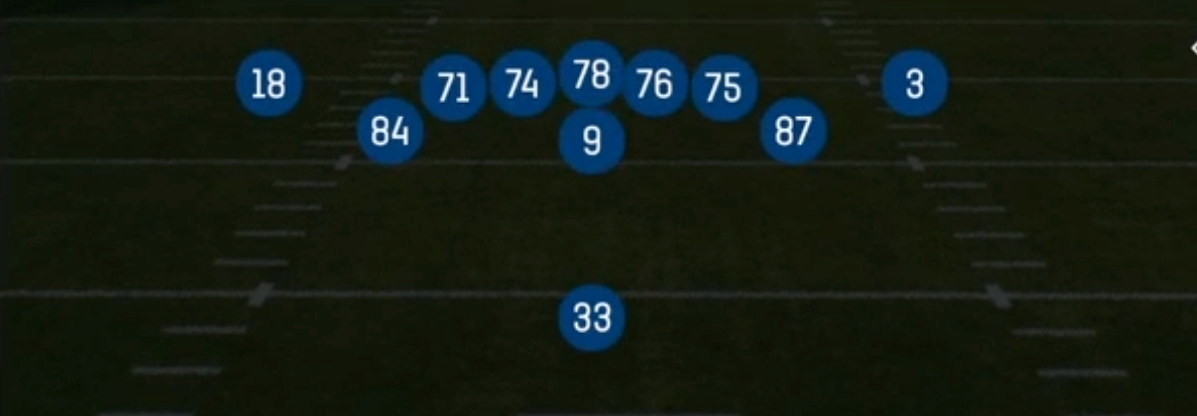
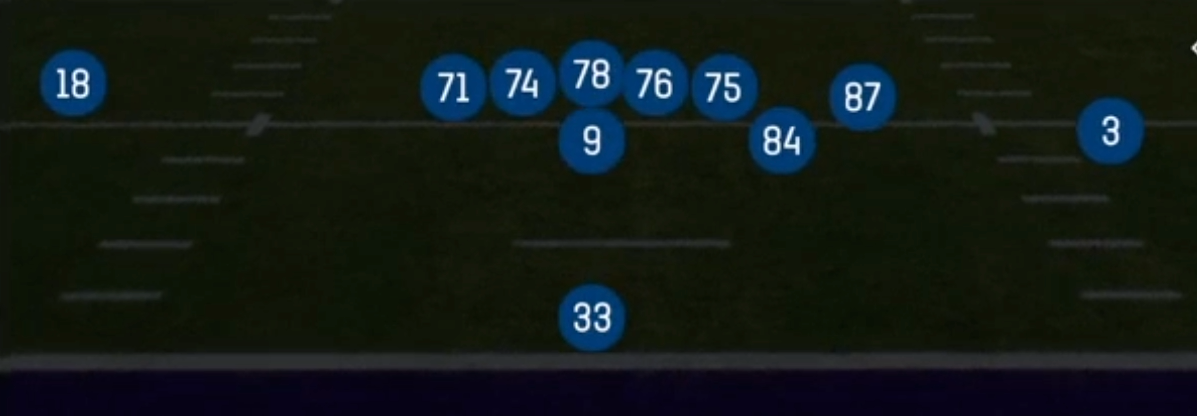
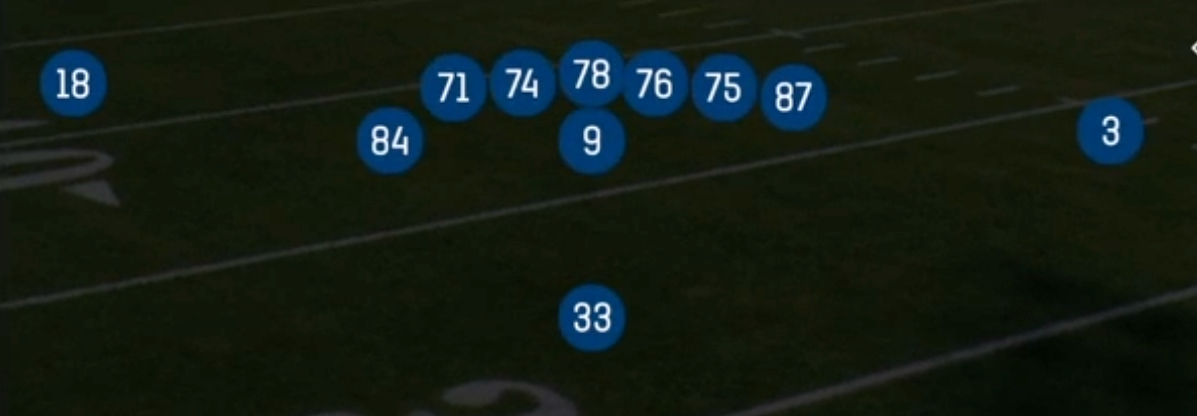
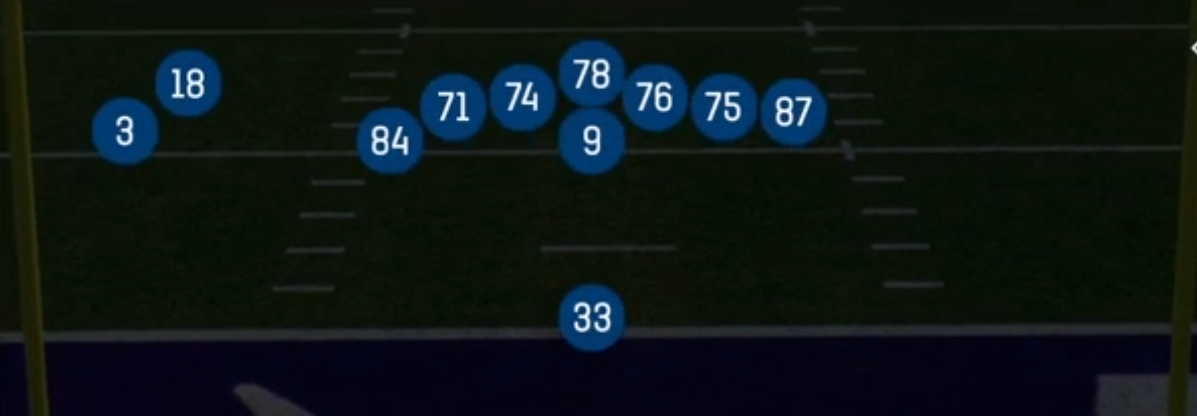
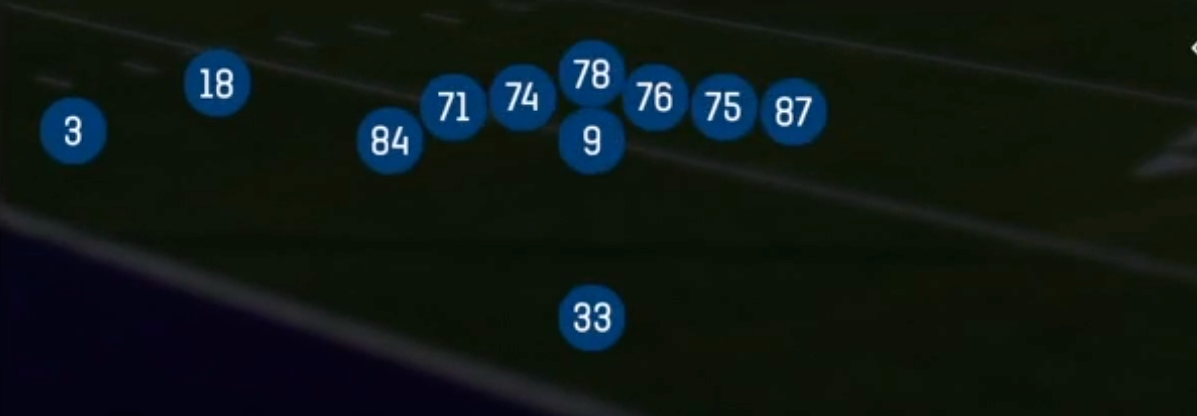
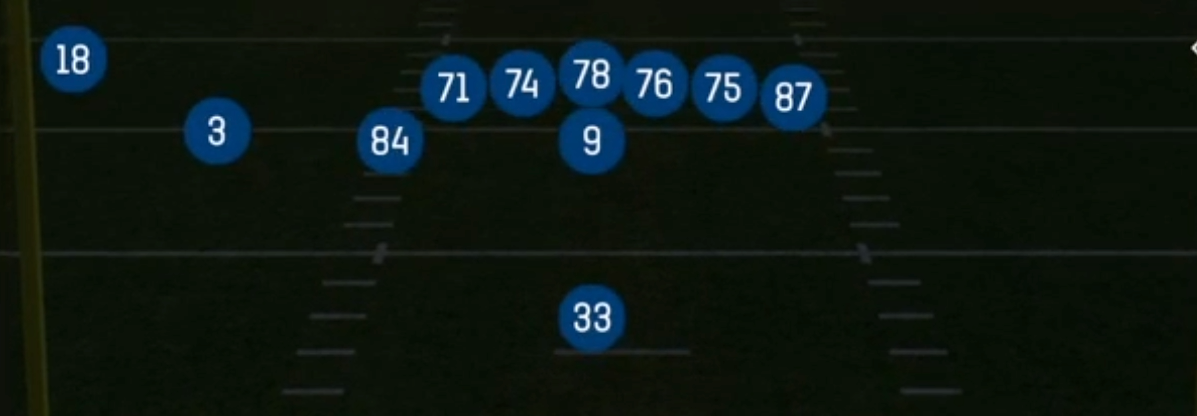
Bunch Ace is the Singleback look that turns 12 personnel into a passing and misdirection threat. Instead of two tight ends inline on the edges like standard Ace sets, it compresses a three-man bunch to one side, with a tight end inside the cluster, and keeps the other tight end attached to the formation. The running back stays at traditional Singleback depth behind the quarterback. Defenses see heavy personnel and usually answer with base or 4-3 personnel, but the bunch alignment forces them to handle stacked releases, rub concepts, and quick flat access that base defenders struggle to cover.
The play list separates this set from other Singleback groupings. You get a full zone and gap run menu (Inside Zone Split, Duo, HB Slam, Counter Y, Wide Zone Wk) paired with a deep gadget layer: End Around Lead, PA End Around, HB Slash Fk End Arnd, and Crack Toss all use the bunch receivers as motion weapons and edge threats. On the pass side, bunch staples like Spacing, Stick, Z Spot, Seattle, and Divide give you reliable quick game, while the PA Boot family (PA Boot, PA Boot Rt, PA Boot Slide, PA Boot Corner Post) attacks defenses that overcommit to the run fit.
The matchup advantage comes from forcing linebackers and safeties to cover out of the bunch. When the defense stays in base personnel to stop the run, your tight end in the cluster draws a linebacker on rubs and angle routes (TE Angle, Drive TE Corner), and the point man in the bunch gets free releases against press. If the defense subs in nickel or dime to match the passing threat, you run Duo and Counter Y into lighter boxes.
Strengths
- Bunch rubs on Spacing, Stick, and Z Spot create natural man beaters, as stacked releases force defenders to fight through traffic and generate easy separation on flats and snags
- Seattle and Divide stress Cover 3 and Cover 1 by putting the seams and deep middle in conflict, letting you read the single high safety and throw away from his leverage
- The gadget layer (End Around Lead, PA End Around, HB Slash Fk End Arnd, Crack Toss) punishes users who crash the box or overpursue inside zone flow, since the fake end around holds backside ends and the real one attacks the vacated edge
- PA Boot concepts off the inside zone look (PA Boot Slide, PA Boot Corner Post, PA Cross Switch) pull linebackers downhill and open intermediate crossers and corners against Cover 3 and Cover 4 rotations
- 12 personnel keeps base defenses on the field, giving you favorable run fits with Duo and Counter Y while the bunch alignment still threatens the pass, making play calling tendencies hard to key on
Weaknesses
- The compressed bunch shrinks the field on the strong side, so Cover 2 and Tampa 2 shells with a squatting flat defender and a robber can sit on Spacing and Stick landmarks without having to cover much grass
- Only one true backside receiver limits isolation options, and a user-controlled safety who shades to the bunch can take away the primary concepts while the corner plays the single receiver with outside leverage
- Boot and play-action concepts require longer developments, so edge pressure and nano blitzes from the boot side collapse rollouts before the corner or crosser can clear, especially when the tight end is in the route instead of blocking
- Gadget runs like End Around Lead and Crack Toss are high risk against contain assignments and disciplined ends, and a user sitting in the flat or setting the edge can turn them into big losses on early downs
- The bunch is easy to key: many defenders auto-adjust with banjo or match coverage, and players who run Cover 3 Match or Cover 4 Palms can pass off crossers cleanly and neutralize rub advantages
Usage Tips
Pre-snap, count the defenders aligned to the bunch; if the defense only has two defenders over three receivers, check to Stick or Spacing and throw quickly to the uncovered flat
Use inside zone and Duo early to establish run tendencies, then call PA Boot Slide or PA Boot Corner Post on second and medium when linebackers are stepping downhill on the play-action fake
Against man coverage, especially Cover 1 and Cover 0, go to Z Spot or Drive Y Trail and hot route the bunch point man to a slant or drag to exploit the rub; against Cover 0, keep the RB in to block
Set up the gadget package by running HB Slash repeatedly, then call HB Slash Fk End Arnd to freeze the backside end, and finally hit End Around Lead or PA End Around once the opponent starts chasing the motion
In the red zone and on third and short, Drive TE Corner and TE Angle isolate the tight end on a linebacker; motion the backside receiver to tighten the formation and create extra traffic near the goal line
Plays (28)
 Counter YCounter, Run Play, Power Run
 Crack TossToss, Run Play
 DividePass Play, Flood, Go +10
 Drive TE CornerCorner, Drive, Pass Play +6
 Drive Y TrailDrive, Trail, Pass Play +7
 DuoDuo, Run Play, Power Run
 End Around LeadEnd Around, Trick Play, Run Play
 HB SlamDive, Run Play
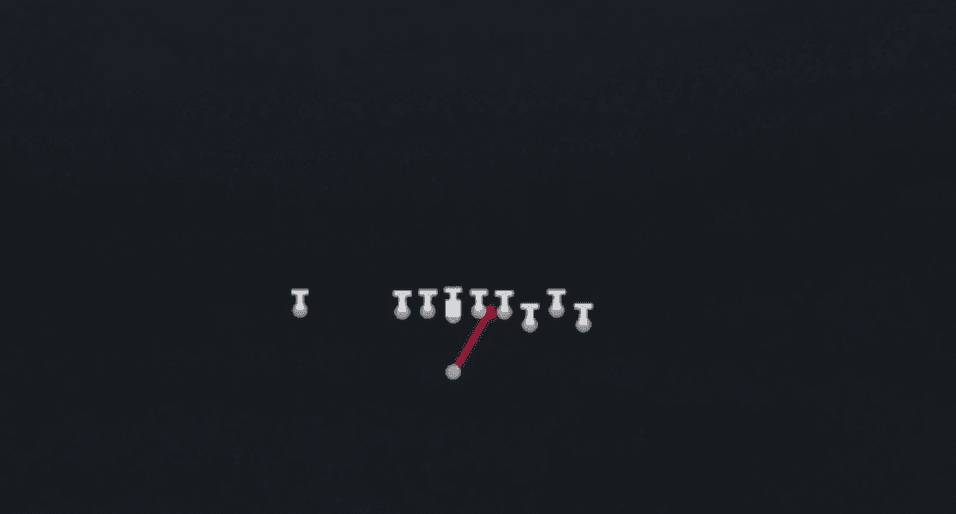 HB SlashRun Play, Power Run, Off Tackle +1
- HB Slash Fk End ArdRun Play
 HB Slash Fk End ArndEnd Around, Trick Play, Run Play
 HB Zone WkInside Zone, Run Play, Zone Run
 Inside Zone SplitInside Zone, Run Play, Zone Run
- Over HB TossRun Play
 PA BootPlay Action, Pass Play, Corner +4
- PA Boot Corner PostCorner, Post, Corner Post +8
 PA Boot RtPlay Action, Pass Play, Block and Release +4
 PA Boot SlidePlay Action, Slide, Pass Play +5
 PA Cross SwitchPlay Action, Crosser, Pass Play +3
 PA End AroundEnd Around, Play Action, Trick Play +5
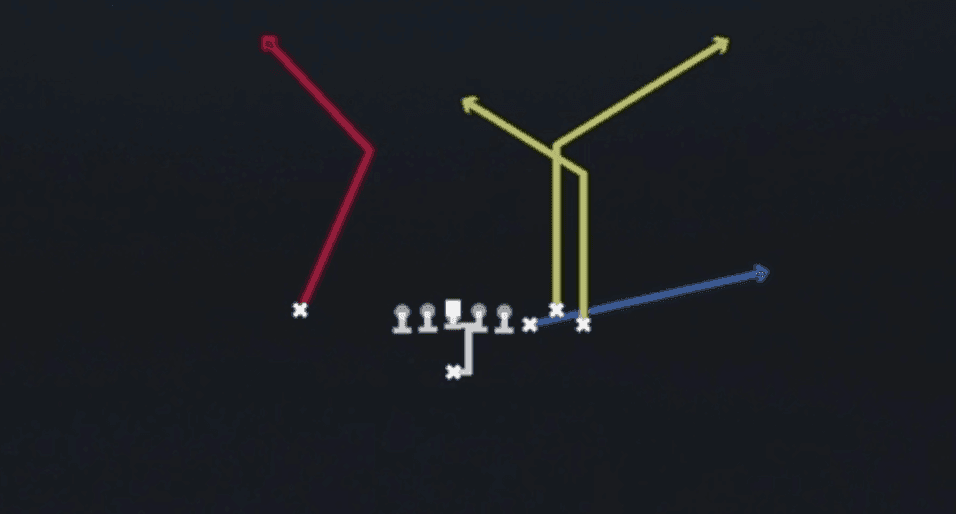 PA Fork ShotPlay Action, Pass Play, Block and Release +2
 SeattlePass Play, Four Verts, Go +10
 SpacingSpacing, Pass Play, Cover 3 Beater +4
 Spacing SwitchSpacing, Pass Play, Cover 3 Beater +3
 StickStick, Stick Concept, Pass Play +4
 TE AngleAngle, Pass Play, Out +4
- Wide Zone WkRun Play
 Z SpotSpot, Pass Play, Cover 3 Beater +3