Playbooks

Quick Reference
Receiver routes
Depth-chart slots are shown as they line up in the base package for this set.
| Player | Side | Route |
|---|---|---|
| HB1 | Middle | Pass Block |
| TE2 | Right | Deep Corner |
| WR1 | Left | Option Route |
| WR2 | Right | Smash |
| TE1 | Right | Flat |
Read progression
- WR2 right, Smash
- TE2 right, Deep Corner or TE1 right, Flat
- WR1 left, Option Route
Breakdown
Z Spot out of Singleback Bunch Ace runs the classic Spot concept from the bunch alignment, pairing a corner route from the outside receiver with a spot (settle) route underneath from the bunch and a flat route to the boundary. The lone backside receiver runs a vertical hitch/curl to hold that side of the field. The bunch releases with the middle man running the red hot route into a quick settle over the ball, while the two stacked receivers stem outside, one climbing deep to the corner and one working the flat, creating a high low stretch on the flat defender. This is a Cover 3 beater by design, and the primary read progression starts at the spot route sitting in the hole, then works to the flat, then climbs to the corner if the cornerback bails deep.
Defensive Reads
Identify the flat defender pre snap, if a linebacker or slot corner sits shallow in the throwing lane the spot route is taken away and you should peek the corner route instead. Watch for a single high safety indicating Cover 3, the spot route into the underneath void is the easiest completion against this shell. If you see two deep safeties, Cover 2 or Cover 4, the corner route becomes tougher to complete, lean on the flat and spot combo instead. Beware of a user controlled linebacker sitting in a lurk technique over the middle, he can jump the spot route if the quarterback stares it down too long. Man coverage with underneath help forces a quicker decision, look for natural rub action from the bunch release to spring the flat or spot man open against trailing defenders.
Usage Tips
Check the flat defender pre snap, if he sits at five yards or less the spot route will have room to settle in the void behind him.
Against Cover 3, throw the spot route as soon as the underneath defender flows away, this is a timing throw that punishes zone drops.
If you see man coverage with a corner pressed on the bunch, hot route the spot man to a quick out or use the corner route as your first read since man defenders will trail underneath.
Use this play on second and medium or third and short, the quick spot route gives you a safe completion without needing to hold the ball deep in the pocket.
Pair Z Spot with Drive Y Trail or PA Boot Corner Post from this same set, the initial bunch release looks identical and forces the defense to guess between quick game and shot plays.
Other Plays in Bunch Ace
 Counter YCounter, Run Play, Power Run
 Crack TossToss, Run Play
 DividePass Play, Flood, Go +10
 Drive TE CornerCorner, Drive, Pass Play +6
 Drive Y TrailDrive, Trail, Pass Play +7
 DuoDuo, Run Play, Power Run
 End Around LeadEnd Around, Trick Play, Run Play
 HB SlamDive, Run Play
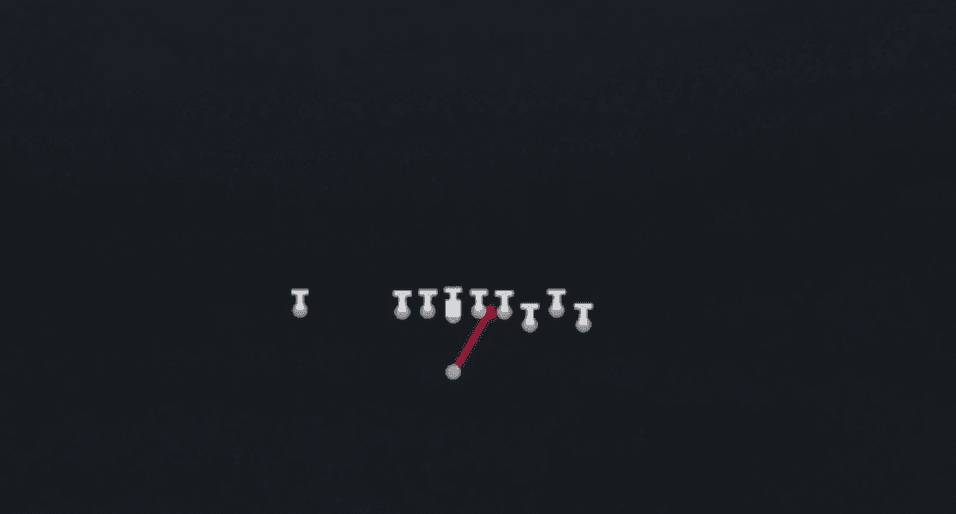 HB SlashRun Play, Power Run, Off Tackle +1
- HB Slash Fk End ArdRun Play
 HB Slash Fk End ArndEnd Around, Trick Play, Run Play
 HB Zone WkInside Zone, Run Play, Zone Run
 Inside Zone SplitInside Zone, Run Play, Zone Run
- Over HB TossRun Play
 PA BootPlay Action, Pass Play, Corner +4
- PA Boot Corner PostCorner, Post, Corner Post +8
 PA Boot RtPlay Action, Pass Play, Block and Release +4
 PA Boot SlidePlay Action, Slide, Pass Play +5
 PA Cross SwitchPlay Action, Crosser, Pass Play +3
 PA End AroundEnd Around, Play Action, Trick Play +5
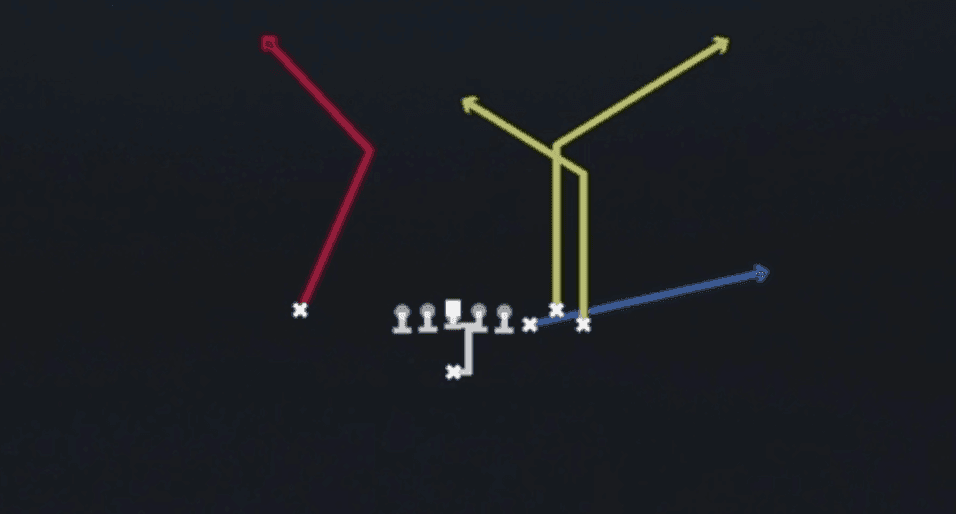 PA Fork ShotPlay Action, Pass Play, Block and Release +2
 SeattlePass Play, Four Verts, Go +10
 SpacingSpacing, Pass Play, Cover 3 Beater +4
 Spacing SwitchSpacing, Pass Play, Cover 3 Beater +3
 StickStick, Stick Concept, Pass Play +4
 TE AngleAngle, Pass Play, Out +4
- Wide Zone WkRun Play