Playbooks

At a Glance
In 2 playbooks
Overview
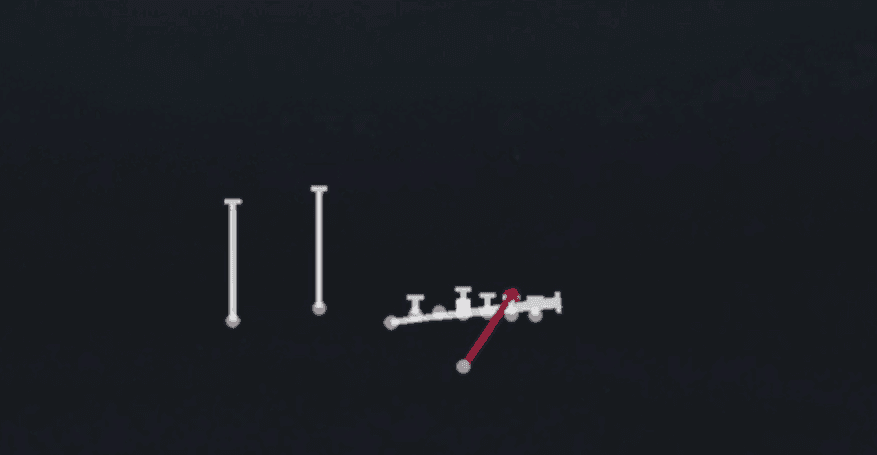
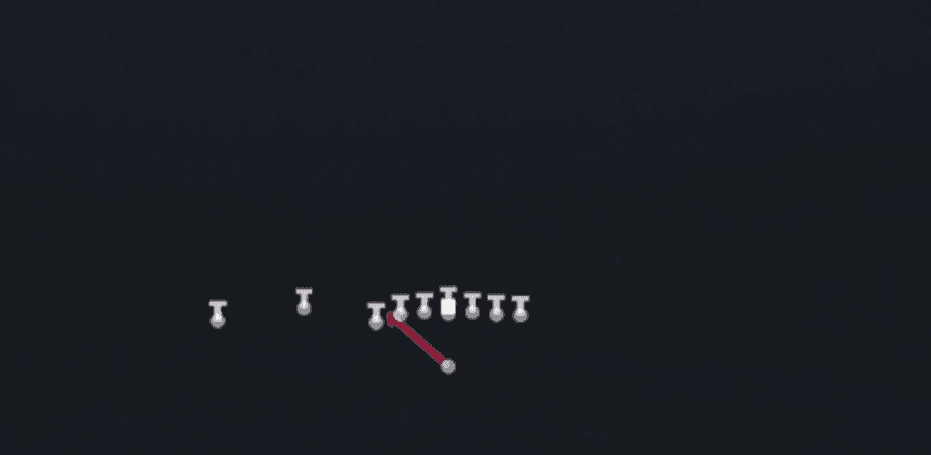
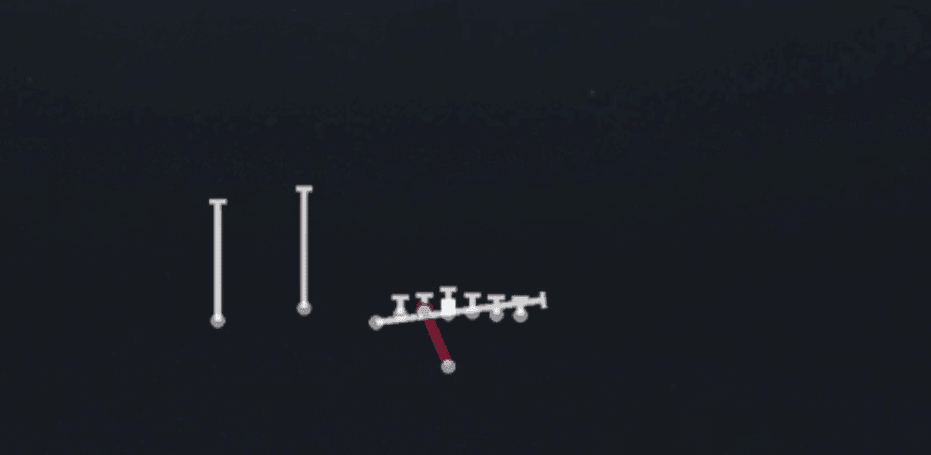
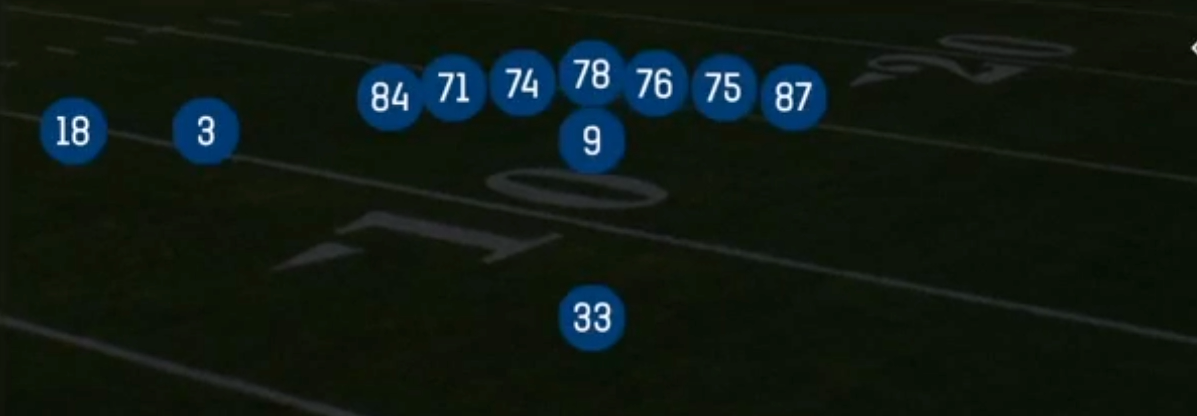
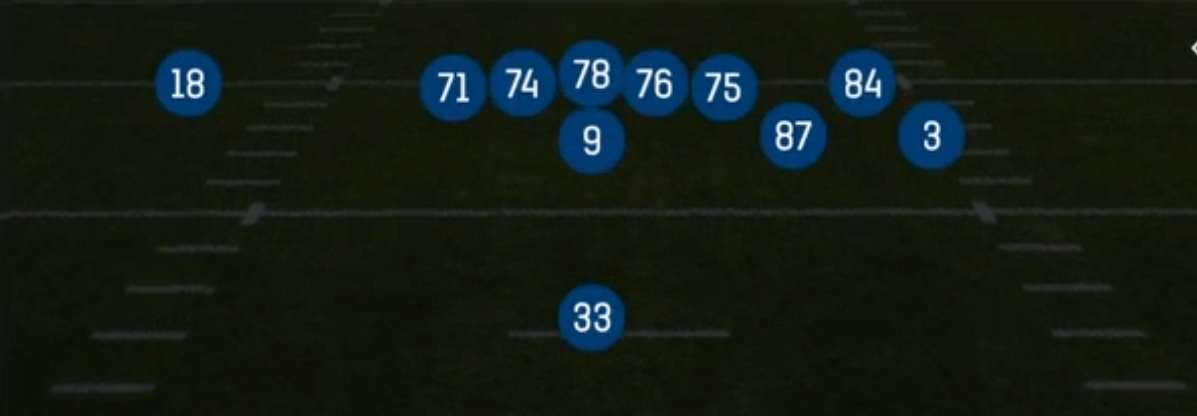
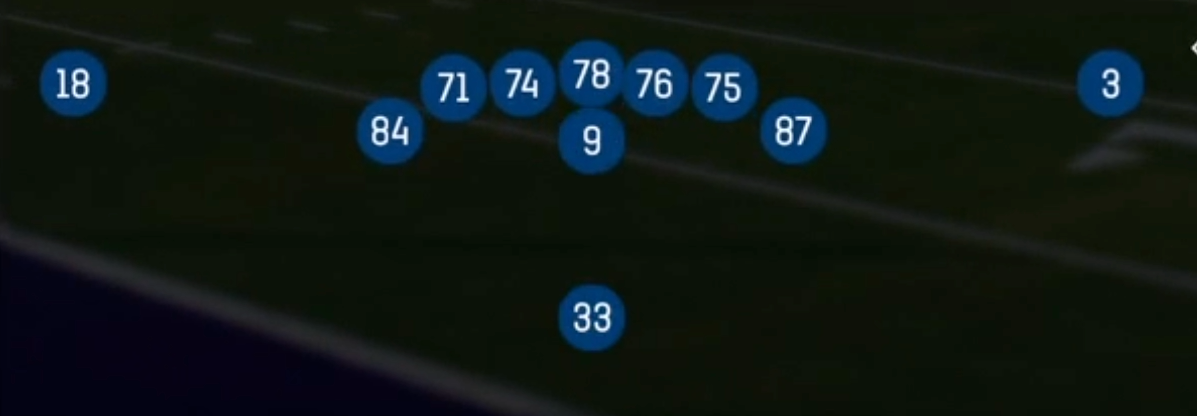
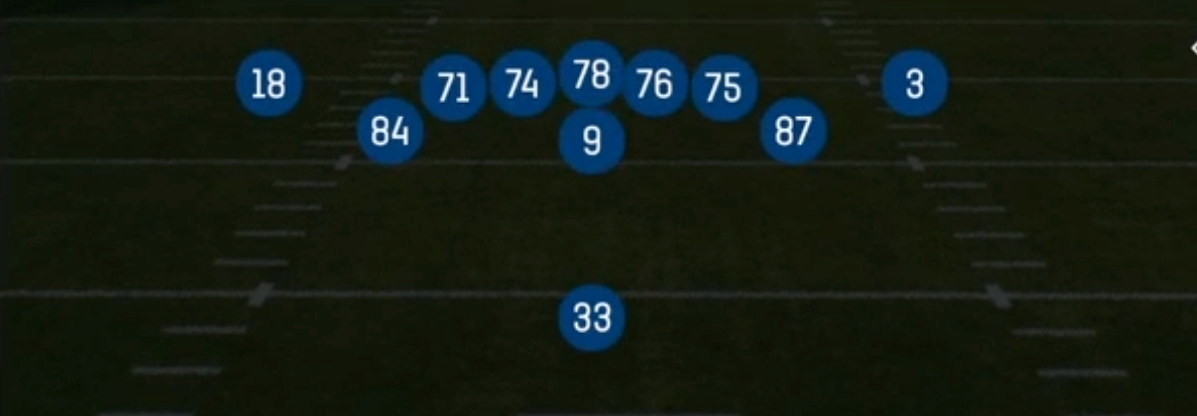
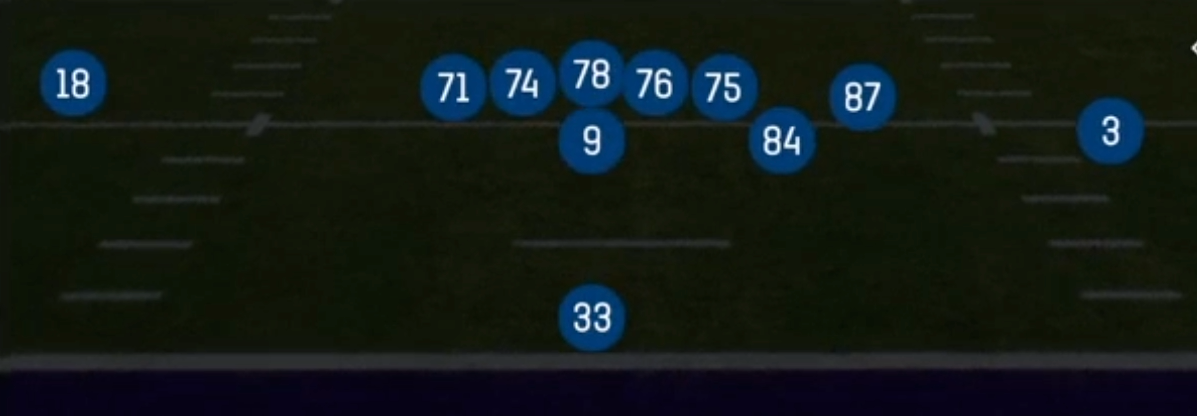
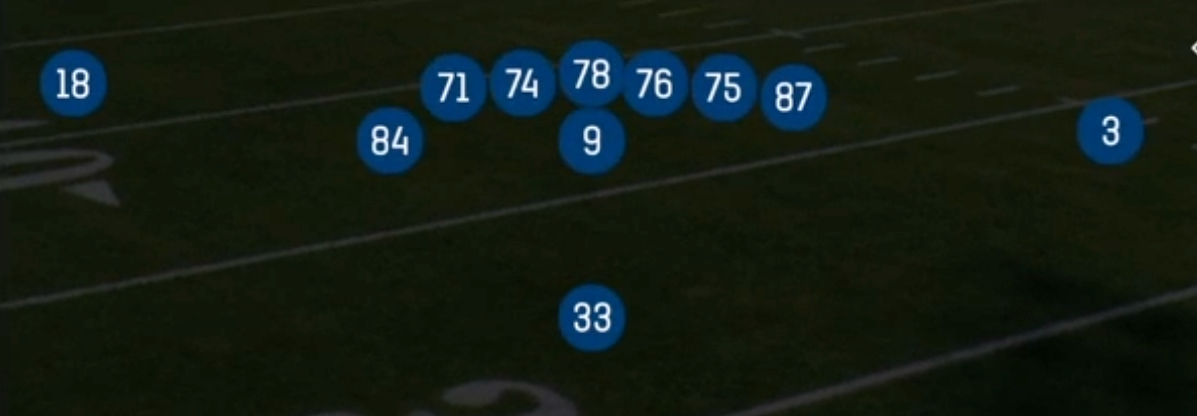
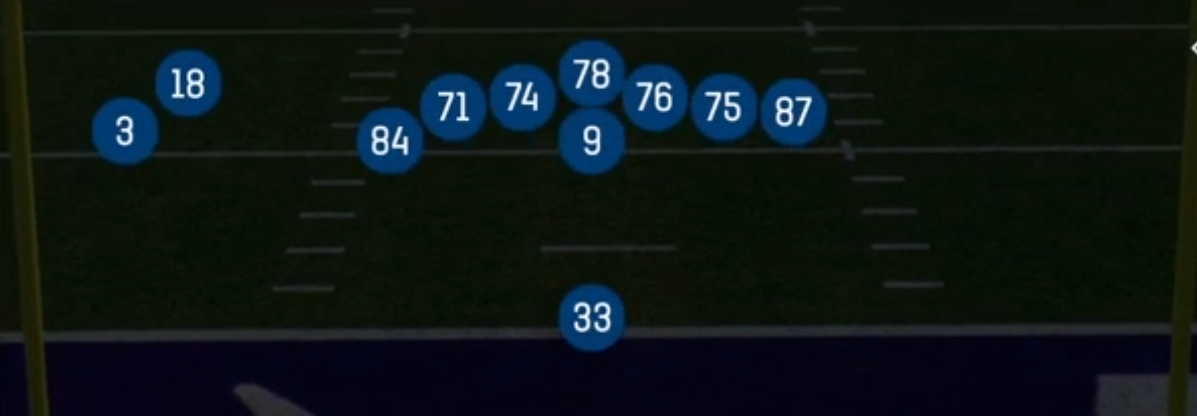
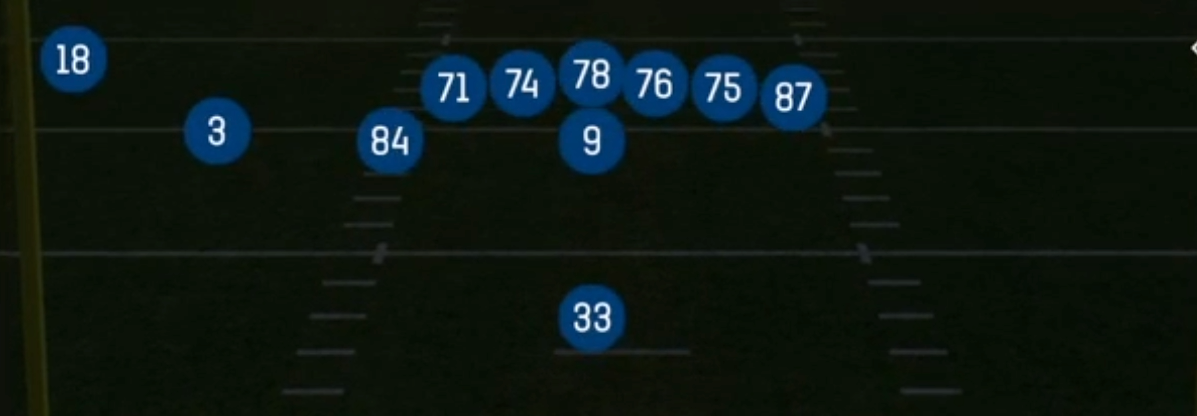
U Off Trio is a 12 personnel look out of Singleback that sets a three-man surface to the strength of the formation while aligning the U tight end off the ball as a move player. Unlike the standard Singleback sets that keep both tight ends attached to the line, U Off Trio puts the U in a flexed H-back role, where he can climb to the second level on a lead block, arc across the formation on split zone, or release into the flat and crossing lanes on play-action. The backside receiver is left isolated, which gives you a clean one-on-one read when the defense rolls its coverage toward the trio side.
The personnel alignment is the real weapon here. Two tight ends on the field force most opponents into base or nickel with a linebacker who has to account for the off-ball U. That linebacker is stuck between fitting the run and carrying the U on crossers, and the call sheet is built to punish either choice. Inside Zone and Inside Zone Split hit the same downhill track, but the split version sends the U back across the formation to kick out the backside edge, which sets up HB Counter Str as a power answer when defenders start flowing hard to the trio side.
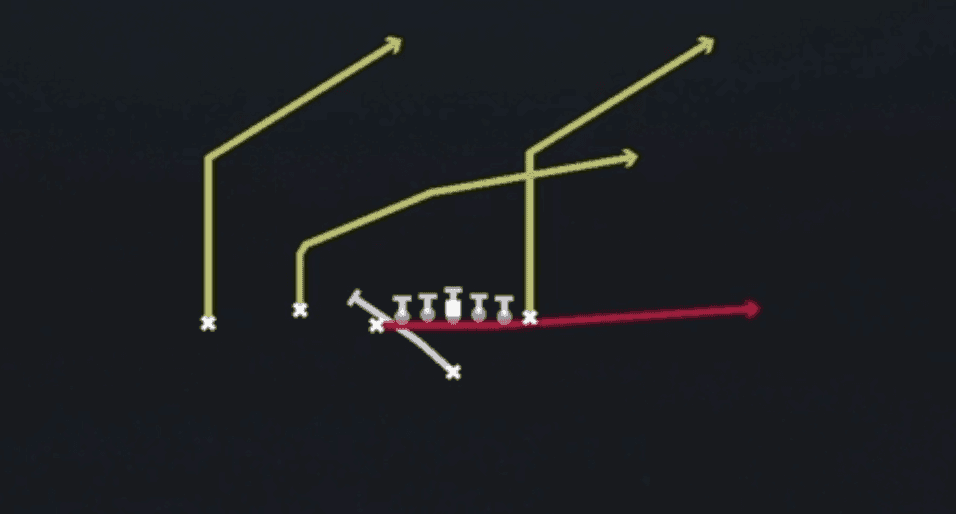
The pass game is almost entirely play-action and built off those run looks. PA Flood (along with the PA FIood variant in the set) stretches the trio side with a three-level flood, PA Boot Slide gets the QB on the edge with the U sliding across as a short outlet, and PA Dagger U Cross pairs a deep dig with the U crossing underneath to stress the middle of the field. The set is tagged for Power HB, 3DRB, and Gadget usage, so a physical back who can also catch out of the backfield makes every look in the set more dangerous.
Strengths
- The off-ball U gives the defense a true conflict player: Inside Zone Split uses him as a backside kick-out blocker, while PA Dagger U Cross releases him on the same initial path into a crossing route, so linebackers who key him get stuck guessing.
- PA Flood and PA FIood create a clean three-level zone beater to the trio side, with a vertical clearing the Cover 3 corner, a deep out holding the flat defender, and a short flat underneath, which destroys Cover 3 Buzz and Cover 4 Quarters when the play-action freezes the hook defenders.
- The inside zone family (Inside Zone, Inside Zone Split, HB Counter Str) shares the same pre-snap picture, making the run game hard to read and forcing opponents to commit an extra user-controlled defender to the box, which opens up the isolated backside receiver.
- PA Boot Slide moves the pocket away from nano blitz pressure and gives you a high-low read on the edge, with the sliding U as a reliable checkdown against man coverage when the boot side flat is vacated.
- PA Dagger U Cross is a strong man beater against Cover 1: the deep dig runs away from leverage while the U crossing underneath gets natural separation from a linebacker in man, especially if you motion or hot route to create traffic.
Weaknesses
- The play count is thin and heavily play-action, so if your run game is not producing, opponents will sit in coverage and ignore the fakes, leaving long developing concepts like PA Flood exposed to sacks.
- Play-action and boot concepts are slow to develop, and a well-timed nano blitz off the edge or an overload to the boot side can hit the QB before the flood or dagger routes clear their breaks.
- With two tight ends and only two wide receivers on the field, you lack speed at the skill positions, allowing opponents to play press man with their best corner on the isolated X and bracket the trio side.
- A user-controlled linebacker or safety sitting in the middle hook zone can erase PA Dagger U Cross and the U crossers entirely, since so many concepts funnel into the same short middle window.
- The trio alignment tips the strength of the formation, so opponents who shade their coverage and slant the defensive line to the trio side can blow up Inside Zone before the cutback lane opens.
Usage Tips
Establish Inside Zone and Inside Zone Split early on first and second down against base defenses with six or fewer in the box, then go to PA Flood once you see the safety rotate down or the linebackers start triggering on the run fake.
Pre-snap, check the safety rotation: a single high look with the corner playing off to the trio side is a green light for PA Flood, while a two high shell with soft cornerbacks is a better look for PA Dagger U Cross to attack the middle of the field.
Against heavy pressure or edge blitz looks, audible to PA Boot Slide and consider a hot route to block or a quick out on the flat receiver so you have an immediate answer before the rusher gets home.
When defenders consistently flow hard to the trio side on zone runs, call HB Counter Str to hit the backside, especially with a Power HB who can break the first tackle through the hole.
Use this set on short yardage and red zone downs where two tight end personnel keeps base defense on the field, then take the play-action shot to the U crossing the formation when the linebackers crash toward the line of scrimmage.