Playbooks

At a Glance
Overview
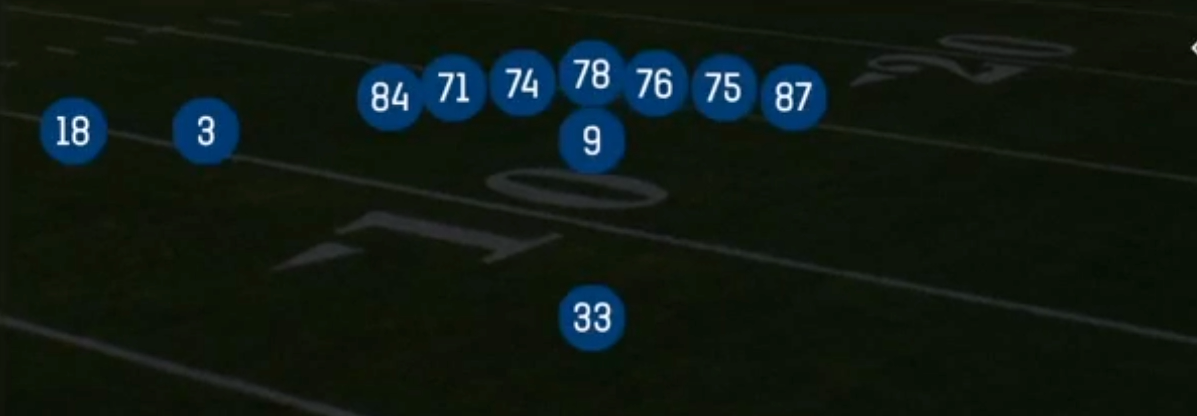
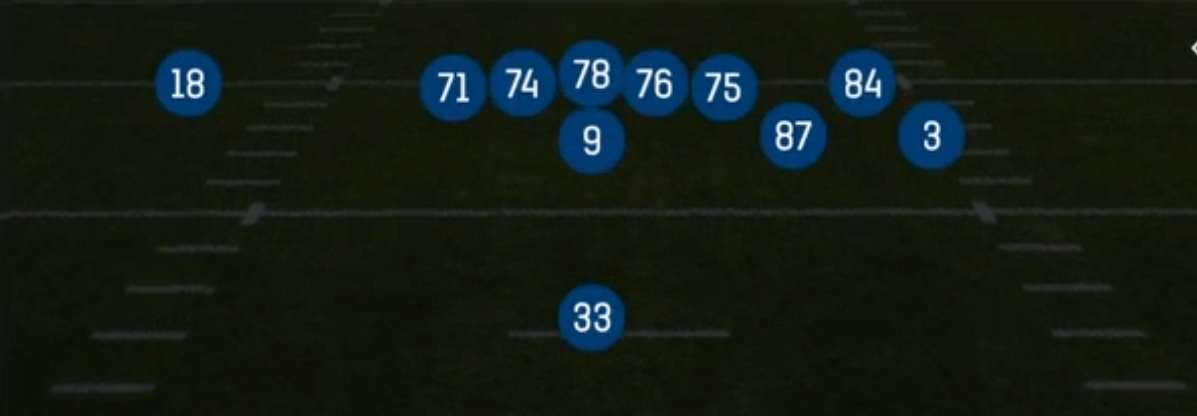
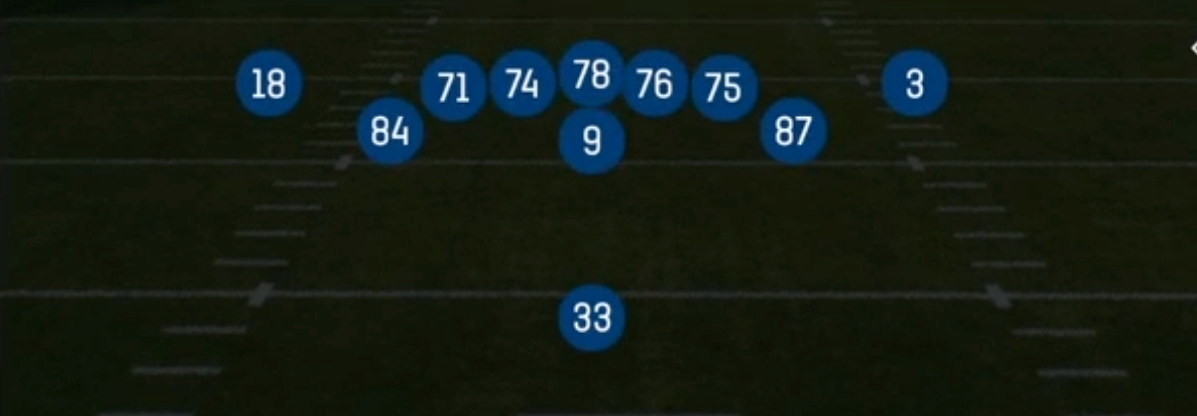
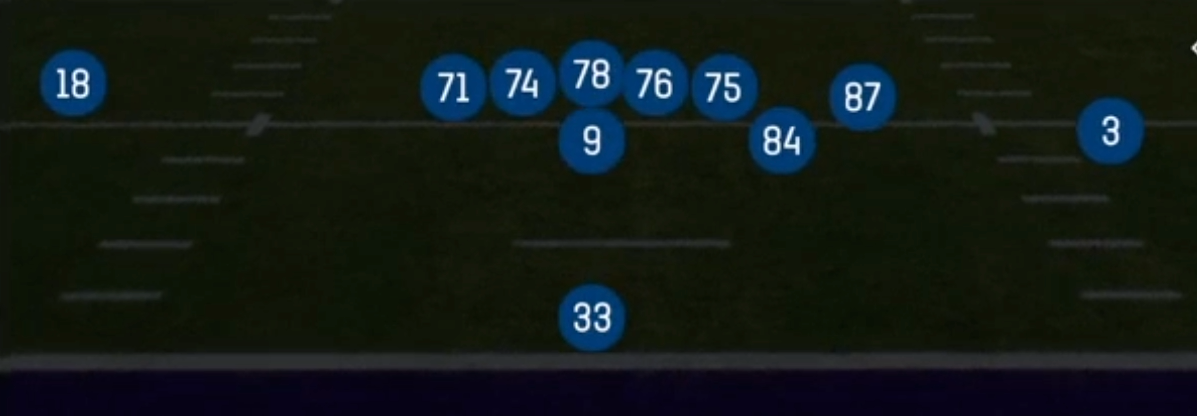
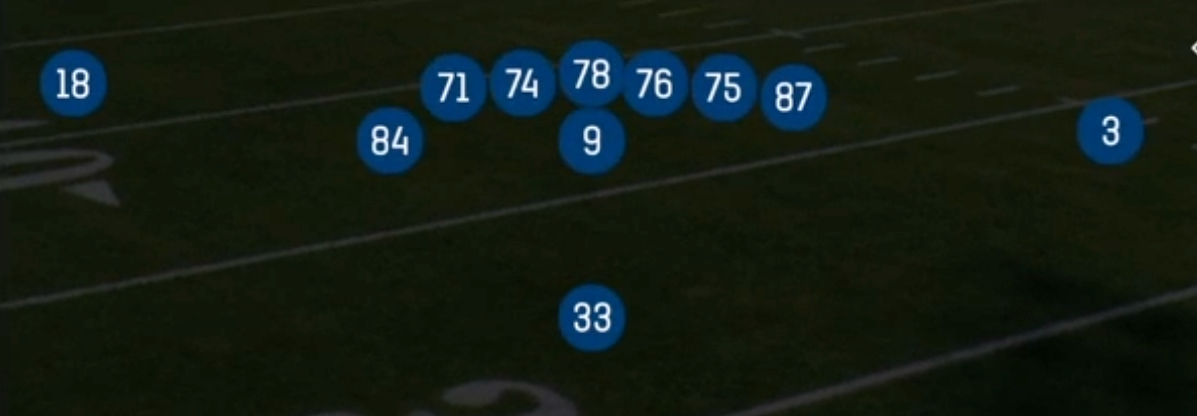
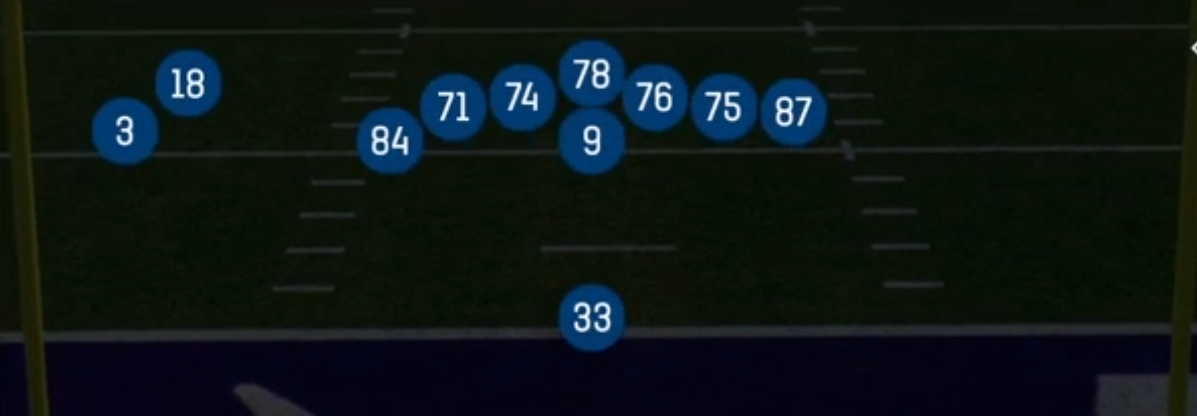
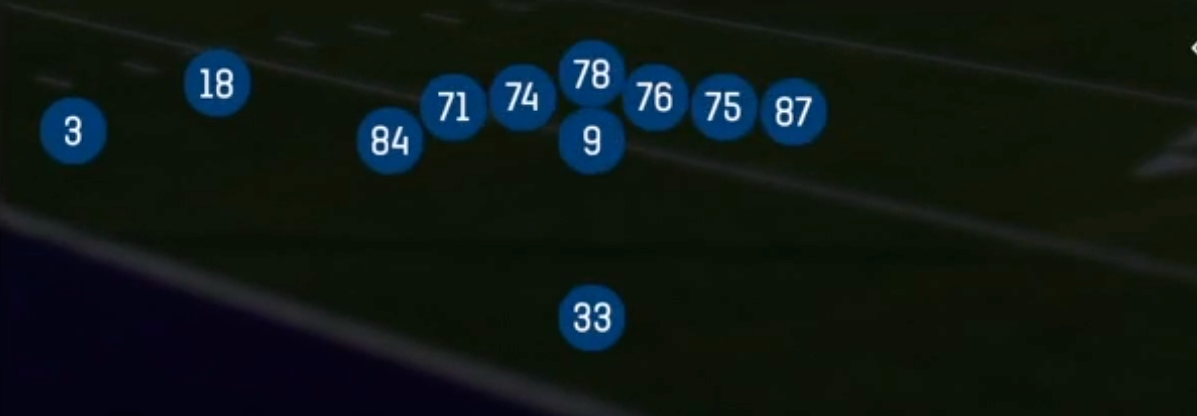
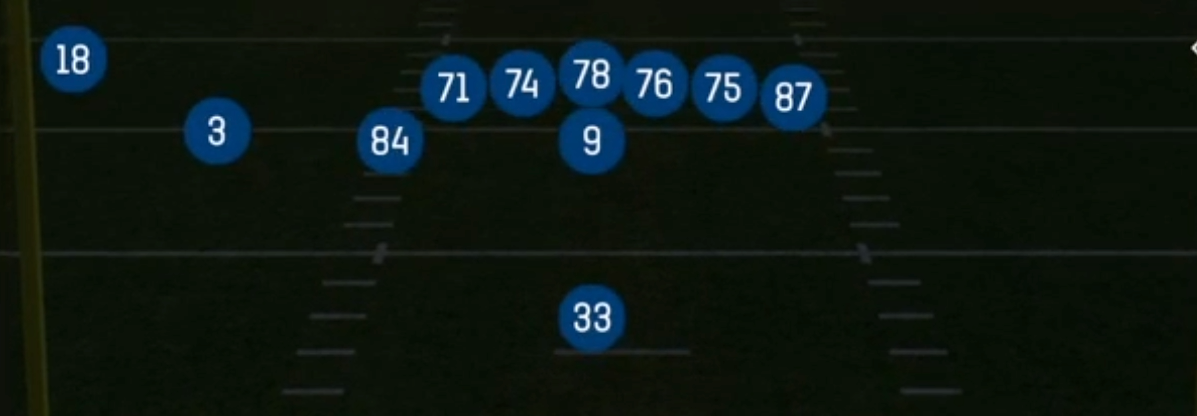
The Deuce set in Singleback puts 12 personnel on the field (1 RB, 2 TE, 2 WR) with both tight ends aligned to the same side, typically one inline and one on the wing, while a receiver splits wide on each side. Ace spreads its tight ends to both sides for a balanced look. Deuce instead creates a heavy, unbalanced strength that forces the defense to declare its front and rotate its coverage toward the tight end surface. That strength side becomes a second offensive line for the run game and a launch point for play-action. The weak side isolates a single receiver against a cornerback with minimal help.
The menu is built around a gap and zone run game with a play-action tree that mirrors it. HB Dive, HB Blunt Dive, Pats HB Dive, Inside Zone Split, HB Smash, Power O, Counter Y and HB Toss let you attack every gap from the same look. PA Power O, PA Boot Roll, PA Boot Slide, PA Pats Boot and PA Dig are paired with those runs, so linebackers who trigger downhill leave the intermediate middle and the flats empty. Ace Posts, Z Dig, Curl Flats and Quick Slants give you straight dropback answers when the defense stops respecting the run.
The matchup edge comes from the two tight ends. Defenses usually answer 12 personnel with base personnel. That leaves a linebacker or safety carrying a tight end on boots and slides, and it leaves the backside receiver alone on the weak side in single high looks. If the defense goes nickel to cover the tight ends, you hammer Power O and Counter Y into a lighter box. The Gadget tag reflects the set's misdirection value: counters, split zone action and boot concepts move the defense one way while the ball goes the other.
Strengths
- The run menu covers every gap: Power O and HB Smash hit the strength side, Counter Y and Inside Zone Split cut back to the weak side, and HB Toss stresses the edge, so a user linebacker cannot sit on one lane.
- PA Boot Roll, PA Boot Slide and PA Pats Boot are elite zone beaters against Cover 3 and Cover 4. The crossing tight end and the flat release flood one side while the QB rolls out of the pocket, away from interior pressure.
- PA Power O and PA Dig punish aggressive linebackers and Cover 1 robber. After the run fake, the dig lands behind the flowing linebackers and in front of the deep safety.
- The weak side receiver is isolated when the defense rotates toward the tight end strength. That creates clean one on one looks for Quick Slants, Z Dig or a hot routed fade against press man.
- Base defenses must match 12 personnel, which leaves slower linebackers on tight ends. Motioning the wing tight end or running Curl Flats and Ace Posts creates mismatches that are hard to cover in man.
Weaknesses
- The formation is compact with both tight ends to one side, so field side overloads and edge blitzes from the weak side can reach the QB quickly, especially on slow developing play-action drops.
- Only two true receivers run routes on many plays. Against Cover 2 man or 2 man under with a user robber, your dropback concepts can lack a reliable hot read.
- Boot concepts leave the backside unblocked by design. A contain defender or user controlled edge rusher who stays home will blow up PA Boot Roll and PA Pats Boot before the QB can set.
- The heavy tendency is easy to scout. Opponents who see Deuce on early downs will crash run commit fronts or sim pressure, forcing you to win with play-action against loaded boxes.
- Tight ends kept in to block reduce your route options. If the defense plays soft Cover 4 and rallies to the flats, Curl Flats and Quick Slants become low yield throws.
Usage Tips
Use Deuce on first and ten and second and short to establish Power O and Inside Zone Split. Once the opponent starts committing a linebacker or safety into the box, call PA Power O or PA Dig from the same look.
Read the safety pre snap. A single high safety rotating toward the tight end strength means the weak side receiver is isolated, so audible to Quick Slants or hot route that receiver to a slant or fade against press.
Against Cover 3, run PA Boot Slide or PA Boot Roll and target the tight end on the drag or the flat. If a deep flat defender sinks, take the corner route. If the flat squats, hit the drag underneath.
When the defense crowds the strength side with an overloaded front, check to Counter Y or HB Toss to the weak side. Motion the wing tight end across to change the strength and create a numbers advantage for the counter.
In the red zone and on short yardage, pair HB Dive or Pats HB Dive with PA Pats Boot as a constraint. Hot route the backside receiver to a slant if you see Cover 0 so you have a quick answer to the all out blitz.
Plays (17)
 Ace PostsPost, Pass Play, Block and Release +1
 Counter YCounter, Run Play, Power Run
 Curl FlatsFlat, Curl, Pass Play +1
 HB Blunt DiveDive, Run Play
 HB DiveDive, Run Play
- HB SmashRun Play
 HB TossToss, Run Play
 Inside Zone SplitInside Zone, Run Play, Zone Run
 PA Boot RollPlay Action, Pass Play, Block and Release +3
- PA Boot SlidePlay Action, Slide, Pass Play +5
 PA DigPlay Action, Dig, Pass Play +3
- PA Pats BootPlay Action, Pass Play, Block and Release +4
 PA Power OPlay Action, Pass Play, Corner +5
- Pats HB DiveDive, Run Play
 Power OPower, Run Play, Power Run
 Quick SlantsSlant, Pass Play, Flat
- Z DigDig, Pass Play, Post +2