Playbooks

Overview
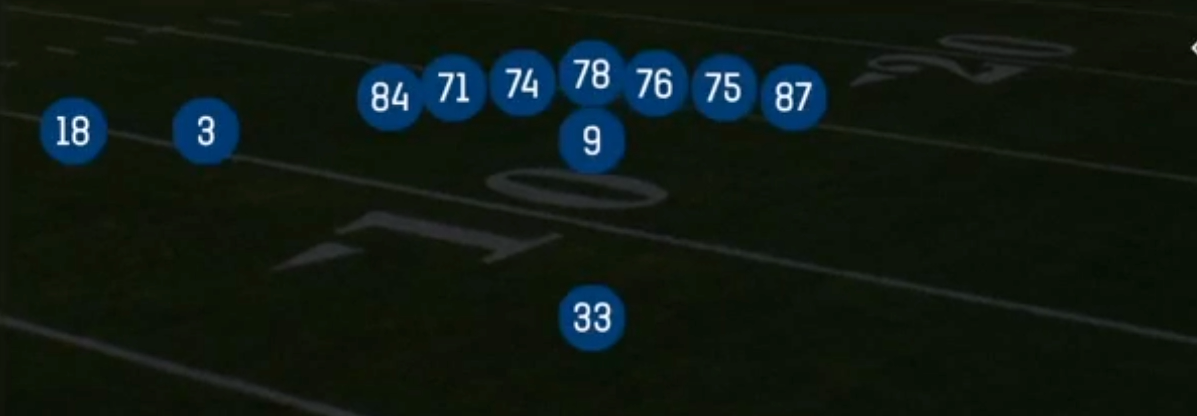
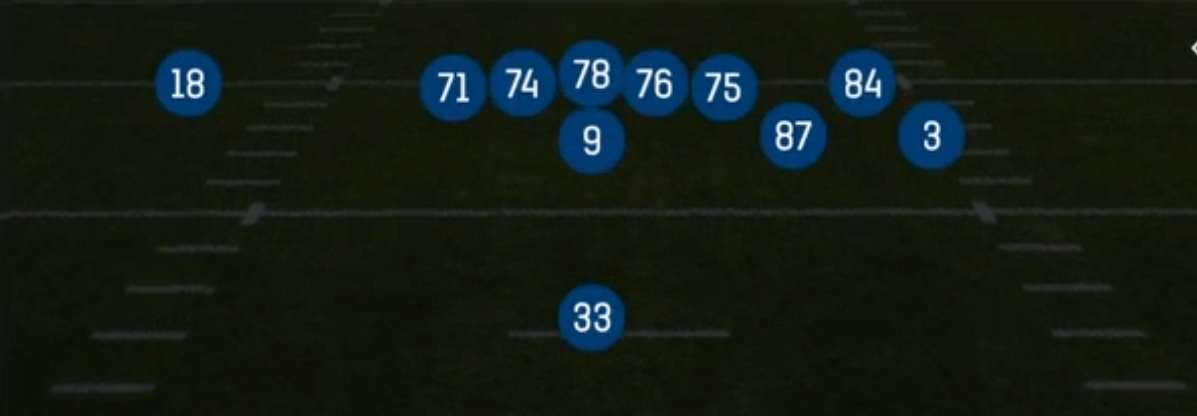
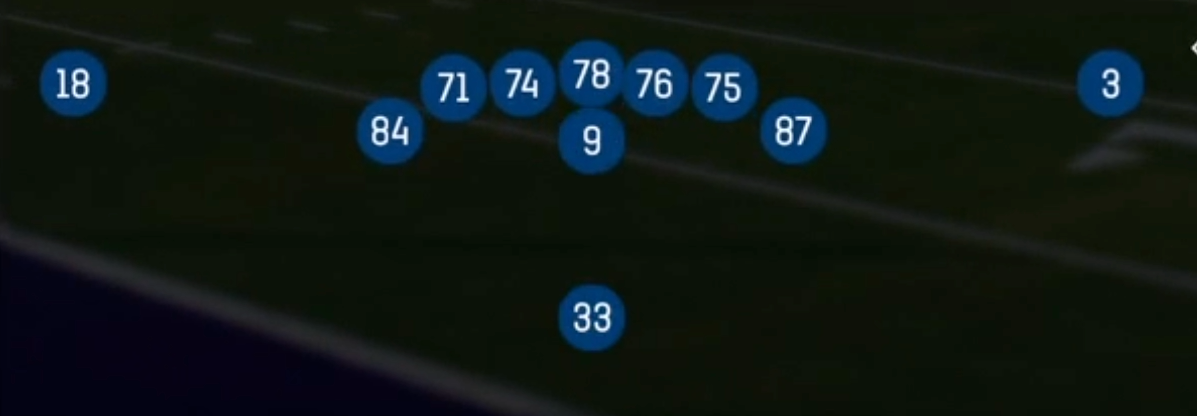
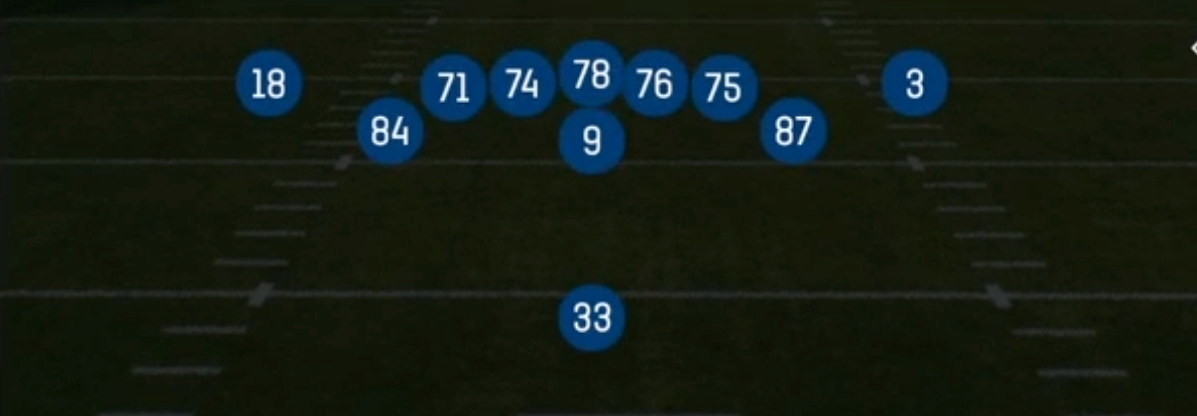
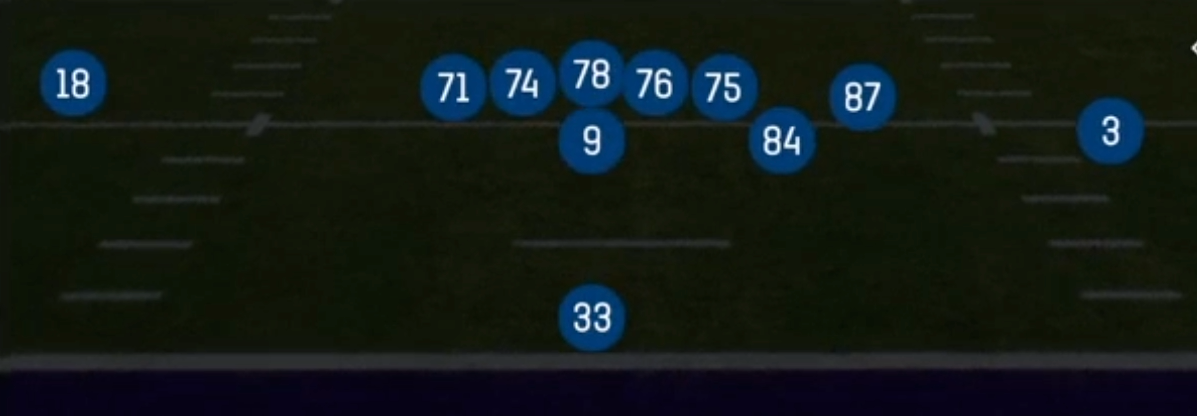
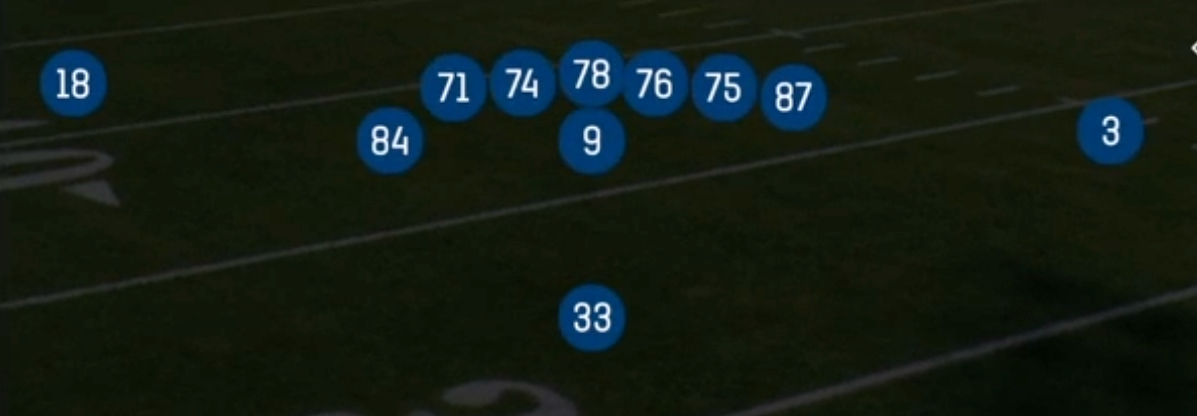
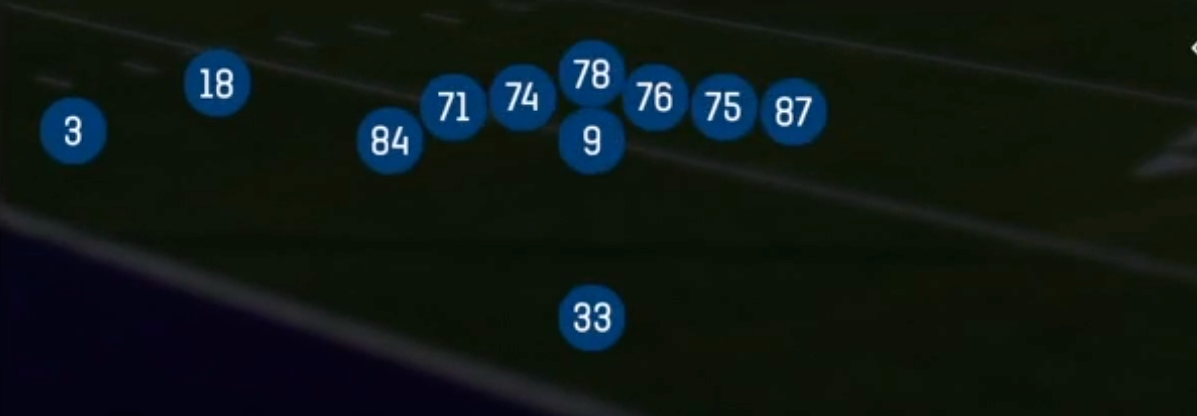
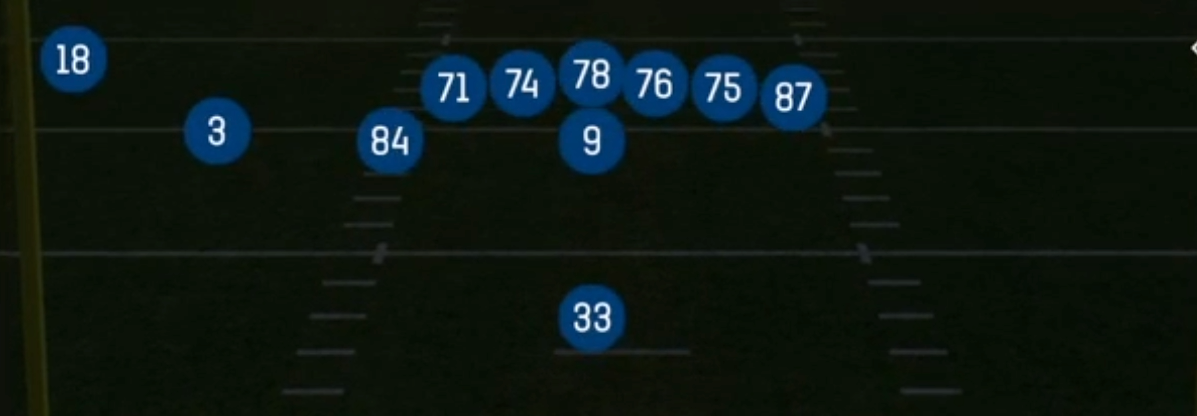
U Off Stack is a 12 personnel look out of Singleback that separates itself from standard sets like Ace or Tight Flex by pulling the U tight end off the line of scrimmage into a movable wing or H-back alignment, while the two receivers are stacked to create a condensed release point. The result is a formation that looks like a heavy run set from the defense's perspective. However, the U is free to arc, wrap, slice across the formation, or release into the flat. That flexibility sets it apart from rigid inline double tight sets. The Y stays attached as a true inline blocker, which gives you a reliable edge on the strong side and forces the defense to respect a run to either B gap.
The off-ball U is the engine of this set. On Inside Zone Split, he slices backside to kick out the end man on the line, which kills the cutback defender that normally blows up zone runs. On Duo Wrap and HB Counter Str, he becomes an extra puller or lead blocker at the point of attack. On PA Boot Slide and PA Dagger U Cross, that same initial movement sells run before he leaks into the flat or crosses the field. Because the U's first step looks identical across runs and passes, linebackers who key the tight end get put in constant conflict.
The stacked receivers add a passing dimension that most 12 personnel sets lack. Stack releases make press coverage difficult, create natural rub and pick action against man, and let Smash and Dagger stress Cover 2 and Cover 3 rotation with high-low reads. When defenses answer the power run game with base personnel, you get linebackers covering the U and receivers working off the stack. When they go nickel, you run Duo Wrap and HB Counter Str into a lighter box. That dual threat is why the set carries the 3DRB, Power HB, and Gadget tags.
Strengths
- Inside Zone Split and Duo Wrap use the off-ball U to handle the backside end or add a lead blocker, giving you a numbers advantage in the box that the CPU and most users cannot fix pre-snap without walking a safety down
- The stacked receiver alignment defeats press man: the point man and the trailing man release off each other, which creates natural rubs on Smash and Dagger and makes it very hard for defenders to trail or jam cleanly
- PA Boot Slide and PA Dagger U Cross pair the U's run-blocking first step with a flat or crossing release, which pulls hook defenders and flat defenders downhill and opens the deep dig on Dagger against Cover 3 and Cover 4
- HB Zone Alert Smoke functions as a built-in RPO answer to soft corners and off coverage, letting you throw a quick smoke screen to the stack when the defense overloads the box against your 12 personnel
- The variety of run tracks (Inside Zone, HB Stretch, HB Counter Str, HB Wk Toss) off the same look lets a 3DRB or Power HB attack every gap, which keeps defenders from cheating with pre-snap shifts or run commits
Weaknesses
- Only two true wide receivers are on the field, so Cover 1 and Cover 0 teams can play aggressive press man on the stack and use a user-controlled safety or robber to sit on the U cross and Dagger dig
- The condensed stack makes the formation easy to identify, and smart opponents will shade their coverage and rotate toward the stack side, taking away Smash and the Smoke screen with cloud corners
- Heavy boundary pressure, especially nano blitzes off the edge opposite the U's alignment, can beat the slide protection on PA Boot Slide before the QB clears the pocket
- When defenses answer with base 4-3 or 3-4 personnel and a Mike user filling the A gaps, Inside Zone and Duo lose efficiency, and the set lacks true vertical spread concepts to punish the loaded box deep
- The U has to be a capable blocker and receiver for the set to work, so a slow or low-blocking TE2 turns the wrap and split runs into negative plays and makes the play-action reads predictable
Usage Tips
Check the box count before the snap: against six or fewer defenders in the box, stay with Inside Zone Split or Duo Wrap, and against seven or more with soft corners, audible to HB Zone Alert Smoke and throw the screen to the stack
On first and 10 and second and short, run HB Counter Str and Duo Wrap to set up tendencies, then call PA Boot Slide or PA Dagger U Cross from the same look once linebackers start triggering downhill on the U's movement
Against Cover 2 or Cover 2 man shells, Smash is your primary call, so read the flat defender and throw the corner if he squats on the hitch; hot route the U to a flat to hold the curl defender if needed
When you see press man on the stack, keep the stack intact rather than motioning out, since the release creates picks; you can hot route the trailing receiver to a slant or drag for a quick man beater on third and medium
Use HB Stretch and HB Wk Toss to the Y side when the defense slants or shifts toward the U, and save them for when your HB has a speed advantage over the edge defenders to keep outside zone from getting stopped
Plays (10)
- Duo WrapRun Play
 HB Counter StrCounter, Run Play, Power Run
- HB StretchRun Play
- HB Wk TossRun Play
 HB Zone Alert SmokeInside Zone, Run Play, Zone Run +2
 Inside ZoneInside Zone, Run Play, Zone Run
 Inside Zone SplitInside Zone, Run Play, Zone Run
 PA Boot SlidePlay Action, Slide, Pass Play +5
 PA Dagger U CrossPlay Action, Crosser, Dagger +7
- SmashCorner, Flat, Return Route +2