Playbooks

At a Glance
Overview
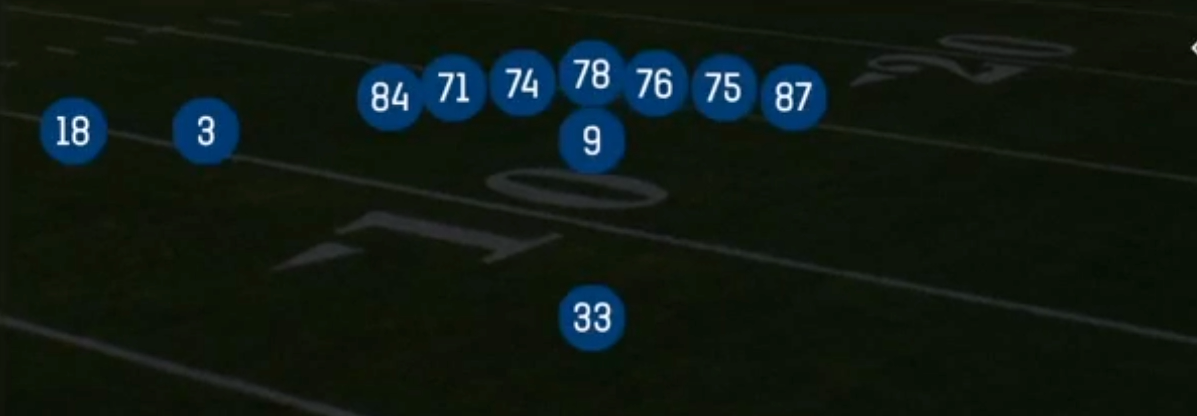
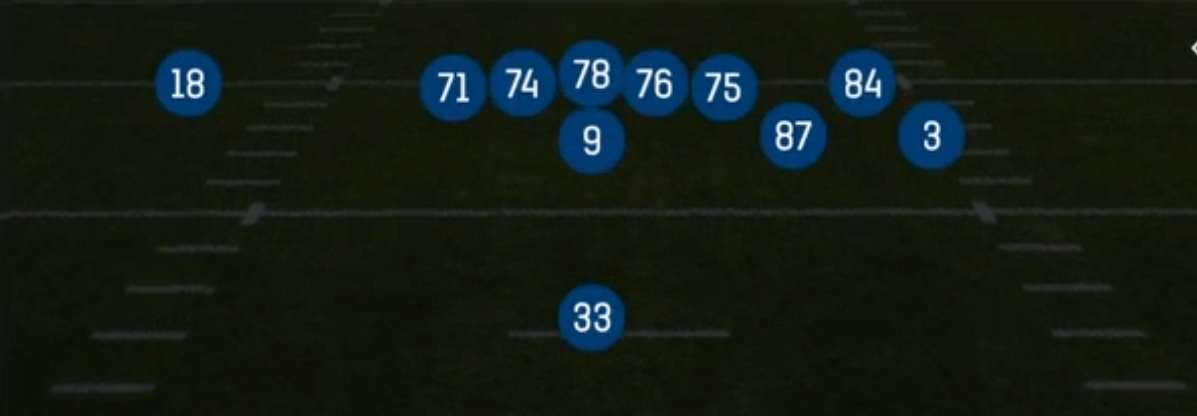
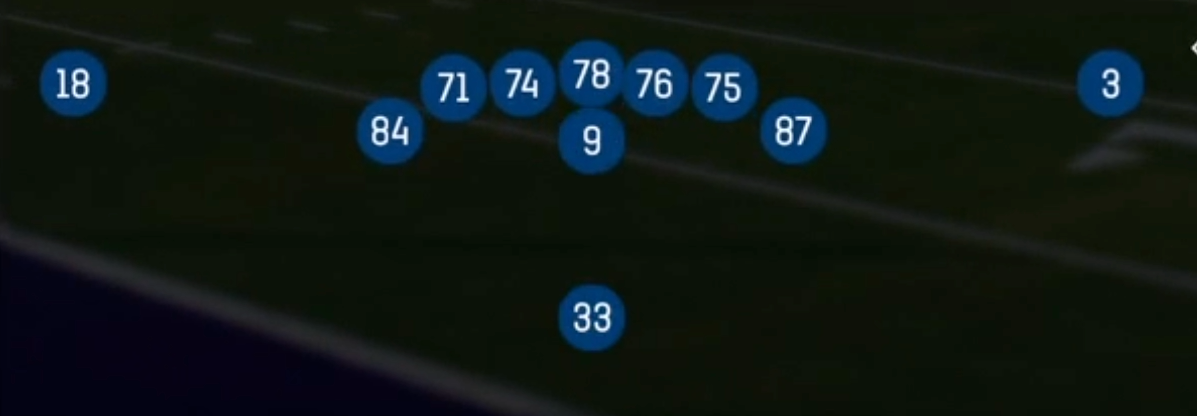
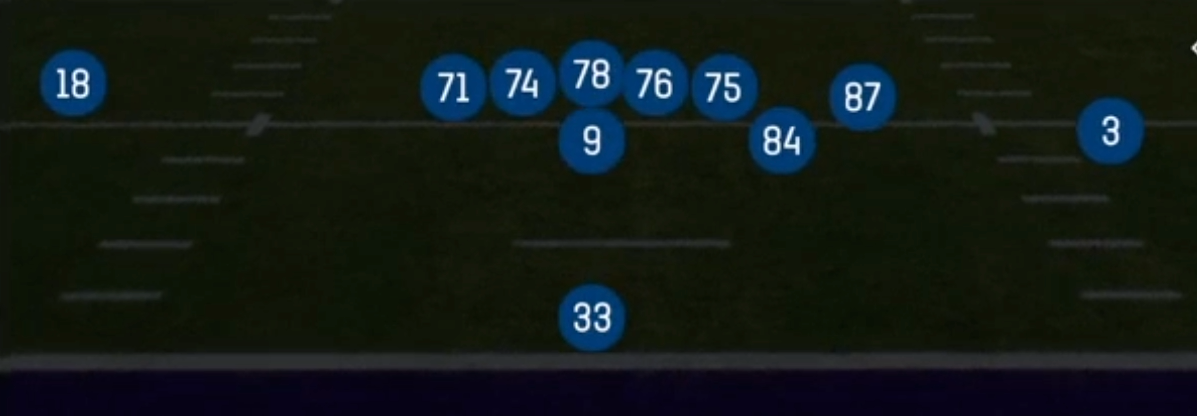
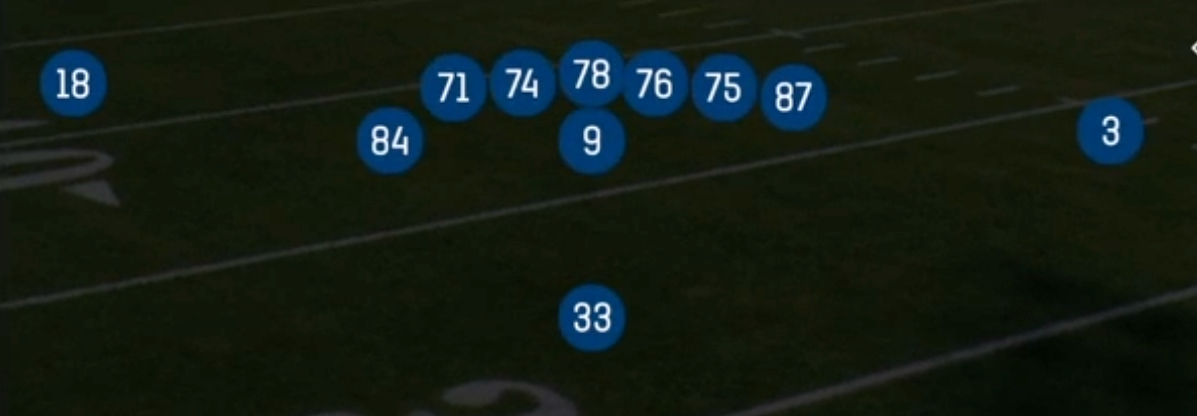
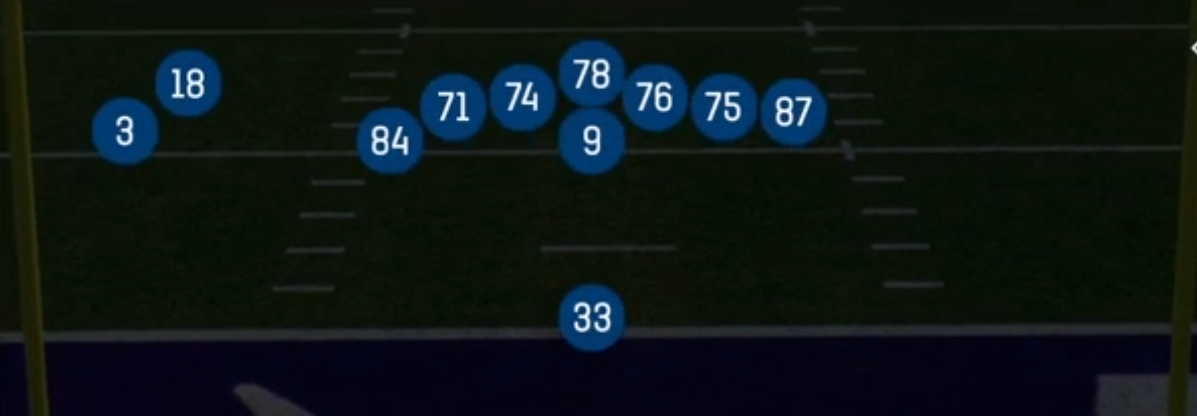
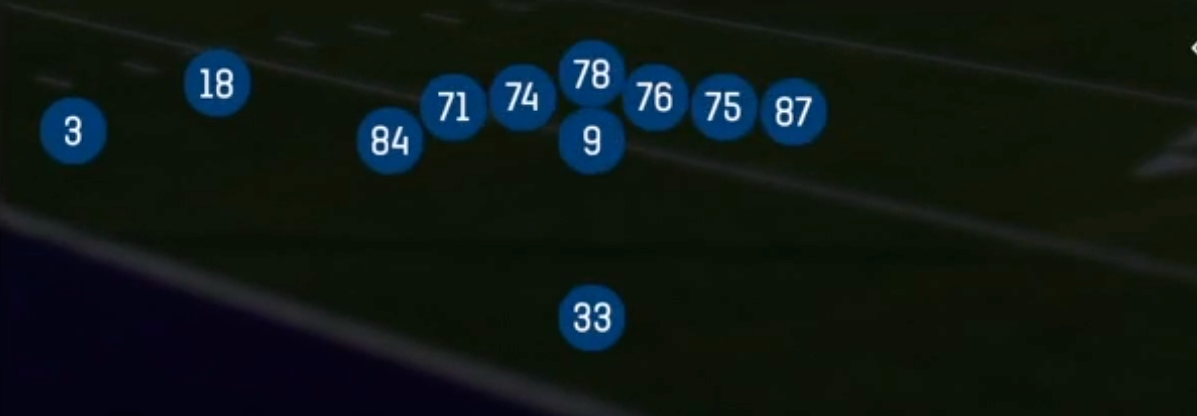
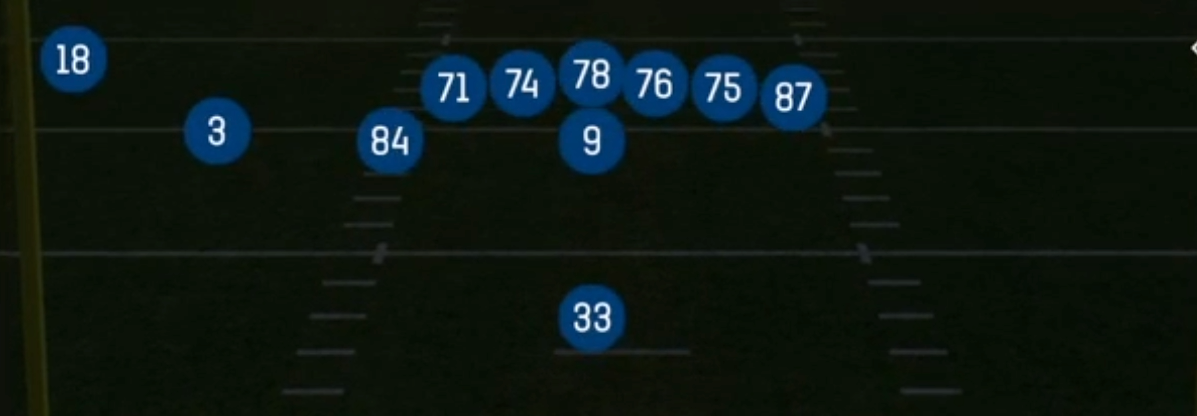
Singleback Deuce Close puts both tight ends on the same side of the formation. One TE is inline and the second is aligned tight beside him in a close wing, with a single wideout split to each side and one halfback behind the quarterback. Compared with Singleback Ace, which balances a TE on each side, or Doubles and Wing looks that spread the surface, Deuce Close builds a heavy strong side. Defenses have to declare their strength pre-snap, and Madden's AI and most human opponents will shift their safety rotation and run fits toward the doubled TEs. That tells you which way the defense is loaded before you ever hike the ball.
The close TE alignment is what makes this set a gadget package. From the same look you get downhill gap schemes (Counter Y, HB Wham, Motion Power, 0 1 Trap), outside zone (HB Stretch, Mtn HB Stretch, Motion Zone Toss), split zone with the wing TE crossing the formation, and Jet Sweep misdirection. The play action menu mirrors those runs almost perfectly. PA Boot Scissors, PA Boot Corner Post, PA Misdirection and Zone Fake Jet all sell the same backfield action as the run plays, then pull linebackers and safeties the wrong way. The Mtn Shuffle series (Mtn Shuffle H-Shake, Mtn Shuffle Y-Wheel, Mtn Shuffle H-Choice) moves the wing TE across the formation, which changes the strength and forces the defense to rotate or bump late.
On matchups, the set isolates the backside wideout. When the defense rolls coverage toward the doubled TEs, the lone receiver on the weak side often gets a single high look with no help, which is ideal for PA X Deep Out, PA X Post Cross and Corner Stops. The wing TE is the other matchup to hunt. Off the snap he is usually covered by a linebacker or strong safety, so PA Mtn Spider Y Leak, TE Angle and PA Slide Y Screen let a high awareness TE work against a slower defender while the defense keys the run.
Strengths
- Run and pass plays share the same backfield action. Counter Y, HB Wham and Inside Zone Split pair directly with PA Boot Scissors, PA Misdirection and PA Post Cross, so linebackers who bite on run keys leave the intermediate crossers wide open against Cover 3 and Cover 1.
- The Mtn Shuffle and Motion series flips formation strength pre-snap. Mtn Shuffle Y-Wheel and Mtn Shuffle H-Shake force defenders to bump with the motion, which exposes man coverage when the wing TE loses his defender in traffic and gives you a quick man read before the snap.
- Boot concepts are strong zone beaters. PA Boot Corner Post and PA Boot Slide flood one side with a high, intermediate and flat level, stressing Cover 3 cloud and Cover 4 quarters corners who cannot carry both the corner and the flat.
- The weak side wideout is isolated. When safeties rotate toward the doubled TEs, PA X Deep Out, PA Stretch Shot and PA X Post Cross hit a one on one matchup against single high coverage, which punishes Cover 1 and Cover 3 sky rotations.
- The gap scheme run game has built-in extra blockers. The close TE pairing creates a wide edge for Motion Power and HB Wham, and 0 1 Trap attacks aggressive 3 technique defenders who penetrate against zone looks, so you can run into loaded boxes without abandoning the scheme.
Weaknesses
- Only two true receivers limit your hot routes against pressure. When the defense brings a Cover 0 overload or a nano blitz toward the TE side, the TEs often stay in to block, which leaves you with two or three quick options and very few sight adjust answers.
- The heavy strong side is easy to key. Opponents who shift the linebackers strong and set their user in the strong side curl flat can take away the flood, sail and leak concepts that most of the set's play action relies on.
- Boot and rollout plays turn the QB away from the backside. A user controlled edge defender or a contain blitz on the boot side forces rushed throws, and a QB with poor throw on the run ratings will struggle with PA Boot Scissors and PA Sprint Slide.
- The spread passing menu is thin. Stick, Spacing Switch and Bench are the main quick game concepts, so a patient defense sitting in Cover 2 man or Cover 4 drop can bait you into long third down situations where the set lacks a true four vertical or spread answer.
- The motion plays reveal intentions against sharp opponents. Jet Sweep, Zone Fake Jet and PA Jet Sweep all start with the same motion, so a user linebacker who reads the jet path can crash the sweep or sit on the fake before the pass concept develops.
Usage Tips
Establish Counter Y and Inside Zone Split early on first and second down. Once the opponent starts crashing linebackers or adding a safety to the box, call PA Boot Scissors or PA Post Cross from the same look to attack the vacated middle and boot side.
Read the safety rotation pre-snap. If the defense rolls toward the doubled TEs and leaves single high over the weak side, audible to PA X Deep Out or PA Stretch Shot and hot route the backside wideout to a go or post against the isolated corner.
Use Mtn Shuffle H-Choice and Mtn Shuffle Y-Wheel as man reads. If a linebacker or safety runs with the shuffle motion, it is man, so target the wing TE or the wheel. If defenders simply bump, it is zone, so work the flat and sit routes.
In the red zone, pair PA RZ Crossers with Motion Power. Condensed defenses respect the heavy run look, and crossing routes out of play action beat goal line man coverage while the TEs clear traffic.
When the blitz is coming, block the RB or TE on the boot side and hot route a quick slant or drag on the backside receiver. PA Slide Y Screen and Mtn PA Boot Screen also punish heavy pressure by getting the ball out behind the rush.
Plays (46)
 0 1 TrapTrap, Run Play, Power Run
 BenchBench, Pass Play, Block and Release +2
 Bench Z-DigDig, Bench, Pass Play +6
 Corner StopsCorner, Pass Play, Block and Release +1
 Counter YCounter, Run Play, Power Run
- Fk Slide HB StretchOutside Zone, Run Play, Zone Run
 Flood TrailFlood, Trail, Pass Play +7
 HB DiveDive, Run Play
 HB StretchOutside Zone, Run Play, Zone Run
 HB WhamWham, Run Play, Power Run
 HB Zone WkInside Zone, Run Play, Zone Run
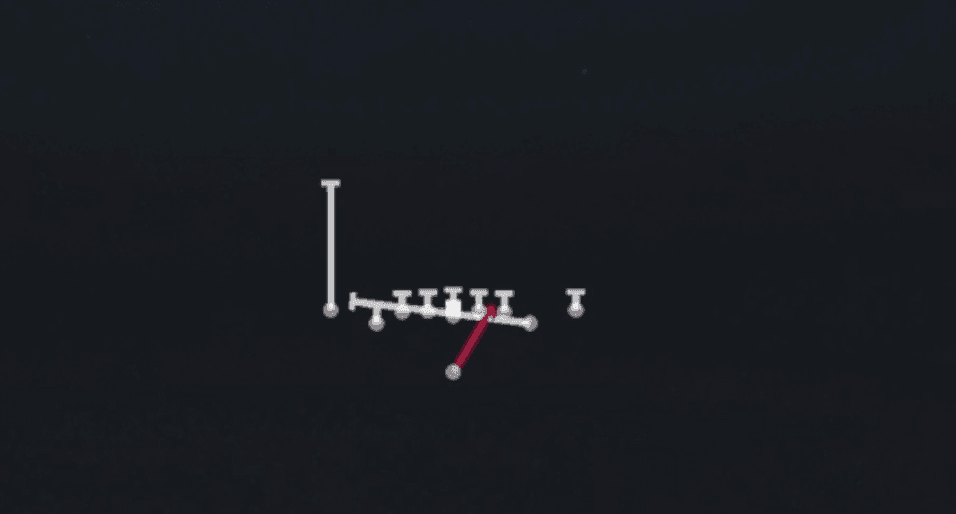 Inside Zone SplitInside Zone, Run Play, Zone Run
 Jet SweepSweep, Jet Sweep, Motion +1
 Motion PowerMotion, Run Play
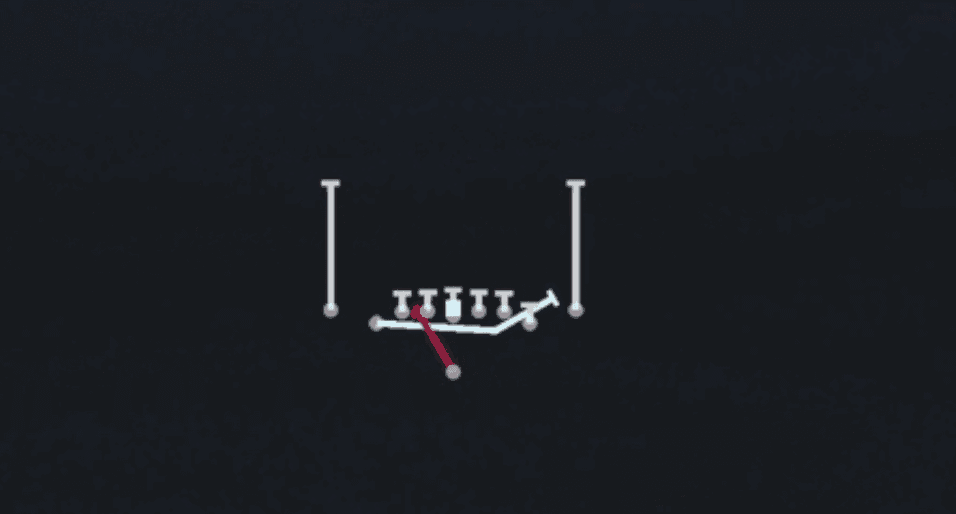 Motion Zone SplitInside Zone, Motion, Run Play +1
 Motion Zone TossToss, Motion, Run Play
 Mtn DuoDuo, Motion, Run Play +1
 Mtn HB StretchOutside Zone, Motion, Run Play +1
 Mtn PA Boot ScreenPlay Action, Screen Pass, Motion +5
- Mtn Shuffle H-ChoiceOption Route, Corner, In +3
- Mtn Shuffle H-ShakeBlock and Release, Corner Stop, Out +3
- Mtn Shuffle Y-WheelWheel, Fade, Flat +3
 PA Boot Corner PostPlay Action, Corner, Post +8
 PA Boot ScissorsPlay Action, Scissors, Pass Play +7
 PA Boot SlidePlay Action, Slide, Pass Play +5
 PA Deep CrossPlay Action, Crosser, Pass Play +2
 PA Deep ReadPlay Action, Pass Play, Block and Release +1
 PA Drag WheelPlay Action, Wheel, Drag +4
 PA Jet SweepSweep, Jet Sweep, Play Action +6
 PA MisdirectionPlay Action, Pass Play, Block and Release +4
 PA Motion FloodPlay Action, Flood, Motion +6
 PA Mtn Spider Y LeakPlay Action, Motion, Pass Play +4
 PA Post CrossPlay Action, Post, Crosser +4
 PA Post DigPlay Action, Dig, Post +3
 PA RZ CrossersPlay Action, Crosser, Pass Play +3
 PA Slide Y ScreenPlay Action, Screen Pass, Slide +6
 PA Sprint HB FlatPlay Action, Flat, Pass Play +5
 PA Sprint SlidePlay Action, Slide, Pass Play +5
 PA Stretch ShotPlay Action, Pass Play, Corner +5
 PA X Deep OutPlay Action, Out, Pass Play +2
 PA X Post CrossPlay Action, Post, Crosser +3
 Spacing SwitchSpacing, Pass Play, Cover 3 Beater +5
 StickStick, Stick Concept, Pass Play +2
 TE AngleAngle, Pass Play, Corner +5
 Zone Fake JetMotion, Run Play
 Zone Split WkInside Zone, Run Play, Zone Run