Playbooks

At a Glance
Overview
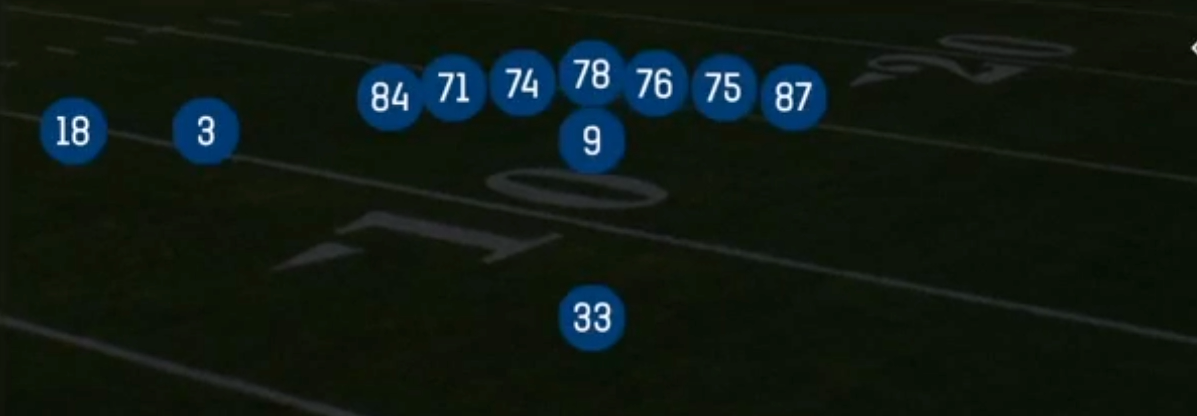
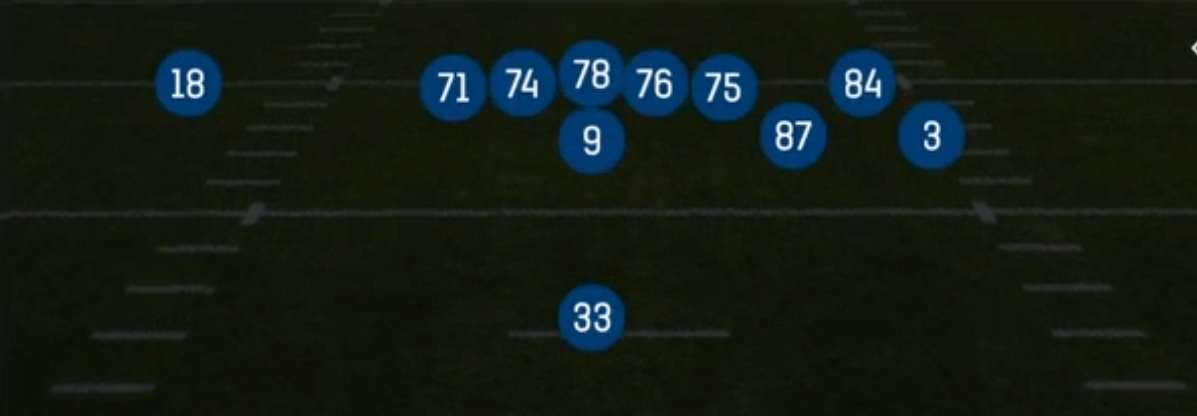
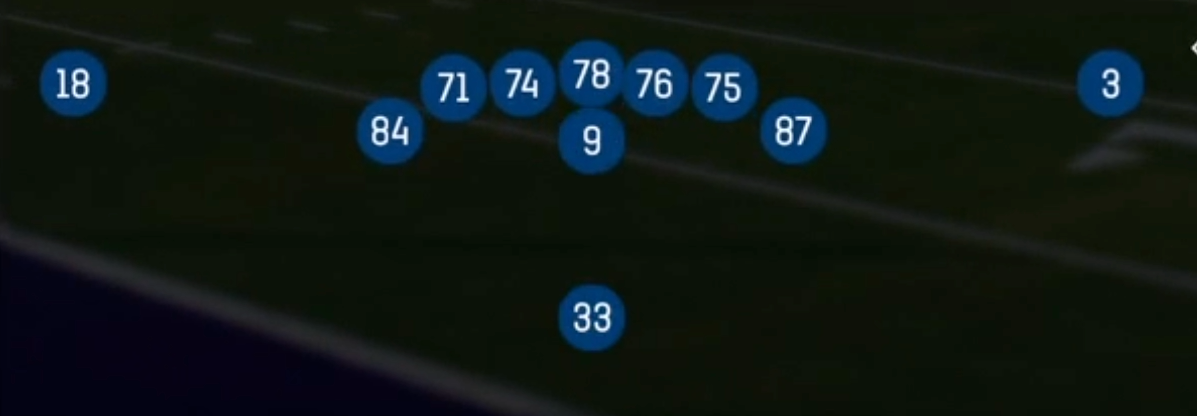
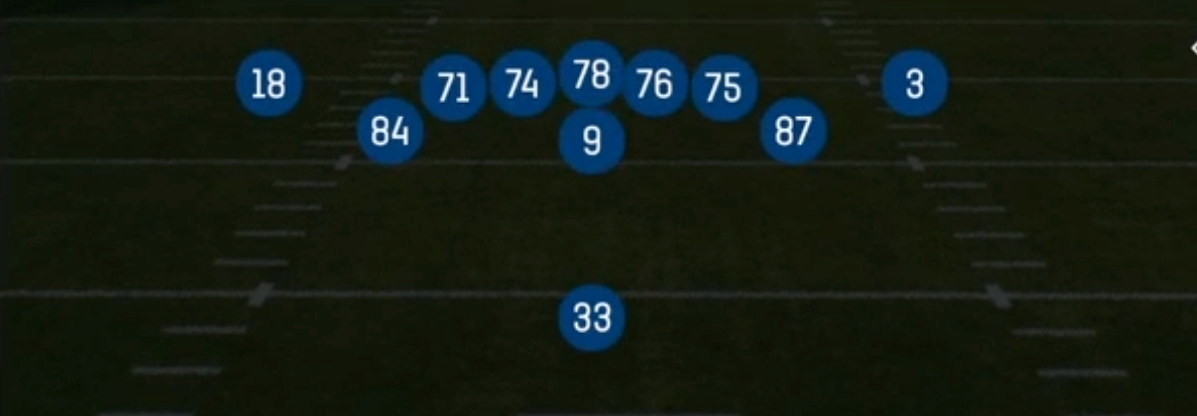
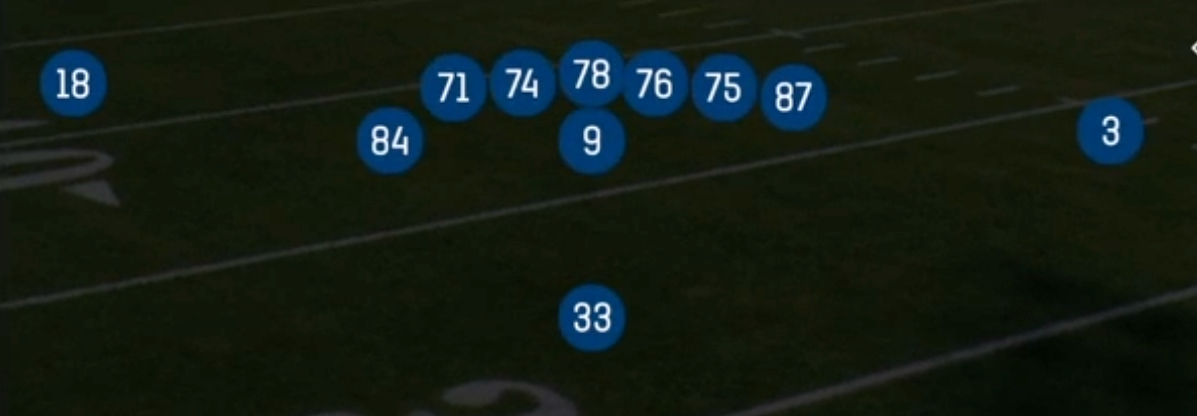
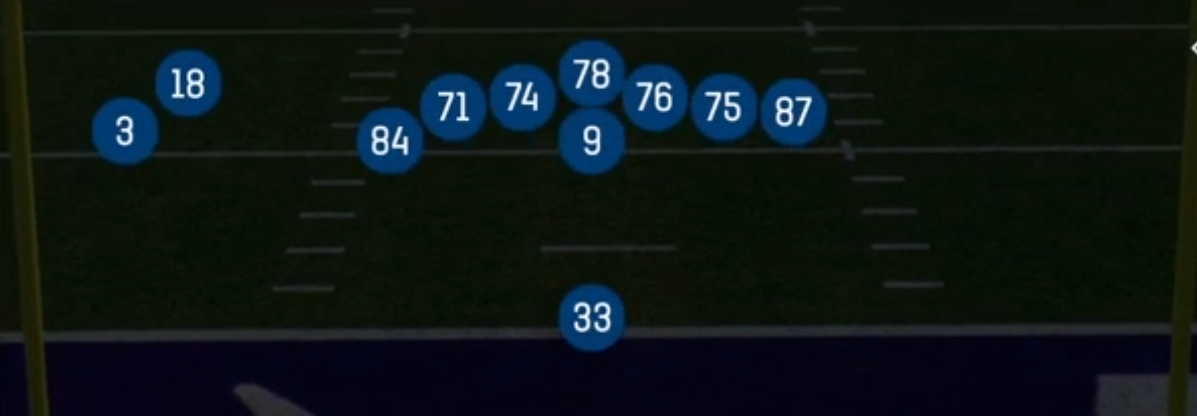
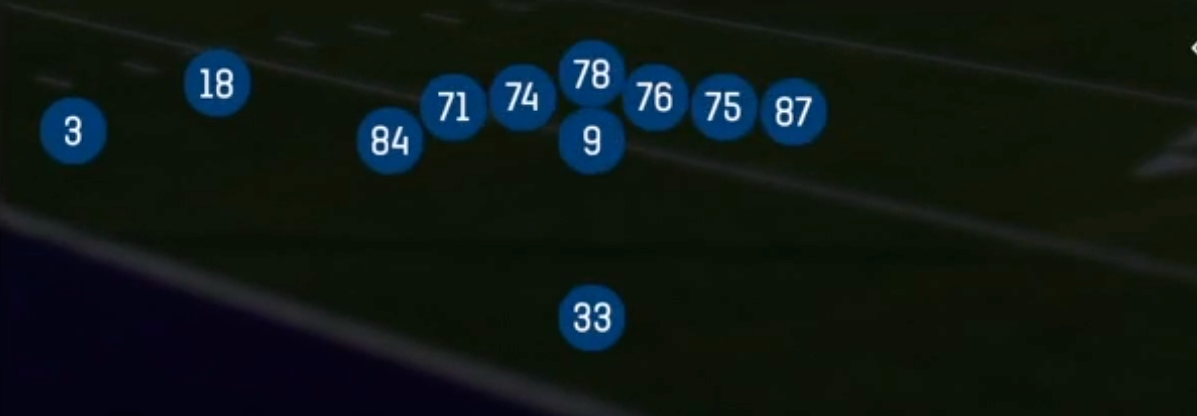
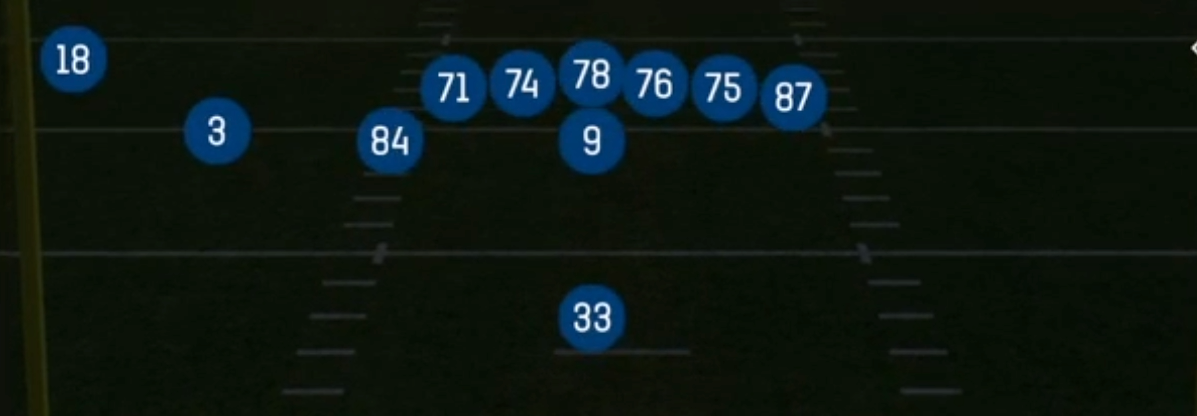
The East set is a Gadget look within the Singleback formation that deploys 12 personnel (1 RB, 2 TE) with an alignment designed to tilt the defense's eyes toward one side of the field. Balanced sets like Singleback Ace present symmetrical strength. East leans on its two tight ends to create a heavy side that forces defenses to declare their run fits and rotation before the snap. Because it carries the Gadget tag, the set gives you a less familiar alignment that many opponents have not built specific defensive answers for. That creates confusion in coverage assignments and leverage.
The two tight end package is the engine of this set. With a pair of TEs on the field, defenses usually answer with base personnel, which puts linebackers in coverage against your tight ends and leaves corners isolated on the outside receivers. HB Wham, Counter U, and Inside Zone Split use the second tight end as a moving blocker who can kick out, arc, or trap across the formation. Those same alignments then set up TE Angle, TE Out, and Y-dig Inside Hook, which punish linebackers who trigger downhill on run action.
The playbook in East covers a full menu: a gap and zone run game, quick game concepts like Stick and Slants Slot Flat, intermediate shots like Dig Hi Lo and Smash Slot Post, and play action with PA Boot Slide and PA Flood. That spread of concepts lets you stay in one personnel grouping and one look while attacking every level of the field. Defenses cannot sub into dime or nickel without getting gashed on the ground.
Strengths
- Heavy 12 personnel forces base defense, creating linebacker on tight end mismatches that TE Angle, TE Out, and Y-dig Inside Hook exploit against both man and underneath zone
- The gap scheme run game (HB Wham, Counter U, Inside Zone Split) pulls or arcs the second TE across the formation, punishing defenders who crash or overpursue and setting up play action off identical looks
- PA Flood and PA Boot Slide create three level high to low reads that stress Cover 3 and Cover 4 flat defenders, especially after you establish the run on early downs
- Dig Hi Lo and Smash Slot Post give you strong Cover 2 and Cover 4 beaters, with the post and corner splitting safeties while the dig or flat holds the underneath defender
- The Gadget alignment is unfamiliar to many opponents, which often leads to misaligned zone drops, late shifts, and blown man assignments that you can read pre-snap
Weaknesses
- With only two true receivers, overload blitzes and nano blitz setups can outnumber your protection when both TEs release, so you need to keep a TE or the RB home against pressure looks
- A skilled user linebacker or user safety sitting in the middle hook zone can erase TE Angle, Y-dig Inside Hook, and Dig Hi Lo since so many concepts attack the same intermediate window
- If your tight ends lack speed or route running, opponents can play aggressive Cover 1 or Cover 0 and lock them up with linebackers, taking away your primary mismatch
- Defenses that shift their front to the heavy side and slant toward your strength can blow up HB Wham and Counter U before the pulling blocker arrives
- The set tips run tendencies against disciplined opponents who read personnel, making it harder to generate vertical shots without play action
Usage Tips
Open drives with Inside Zone Split and HB Wham to test the defense's run fits, then check the linebacker depth and safety rotation before calling PA Flood or PA Boot Slide off the same look
On 3rd and short to medium, Stick and Slants Slot Flat are your fastest answers against man and zone. Hot route the RB to a block and slide protection to the blitz side if you see a nickel corner creeping
When you read a two high shell pre-snap, audible to Smash Slot Post or Dig Hi Lo to attack the soft middle and split the safeties. Against single high, check to Verticals X Cross and hit the crosser under the deep safety
Against aggressive blitz teams, call HB Slip Screen or HB Draw to punish pressure, and consider motioning a TE to identify man coverage before the snap
In the red zone, use TE Out and Z Spot to isolate your best tight end on a linebacker in the flat, and hot route the backside TE to a slant or drag to create a pick against man
Plays (20)
 Counter UCounter, Run Play, Power Run
 Dig Hi LoDig, Pass Play, Curl
 HB DiveDive, Run Play
 HB DrawDraw, Run Play
- HB Off TackleOff Tackle, Run Play
- HB Slip ScreenScreen Pass, Hb Screen, Pass Play +5
 HB WhamWham, Run Play, Power Run
 Inside Zone SplitInside Zone, Run Play, Zone Run
 PA Boot SlidePlay Action, Slide, Pass Play +5
 PA FloodPlay Action, Flood, Pass Play +5
- Play ActionBlock and Release, Corner, Post +2
 Quick PitchToss, Run Play
- Slants Slot FlatFlat, Slant, Pass Play
- Smash Slot PostPost, Smash, Pass Play +5
 StickStick, Stick Concept, Pass Play +3
 TE AngleAngle, Pass Play, Curl +4
- TE OutOut, Pass Play, Angle +2
 Verticals X CrossCrosser, Four Verts, Pass Play +5
- Y-dig Inside HookDig, Pass Play, Corner +2
 Z SpotSpot, Pass Play, Cover 3 Beater +3