Playbooks

At a Glance
In 13 playbooks
Overview
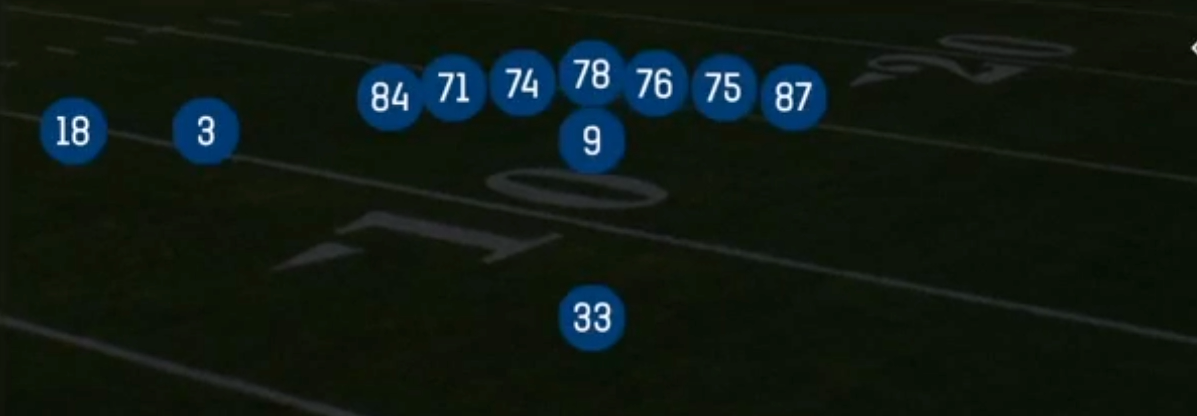
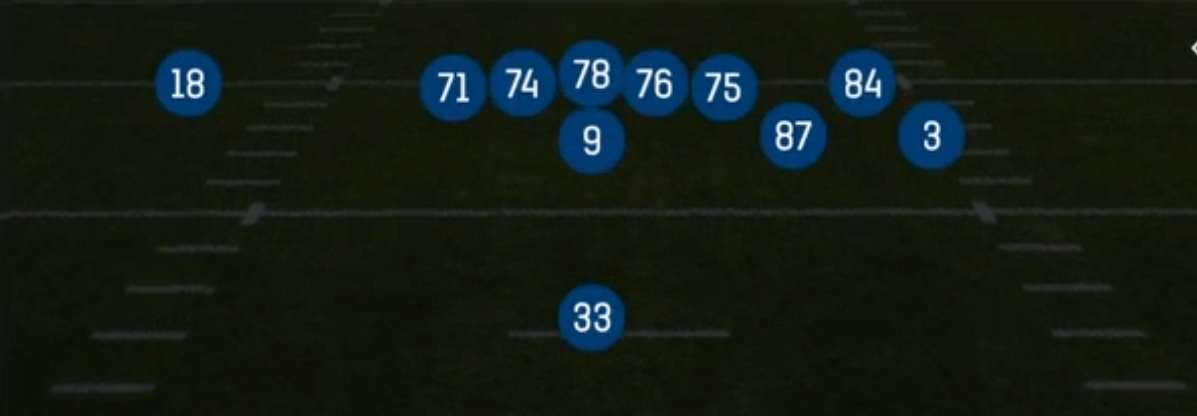
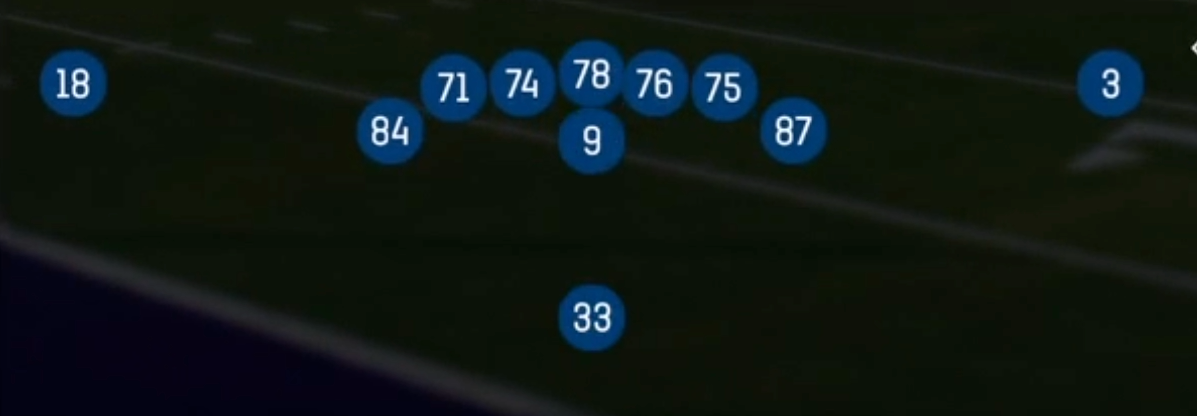
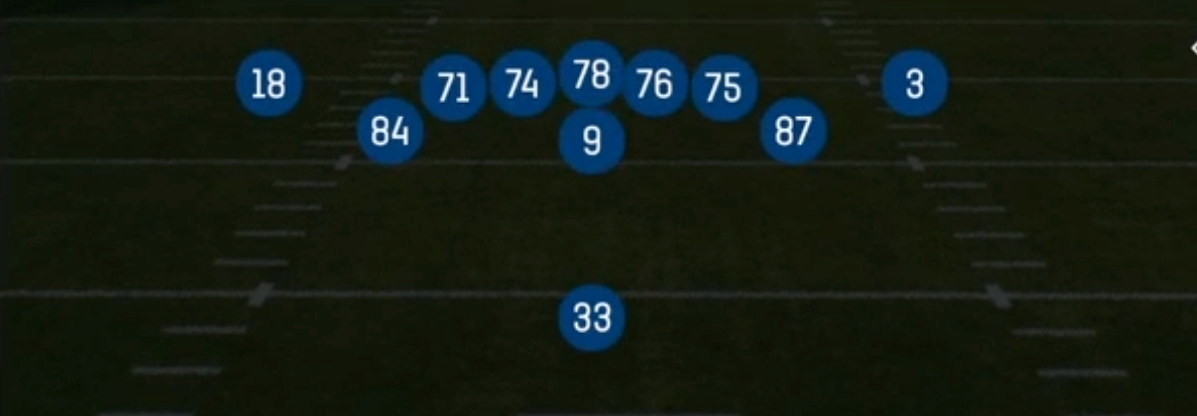
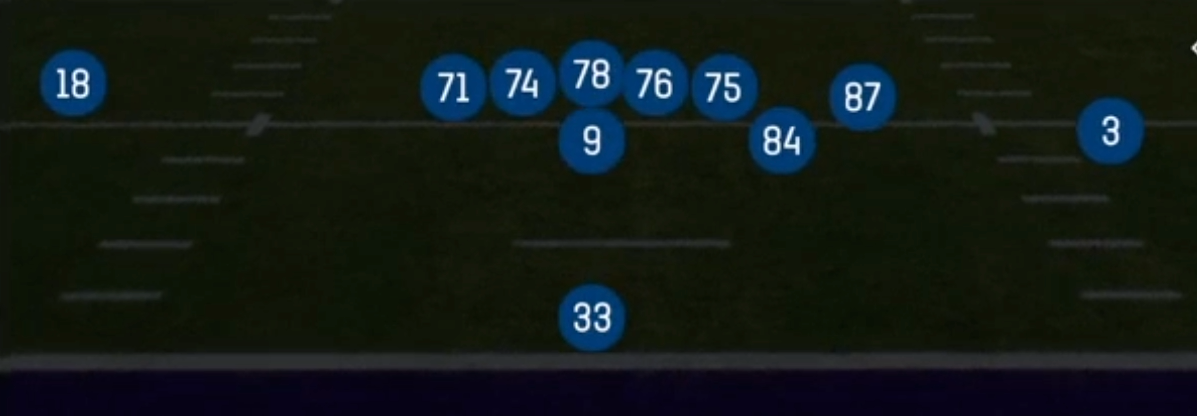
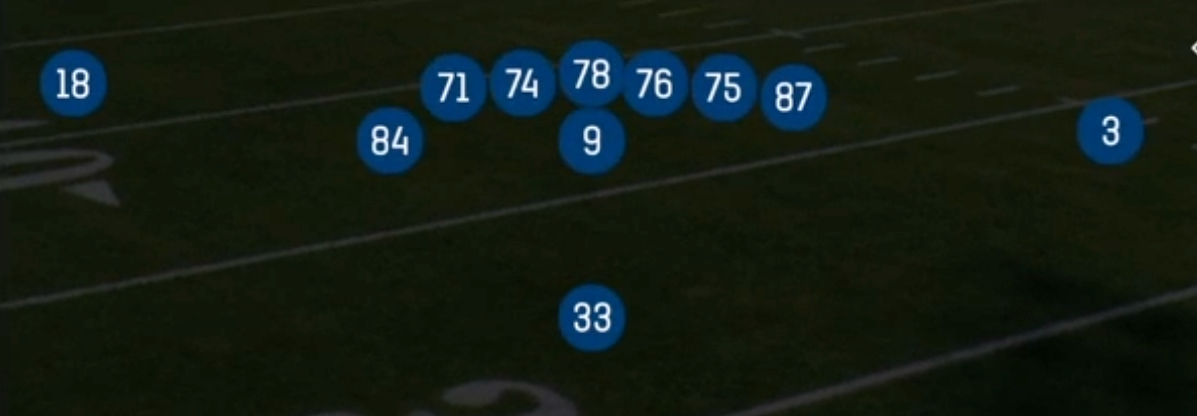
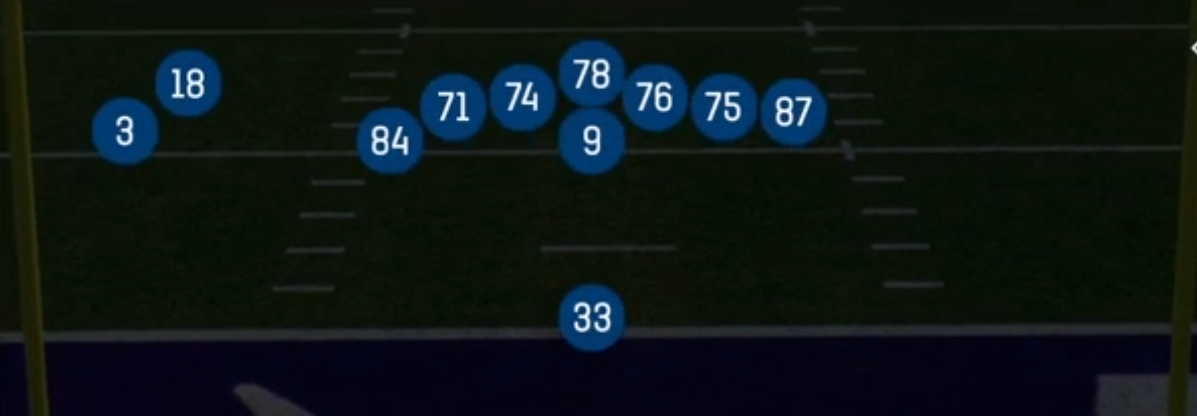
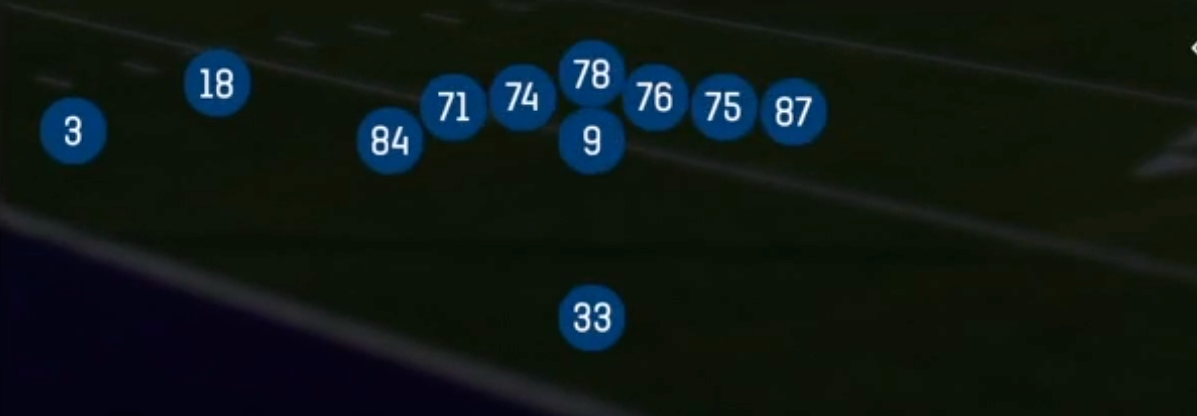
U Off Trips is the Singleback set that turns 12 personnel into a run-heavy trips look. The U tight end is aligned off the ball as a wing on the trips side, the Y is attached, and a receiver sits outside them. The X is left alone on the backside. Standard Singleback sets spread the tight ends or stack them in-line. This alignment puts extra blocking mass to one side while keeping the U free to motion, arc, or cross the formation at the snap. Defenses usually respond by rotating a safety or walking a linebacker toward the trips side. That opens clean read keys for both the run game and play action.
The menu is built around gap and zone runs that use the U as a moving blocker. Inside Zone Split sends the U back across the formation to kick out or seal the backside end. HB Counter Str and Motion Power pull blockers to create numbers at the point of attack. Mtn Zone Toss and HB Misdirection punish defenses that overplay the strength. With a Power HB or 3DRB in the backfield, the formation has the same pre-snap picture on every play, which lets the ground game dictate the defensive structure.
The pass game comes off those run looks. PA Boot Slide and PA Dagger U Cross copy the Split action, with the U sliding into the flat or crossing underneath as the defense chases the run fit. PA Flood gives you a three-level stretch to the trips side. Mtn PA Y Corner isolates the Y against a linebacker or safety who has been triggering downhill. Because two tight ends are on the field, the defense often stays in base personnel. That hands you favorable size mismatches with the U and Y and a one-on-one shot for the backside X.
Strengths
- Inside Zone Split, HB Counter Str and Motion Power all show the same wing alignment, so defenses cannot key the U pre-snap to diagnose run direction, and the Power HB tag makes these runs consistent chain movers against base 4-3 and 3-4 fronts
- PA Boot Slide and PA Dagger U Cross copy the Split run action, pulling linebackers and the robber downhill before the U leaks into vacated zones, which makes them elite Cover 3 and Cover 1 robber beaters on early downs
- PA Flood stretches Cover 3 and Cover 4 horizontally to the trips side with a three-level read, and the extra tight end in protection buys time for the deep out to clear the flat defender
- 12 personnel usually keeps base defense on the field, so the U and Y draw linebackers in man coverage, and Mtn PA Y Corner becomes a reliable man beater against safeties who bite on the run fake
- The backside X is isolated when the defense rotates coverage toward trips, and Slants gives you a quick answer with a hot route option, such as a fade or streak, for the X against soft backside corners
Weaknesses
- The formation strength is obvious, so a user-controlled linebacker or safety shading toward trips can shoot gaps on Inside Zone and Motion Power and blow up the run before the pulling blocker arrives
- Only two true wide receivers are on the field, which limits quick-game answers when defenses show Cover 0 or a nano blitz off the edge, and the play art has few built-in hot reads besides Slants
- Play action boots take time to develop, and edge contain calls or a spy on the boot side can collapse PA Boot Slide and force throwaways, especially if the QB lacks throw on the run accuracy
- Defenses that load the trips side with a single high safety rotation can bracket the U and Y while leaving the backside corner in press on the X, taking away the primary targets in PA Flood and PA Dagger U Cross
- If the run game is not established early, linebackers stop respecting the fakes and the play action portion of the set loses most of its value
Usage Tips
Open drives with Inside Zone Split and HB Counter Str on first and second down to set a run tendency, then use PA Dagger U Cross or PA Boot Slide from the same look once the linebackers start flowing hard downhill
Read the safety rotation pre-snap: if the defense rolls a safety to trips, audible to Slants or hot route the X to a streak for a one-on-one shot, and if the defense stays balanced, hammer Motion Power to the strength
On short yardage and goal line downs, HB Slam and Motion Power with a Power HB give you extra gap blockers, and Mtn PA Y Corner is a strong red zone call when the defense crashes the line of scrimmage
Against edge pressure or nano blitz looks, slide protection toward the trips side and block the RB on play action concepts so the QB can reach the deep route in PA Flood
Use Mtn Zone Toss and HB Misdirection when opponents overplay the formation strength with their user, since the cutback lanes to the weak side open up once the defense commits to the trips side
Plays (12)
 HB Counter StrCounter, Run Play, Power Run
 HB MisdirectionMisdirection, Run Play
 HB SlamDive, Run Play
 Inside ZoneInside Zone, Run Play, Zone Run
 Inside Zone SplitInside Zone, Run Play, Zone Run
 Motion PowerMotion, Run Play
 Mtn PA Y CornerPlay Action, Corner, Motion +5
 Mtn Zone TossToss, Motion, Run Play
 PA Boot SlidePlay Action, Slide, Pass Play +5
 PA Dagger U CrossPlay Action, Crosser, Dagger +7
 PA FloodPlay Action, Flood, Pass Play +5
 SlantsSlant, Pass Play, Flat