Playbooks
At a Glance
Overview
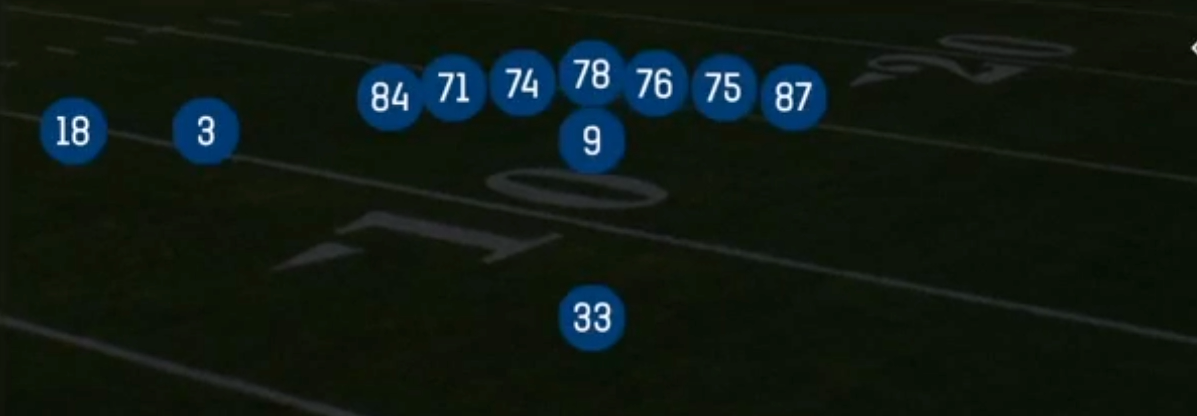
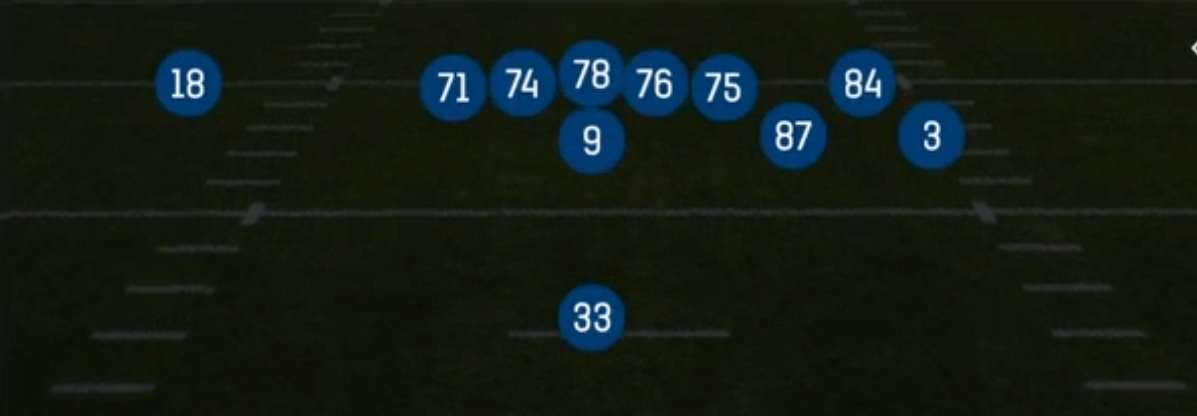
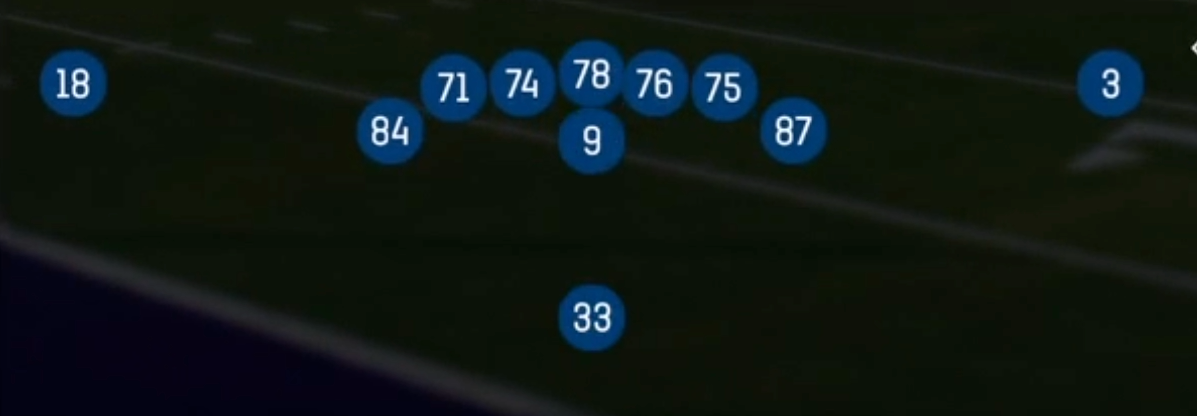
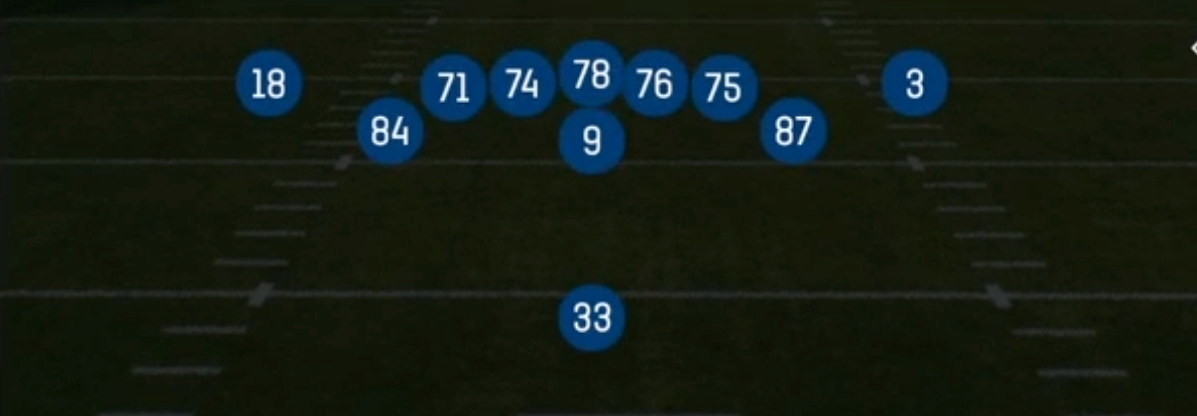
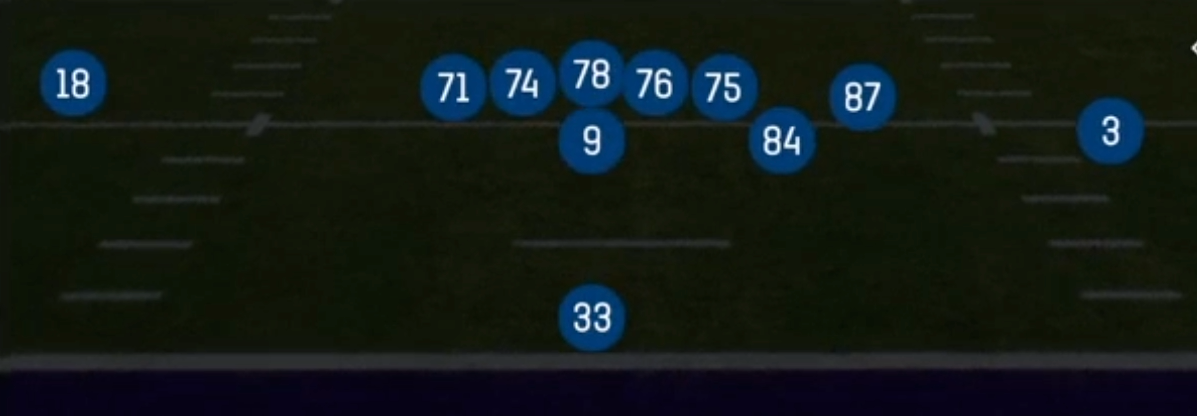
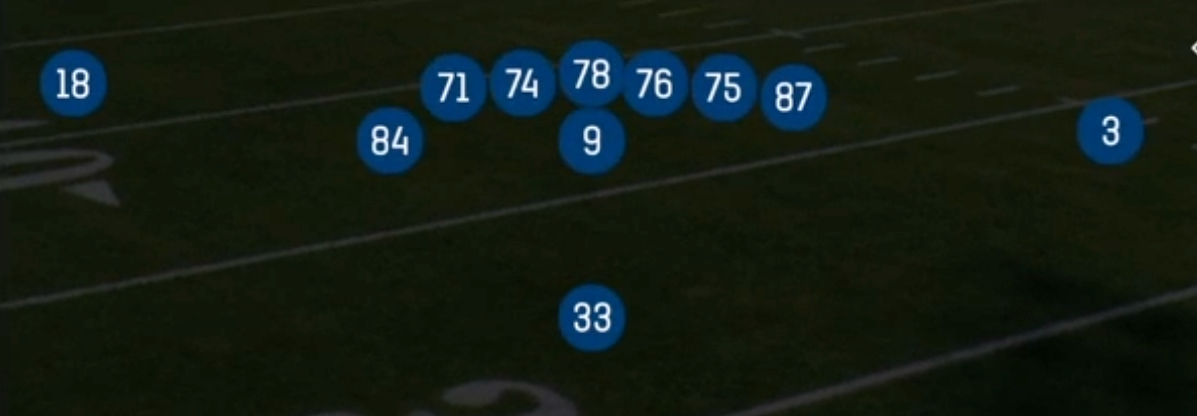
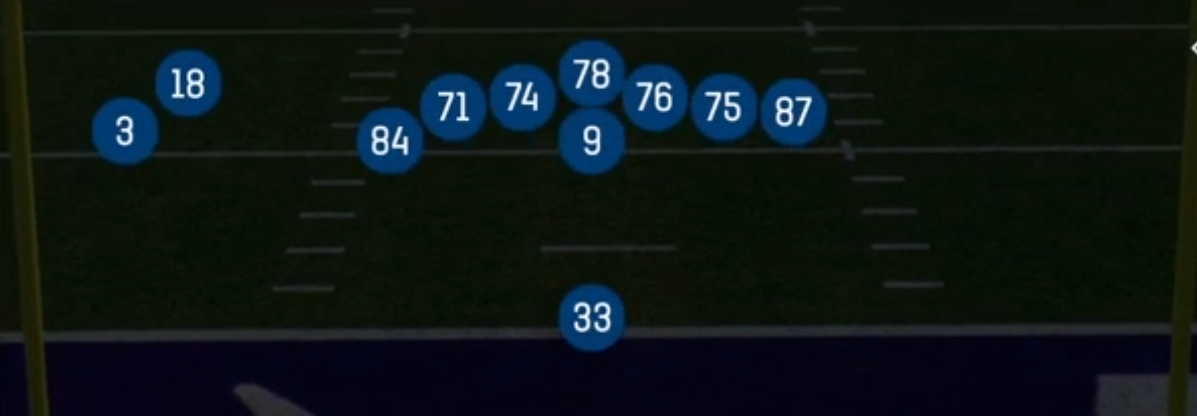
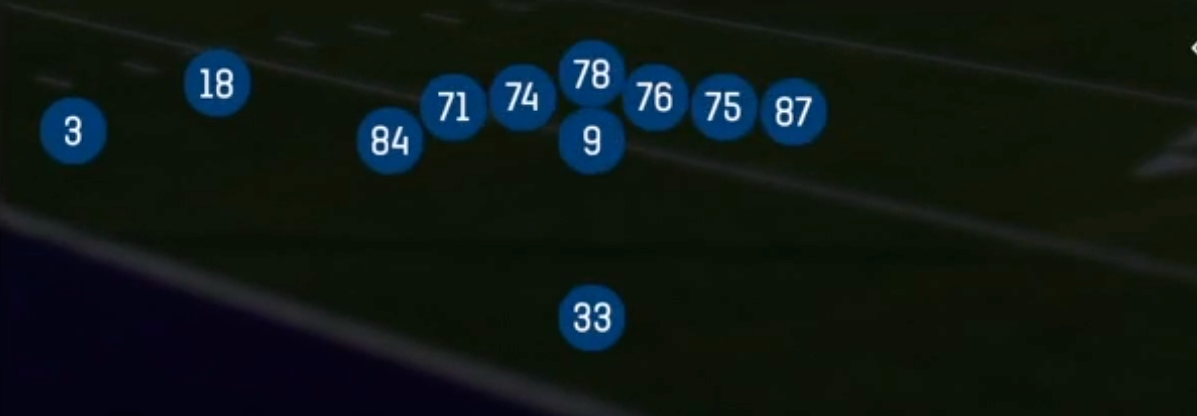
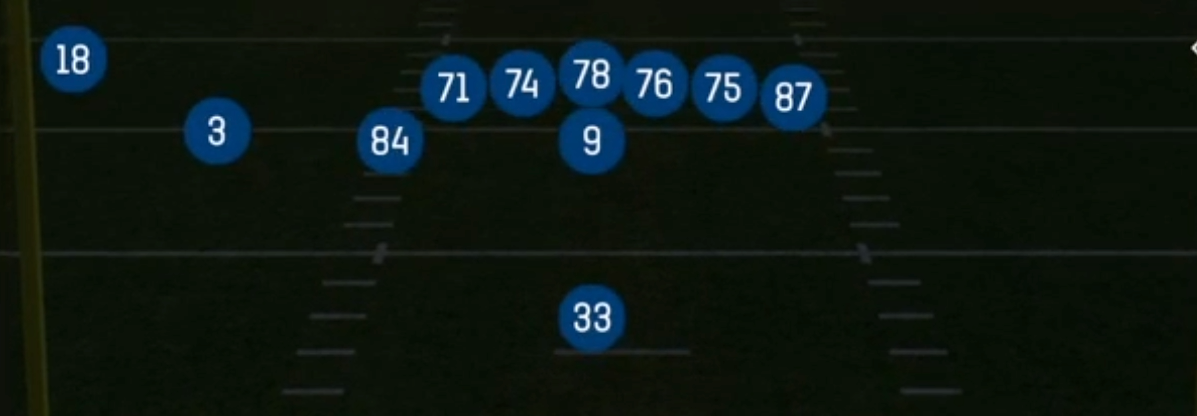
The U Off Trips Cluster is a condensed 12 personnel look out of Singleback that stacks three eligible players to one side in a tight cluster: the inline Y tight end, a wide receiver aligned just outside him, and the U tight end set off the ball in a wing position. The backside receiver is isolated alone, and a single back sits behind the quarterback. Compared to standard Singleback sets like Ace or Trips TE, this alignment compresses the formation, putting two tight ends in the surface on one side and forcing the defense to declare its strength before the snap.
The cluster creates natural rub and release advantages. Because the U is off the line, he can release freely without being jammed, cross the formation on boot and cross concepts, or serve as a lead blocker on the power and zone runs. That makes the set a true run and pass conflict: defenses that load the box to stop Mtn HB Power and Inside Zone leave the flat and seam open for PA Boot Slide and PA Flood, while defenses that play light get bullied by a two tight end surface.
The play list leans heavily into the Power HB and Gadget identity. Motion plays like Mtn Zone Toss, Mtn PA Y Corner, and Mtn Mesh HB Rail shift the strength pre snap to reveal man or zone, while HB Slip Screen and Mtn HB Draw punish aggressive pass rushes. A 3DRB gets matchups on linebackers through the rail and slip screen, and the isolated backside receiver becomes a one on one target whenever the defense rotates coverage toward the cluster.
Strengths
- The compressed trips cluster generates natural picks and rubs, making PA Dagger U Cross and Mtn Mesh HB Rail elite man beaters against Cover 1 and Cover 0 looks.
- PA Flood and PA Boot Slide create three level high and low reads on the flat defender, shredding Cover 3 and Cover 4 when the linebackers bite on the play action fake.
- A two tight end surface gives Mtn HB Power and Inside Zone an extra gap blocker, letting a Power HB punish light boxes and nickel personnel.
- Motion plays like Mtn Zone Toss and Mtn PA Y Corner reveal coverage pre snap: a defender following the motion signals man, while shifting safeties signal zone.
- The isolated backside receiver draws single coverage when defenses overload the cluster, giving you an easy hot route slant or fade matchup.
Weaknesses
- The condensed alignment brings defenders close to the line, so pressure off the edge on the cluster side can blow up boot and rollout plays before the quarterback sets his feet.
- With only one true wide receiver outside the cluster, a user controlled safety or robber can sit over the trips and take away crossers without much respect for the backside.
- Defenses running Cover 2 Man with a user lurker in the middle can clog PA Dagger U Cross and Stick, since the tight ends often lack separation speed.
- Heavy run tendencies from 12 personnel are easy to read, and a defense sliding the line toward the cluster and spinning a safety down can stack the box against Mtn HB Power and HB Stretch.
- Nano blitz packages from the boundary side can beat the lone back's pickup on longer developing play action concepts like PA Flood.
Usage Tips
Establish Inside Zone and Mtn HB Power early on first down, then call PA Boot Slide or PA Flood once the linebackers start triggering downhill against the cluster.
On Stick, hot route the backside receiver to a slant or fade against single high coverage to punish defenses that rotate toward the trips side.
Use the motion on Mtn Zone Toss or Mtn PA Y Corner as a pre snap read: if a defender chases the motion, check to a man beater like PA Dagger U Cross or Mtn Mesh HB Rail.
Against heavy blitz looks on third and medium, audible to HB Slip Screen or Mtn HB Draw, and block the U tight end if you need extra edge protection on boot plays.
In the red zone, Mtn PA Y Corner and PA Boot are strong calls, since the compressed cluster naturally creates corner and flat conflicts in a shortened field.