Playbooks

At a Glance
Overview
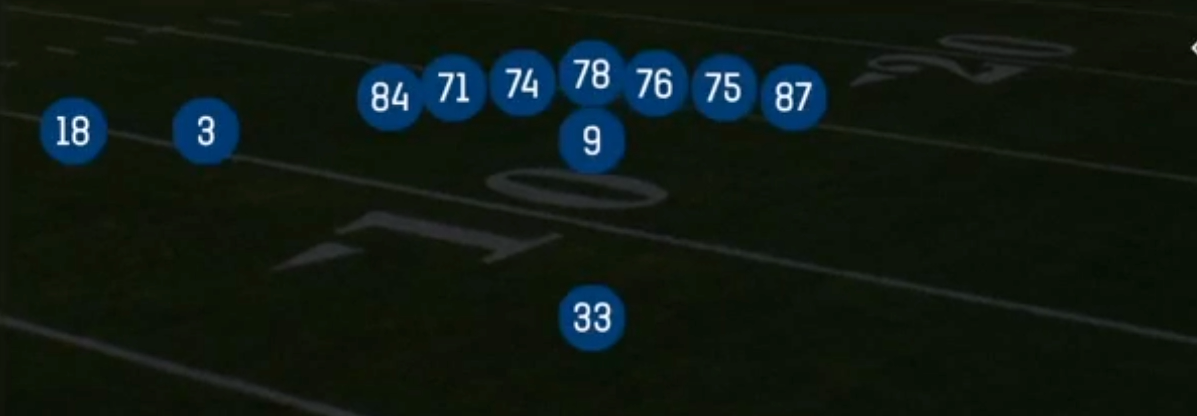
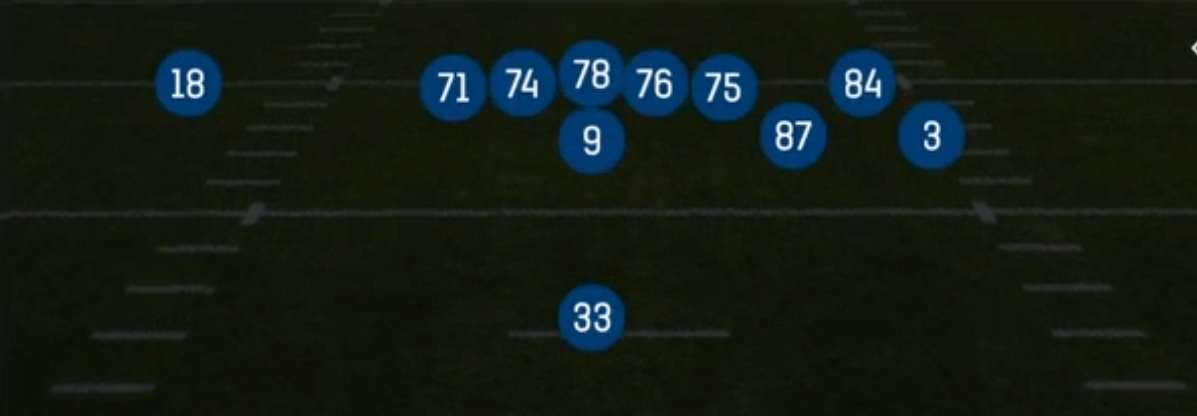
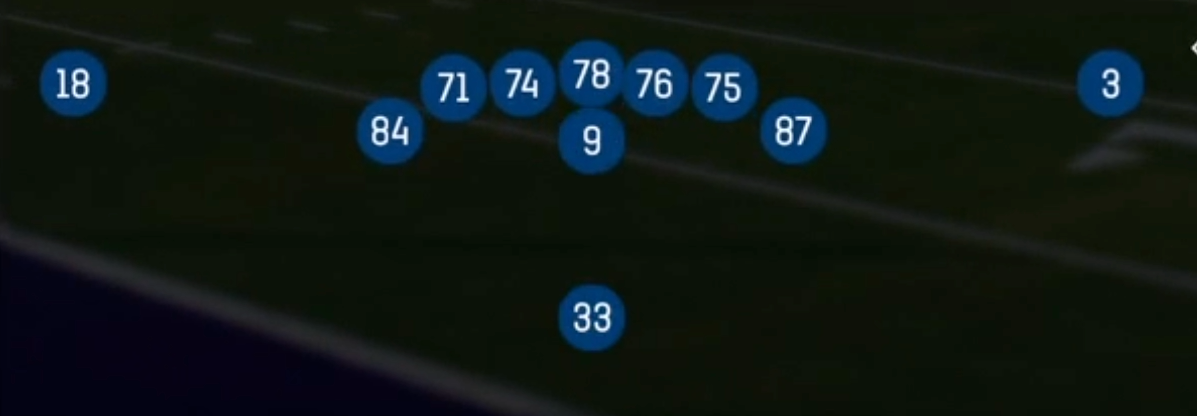
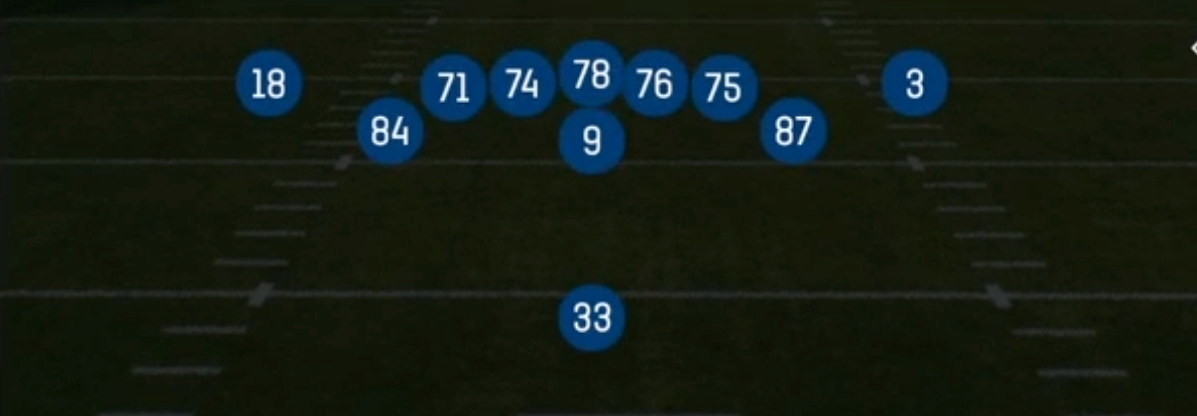
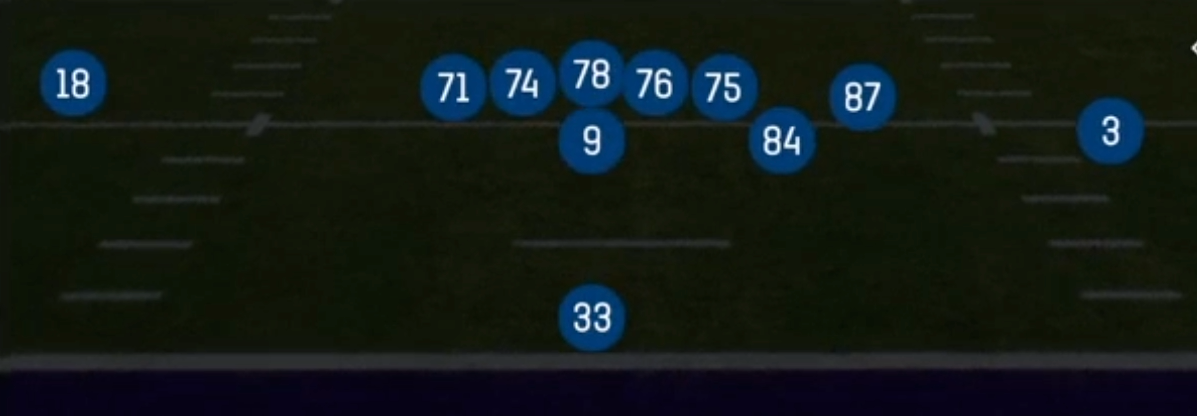
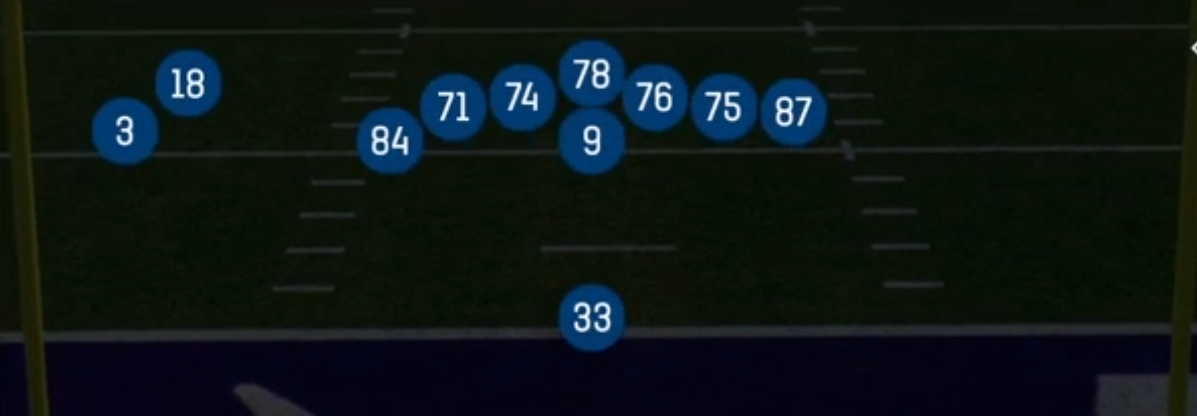
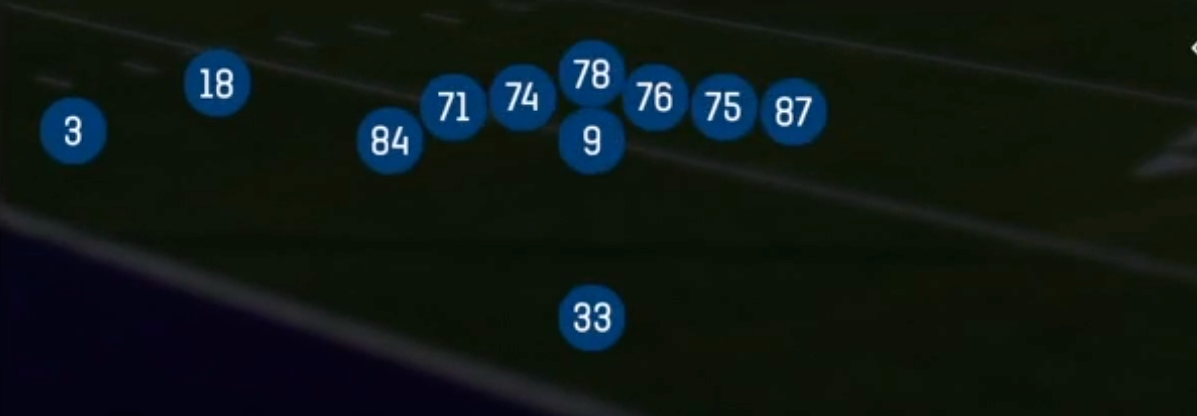
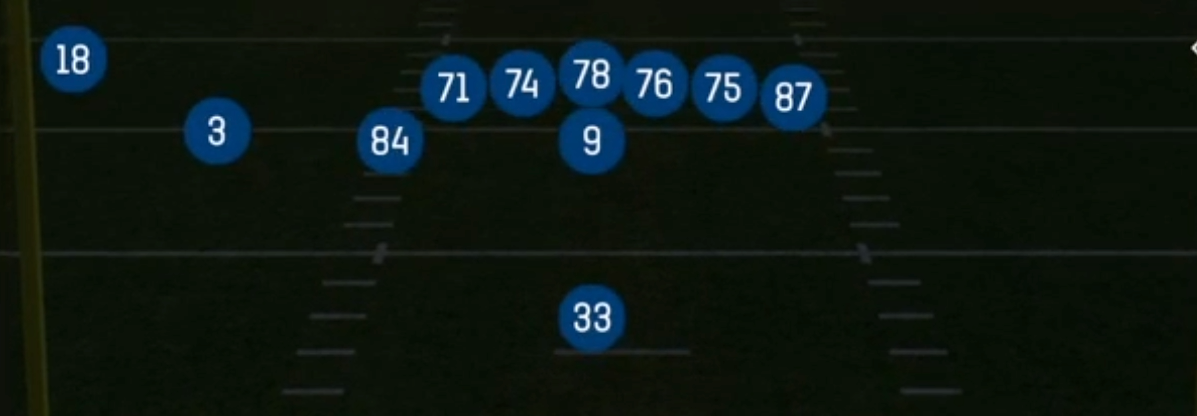
The U Off set in the Singleback formation is a 12 personnel look (1 RB, 2 TE, 2 WR) that pairs a traditional inline Y tight end with a second tight end aligned off the ball as the U, typically in a wing or offset H-back position. That off-ball alignment is what separates it from standard Singleback sets like Ace or Tight Doubles. Instead of two tight ends with their hands in the dirt, the U is detached and mobile, which lets him arc across the formation as a split zone blocker, leak into the flat on bootlegs, or release cleanly into routes without having to beat a jam at the line.
Because the U starts off the ball, defenses struggle to identify the strength of the formation pre-snap. The CPU and many human players set their front to the inline Y, then get caught when the U crosses the formation on Inside Zone Split or sells a block before releasing on PA Boot Slide. This misdirection is the core of the set's Gadget tag: the same alignment produces Wide Zone Wk, HB Stretch, HB Mtn Toss, and a set of play-action shots that all look identical at the snap.
The personnel package creates real matchup leverage. Opponents who stay in base to handle the run leave linebackers covering a tight end on crossers and corners, while defenses that sub into nickel get pushed around on outside zone and toss. The two wideouts are frequently isolated one-on-one on the outside, which opens up Quick Slants and Corner Strike as clean man beaters once the safeties start creeping down to stop the run.
Strengths
- Inside Zone Split uses the U crossing the formation to kick out the backside edge, creating a cutback lane that punishes aggressive DEs and defenses that overplay the strong side
- PA Boot Slide and PA Deep Cross build off identical zone run action, pulling linebackers downhill and opening the intermediate crosser behind them against Cover 3 and Cover 1
- PA Flood stretches Cover 3 and Cover 4 vertically with a clear, sail, and flat layer, and the U leaking into the flat after a fake block is frequently left uncovered
- Corner Strike and Quick Slants give you reliable man beaters against single high looks, isolating your outside receivers when the defense loads the box to stop 12 personnel runs
- The off-ball U hides formation strength pre-snap, which disrupts auto shifts, run commits, and user linebacker reads before the snap
Weaknesses
- With two tight ends and a back on the field, you only have two true receiving threats outside, so Cover 2 Man and Cover 6 can bracket both wideouts and take away quick game
- Play-action concepts need time, and edge pressure or a nano blitz off the boot side can hit the QB before the crosser or corner route develops
- A user-controlled middle linebacker or robber who ignores the run fake and sits in the crossing lane can erase PA Deep Cross and the sail route on PA Flood
- Heavy personnel invites goal line and big nickel fronts that clog outside zone and toss, and a defense that sets the edge with a crashing DE and a force safety can blow up HB Mtn Toss for losses
- The tight end route runners are often slower, so against athletic linebackers and safeties in man coverage the U and Y struggle to create separation on anything beyond the flats
Usage Tips
Establish Inside Zone Split and HB Dive early on first and second down, then call PA Boot Slide or PA Deep Cross from the same look once linebackers start triggering downhill on the run fake
Read the safeties pre-snap: against a single high safety with a loaded box, check to Corner Strike or Quick Slants to attack isolated outside corners, and against two high shells, hammer Wide Zone Wk and HB Stretch
On PA Boot Slide, hot route the backside wideout to a drag or streak to clear space if the defense is sitting in Cover 3, and hold the U block if you suspect edge pressure off the boot side
Use HB Mtn Toss and HB Stretch against nickel and dime packages on second and short, since lighter boxes cannot handle the extra blocker from the off-ball tight end
Save PA Flood for third and medium against Cover 3 or Cover 4, and slide protection toward the rollout side so the QB has a clean launch point to hit the sail route
Plays (10)
 Corner StrikeCorner, Pass Play, Block and Release +1
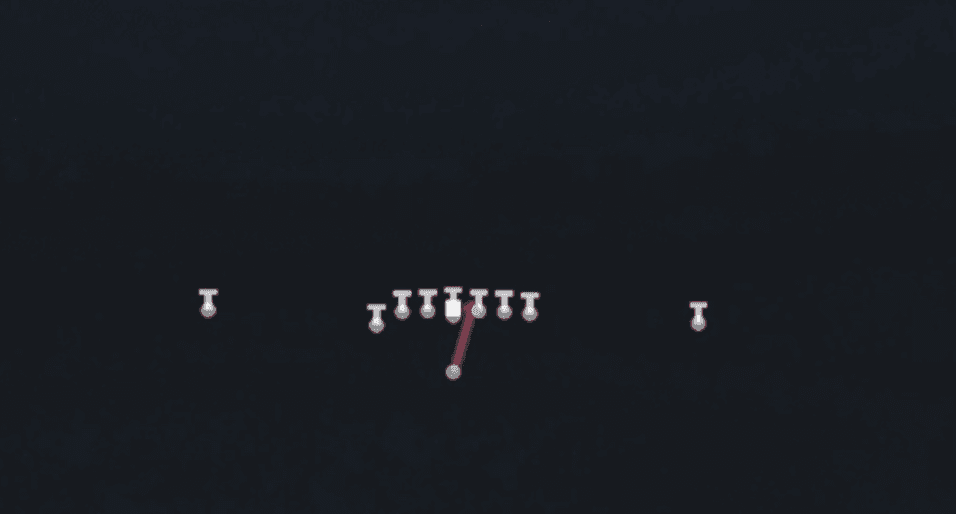 HB DiveDive, Run Play
 HB Mtn TossToss, Motion, Run Play
 HB StretchOutside Zone, Run Play, Zone Run
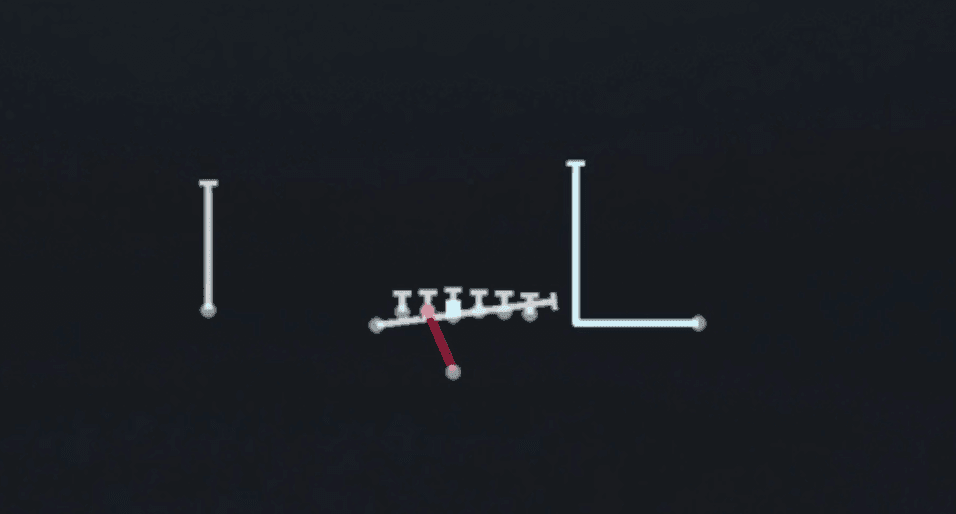 Inside Zone SplitInside Zone, Run Play, Zone Run
 PA Boot SlidePlay Action, Slide, Pass Play +4
 PA Deep CrossPlay Action, Deep Cross, Crosser +3
 PA FloodPlay Action, Flood, Pass Play +4
 Quick SlantsSlant, Pass Play, Flat
 Wide Zone WkOutside Zone, Run Play, Zone Run