Playbooks
X Follow
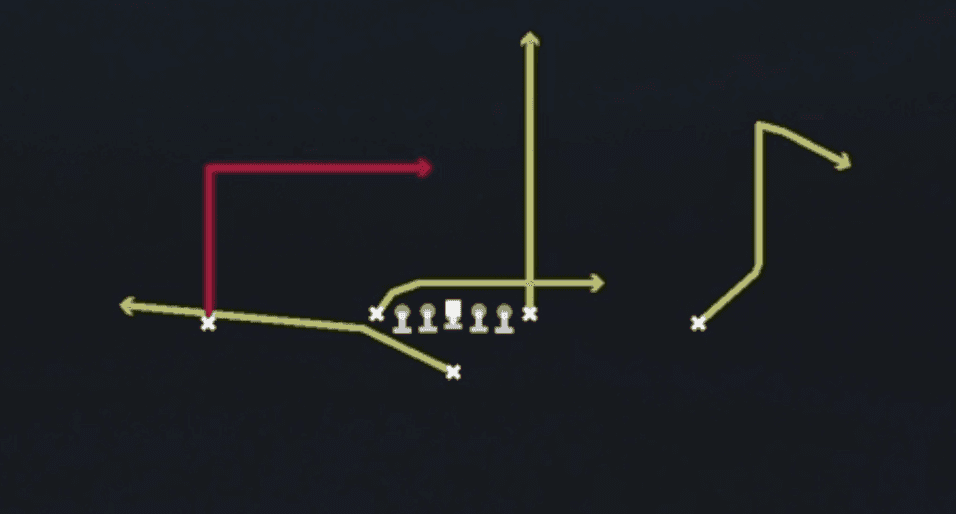
Quick Reference
Receiver routes
Depth-chart slots are shown as they line up in the base package for this set.
| Player | Side | Route |
|---|---|---|
| HB1 | Middle | Flat |
| TE2 | Left | Drag |
| WR1 | Left | Deep In |
| WR2 | Right | Comeback |
| TE1 | Right | Streak |
Read progression
- WR1 left, Deep In
- TE2 left, Drag
- HB1, Flat
- WR2 right, Comeback
- TE1 right, Streak
Breakdown
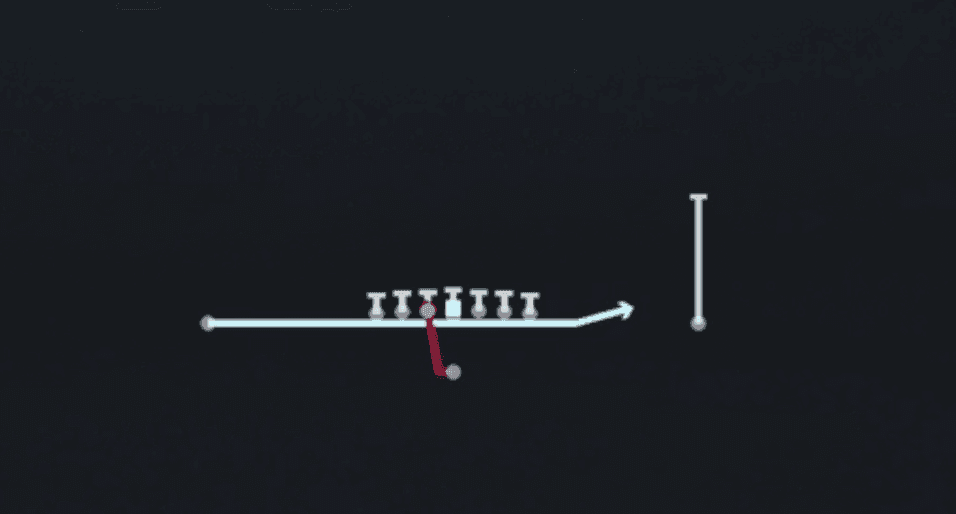
X Follow out of Singleback Ace 12 personnel is a play action deep cross concept designed to flood the field and stress zone defenders with a man beater built in. Play action holds the linebackers, then the X receiver runs a deep out from the backside while the Y (in-line TE) breaks off a seam and the second TE releases on a deep cross that continues all the way across the field. A third receiver on the flank runs a corner route to occupy the boundary, and a shallow route underneath drags across the formation to give the quarterback a check down against a hard blitz. The primary read progression starts with the deep cross working man to zone, then the seam, then the X out route, and finally the flat/drag as the outlet.
Defensive Reads
Identify two high safeties pre-snap, since this play is designed to exploit the seam and deep cross window in Cover 3 and Cover 4 shells. Watch linebacker depth at the snap: if they bite hard on the run fake, the deep cross and seam will have wide open throwing lanes. Beware of Cover 1 or Cover 0 man looks with a deep third safety, since a disciplined user defender can rob the deep cross route. Key on the flat defender: if he sinks with the shallow drag, the flood concept to the boundary corner route becomes the leverage throw. Look for a blitz off the edge, since the play action fake can be exposed against an aggressive nano blitz if the offensive line does not account for the extra rusher.
Usage Tips
Use this play on early downs or second and medium when you want to sell the run fake and attack downfield off play action.
Check the safety alignment pre-snap: if you see two high safeties, this is a strong Cover 3 or Cover 4 beater because the deep cross will find the seam between zones.
If the corner is playing tight man on the X, hot route the X out route into a fade or speed out to win one on one on the boundary.
Pair this call with HB Dive or Inside Zone earlier in the drive so the run fake actually holds linebackers when you come back to X Follow.
Watch for a user spy or lurking linebacker sitting in the middle of the field, since the deep cross is the primary read and a good user defender can jump that route.
Combine this with PA Post Cross Shot or PA Post Dig in the same series to keep the defense guessing between crossing routes and vertical shots off the same play action look.
Other Plays in Ace
 23 Zone OpenRun Play, Outside Zone, Zone Run +1
- 24 Zone OpenRun Play
 26 DuoDuo, Run Play, Power Run
- Ace OverloadDrag, Crosser, Post Corner +3
 Ace TE DragDrag, Pass Play, Post +3
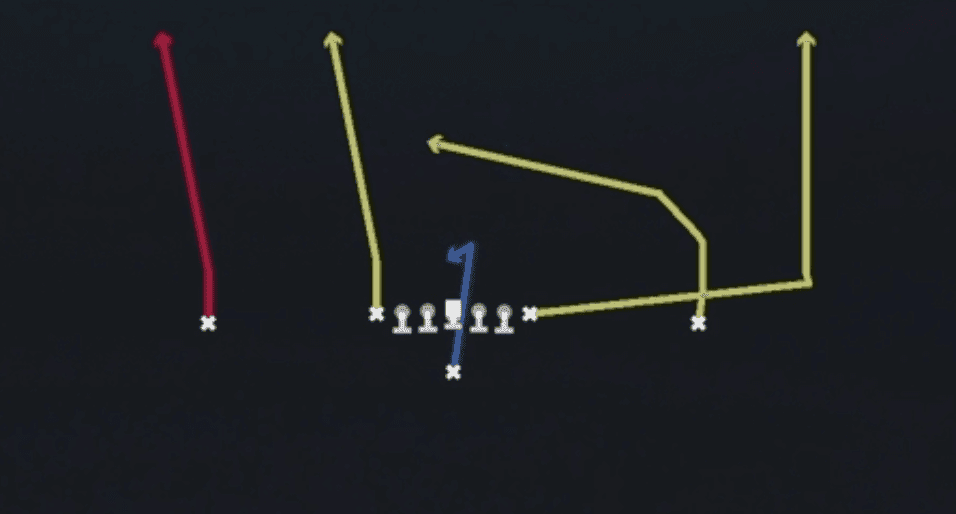 Ace WR StretchBlock and Release, Deep Cross, Crosser +3
 Corner StrikeCorner, Pass Play, Block and Release +1
 Curl FlatsFlat, Curl, Pass Play +1
 Double HitchHitch, Pass Play, Corner +1
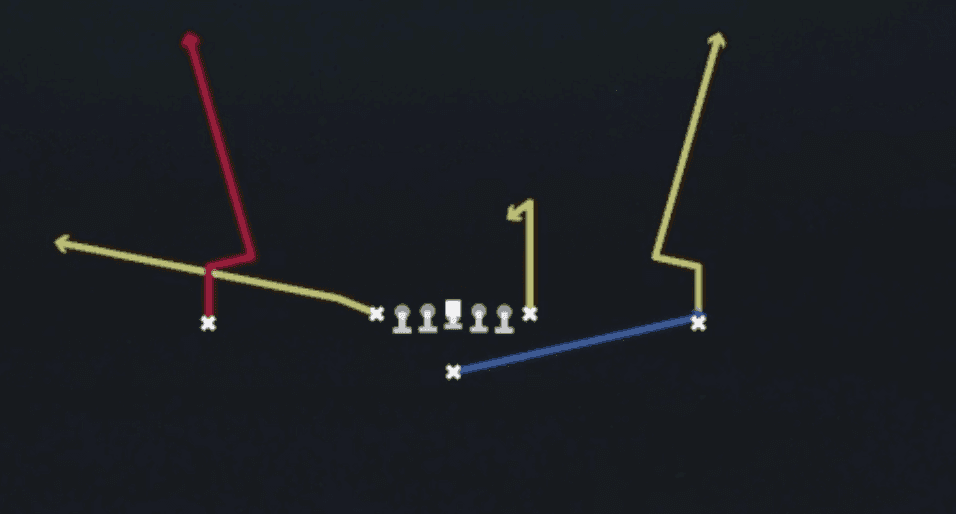 Double SluggoSluggo, Pass Play, Man Beater +3
- Drive U CornerCorner, Block and Release, Post +4
 Dual TE FlatFlat, Pass Play, Block and Release +1
 Flanker CurlCurl, Pass Play, Post +2
 Flanker DriveDrive, Pass Play, Cover 4 Beater +6
- Fl CornerCorner, Pass Play, Flat +2
 FL UnderPass Play, Corner, Out +7
 HB Blunt DiveDive, Run Play
 HB CounterCounter, Run Play, Power Run
- HB Counter StrCounter, Run Play, Power Run
 HB DiveDive, Run Play
 HB DrawDraw, Run Play
- HB MisdirectionMisdirection, Run Play
- HB Misdirection MtnRun Play
 HB Off TackleOff Tackle, Run Play
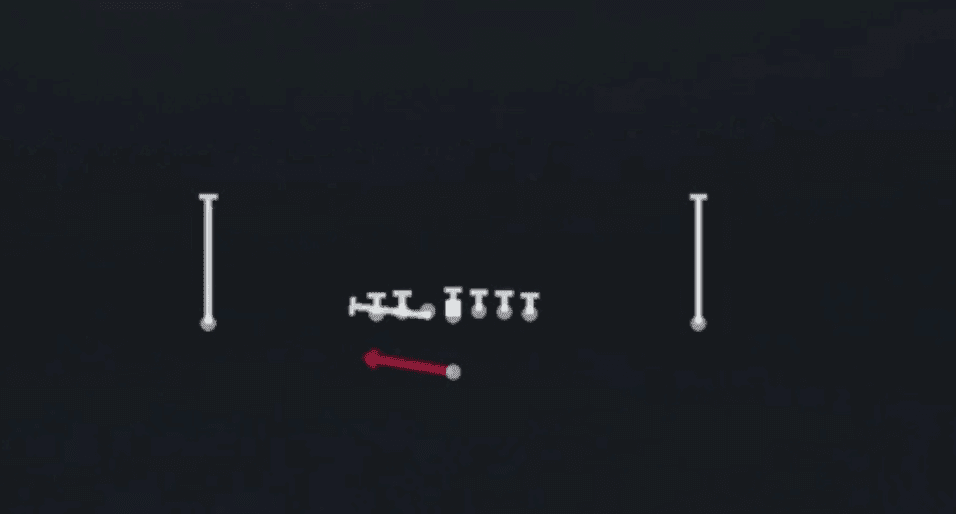 HB PitchToss, Run Play
 HB Pump DrawDraw, Run Play
 HB SlamDive, Run Play
 HB Slam MtnDive, Motion, Run Play
 HB Slip ScreenScreen Pass, Hb Screen, Pass Play +3
 HB StretchOutside Zone, Run Play, Zone Run
 HB Stretch Alert X LookieOutside Zone, Run Play, Zone Run +2
 HB Stretch Alert X SmokeOutside Zone, Run Play, Zone Run +2
 HB Zone WkInside Zone, Run Play, Zone Run
 HB Zone Wk Alert Z SmokeInside Zone, Run Play, Zone Run +2
 Inside CrossCrosser, Pass Play, Block and Release +3
 Inside ZoneInside Zone, Run Play, Zone Run
 Jet SweepSweep, Jet Sweep, Motion +1
- Lions ComebacksComeback, Pass Play, Block and Release
- Mtn HB Lead MisdirectionRun Play
 Mtn Inside ZoneInside Zone, Motion, Run Play +1
- Mtn PA Z SlideBlock and Release, Comeback, Deep Cross +6
- Mtn Wide ZoneRun Play
 PA All GoPlay Action, Go, Pass Play +2
 PA BootPlay Action, Pass Play, Block and Release +3
 PA Boot LeftPlay Action, Pass Play, Block and Release +4
- PA Boot RollPlay Action, Pass Play, Block and Release +3
- PA CounterPlay Action, Pass Play, Comeback +2
 PA Ctr WagglePlay Action, Pass Play, Block and Release +4
 PA DBL GoPlay Action, Go, Pass Play +3
 PA Deep InPlay Action, Pass Play, Comeback +4
- PA FloodPlay Action, Flood, Pass Play +5
 PA Jet SweepSweep, Jet Sweep, Play Action +5
- PA Post Cross ShotPlay Action, Post, Crosser +3
- PA Post DigPlay Action, Dig, Post +4
 PA Roll RtPlay Action, Pass Play, Block and Release +4
 PA Shot PostPlay Action, Post, Pass Play
- PA Sprint HB FlatPlay Action, Flat, Pass Play +3
 PA StretchPlay Action, Pass Play, Comeback +5
- PA X Burst CrossPlay Action, Crosser, Pass Play +3
 Pin Pull SweepSweep, Pin And Pull, Run Play +1
 Quick SlantsSlant, Pass Play, Flat
 Skinny PostsPost, Skinny Post, Pass Play +2
 TE CrossCrosser, Pass Play, Deep Cross +3
 TE OptionOption Route, Pass Play, Corner +4
 TE Seam OptionSeam, Option Route, Pass Play +3
 TE UnderPass Play, Drag, Shallow Cross +10
 WR OptionOption Route, Pass Play, Block and Release +2
- WR ScreenScreen Pass, Wr Screen, Pass Play +3
 X PostPost, Pass Play, Flat +1
 Y Shallow CrossShallow Cross, Crosser, Pass Play +3
 Zone Fake JetMotion, Run Play
- Z Post Y OutOut, Post, Pass Play +2
 Z SpotSpot, Pass Play, Cover 3 Beater +4