Playbooks

At a Glance
In 27 playbooks
Overview
Y Trips Wk is an 11 personnel Shotgun set that puts the tight end (the Y) inside a three receiver surface, with the running back offset to the weak side and the X receiver isolated backside. Compared to standard Gun Trips looks with three wideouts to one side, this alignment keeps a tight end in the structure. Defenses have to respect a legitimate run threat and a big body working the seam, flat, and corner. Offsetting the back weak also balances the formation: the RB becomes a real checkdown, slip screen, and angle route threat away from the trips, so the defense cannot simply rotate everything to the strength.
The play list is one of the deepest in the Shotgun formation. It covers quick game (Slants, Stick, Quick Unders), full field progressions (Dagger Y Whip, Levels Y Corner, Y Cross Flood), shot plays (PA Shot Go's, PA Post Cross Shot, Four Verticals), and a complete RPO and run menu (RPO Peek Slant, Mtn RPO Base Alert Smash, Inside Zone, Outside Zone, HB Counter, 5 6 Trap). Tags for 3DRB, Gadget, and SLWR tell you this set rewards a pass catching back, a versatile chess piece, and a quick slot who can win option routes and crossers.
The matchup value comes from where the Y lines up. Against base personnel, the TE draws a linebacker in man, which the Y Corner, Y Trail, and Drive Y Seam concepts attack immediately. Against nickel or dime, you keep enough mass to run Inside Zone and Same Side Zone into lighter boxes. The isolated backside X gets true one on one looks when the defense overplays trips, which is exactly what Curls X Go, Dig X Comeback, and Goalline Fade are built to punish.
Strengths
- The trips surface with a TE at #3 stresses Cover 3 and Cover 4 rules: Levels Y Corner, Y Cross Flood, and Cheat Strong Flood create high low reads on the flat and curl defenders that are hard to user without leaving a window open.
- The isolated backside X is a built in man beater. When the defense rotates safety help to trips, Curls X Go, Dig X Comeback, and PA Shot Corner give you a clean one on one throw with a single pre snap read.
- It has an elite RPO and run menu for an 11 personnel spread look. RPO Peek Slant, RPO Zone Peek, Mtn RPO Base Alert Smash, and RPO Buck Alert Smoke let you punish light boxes or overplaying linebackers without calling a separate run formation.
- The weak side RB offset produces strong backside answers. Y Stick HB Angle, Mtn Smash HB Angle, and HB Slip Screen isolate the back on a linebacker away from trips, and HB angle routes are among the most reliable man beaters in the game.
- The variety of mesh and crossing concepts (Mtn Mesh, RZ Mesh Crossers, Cheat Crossers, Philly Slot Cross) naturally creates rubs against man coverage and cover 0 pressure, especially near the red zone.
Weaknesses
- With the RB offset weak and a TE in the route, overload blitzes to the trips side can outnumber your protection. Nano pressure off the edge often gets home before deeper concepts like Four Verticals or PA Post Cross Shot finish developing.
- Trips alignment is a strong tendency tell. Good opponents check to trips side coverage adjustments or Cover 3 Buzz and use a user defender to sit on the Y Corner or the flat, taking away your primary reads.
- The isolated X is easy to double with a pre snap shaded safety or a user robber over the top, which can erase your backside man beaters if you do not have a legit WR1.
- The set depends on the TE's route running and speed. A slow inline tight end cannot separate from a linebacker or nickel in man, and that weakens Y Trail, Drive Y Seam, and Panther Y-Corner.
- Play action rollouts like Mtn PA Smash Scissors and PA Ohio X-In N Up turn your back on the weak side edge, so a spy or backside contain defender can make a sack or hurried throw on a bootleg.
Usage Tips
Before the snap, read the safety over trips. If he rotates down or the defense shows single high, go to Curls X Go or Dig X Comeback and target the backside X. If both safeties stay high and the box is light, audible to Inside Zone or an RPO.
On 3rd and short to medium, Stick, Y Stick HB Angle, and Spacing Snag give you a quick man and zone answer. Hot route the back to an angle or wheel if you see a linebacker walked up on him.
Against heavy blitz or Cover 0, call Mtn Mesh, Cheat Crossers, or Quick Slants and slide protection toward the trips side. Consider hot routing the TE to block if the edge pressure keeps coming.
Use the RPOs as run game constraints early. Once the defense starts crashing the box against RPO Peek Slant or Mtn RPO Base Alert Smash, come back with PA Shot Go's or PA Post Cross Shot off the same look.
In the red zone, Goalline Fade and Slot Fade attack tight single coverage, while RZ Mesh Crossers and Y Corner H Option punish zone. Motion the slot to see whether a defender follows, which confirms man or zone before you pick a side.
Plays (100)
- 5 6 TrapTrap, Run Play, Power Run
 Cheat Comebacks InMotion, Comeback, Pass Play +2
 Cheat CrossersCrosser, Motion, Pass Play +3
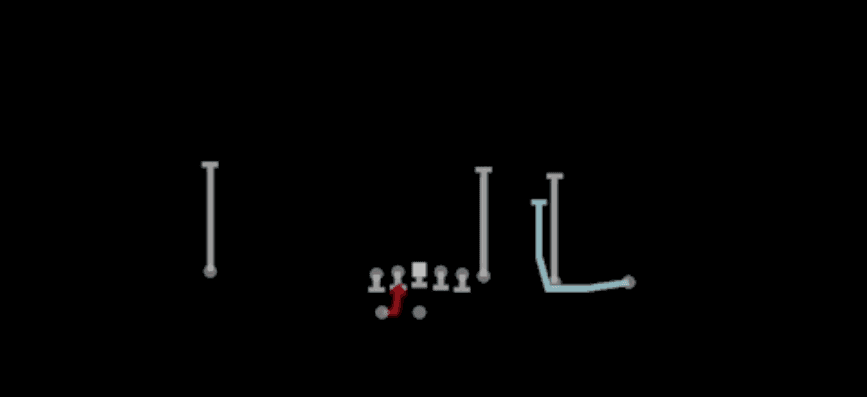 Cheat HB DrawDraw, Motion, Run Play
 Cheat Slot CrossMotion, Crosser, Pass Play +4
 Cheat Strong FloodFlood, Motion, Pass Play +5
 China SmashSmash, Pass Play, Cover 2 Beater +4
 ComebacksComeback, Pass Play, Block and Release +2
 Corner StrikeCorner, Pass Play, Flat +1
 CurlsCurl, Pass Play, Flat +2
 Curls ComboCurl, Pass Play, Flat +1
 Curls X GoGo, Pass Play, Curl +4
 Dagger Y WhipWhip, Dagger, Pass Play +6
 DBL InsIn, Pass Play, Hook +2
- Dig X ComebackDig, Comeback, Pass Play +2
 Divide Y HitchHitch, Pass Play, Block and Release +3
 Drive Y SeamSeam, Drive, Pass Play +5
- Empty Post CrossPost, Crosser, Pass Play +4
 Empty Post Cross WheelPost, Wheel, Pass Play +1
 Empty Post DaggerPost, Dagger, Pass Play +5
- Fl DigDig, Pass Play, Corner +3
- Fl Short DigDig, Pass Play, Block and Release +2
- Fork Y DragDrag, Pass Play, Corner +4
 Four VerticalsFour Verts, Pass Play, Cover 2 Beater +7
- Four Verticals FixFour Verts, Pass Play, Cover 2 Beater +7
- Goaline FadeFade, Pass Play, Drag +1
 Goalline FadeFade, Pass Play
 HB BaseDive, Run Play
- HB CounterCounter, Run Play, Power Run
- HB Cross ScreenScreen Pass, Hb Screen, Crosser +5
 HB DrawDraw, Run Play
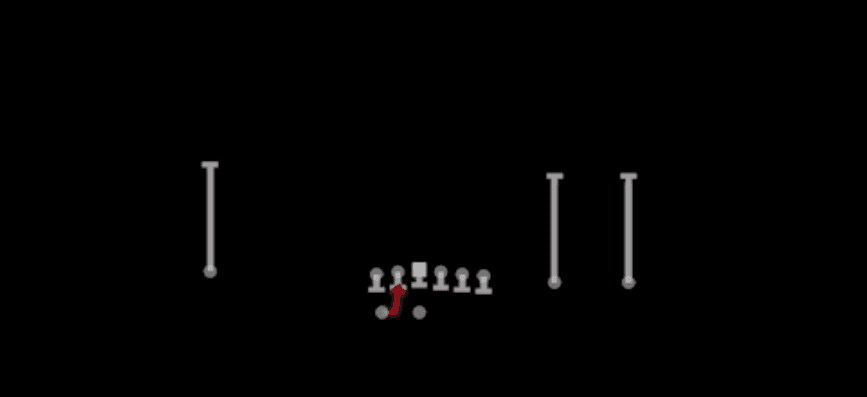 HB Mid DrawDraw, Run Play
- HB Mid ZoneRun Play
 HB Slip ScreenScreen Pass, Hb Screen, Pass Play +4
 Inside AttackPass Play, Quick Pass, Slant +6
 Inside ZoneInside Zone, Run Play, Zone Run
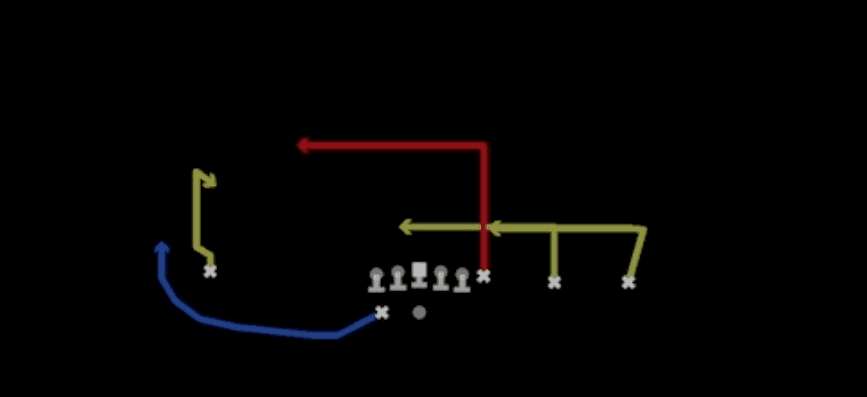 Levels SwitchLevels, Pass Play, Cover 2 Beater +4
 Levels Y CornerCorner, Levels, Pass Play +5
- Levels Y OutOut, Levels, Pass Play +5
 Mtn MeshMesh, Motion, Pass Play +6
- Mtn Mesh Spot SneakCurl, Drag, Crosser +4
 Mtn PA Smash ScissorsPlay Action, Smash, Scissors +8
 Mtn RPO Base Alert SmashRPO, Smash, Motion +6
- Mtn Same Side ZoneRun Play
 Mtn Seam SwirlSeam, Motion, Pass Play +6
- Mtn Smash ChoiceOption Route, Corner, Curl +3
 Mtn Smash HB AngleAngle, Smash, Motion +6
 Outside ZoneOutside Zone, Run Play, Zone Run
- PA Bears Y-outPlay Action, Out, Pass Play +3
 Packer SlantsSlant, Pass Play, Flat
 Packer Slot SeamSeam, Pass Play, Curl +2
 Packers SmashSmash, Pass Play, Cover 2 Beater +4
 Packer UndersPass Play, Quick Pass, Slant +10
 Panther Y-CornerCorner, Pass Play, Fade +2
 Panther Y-DragDrag, Pass Play, Corner +4
 PA Ohio X-In N UpPlay Action, In, Pass Play
 PA Post Cross ShotPlay Action, Post, Pass Play +3
 PA ReadPlay Action, Pass Play, Deep Cross +5
- PA Shot CornerPlay Action, Corner, Pass Play +3
- PA Shot Go'sPlay Action, Go, Pass Play +3
- PA Texans Y-outPlay Action, Out, Pass Play +3
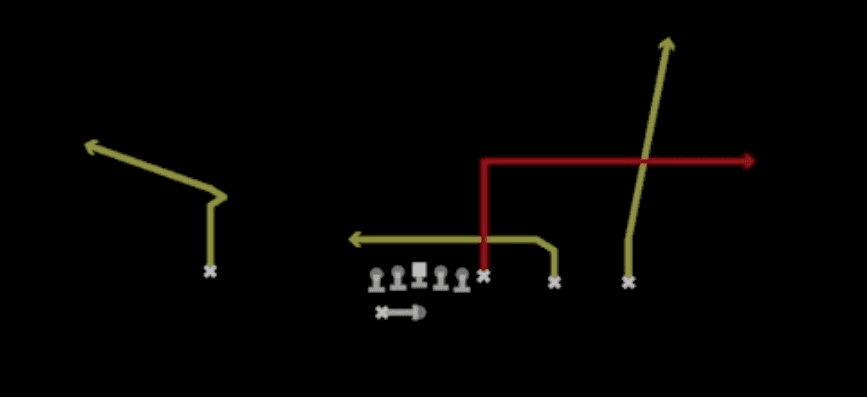 PA UnderPlay Action, Pass Play, Out +3
 PA WR InPlay Action, Pass Play, Post +4
 PA Y-OutPlay Action, Out, Pass Play
 Philly Slot CrossCrosser, Pass Play, Deep Cross +4
 QB WrapDesigned Qb Run, Run Play
 Quick Fork ZigQuick Pass, Pass Play, Slant +1
 Quick Short PostQuick Pass, Post, Pass Play +1
 Quick UndersQuick Pass, Pass Play, Drag +5
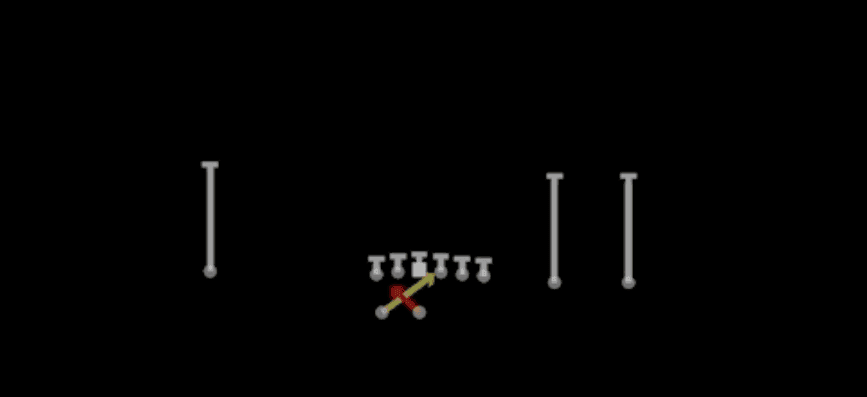 Read OptionRead Option, Run Play
 ReverseReverse, Trick Play, Run Play
 RPO Base Alert LookieRPO, Pass Play, Run Play +2
- RPO Buck Alert SmokeRPO, Pass Play, Run Play +1
 RPO Peek SlantRPO, Slant, Pass Play +1
- RPO Zone PeekRPO, Pass Play, Run Play +1
- RZ Mesh CrossersCrosser, Deep Cross, Drag +2
- Same Side ZoneRun Play
- Seam ComebacksComeback, Seam, Pass Play +3
 Shock H OptionOption Route, Motion, Pass Play +3
 SlantsSlant, Pass Play, Flat
 Slot 2 BucPass Play, Go, Corner +7
 Slot DriveDrive, Pass Play, Cover 4 Beater +6
 Slot FadeFade, Pass Play, Curl +3
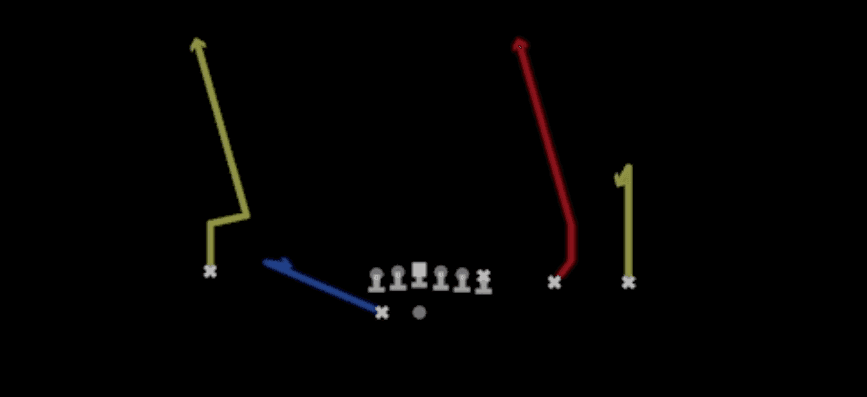 Sluggo SeamSeam, Sluggo, Pass Play +3
- Spacing SnagSnag, Hitch, Swing +1
 StickStick, Stick Concept, Pass Play +4
 Stick N NodStick, Stick Concept, Pass Play +4
 Strong FloodFlood, Pass Play, Cover 3 Beater +5
 Texans Deep InPass Play, In, Dig +8
 UnderPass Play, Out, Go +7
- Unders Y ViperCorner, In, Post +2
 Vikings DriveDrive, Pass Play, Cover 4 Beater +4
 WR Mid ScreenScreen Pass, Wr Screen, Pass Play +1
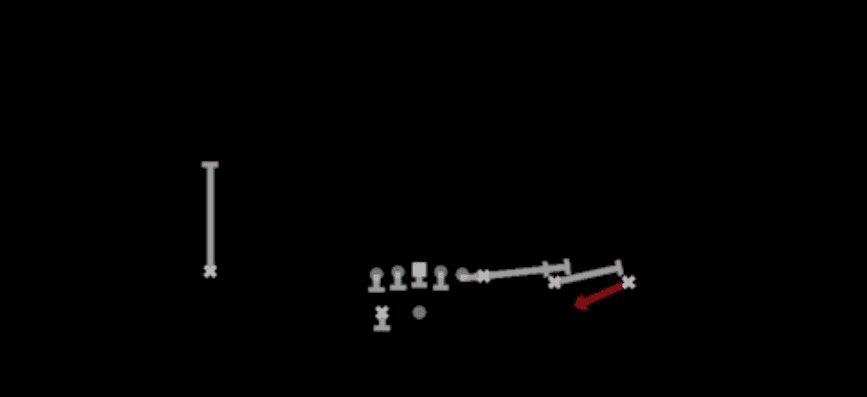 WR ScreenScreen Pass, Wr Screen, Pass Play +1
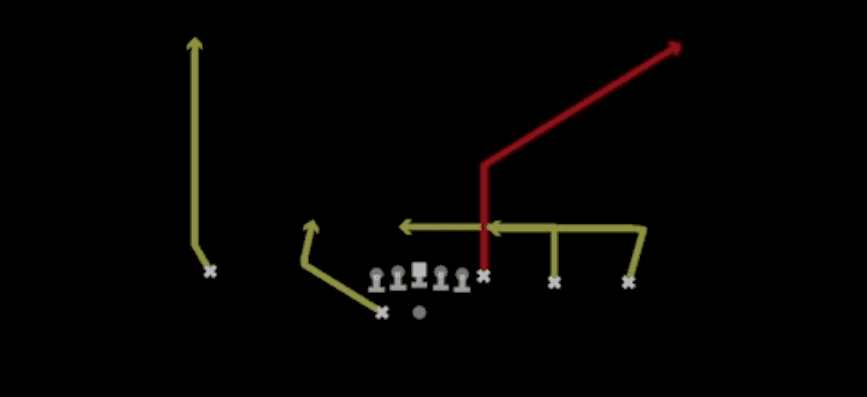 Y Corner H OptionCorner, Option Route, Pass Play +2
 Y Cross FloodFlood, Y Cross, Pass Play +7
- Y ForkComeback, Corner, Post +2
 Y Shallow CrossShallow Cross, Pass Play, Crosser +5
 Y Stick HB AngleStick, Angle, Stick Concept +4
 Y TrailTrail, Pass Play, Block and Release +4









