Playbooks

At a Glance
In 19 playbooks
Overview
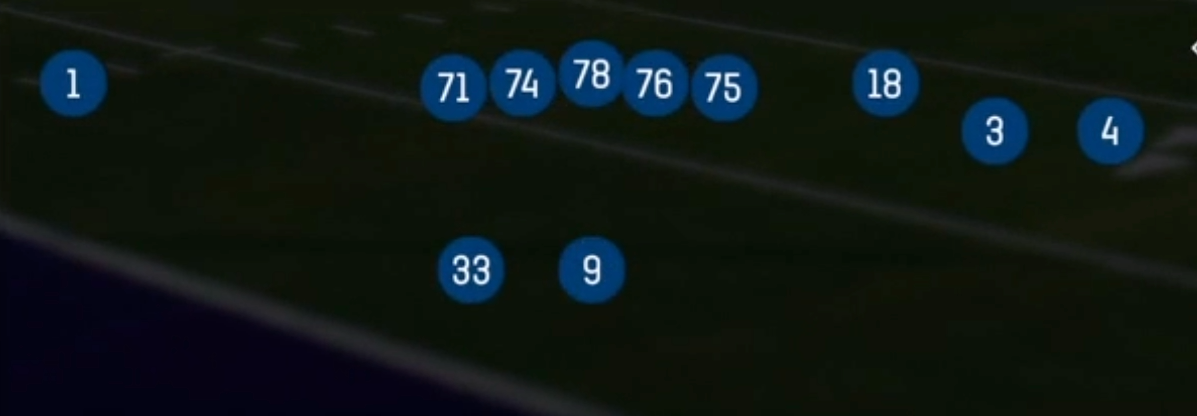
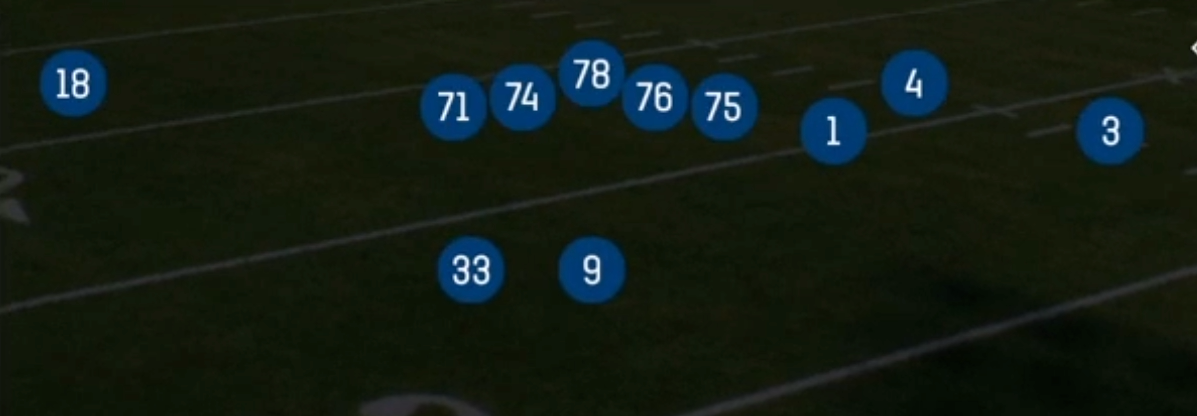
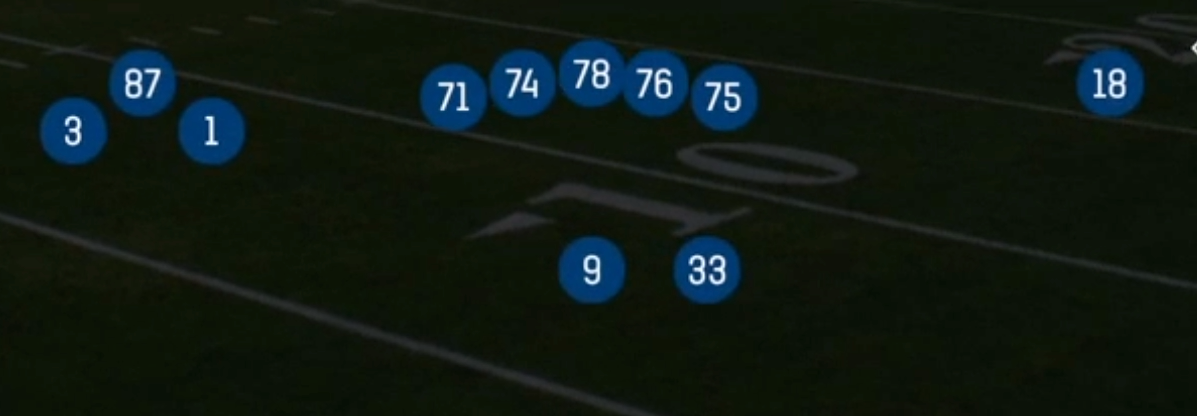
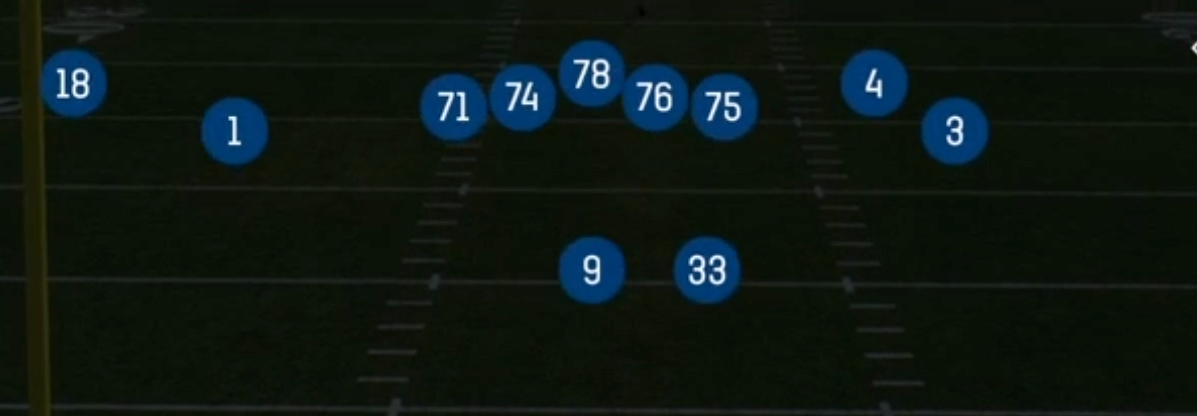
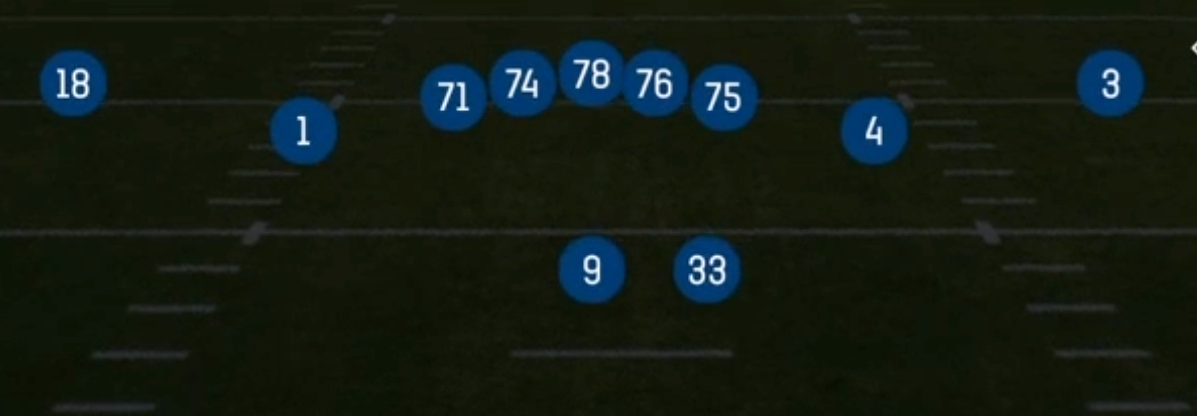
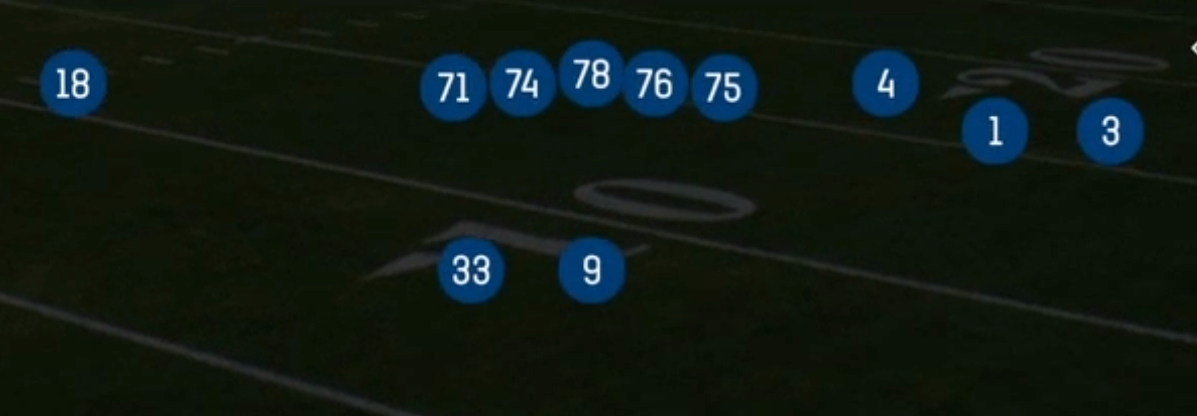
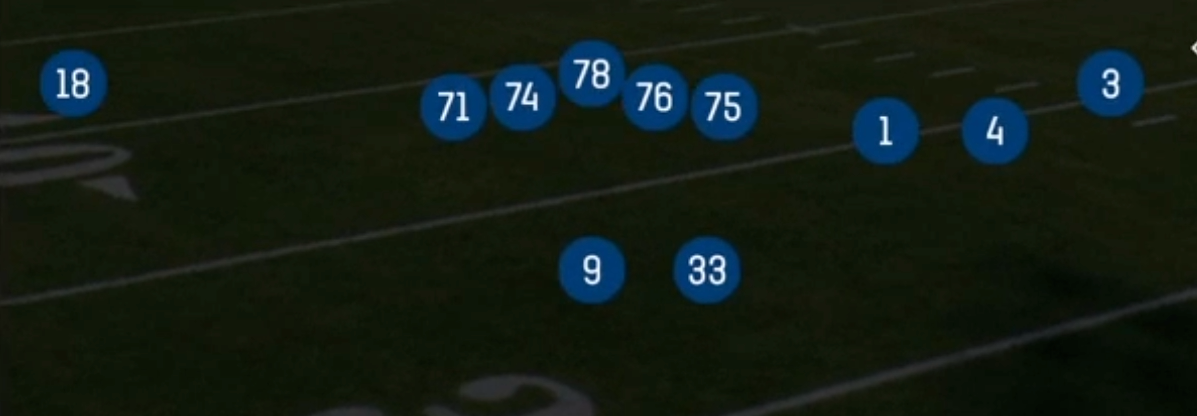
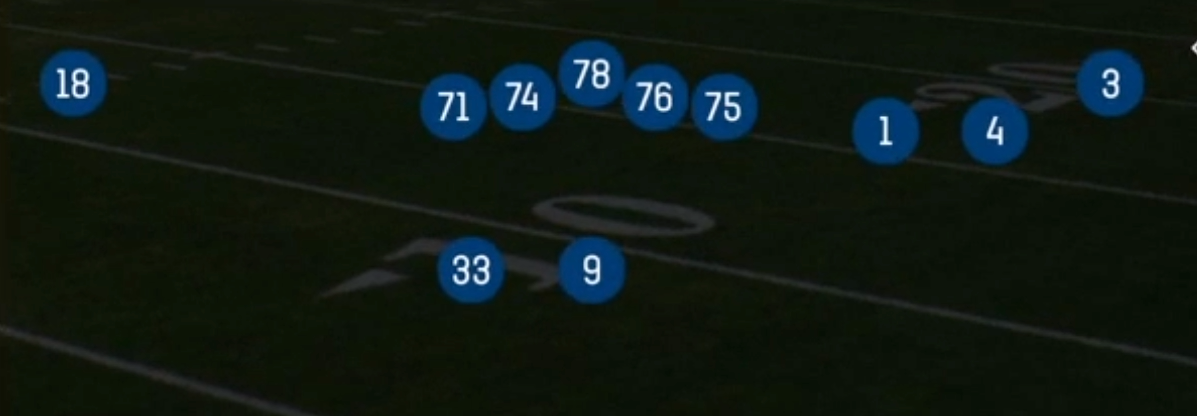
Shotgun Spread is a 10 personnel set: one running back, zero tight ends and four wide receivers split into a balanced 2x2 alignment, with the QB in the gun and the back offset beside him. Most Shotgun sets keep a tight end attached for protection or a heavier run look. Spread pulls every eligible body wide instead, so the defense has to declare its shell before the snap. That makes it one of the cleanest pre-snap read formations in the game. If the defense stays in base or nickel against four receivers, you get an automatic numbers advantage on the perimeter. If it matches with dime, the box lightens and Inside Zone, HB Draw, Read Option and GT Read Option become live.
Because there is no tight end, the Y and H tags live in the slots. That is where the SLWR tag matters. Your two slot receivers become the focal point of Y Cross, Y Stick, H Wheel, H Shallow Cross and the Mesh family, and each one gets a two-way go against a nickel or a linebacker from the inside alignment. The outside X and Z can be isolated on the boundary with Slot Fades, Z Spot, PA Comebacks and Snag X Corner. The 2x2 split keeps each side symmetrical, so you can read half the field and still flip the concept with a mirrored hot route.
The 3DRB and Gadget tags reflect the back's role and the trick elements in the set. HB Slip Screen, HB Swing, Whip HB Rail and Smash HB Seam use a pass-catching back as a fifth vertical or perimeter threat. The Shuffle 590 Texas, Shuffle 590 Nebraska and Shuffle Go shovel variants, the RPO Alert and RPO Peek tags, and the RNS series (Run and Shoot) give you option routes and misdirection. Together they punish defenders who overplay one phase. Spread gives you an Air Raid dropback menu, an RPO package and a zone read game from one look, which makes it very hard to key on tendencies.
Strengths
- Elite man beaters out of a 2x2 look: Mesh, Mesh Post, Quick Slants, Slants Middle and Inside Cross create natural rubs and crossers against Cover 1 and Cover 0, especially with fast SLWR slots running the shallow drags underneath.
- Complete zone beater menu: Smash, Smash Corners, Snag X Corner, Curl Flats, Y Stick and WK Flood high/low the flat and corner defenders, while Four Verticals and Hitch Seam split Cover 2 and bracket a single high safety in Cover 3 with the seam routes.
- The RPO package (RPO Alert Bubble, RPO Alert WR Screens, RPO Peek Slant, RPO Zone Peek, RPO Read Slot Slide) punishes light boxes and flat defenders who crash. You read one defender post-snap and hand off or throw with no extra audible needed.
- The 3DRB back is a real receiving threat: HB Slip Screen, HB Swing, Whip HB Rail, H Wheel and Smash HB Seam stress linebackers in man and give you a built-in checkdown that gains yards against blitz-heavy Cover 0.
- The formation forces a pre-snap declaration. Four wide spacing makes it easy to spot the shell, identify the mike and see blitz threats. Hot routing a slot to a slant, drag or streak turns almost any play into the right answer.
Weaknesses
- Zero tight ends means weak edge protection. Nano blitzes off the edge and overloads from the slot side get home quickly, and your only extra blocker is the back, so slow developing shots like Deep Attack, Post Flags and PA Comebacks are risky against pressure.
- The run game is finesse only. With just five linemen in the box, a dime or quarter defense sitting in a single high look can play the run with six and still cover, so Inside Zone and HB Counter struggle against heavy fronts without a favorable box count.
- A user-controlled middle linebacker or safety sitting in the hook and curl lanes can erase Mesh, Y Cross and Shallow Cross concepts, because most crossers run through the same underneath window.
- A predictable personnel group invites matchup defense. Opponents can sub into dime with a speed nickel and aggressive press, jamming slots at the line and blowing up quick timing on slants and the RNS options.
- Play-action has limited credibility from four wide. PA Read, PA Slot Cross and PA H Cross fake less effectively than from heavier sets, so linebackers rarely bite hard unless you have already established the zone read.
Usage Tips
Count the box first. Six or fewer defenders against your four wide means Read Option, GT Read Option, Inside Zone or HB Draw. Seven or more means dropback or an RPO like RPO Alert Bubble, where the defense cannot cover everyone.
Against Cover 0 and heavy blitz looks, audible to Quick Slants, Mesh or HB Slip Screen and hot route the back to a block if you need an extra second. Man beaters with built-in rubs neutralize press and punish empty safety looks.
On 3rd and short to medium, lean on Y Stick, RNS Y Stick, Curl Flats and Snag X Corner. Read the flat defender: if he sits, throw the stick or curl; if he widens, hit the flat immediately.
Against Cover 2 and Tampa 2, call Four Verticals or Hitch Seam and throw the inside seam opposite the safety's leverage. Hot route one outside receiver to a curl to hold the corner and create a cleaner window.
Use the shuffle and screen game (Shuffle 590 Texas, WR Screen, HB Middle Screen, RPO Alert WR Screens) to punish aggressive users and pass rushers. Mixing these in slows down edge blitzes and makes your quick game more effective late in drives.
Plays (85)
 45 Quick BaseDive, Run Play
- 617In, Out, Streak +2
 90 CubePass Play, Quick Pass, Go +5
- 93 H WheelWheel, Pass Play, Flat +1
 Bubble SlantsSlant, Pass Play, Bubble Screen
 Corner StrikeCorner, Pass Play, Block and Release +1
 Curl FlatsCurl, Pass Play, Flat +1
 Deep AttackPass Play, Go, Out +9
 Flanker DigDig, Pass Play, Flat +3
 FL CrossCrosser, Pass Play, Corner +4
- Four VerticalsOption Route, Streak, Pass Play
 Four VerticalsFour Verts, Pass Play, Cover 2 Beater +5
 GT Read OptionRead Option, Run Play
- HankCurl, Flat, Pass Play
- Hawks Post KOPost, Pass Play, Dig +3
 HB CounterCounter, Run Play, Power Run
- HB Cross ScreenScreen Pass, Hb Screen, Crosser +4
 HB DrawDraw, Run Play
- HB Middle ScreenScreen Pass, Fade, Hitch +2
 HB OptionOption Route, Pass Play
 HB Slip ScreenScreen Pass, Hb Screen, Pass Play +2
- HB SwingSwing, Curl, Post +1
 Hitch SeamHitch, Seam, Pass Play +2
- H ShallowShallow Cross, Pass Play, Curl +4
- H Shallow CrossShallow Cross, Crosser, Drag +5
 H WheelWheel, Pass Play
 Inside CrossCrosser, Pass Play, Curl +4
 Inside ZoneInside Zone, Run Play, Zone Run
- ^lhb1 OptionOption Route, Pass Play, Dig +2
 MeshMesh, Pass Play, Man Beater +3
 Mesh PostPost, Mesh, Pass Play +4
- Mtn RPO Q Draw BaseOut, Streak, Swing +2
- Mtn X SpotCorner, Post, Slant +2
- Mtn Z Spot N GoGo, Corner, Stop And Go +3
 PA ComebacksPlay Action, Pass Play, Comeback +2
 PA GT Z TunnelPlay Action, Pass Play, Bubble Screen +3
 PA H CrossPlay Action, Pass Play, Crosser +4
 PA ReadPlay Action, Pass Play, Comeback +4
 PA Slot CrossPlay Action, Pass Play, Crosser +4
 PA Slot SlidePlay Action, Slide, Pass Play +4
- PA Z-underPlay Action, Pass Play, Out +3
 Post FlagsPost, Pass Play, Block and Release +3
- Post TrailPost, Trail, Pass Play +3
 Quick SlantsSlant, Pass Play, Flat
- Quick Slot OutQuick Pass, Out, Pass Play +5
 Read OptionRead Option, Run Play
 RNS Curl FlatCurl, Curl Flat, Pass Play +4
 RNS HitchesPass Play, Option Route, Streak
 RNS HookPass Play, Quick Pass, Go +6
 RNS StreakStreak, Pass Play, Option Route +1
 RNS Switch SmashSmash, Pass Play, Cover 2 Beater +4
 RNS Switch StreakStreak, Pass Play, Post +2
 RNS Y StickStick, Stick Concept, Pass Play +5
 RPO Alert BubbleRPO, Pass Play, Run Play +1
 RPO Alert WR ScreensRPO, Pass Play, Run Play +3
 RPO Peek SlantRPO, Slant, Pass Play +1
 RPO Read Slot SlideSlide, RPO, Pass Play +3
- RPO Zone PeekRPO, Pass Play, Run Play +2
- Shuffle 590 NebraskaDig, Drag, Crosser +3
- Shuffle 590 TexasTexas, Dig, Out +5
- Shuffle GoGo, Fade, Flat +4
- Slants FixSlant, Pass Play, Flat +2
 Slants MiddleSlant, Pass Play, Flat
- Slants Slot WhipSlant, Whip, Pass Play +2
 Slot FadesFade, Pass Play, Hitch +1
 Slot OutsOut, Pass Play, Angle +3
- SmashBlock and Release, Corner, Hitch +1
 Smash CornersSmash, Pass Play, Cover 2 Beater +3
 Smash DigsSmash, Pass Play, Cover 2 Beater +4
 Smash HB SeamSeam, Smash, Pass Play +4
- Smash Y PostPost, Block and Release, Corner +2
- Snag X CornerCorner, Snag, Snag Concept +4
- Spot N GoGo, Angle, Corner +3
 Whip HB RailWhip, Pass Play, Curl +4
- WK FloodFlood, Pass Play, Cover 3 Beater +5
- WR Mid ScreenScreen Pass, Wr Screen, Pass Play +1
- WR ScreenScreen Pass, Wr Screen, Pass Play +3
 X FollowPass Play, Mesh, Shallow Cross +11
- X Shallow CrossShallow Cross, Crosser, Drag +5
 Y CrossY Cross, Pass Play, Crosser
- Y Cross(1)Crosser, Y Cross, Pass Play +5
 Y Shallow CrossShallow Cross, Pass Play, Crosser +5
 Y StickStick, Stick Concept, Pass Play +4
 Z Shallow CrossShallow Cross, Pass Play, Crosser +5
 Z SpotSpot, Pass Play, Cover 3 Beater +3