Playbooks

Trio 4wr Str

Specialists3DRBGadgetSLWR

At a Glance

FormationShotgun
Plays15

In 1 playbook

Overview

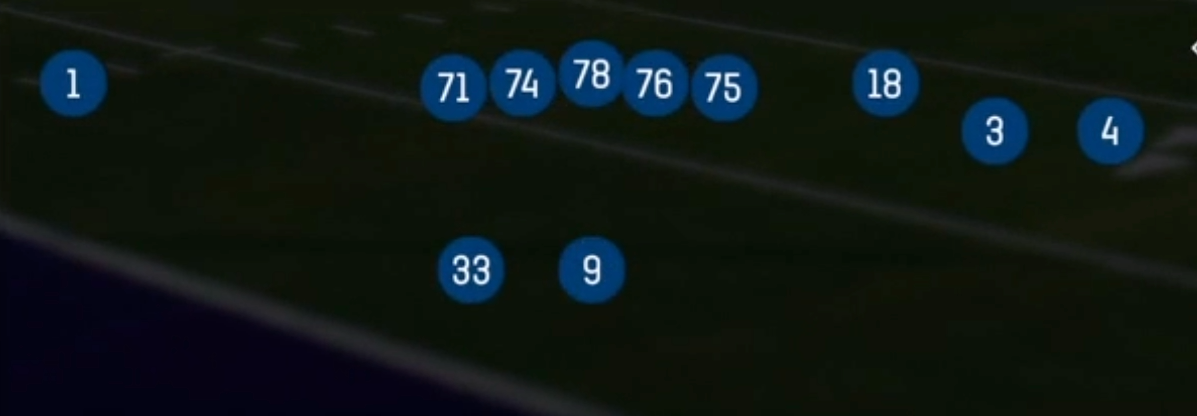
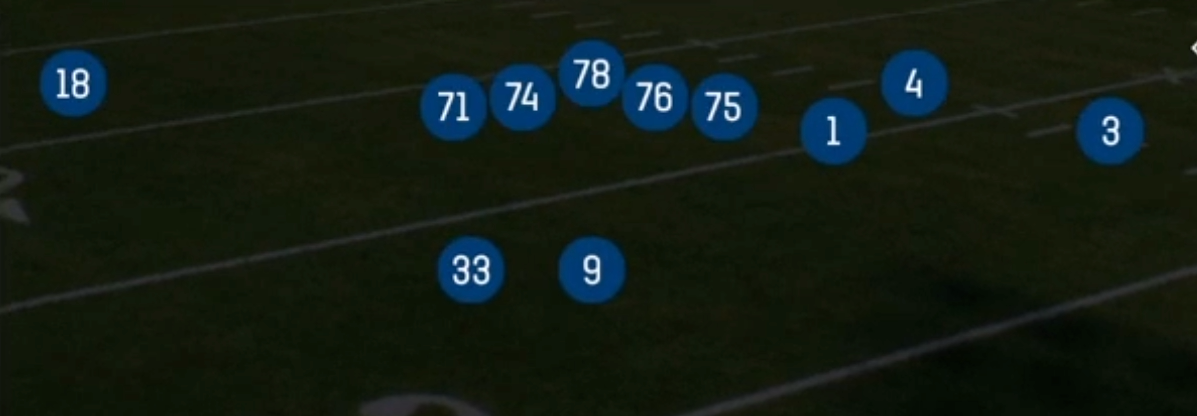
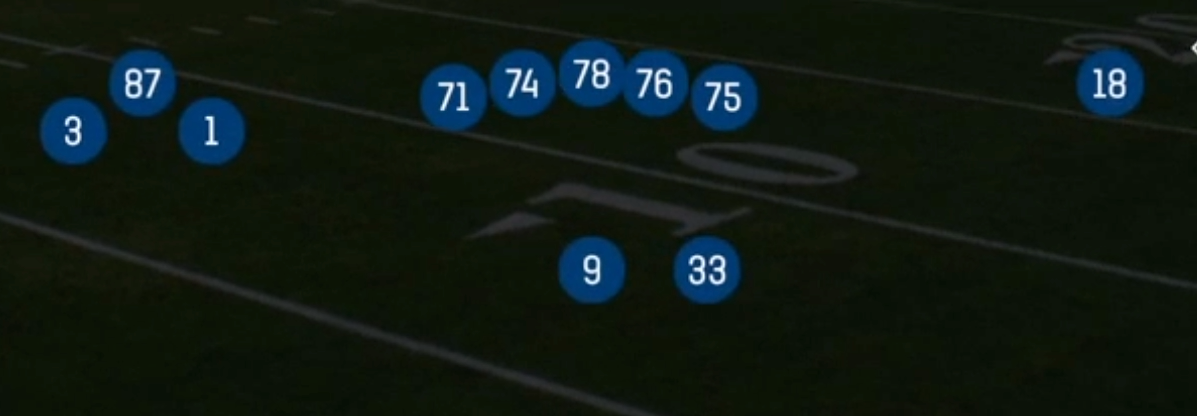
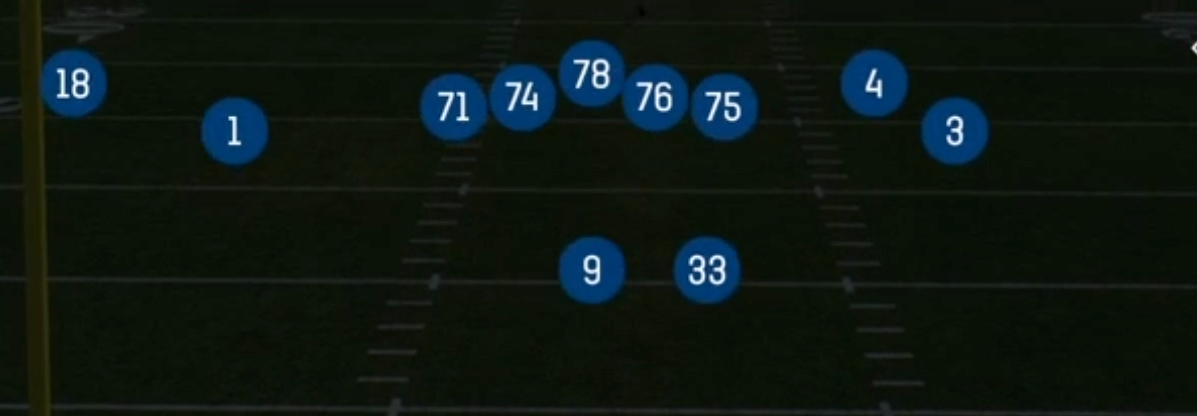
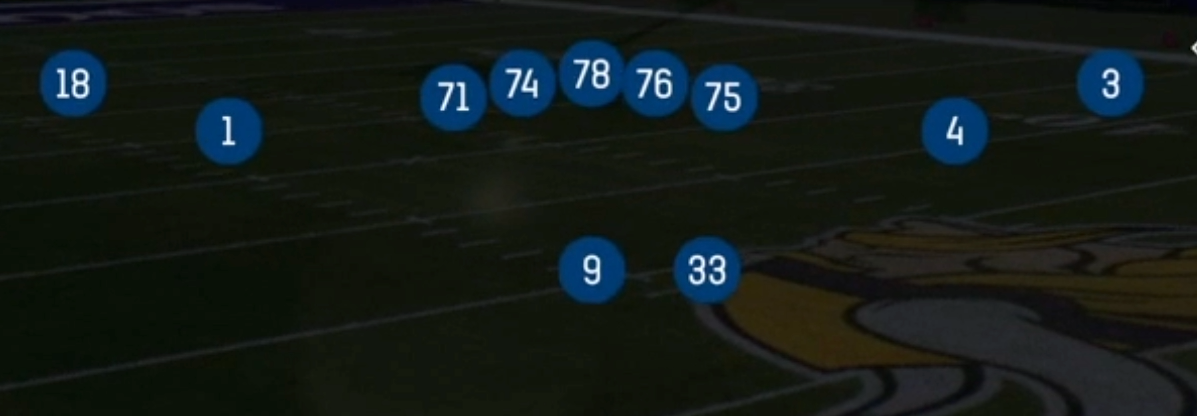
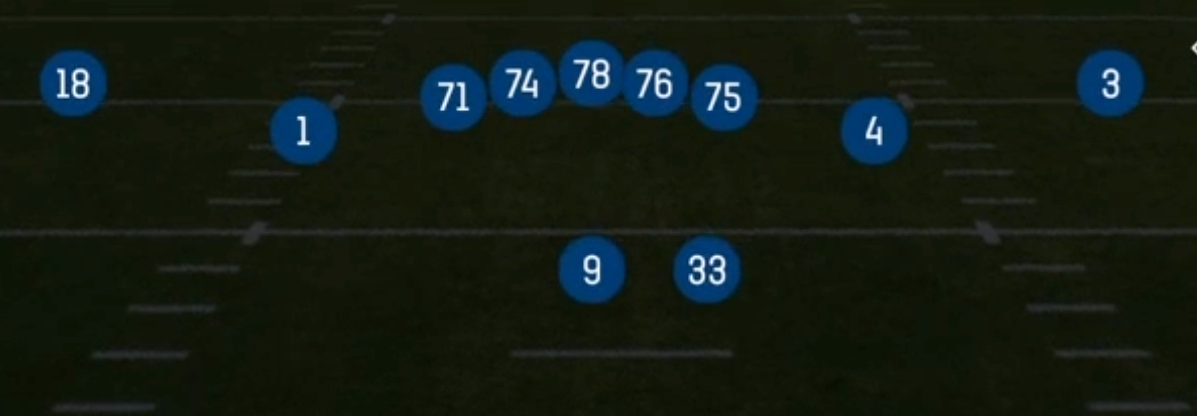
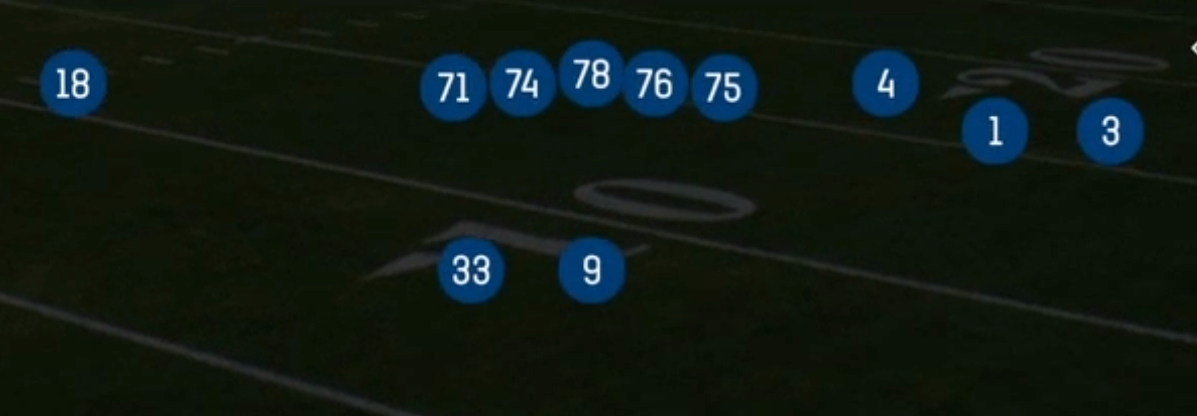
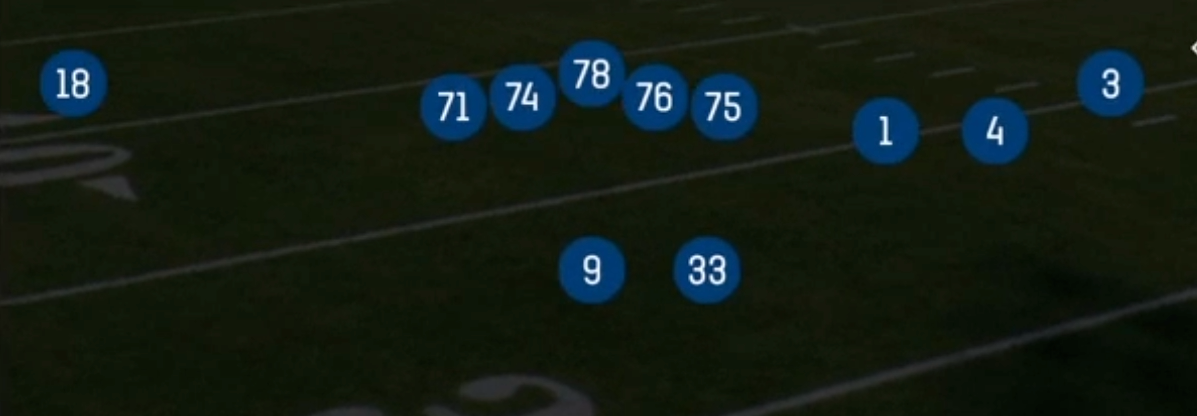
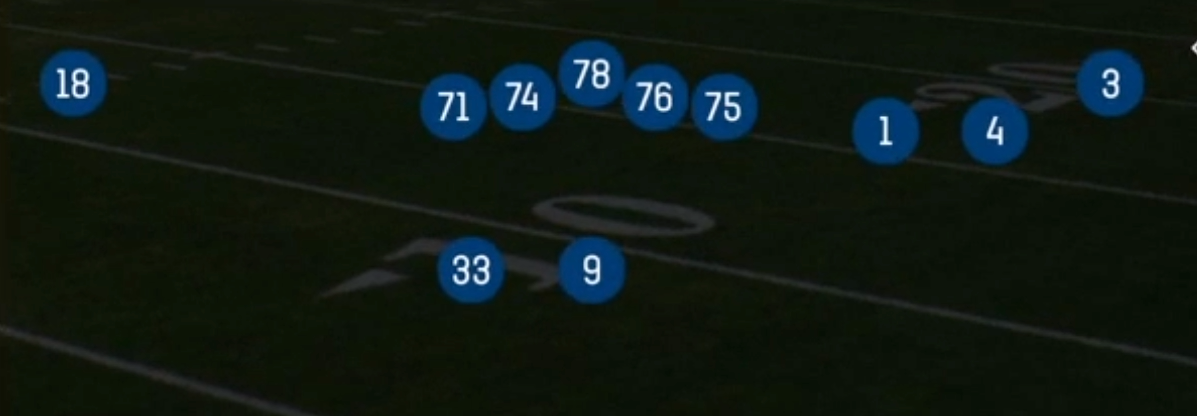
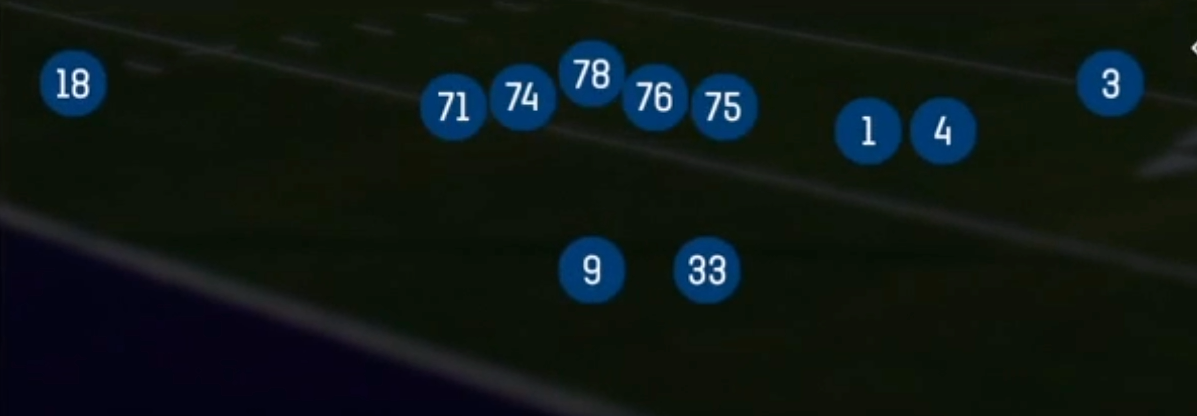
Trio 4wr Str is a 10 personnel look that stacks a three receiver surface to the strong side with a single isolated receiver on the backside, plus a back offset next to the QB. That alignment is what separates it from balanced 2x2 sets in Shotgun: instead of forcing the defense to split coverage evenly, you overload one side and dare the defense to declare. The trips surface pulls extra defenders toward the strength, which leaves the backside X in a true one on one with whatever corner the defense leaves out there. Against single high shells that isolation is the fastest read in the set.

The play art leans on that structural imbalance. China N Go, DBL Corner Switch, Sprint Z Spot, and Flood Delay all attack the trips side with stacked releases and layered flood concepts that punish zone defenders who cannot pass off crossing releases cleanly. Four Verticals, Dagger, and Short Posts give you the vertical and intermediate answers when the defense drops into two high, and Slants gives you a quick game answer that beats pressure without needing max protect. Because you are in 10 personnel with the back next to the QB, the defense usually stays in nickel or dime, which is exactly the front you want for Inside Zone, Read Option, and HB Draw.

Where this set earns its 3DRB, Gadget, and SLWR tags is the RPO and screen menu. RPO Read Bubble and RPO Alert Screen let you read the overhang defender to the trips side and either hand off into a light box or throw the bubble to a slot receiver with two blockers in front. HB Slip Screen and Fake Screen Wheel are the counters once opponents start flying up on your quick game, and the wheel off the fake screen is one of the better shot plays in the set against a user who commits downhill. Your slot receiver is the key piece here: if you can get a plus route runner matched on a linebacker or a third corner in the slot, this set gives you five or six different ways to target him.

Strengths

  • Trips strength overload stresses zone coverage on the flood concepts, with Flood Delay and Sprint Z Spot creating three level reads that leave the flat defender guessing on the same side
  • Backside isolation on the single receiver gives you a clean one on one read against single high, and you can hot route him to a fade, slant, or in to attack whatever leverage the corner shows
  • DBL Corner Switch and China N Go use stacked and switch releases that wreck press man matchups and break up user defenders trying to jump the first move
  • RPO Read Bubble and RPO Alert Screen punish light boxes and conflicted overhang defenders, letting you take the free yards without ever reading a full progression
  • Inside Zone, HB Draw, and Read Option out of 10 personnel force the defense to defend the run with nickel or dime bodies in the box

Weaknesses

  • The offset back means five man protection on most concepts, so A gap and overload nano blitzes from the weak side get home fast before the deep routes develop
  • Trips alignment tips your strength pre snap, and experienced opponents will rotate coverage, roll a safety, or bracket your best slot receiver before the snap
  • No tight end or second back to help in protection, which leaves HB Slip Screen and Fake Screen Wheel timing dependent and vulnerable if the defense sends an unblocked edge rusher
  • Cover 2 and Cover 4 shells with a user defender over the top take away Four Verticals and Dagger, forcing you into checkdowns for minimal gain
  • Single receiver backside gets erased by a robbing user defender or cloud coverage, which cuts your isolation read out of the progression entirely

Usage Tips

Read the overhang defender to the trips side before the snap on RPO Read Bubble, if he is aligned inside the slot throw the bubble, if he widens hand off into Inside Zone

Use this set on third and medium with Slants or Short Posts, the quick game beats pressure and the trips side gives you two man beaters on the same side

When the defense shows single high, work the backside isolated receiver first on Four Verticals or Dagger, that is your fastest and cleanest read in the set

Establish HB Slip Screen and the bubble early, then go to Fake Screen Wheel once your opponent starts user controlling downhill on the screen action

Hot route the innermost trips receiver to a drag or in route against man coverage to create a natural rub off the stacked release, especially on DBL Corner Switch and China N Go

Motion the backside receiver to check man versus zone, if a defender follows you have confirmation to run your isolation route or the corner switch concept

Plays (15)

Plays in Trio 4wr Str
PlayOpen
China N Go
Dagger
DBL Corner Switch
Fake Screen Wheel
Flood Delay
Four Verticals
HB Draw
HB Slip Screen
Inside Zone
Read Option
RPO Alert Screen
RPO Read Bubble
Short Posts
Slants
Sprint Z Spot

Other Sets in Shotgun

4wr Pack Trips

18 Plays · 1 RB, 0 TE, 4 WR

4WR Trips Strong

18 Plays · 1 RB, 0 TE, 4 WR

5WR Flex Trey

16 Plays · 0 RB, 1 TE, 4 WR

5WR Tight

15 Plays · 0 RB, 0 TE, 5 WR

5WR Trio

31 Plays · 1 RB, 1 TE, 3 WR

5WR Trips

18 Plays · 0 RB, 0 TE, 5 WR

Ace

28 Plays · 1 RB, 2 TE, 2 WR

Ace Offset

17 Plays · 1 RB, 2 TE, 2 WR

Ace Slot

16 Plays · 1 RB, 2 TE, 2 WR

Ace Slot Offset

22 Plays · 1 RB, 2 TE, 2 WR

Box

18 Plays · 1 RB, 0 TE, 4 WR

Box HB Strong

6 Plays · 1 RB, 1 TE, 3 WR

Box Offset Wk

19 Plays · 1 RB, 1 TE, 3 WR

Box Y Off

12 Plays · 1 RB, 1 TE, 3 WR

Box Y Split

24 Plays · 1 RB, 1 TE, 3 WR

Bunch

54 Plays · 1 RB, 1 TE, 3 WR

Bunch HB Str

12 Plays · 1 RB, 1 TE, 3 WR

Bunch Offset

31 Plays · 1 RB, 1 TE, 3 WR

Bunch Offset Close

11 Plays · 1 RB, 1 TE, 3 WR

Bunch Open

9 Plays · 1 RB, 0 TE, 4 WR

Bunch Open Offset

19 Plays · 1 RB, 1 TE, 3 WR

Bunch Open TE

16 Plays · 1 RB, 1 TE, 3 WR

Bunch Quads

9 Plays · 1 RB, 1 TE, 3 WR

Bunch Quads Close

6 Plays · 1 RB, 1 TE, 3 WR

Bunch Quads Open

6 Plays · 1 RB, 1 TE, 3 WR

Bunch Spread

24 Plays · 1 RB, 1 TE, 3 WR

Bunch Spread Nasty

38 Plays · 1 RB, 1 TE, 3 WR

Bunch Str Nasty

33 Plays · 1 RB, 1 TE, 3 WR

Bunch Str Offset

46 Plays · 1 RB, 1 TE, 3 WR

Bunch TE

57 Plays · 1 RB, 1 TE, 3 WR

Bunch TE Str

13 Plays · 1 RB, 1 TE, 3 WR

Bunch TE Wk

18 Plays · 1 RB, 1 TE, 3 WR

Bunch Trio Open

12 Plays · 1 RB, 1 TE, 3 WR

Bunch Wide

29 Plays · 1 RB, 1 TE, 3 WR

Bunch Wide Nasty

23 Plays · 1 RB, 1 TE, 3 WR

Bunch X Nasty

61 Plays · 1 RB, 1 TE, 3 WR

Bunch Y-Flex

37 Plays · 1 RB, 1 TE, 3 WR

Bunch Y-Trips

15 Plays · 1 RB, 1 TE, 3 WR

Cluster

15 Plays · 1 RB, 1 TE, 3 WR

Cluster HB Str

18 Plays · 1 RB, 1 TE, 3 WR

Dbls Flex Y Off Close

24 Plays · 1 RB, 1 TE, 3 WR

Deebo Package

6 Plays · Unknown

Deuce

26 Plays · 1 RB, 2 TE, 2 WR

Deuce Close

53 Plays · 1 RB, 2 TE, 2 WR

Doubles

69 Plays · 1 RB, 1 TE, 3 WR

Doubles Flex

27 Plays · 1 RB, 1 TE, 3 WR

Doubles Flex WK Pats

13 Plays · Unknown

Doubles Flex Wk Swap

12 Plays · 1 RB, 1 TE, 3 WR

Doubles Flex Y Off Close

21 Plays · 1 RB, 1 TE, 3 WR

Doubles HB Wk

48 Plays · 1 RB, 1 TE, 3 WR

Doubles Hip

13 Plays · 1 RB, 1 TE, 3 WR

Doubles Off Close

10 Plays · 1 RB, 1 TE, 3 WR

Doubles Off Close Wk

22 Plays · 1 RB, 1 TE, 3 WR

Doubles Offset

44 Plays · 1 RB, 1 TE, 3 WR

Doubles Offset Wk

57 Plays · 1 RB, 1 TE, 3 WR

Doubles Stack Clamp

27 Plays · 1 RB, 1 TE, 3 WR

Double Stack

21 Plays · 1 RB, 1 TE, 3 WR

Doubles Y-Flex

29 Plays · 1 RB, 1 TE, 3 WR

Doubles Y-Flex Offset

15 Plays · 1 RB, 1 TE, 3 WR

Doubles Y Off

73 Plays · 1 RB, 1 TE, 3 WR

Doubles Y Off Nasty

21 Plays · 1 RB, 1 TE, 3 WR

Doubles Y Off WK

29 Plays · 1 RB, 1 TE, 3 WR

Doubles Z Close

14 Plays · 1 RB, 1 TE, 3 WR

Doubles Z Close Wk

20 Plays · 1 RB, 1 TE, 3 WR

Double Wing

9 Plays · 2 RB, 3 TE, 0 WR

Duo Offset

19 Plays · Unknown

Duo Slot Open

19 Plays · 2 RB, 0 TE, 3 WR

Duo Twins Flex

9 Plays · 2 RB, 1 TE, 2 WR

Empty Ace

15 Plays · 1 RB, 2 TE, 2 WR

Empty Base

35 Plays · 1 RB, 1 TE, 3 WR

Empty Base Flex

35 Plays · 1 RB, 1 TE, 3 WR

Empty Base Trio

21 Plays · 1 RB, 1 TE, 3 WR

Empty Bunch

9 Plays · 1 RB, 1 TE, 3 WR

Empty Bunch Open

17 Plays · 1 RB, 1 TE, 3 WR

Empty Bunch Tight

12 Plays · 1 RB, 1 TE, 3 WR

Empty Bunch Wide

16 Plays · 1 RB, 1 TE, 3 WR

Empty Bunch Y Flex

9 Plays · 1 RB, 1 TE, 3 WR

Empty Chips

9 Plays · 1 RB, 1 TE, 3 WR

Empty Chips Nasty

12 Plays · 1 RB, 1 TE, 3 WR

Empty Chips Quads

9 Plays · 1 RB, 1 TE, 3 WR

Empty Chips Tight

11 Plays · 1 RB, 1 TE, 3 WR

Empty HB Wide

13 Plays · 1 RB, 1 TE, 3 WR

Empty Quads

9 Plays · 0 RB, 1 TE, 4 WR

Empty Sketch Stack

10 Plays · 1 RB, 1 TE, 3 WR

Empty Steeler

12 Plays · 1 RB, 1 TE, 3 WR

Empty Strong Slots

9 Plays · 1 RB, 1 TE, 3 WR

Empty Trey

21 Plays · 1 RB, 1 TE, 3 WR

Empty Trey Flex

12 Plays · Unknown

Empty Trey Stack

15 Plays · 1 RB, 1 TE, 3 WR

Empty Triple Stack

3 Plays · 1 RB, 1 TE, 3 WR

Empty Trips Speed

15 Plays · 1 RB, 1 TE, 3 WR

Empty Y Slot

15 Plays · 1 RB, 1 TE, 3 WR

Flanker Close

17 Plays · 1 RB, 0 TE, 4 WR

Flanker Close WK

9 Plays · 1 RB, 1 TE, 3 WR

Flex Y Off

20 Plays · 1 RB, 1 TE, 3 WR

Flex Y Off Close

19 Plays · 1 RB, 1 TE, 3 WR

Flex Y Off Wk

30 Plays · 1 RB, 1 TE, 3 WR

Gadget Backfield

6 Plays · 3 RB, 1 TE, 1 WR

Gadget Package

6 Plays · 3 RB, 1 TE, 1 WR

Go Go Twins Flex

9 Plays · 2 RB, 1 TE, 2 WR

Heavy Panther

9 Plays · 2 RB, 3 TE, 0 WR

Monster

3 Plays · 1 RB, 1 TE, 3 WR

Normal Flex Snug

17 Plays · 1 RB, 1 TE, 3 WR

Normal Flex Wing

12 Plays · 1 RB, 1 TE, 3 WR

Normal Off Close Wk

24 Plays · 1 RB, 1 TE, 3 WR

Normal Wing Pats Close

7 Plays · Unknown

Normal Y Off

64 Plays · 1 RB, 1 TE, 3 WR

Normal Y Off Close

62 Plays · 1 RB, 1 TE, 3 WR

Normal Y Off Wk

40 Plays · 1 RB, 1 TE, 3 WR

Open Flex

10 Plays · 1 RB, 1 TE, 3 WR

Slot Left

9 Plays · 1 RB, 1 TE, 3 WR

Slot Right

23 Plays · 1 RB, 1 TE, 3 WR

Slot WR Backfield

7 Plays · Unknown

Split Close

30 Plays · 2 RB, 0 TE, 3 WR

Split Close Pro

15 Plays · 2 RB, 1 TE, 2 WR

Split Cowboy

17 Plays · 1 RB, 1 TE, 3 WR

Split Flanker Close

9 Plays · 2 RB, 0 TE, 3 WR

Split Offset

34 Plays · 2 RB, 0 TE, 3 WR

Split Pro Near

18 Plays · 2 RB, 1 TE, 2 WR

Split Pro Offset Wk

6 Plays · 2 RB, 1 TE, 2 WR

Split Slot Offset

47 Plays · 2 RB, 0 TE, 3 WR

Split Slot Open

50 Plays · 2 RB, 0 TE, 3 WR

Split Twins

6 Plays · 2 RB, 1 TE, 2 WR

Split Twins Offset

13 Plays · 2 RB, 1 TE, 2 WR

Split Twins Offset Close

15 Plays · 2 RB, 1 TE, 2 WR

Split Twins Stack

6 Plays · 2 RB, 1 TE, 2 WR

Split U Off Close

9 Plays · 2 RB, 2 TE, 1 WR

Split Wing Nasty

6 Plays · 2 RB, 2 TE, 1 WR

Split WR Backfield

9 Plays · 1 RB, 1 TE, 3 WR

Split Y-Flex

33 Plays · 2 RB, 1 TE, 2 WR

Split Y Off

23 Plays · 2 RB, 1 TE, 2 WR

Split Y Off Close

10 Plays · 1 RB, 1 TE, 3 WR

Spread

85 Plays · 1 RB, 0 TE, 4 WR

Spread 4wr

1 Play · 1 RB, 1 TE, 3 WR

Spread Dbl Flex

43 Plays · 1 RB, 1 TE, 3 WR

Spread Dbl Flex Wk

22 Plays · 1 RB, 1 TE, 3 WR

Spread Flex

29 Plays · 1 RB, 1 TE, 3 WR

Spread Slots Close

22 Plays · 1 RB, 0 TE, 4 WR

Spread Y-Flex

69 Plays · 1 RB, 1 TE, 3 WR

Spread Y-Flex Wk

50 Plays · 1 RB, 1 TE, 3 WR

Spread Y-Slot

93 Plays · 1 RB, 1 TE, 3 WR

Spread Y-Slot Wk

56 Plays · 1 RB, 1 TE, 3 WR

Stack HB WK

15 Plays · 1 RB, 1 TE, 3 WR

Stack Y-Flex

16 Plays · 1 RB, 1 TE, 3 WR

Stack Y Off

17 Plays · 1 RB, 1 TE, 3 WR

Tackle Over

9 Plays · 1 RB, 1 TE, 3 WR

Tackle Over Trips

10 Plays · 1 RB, 1 TE, 3 WR

Tight

34 Plays · 1 RB, 1 TE, 3 WR

Tight Base Flex

9 Plays · 2 RB, 1 TE, 2 WR

Tight Doubles

19 Plays · 1 RB, 1 TE, 3 WR

Tight Flex

25 Plays · 1 RB, 1 TE, 3 WR

Tight Flex Offset

15 Plays · 1 RB, 1 TE, 3 WR

Tight Flex Wk

24 Plays · 1 RB, 1 TE, 3 WR

Tight Offset TE

18 Plays · 1 RB, 1 TE, 3 WR

Tight Open

55 Plays · 1 RB, 1 TE, 3 WR

Tight Slot Flip

9 Plays · 1 RB, 1 TE, 3 WR

Tight Slot Open

10 Plays · 1 RB, 1 TE, 3 WR

Tight Slots

40 Plays · 1 RB, 1 TE, 3 WR

Tight Slots HB Wk

19 Plays · 1 RB, 1 TE, 3 WR

Tight Y Off

43 Plays · 1 RB, 1 TE, 3 WR

Tight Y Off Wk

54 Plays · 1 RB, 1 TE, 3 WR

Trey

12 Plays · 1 RB, 1 TE, 3 WR

Trey 4WR

21 Plays · 1 RB, 0 TE, 4 WR

Trey Offset

24 Plays · 1 RB, 1 TE, 3 WR

Trey Open

85 Plays · 1 RB, 1 TE, 3 WR

Trey Open HB Str

48 Plays · 1 RB, 1 TE, 3 WR

Trey Open Offset

42 Plays · 1 RB, 1 TE, 3 WR

Trey Y-Flex

47 Plays · 1 RB, 1 TE, 3 WR

Trey Y-Flex Str

22 Plays · 1 RB, 1 TE, 3 WR

Trey Y Iso

15 Plays · 1 RB, 1 TE, 3 WR

Trio

30 Plays · 1 RB, 1 TE, 3 WR

Trio HB Wk

30 Plays · 1 RB, 1 TE, 3 WR

Trio Offset

18 Plays · 1 RB, 1 TE, 3 WR

Trio Offset Wk

17 Plays · 1 RB, 1 TE, 3 WR

Trio Rt Open

1 Play · 1 RB, 1 TE, 3 WR

Trio Y-Flex

32 Plays · 1 RB, 1 TE, 3 WR

Trips

49 Plays · 1 RB, 0 TE, 4 WR

Trips HB Wk

61 Plays · 1 RB, 0 TE, 4 WR

Trips Slots Close

27 Plays · 1 RB, 0 TE, 4 WR

Trips TE

65 Plays · 1 RB, 1 TE, 3 WR

Trips TE Flex

25 Plays · 1 RB, 1 TE, 3 WR

Trips TE Flex Close WK

30 Plays · 1 RB, 1 TE, 3 WR

Trips TE Offset

24 Plays · 1 RB, 1 TE, 3 WR

Trips TE Offset Wk

25 Plays · 1 RB, 1 TE, 3 WR

Trips X Nasty

23 Plays · 1 RB, 1 TE, 3 WR

Trips X Nasty Offset WK

12 Plays · 1 RB, 1 TE, 3 WR

Trips X Nasty Off Wk

12 Plays · 1 RB, 1 TE, 3 WR

Trips Y-Flex

22 Plays · 1 RB, 1 TE, 3 WR

Trips Y Iso

12 Plays · 1 RB, 1 TE, 3 WR

Trips Y Slot Str

6 Plays · 1 RB, 1 TE, 3 WR

U Off Stack

13 Plays · 1 RB, 2 TE, 2 WR

U Off Trips

30 Plays · 1 RB, 2 TE, 2 WR

U Off Trips Flex

15 Plays · 1 RB, 2 TE, 2 WR

U Off Trips Wk

23 Plays · 1 RB, 2 TE, 2 WR

Wide 5wr

24 Plays · Unknown

Wide Doubles Y Off WK

10 Plays · 1 RB, 1 TE, 3 WR

Wide Normal Y Off

6 Plays · 1 RB, 1 TE, 3 WR

Wide Slot Left

16 Plays · Unknown

Wide Slot Right WK

16 Plays · 1 RB, 1 TE, 3 WR

Wide Trips

15 Plays · 1 RB, 0 TE, 4 WR

Wide Trips HB WK

16 Plays · 1 RB, 0 TE, 4 WR

Wide Y Off Trips

11 Plays · 1 RB, 1 TE, 3 WR

Wide Y Trips WK

16 Plays · Unknown

Wing

15 Plays · 1 RB, 2 TE, 2 WR

Wing Close Offset

10 Plays · Unknown

Wing Flex Offset

27 Plays · 1 RB, 2 TE, 2 WR

Wing Flex Offset Wk

24 Plays · 1 RB, 2 TE, 2 WR

Wing HB Wk Close

9 Plays · 1 RB, 2 TE, 2 WR

Wing Pair

16 Plays · 1 RB, 3 TE, 1 WR

Wing Slot Offset

75 Plays · 1 RB, 2 TE, 2 WR

Wing Slot Offset WK

21 Plays · 1 RB, 2 TE, 2 WR

Wing Slot Wk

50 Plays · 1 RB, 2 TE, 2 WR

Wing Stack

21 Plays · 1 RB, 2 TE, 2 WR

Wing Stack Wk

26 Plays · 1 RB, 2 TE, 2 WR

Wing Tight

16 Plays · 1 RB, 3 TE, 1 WR

Wing Tight Flip

12 Plays · 1 RB, 3 TE, 1 WR

Wing Tight Nasty

6 Plays · 1 RB, 3 TE, 1 WR

Wing Tight Z

10 Plays · 1 RB, 3 TE, 1 WR

Wing Trio

18 Plays · 1 RB, 1 TE, 3 WR

Wing Trips WK

30 Plays · 1 RB, 1 TE, 3 WR

Wing Trips Wk Nasty

16 Plays · 1 RB, 1 TE, 3 WR

Wing Trips WK Nasty Mug

20 Plays · Unknown

Y Off Trio Close

35 Plays · 1 RB, 1 TE, 3 WR

Y Off Trio Close WK

21 Plays · 1 RB, 1 TE, 3 WR

Y Off Trio Wk

55 Plays · 1 RB, 1 TE, 3 WR

Y Off Trips

64 Plays · 1 RB, 1 TE, 3 WR

Y Off Trips Close

31 Plays · 1 RB, 1 TE, 3 WR

Y Off Trips Nasty

15 Plays · 1 RB, 1 TE, 3 WR

Y Off Trips Pats

32 Plays · Unknown

Y Off Trips Stack

3 Plays · Unknown

Y Off Trips Wk

68 Plays · 1 RB, 1 TE, 3 WR

Y Trio Offset Wk

23 Plays · 1 RB, 1 TE, 3 WR

Y Trips

4 Plays · 1 RB, 1 TE, 3 WR

Y Trips 1 Slot

1 Play · 1 RB, 1 TE, 3 WR

Y Trips Offset

25 Plays · 1 RB, 1 TE, 3 WR

Y Trips Offset Wk

15 Plays · 1 RB, 1 TE, 3 WR

Y Trips Wk

100 Plays · 1 RB, 1 TE, 3 WR