Playbooks

At a Glance
In 12 playbooks
Overview
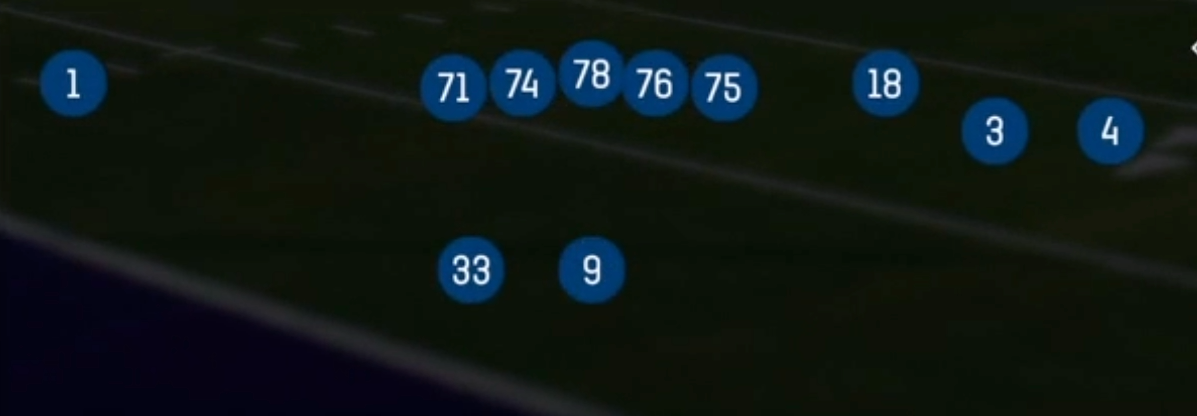
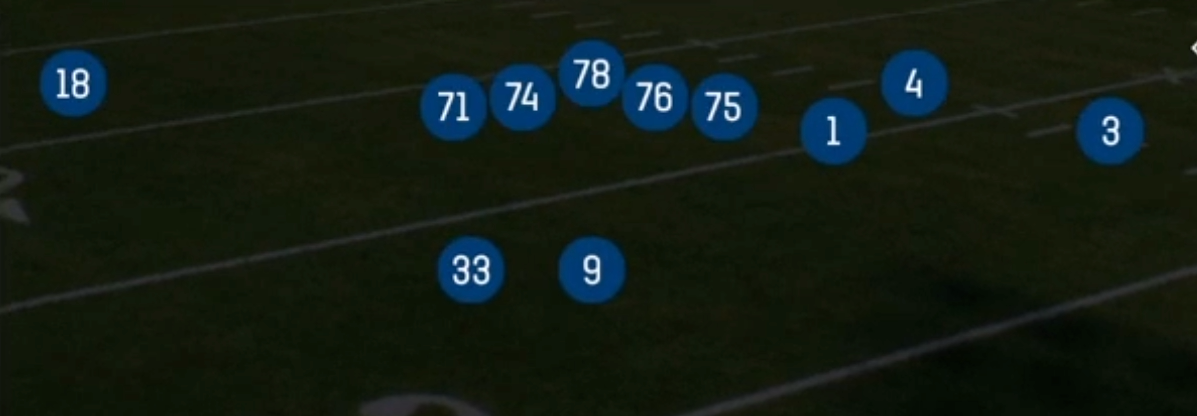
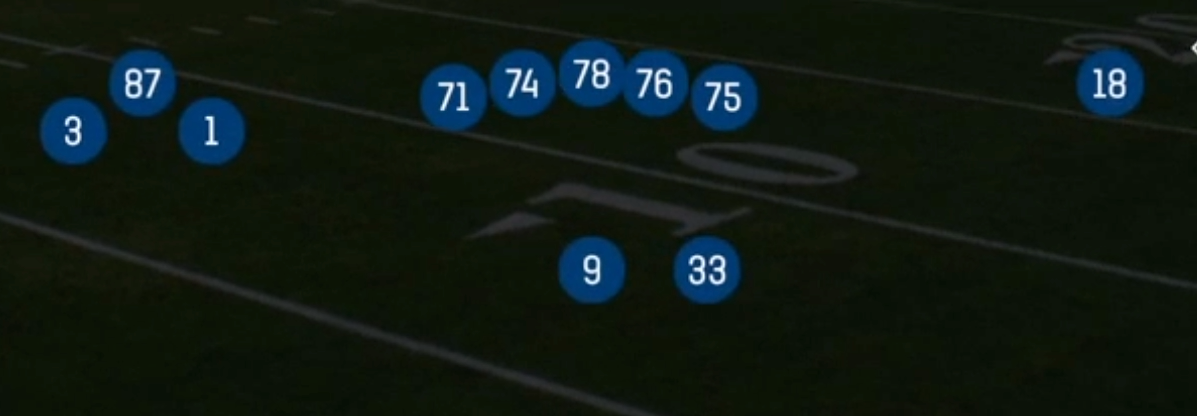
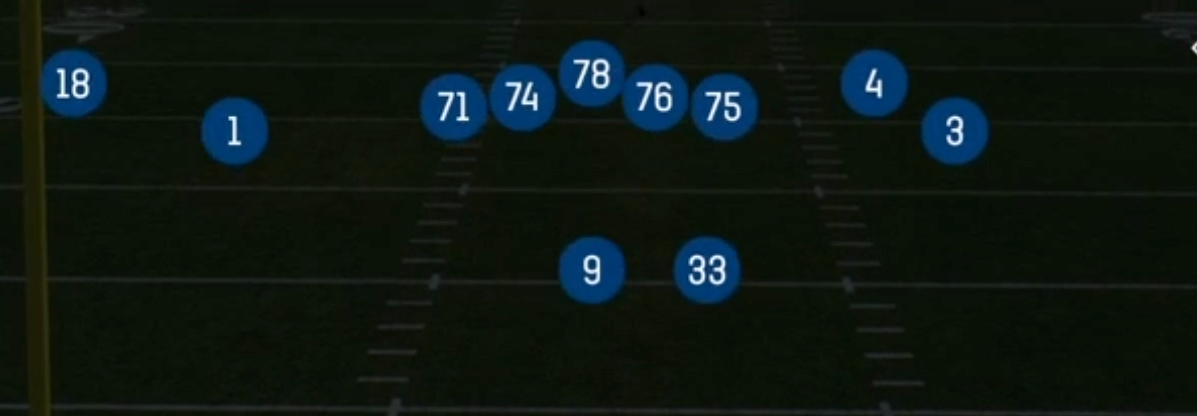
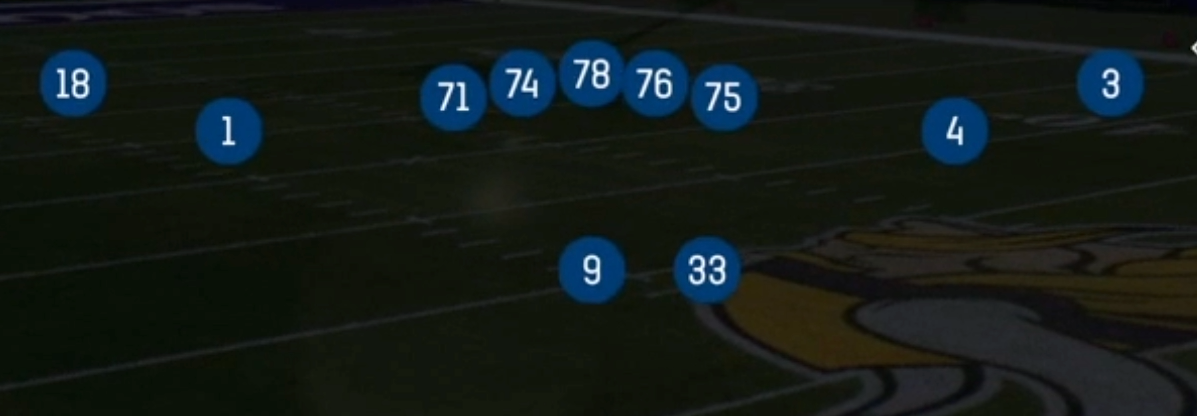
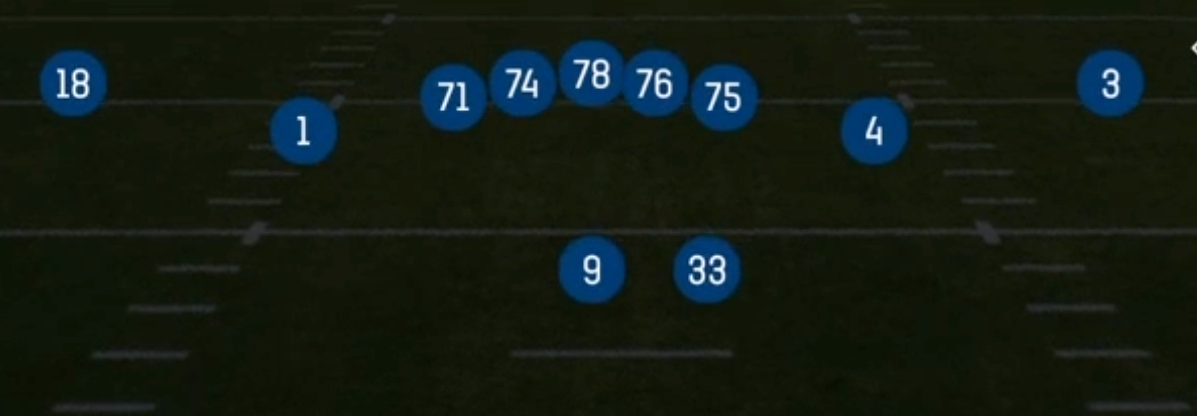
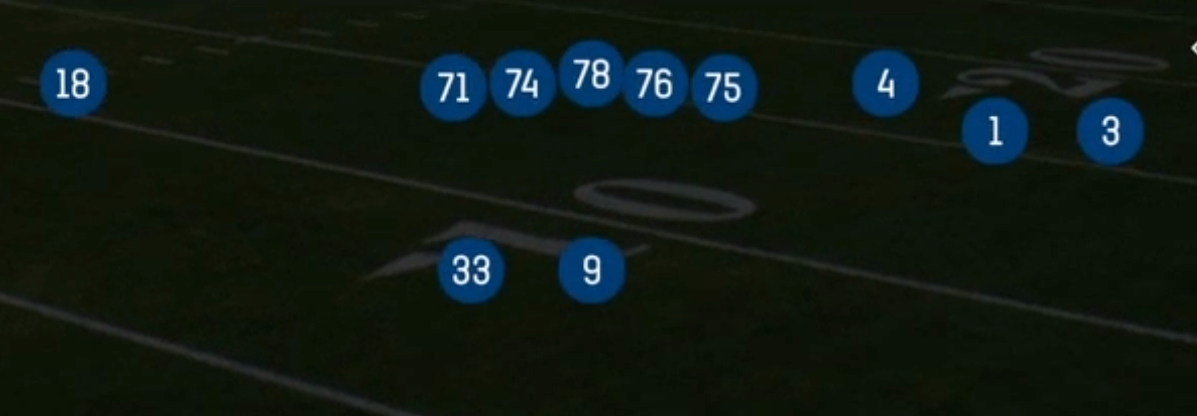
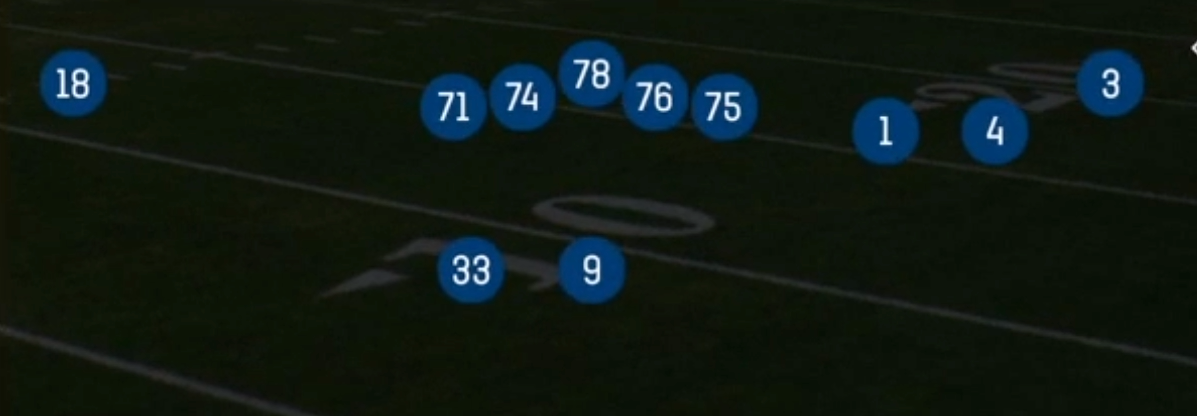
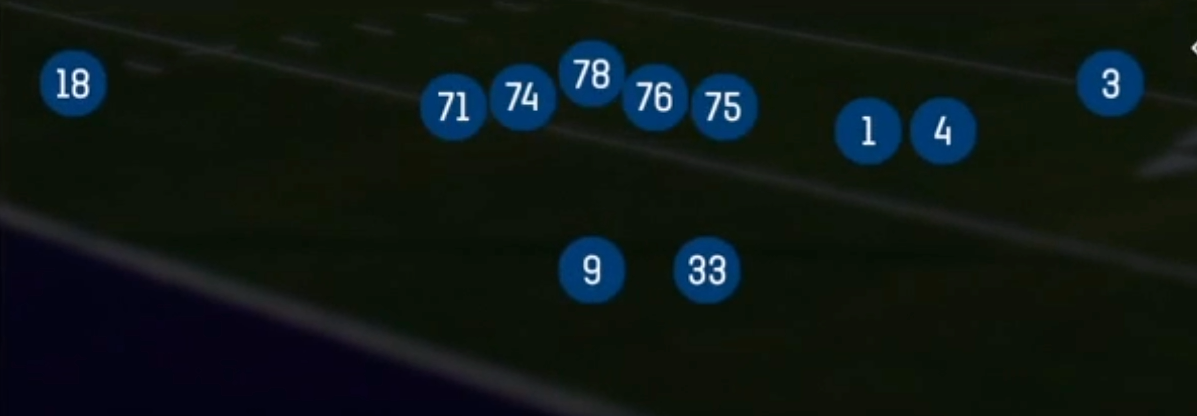
Shotgun Trips in 10 personnel puts four wide receivers and one running back on the field, with three receivers stacked to one side and a lone X receiver isolated on the backside. Unlike Doubles or Bunch sets in Shotgun, Trips creates a true 3x1 alignment. The defense has to choose between rotating coverage toward the trips side and leaving the X on an island, or playing balanced and giving up numbers to the strong side. With no tight end on the field, every eligible option is a speed threat, so linebackers and nickel defenders get forced into coverage against receivers they cannot run with.
The playbook here is deep and versatile. Four Verticals, Levels, Cross Flood, and Stick Wheel flood the trips side against zone. 61 X Choice, Middle Slant, and Fade Stops attack the isolated X against man. The RPO menu (RPO Alert Screen, RPO Alert Bubble, RPO Peek Stick, RPO Read Screen, RPO Zone Alert Screen, RPO Base Alert Bubble) plus the RNS concepts let you punish defenders who cheat toward the box or the numbers. A real run game is still there with Inside Zone, HB Counter, HB Mid Draw, Speed Option, and the Mtn HB Draw, so light boxes against 10 personnel get punished on the ground.
The biggest matchup edge is putting your best route runner at X and forcing a one-on-one read on every snap. When the defense rolls a safety to the trips side, the backside X gets single coverage with no help over the top. When they stay balanced, the inside slot (the #3 receiver) usually draws a linebacker or a slower safety, which is exactly what Slot Drive, Slot Corner, and Curl Post Wheel are built to exploit.
Strengths
- The 3x1 alignment forces a coverage declaration pre-snap: if the safety rotates to trips, 61 X Choice, Middle Slant, and Fade Stops punish the isolated X in single coverage.
- Flood and high-low zone beaters like Levels, Cross Flood, Stick Wheel, and Curl Post Wheel overload one side of Cover 3 and Cover 4, putting flat and hook defenders in constant conflict.
- A huge RPO and screen package (RPO Alert Bubble, RPO Peek Stick, Bubble Screen, WR Mid Screen, HB Slip Screen) turns quick throws into extended handoffs and neutralizes heavy pressure.
- The #3 slot receiver is a built-in mismatch against linebackers in man coverage, and Slot Drive, Slot Drive KO, and Slot Corner are designed to win that matchup with leverage.
- The run game is legitimately dangerous against nickel and dime looks, since Inside Zone, HB Counter, Mtn HB Draw, and Speed Option attack the light boxes defenses use to match four receivers.
Weaknesses
- With no tight end and a single back, protection is thin. Overload and nano blitzes off the backside edge can reach the QB before deep concepts like Four Verticals or 60 Go develop.
- A user-controlled safety or linebacker sitting in the middle of the field can erase the crossers and seams in Levels, Cross Flood, and RNS Georgia Mesh, since most trips concepts feed the throw into the hook-curl zone.
- Defenses that play Cover 3 Buzz or match coverage with a rolled robber can take away the trips-side flood and the backside isolation at the same time.
- The 3x1 look tips off tendencies. Smart opponents will spin coverage or shade the nickel toward trips pre-snap and wait for the predictable stick or bubble throw.
- Short-yardage and goal-line power is limited, since four receivers cannot out-muscle base or goal-line fronts when the defense matches with heavy personnel.
Usage Tips
Read the safety rotation pre-snap: if the single-high safety shades toward trips, audible to 61 X Choice or Middle Slant and throw to the X; if the safeties stay balanced, attack the flood side with Levels or Stick Wheel.
Against heavy blitz or Cover 0 looks, audible to RPO Alert Bubble, Bubble Screen, or HB Slip Screen, or hot route the RB to a block and the X to a slant for a quick answer.
On 3rd and medium against zone, Stick, Mtn Stick, and Curls give you a reliable sticks throw; put a streak on the #1 receiver to clear the flat if the corner squats.
When the defense subs into dime to match 10 personnel, lean on Inside Zone, HB Counter, and Mtn HB Draw to punish the light box, then come back with PA Read or PA Middle once the linebackers start triggering downhill.
Use motion with the #3 receiver to identify man versus zone. If a defender follows him across the formation, call a man beater like Slot Drive KO or Fade Stops; if the coverage just shifts, stay with zone beaters like Cross Flood.
Plays (49)
 45 Quick BaseDive, Run Play
 60 GoGo, Pass Play, Fade +3
 60 SlideSlide, Pass Play, Bubble Screen +1
 61 X ChoiceOption Route, Pass Play, In +1
 Air Raid UnderPass Play, Four Verts, Go +7
 Bubble ScreenScreen Pass, Bubble Screen, Pass Play +1
- Cross FloodCrosser, Flood, Pass Play +5
- Curl Post WheelCurl, Post, Wheel +2
 CurlsCurl, Pass Play, Block and Release +2
 Fade StopsPass Play, Block and Release, Curl +3
 Fake Screen WheelPlay Action, Screen Pass, Wheel +3
- FL DigDig, Curl, Flat +3
 Four VerticalsFour Verts, Pass Play, Cover 2 Beater +7
 HB CounterCounter, Run Play, Power Run
 HB Mid DrawDraw, Run Play
 HB Slip ScreenScreen Pass, Hb Screen, Pass Play +4
 HB SweepSweep, Run Play
- HB SwingSwing, Streak, Pass Play
 Inside ZoneInside Zone, Run Play, Zone Run
 LevelsLevels, Pass Play, Cover 2 Beater +2
 Middle SlantPass Play, Corner, Drag +4
- Mtn HB DrawRun Play
- Mtn HB Slip ScreenScreen Pass, Post, In +2
- Mtn StickStick, Flat, Slant +3
- PA MiddleDrag, Crosser, Fade +4
 PA ReadPlay Action, Pass Play, Comeback +4
 PA WR InPlay Action, Pass Play, Post +4
- Read SpecialBlock and Release, Corner, Curl +3
 RNS Flat ScreenScreen Pass, Flat, Pass Play +1
 RNS GeorgiaPass Play, Quick Pass, Flat +4
 RNS Georgia MeshMesh, Pass Play, Man Beater +2
 RNS HitchesPass Play, Option Route
 RNS Streak X ShallowStreak, Shallow Cross, Pass Play +4
 RPO Alert BubbleRPO, Pass Play, Run Play +2
 RPO Alert ScreenScreen Pass, RPO, Pass Play +1
- RPO Base Alert BubbleBubble Screen, Option Route, Pass Play +1
 RPO Peek StickRPO, Stick, Stick Concept +6
 RPO Read ScreenScreen Pass, RPO, Pass Play +3
- RPO Zone Alert ScreenScreen Pass, RPO, Pass Play +3
 Slant SpacingSlant, Spacing, Pass Play +5
 Slot CornerCorner, Pass Play, Streak +1
 Slot DriveDrive, Pass Play, Cover 4 Beater +6
- Slot Drive KODrive, Pass Play, Cover 4 Beater +6
 Speed OptionSpeed Option, Run Play
 StickStick, Stick Concept, Pass Play +4
- StickStick, Hitch, Out +3
 Stick WheelWheel, Stick, Stick Concept +5
 WR Mid ScreenScreen Pass, Wr Screen, Pass Play +1
- Z SpotCorner, Flat, Slant +1