Playbooks

At a Glance
In 23 playbooks
Overview
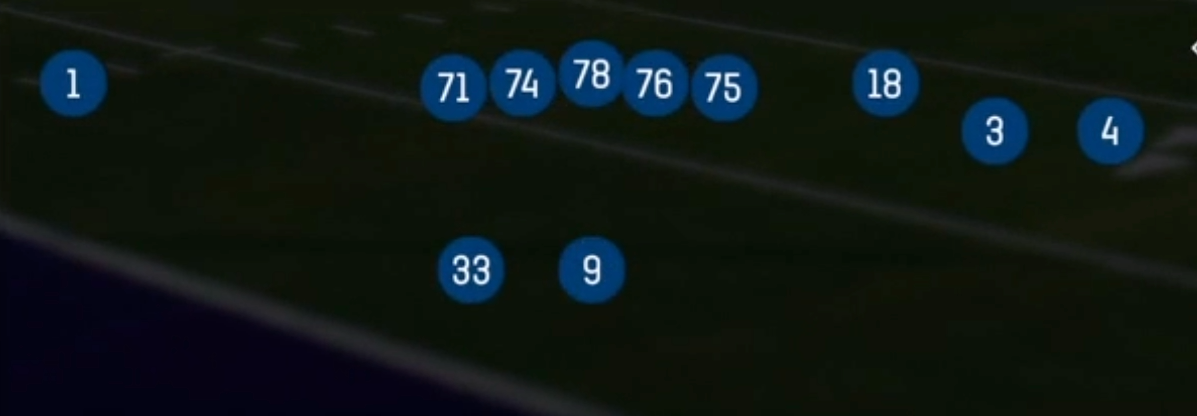
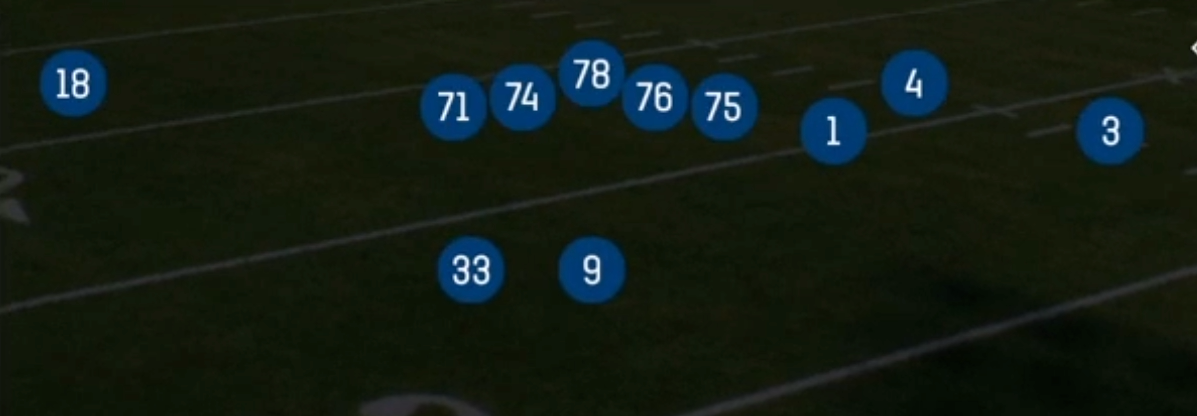
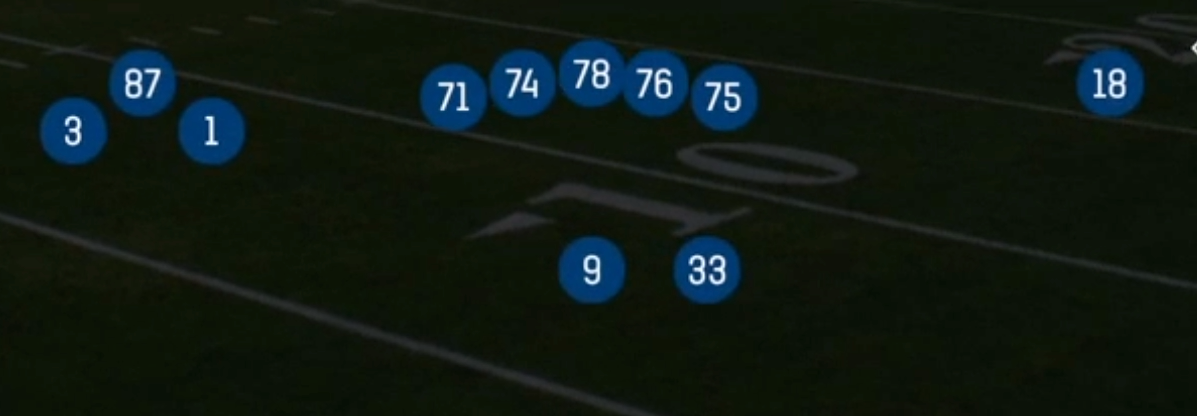
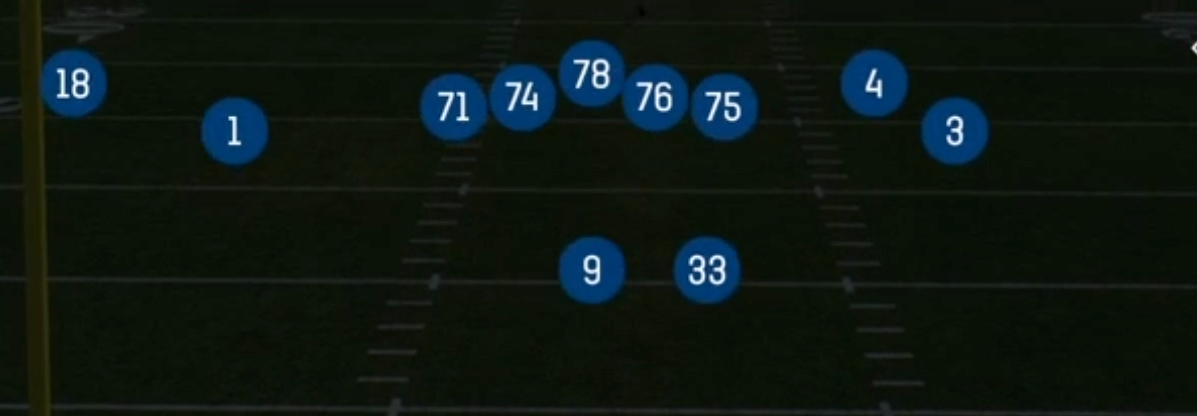
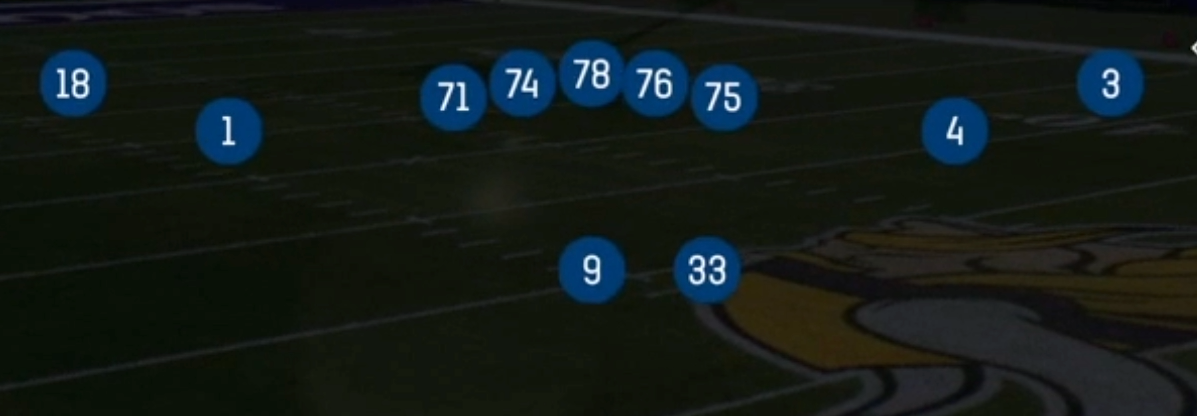
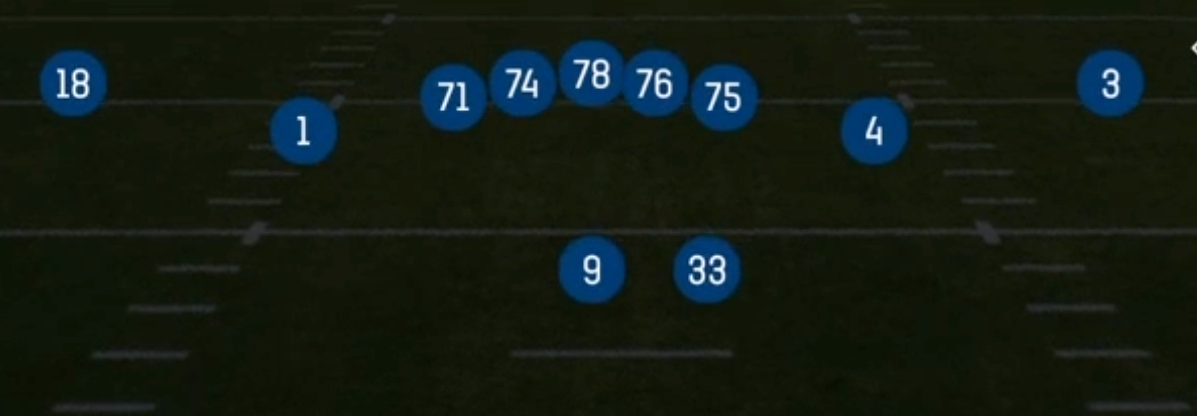
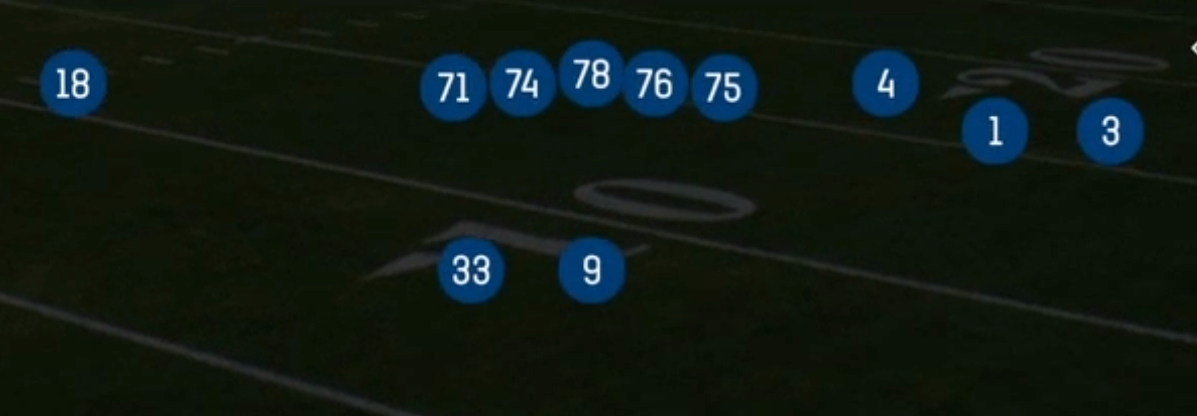
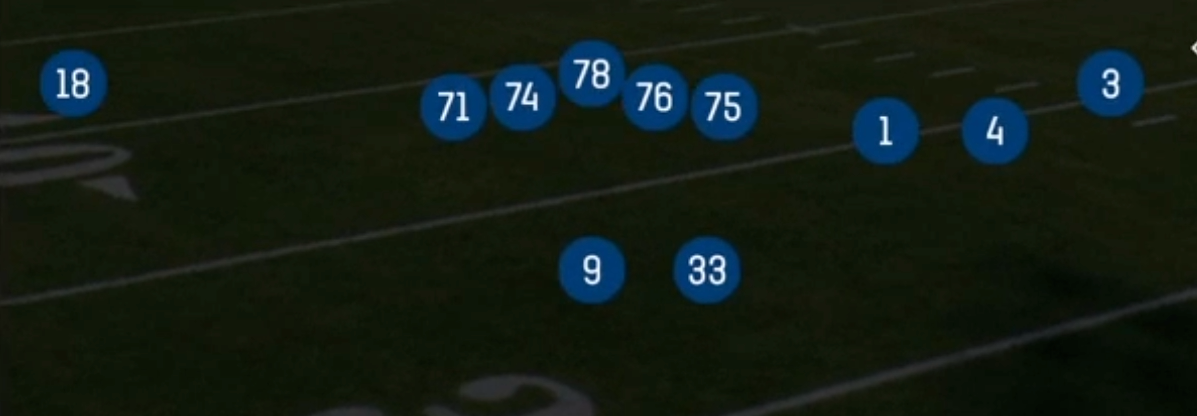
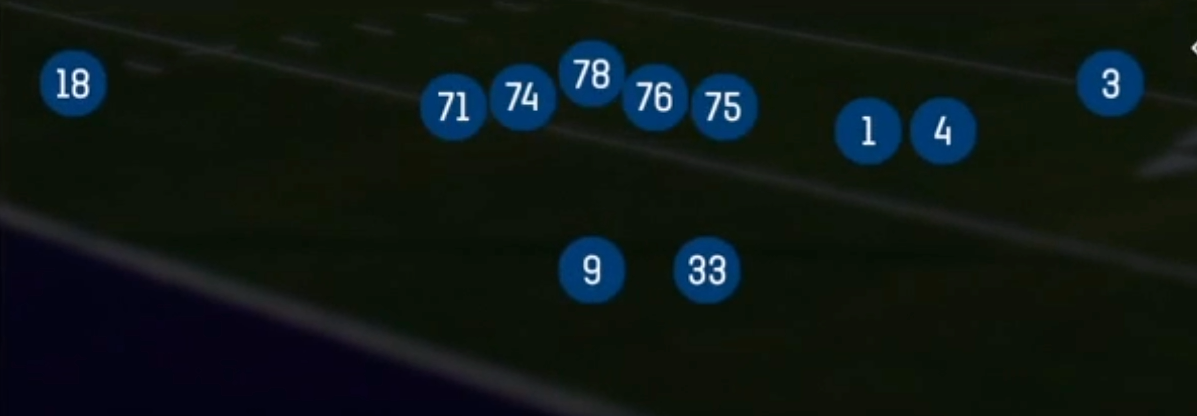
Trips HB Wk is a Shotgun set built from 10 personnel: one halfback, four wide receivers, and no tight end. Three receivers align to the trips side (the No.1, No.2, and No.3), the X receiver is isolated alone on the backside, and the halfback offsets to the weak side of the quarterback. Unlike Trips HB Str or TE based trips looks, placing the back away from the trips puts a legitimate threat on each side of the formation. The defense cannot simply roll its coverage toward the three receiver surface without leaving the X and the HB in a two on two backside scenario, and the weak side back gives you an extra protector and a quick release option on the side with the fewest defenders.
The absence of a tight end forces most defenses into nickel or dime, and the play list takes full advantage of that lighter box. You get compressed Close Zona alignments (Close Zona Stick Flat, Close Zona Fade, Close Zona Cross), tight Mtn and Pitt variations (Mtn Wheel Levels Switch, Pitt Flood Switch, Pitt Choice Zig), classic spread concepts like Mesh Wheel, Smash, Levels, Stick, Spacing, and Four Verticals, plus a full screen game with Bubble Screen, WR Mid Screen, HB Slip Screen, and HB Angle Screen. The run menu is surprisingly deep for a four wide set, with Inside Zone, HB Mid Draw, HB Off Tackle, Same Side Zone, Read Option, QB Blast, and RPO Alert Bubble punishing defenses that go light to cover the spread.
Matchup wise, the set is built to isolate. A true SLWR at the No.3 spot draws a linebacker or safety in man coverage, and the inside release on option and dig routes becomes a mismatch every snap. When the safety rotates toward trips, the X is left alone on an island against a corner for fades, comebacks, and slants. A 3DRB at halfback turns the weak side into a second passing zone on wheels, angles, and slip screens, while a Power HB keeps the box honest so light personnel defenses cannot sit in coverage without paying for it.
Strengths
- Trips surface creates natural 3 level Flood and Levels reads (Deep Flood, Strong Flood, Levels Switch) that overload Cover 3 and quarters rotations toward the passing strength
- Backside X isolation punishes safety rotation to trips: Close Zona Fade, Dbl Comeback, and 61 X Choice give you a 1 on 1 shot whenever the defense spins Cover 1 or Cover 3 toward the trips side
- Elite man beaters in Mesh Wheel, Mesh Spot, Scissors, Quick Slants, and Shock H Option, where rub releases and option routes from the SLWR win against press man and Cover 0 looks
- Weak side HB creates a second threat away from trips, so Mesh Wheel, HB Slip Screen, and HB Angle Screen with a 3DRB attack linebackers who cheat toward the three receiver side
- Light box runs and RPOs (Inside Zone, HB Mid Draw, Read Option, RPO Alert Bubble) punish nickel and dime personnel, letting a Power HB grind out yardage while the defense respects four wide
Weaknesses
- Only five linemen plus the HB in protection, so overload blitzes and nano blitzes off the edge get home quickly on deeper developing plays like Verticals, Deep Flood, and Drive
- The backside X is alone, and a user controlled safety or corner who shades the isolated receiver can take away your primary single side shots and force everything into the trips side
- No tight end limits true power run fits, so heavy fronts in Dime Normal or Nickel 3 3 5 with a user robber can sit on inside runs and screens once they identify your light run tendencies
- Bunched Close Zona and Pitt alignments invite banjo and match coverage calls, where defenders pass off crossers and choke the rub concepts that rely on traffic
- Formation tells are obvious: HB to the weak side often signals a weak side release or run, and good opponents will spy the back or shade their linebackers toward him pre snap
Usage Tips
Read the safety rotation pre snap: if the post safety cheats toward trips, work the backside X on Close Zona Fade, Dbl Comeback, or a hot routed slant; if he stays middle, attack trips with Smash, Deep Flood, or Levels Switch
Against Cover 0 and heavy blitz looks, audible to Mesh Wheel, Quick Slants, or Mesh Spot and hot route the HB to a block or quick out to buy protection while the rub releases beat man coverage
On 3rd and short, Stick, Close Zona Stick Flat, and Shock H Option give you fast option reads from the SLWR, while Read Option and QB Blast punish defenses that drop eight to cover four wide
When the opponent sits in two high shells, use RPO Alert Bubble and Inside Zone to count the box: six or fewer defenders means handoff to your Power HB, seven or more means throw the bubble to the trips side
Pair Four Verticals with a hot routed HB wheel or streak on the weak side to stress Cover 3 seams and flat defenders, then come back to Curls or All Curl once the defense starts bailing deep
Plays (61)
 60 GoGo, Pass Play, Flat +3
 60 SlideSlide, Pass Play, Bubble Screen +1
 61 X ChoiceOption Route, Pass Play, In +1
 All CurlCurl, All Curls, Pass Play +2
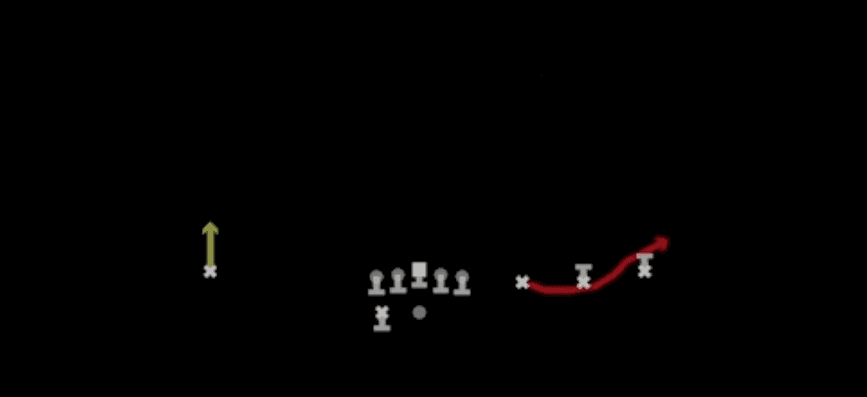 Bubble ScreenScreen Pass, Bubble Screen, Pass Play +1
 Close Zona CrossCrosser, Pass Play, Deep Cross +3
 Close Zona FadeFade, Pass Play, Slant +3
 Close Zona Stick FlatFlat, Stick, Stick Concept +3
 Curl Flat CornerFlat, Curl, Corner +6
 CurlsCurl, Pass Play, Out +2
 Curl Slot DigCurl, Dig, Pass Play +3
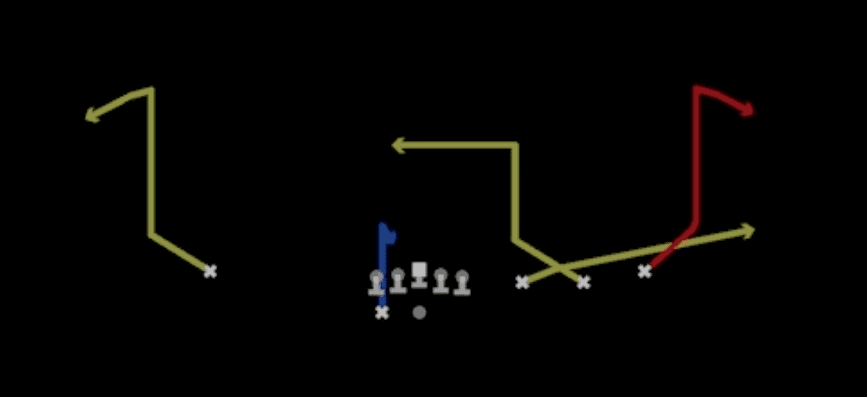 Dbl ComebackComeback, Pass Play, Block and Release +2
 Deep FloodFlood, Pass Play, Cover 3 Beater +5
 Deep StickStick, Stick Concept, Pass Play +4
 Double ScreenScreen Pass, Pass Play, In +1
 Dragon StickStick, Stick Concept, Pass Play +4
 DriveDrive, Pass Play, Cover 4 Beater +6
 Flood Switch FadeFade, Flood, Pass Play +6
 Four VerticalsFour Verts, Pass Play, Cover 2 Beater +6
- HB Angle ScreenScreen Pass, Angle, Corner +4
 HB BaseDive, Run Play
- HB DirectRun Play
 HB Mid DrawDraw, Run Play
 HB Off TackleOff Tackle, Run Play
 HB Slip ScreenScreen Pass, Hb Screen, Pass Play +5
- Inside CrossCrosser, Pass Play, Drag +3
 Inside SwitchPass Play, Corner, Flood +6
 Inside ZoneInside Zone, Run Play, Zone Run
 LevelsLevels, Pass Play, Cover 2 Beater +2
 Levels SwitchLevels, Pass Play, Cover 2 Beater +4
 Mesh SpotSpot, Mesh, Pass Play +6
 Mesh WheelWheel, Mesh, Pass Play +4
 Middle SlamPass Play, Corner, Seam +7
 Mtn Shock HB OptionOption Route, Motion, Pass Play +4
 Mtn Slot CrossMotion, Crosser, Pass Play +5
 Mtn Slot CurlsMotion, Curl, Pass Play +3
 Mtn Wheel Levels SwitchWheel, Levels, Motion +7
 PA QB ChoicePlay Action, Option Route, Pass Play +6
 PA WR InPlay Action, Pass Play, Post +4
 Pitt Choice ZigOption Route, Pass Play, Post +3
 Pitt Flood SwitchFlood, Pass Play, Cover 3 Beater +4
 Pitt X DragDrag, Pass Play, Dig +4
 Pitt Z StreakStreak, Pass Play, Dig +4
- Post Slot HitchPost, Comeback, Fade +3
- QB BlastRun Play
 Quick SlantsSlant, Pass Play, Flat
 Read OptionRead Option, Run Play
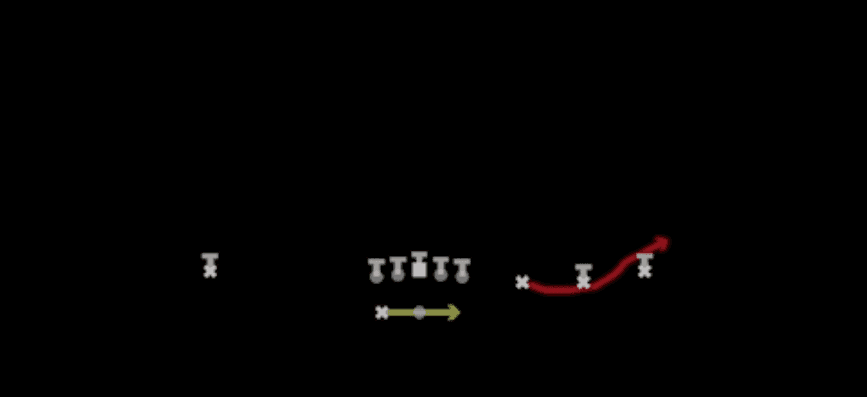 RPO Alert BubbleRPO, Pass Play, Run Play +1
- Same Side ZoneRun Play
- ScissorsBlock and Release, Corner, Post +2
 Shock H OptionOption Route, Motion, Pass Play +4
 Slot HitchPass Play, Curl, Out +3
 SmashSmash, Pass Play, Cover 2 Beater +4
- SpacingSpacing, Pass Play, Cover 3 Beater +2
 StickStick, Stick Concept, Pass Play +3
- Strong FloodDeep Cross, Crosser, Out +3
- Trips CrossCrosser, Deep Cross, Option Route +4
 VerticalsFour Verts, Pass Play, Cover 2 Beater +7
 WR Mid ScreenScreen Pass, Wr Screen, Pass Play +1
- Zona FadeFade, Pass Play, Drag +3
- Zona Slot OutOut, Pass Play, Curl +2