Playbooks

At a Glance
In 22 playbooks
Overview
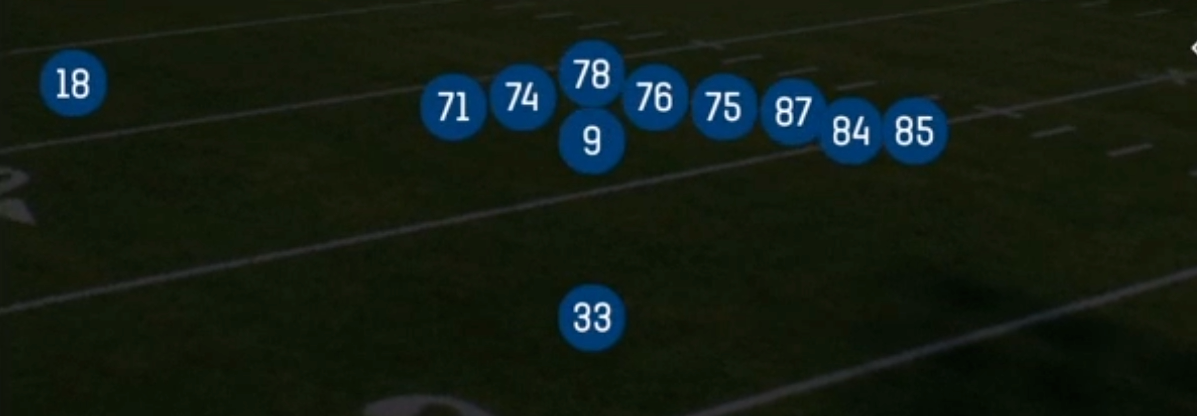
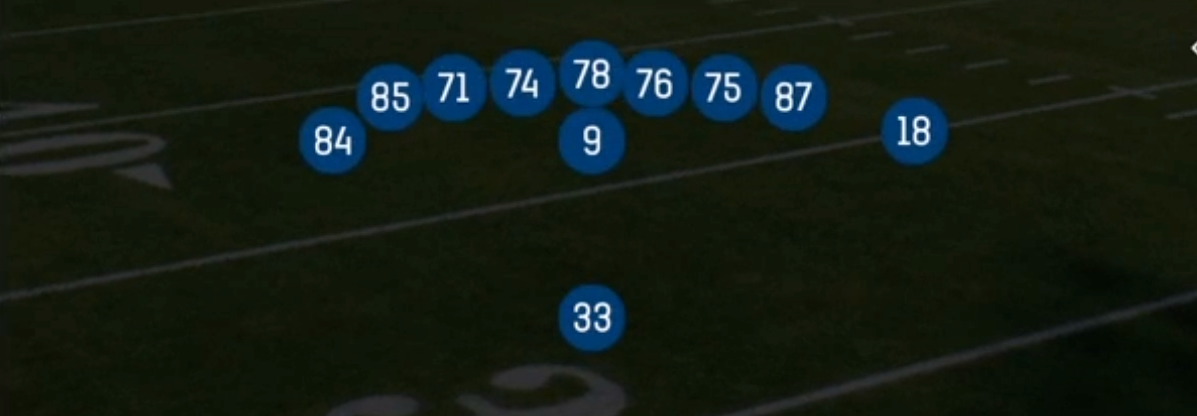
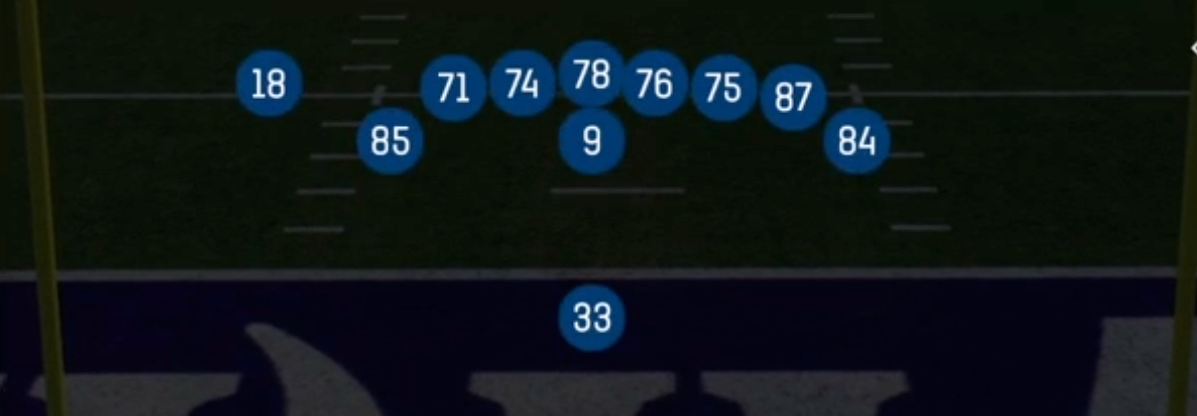
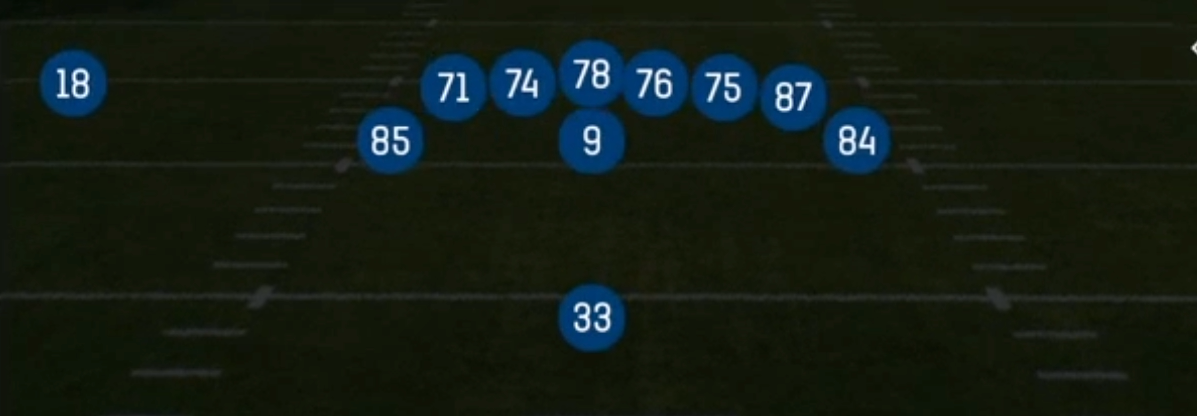
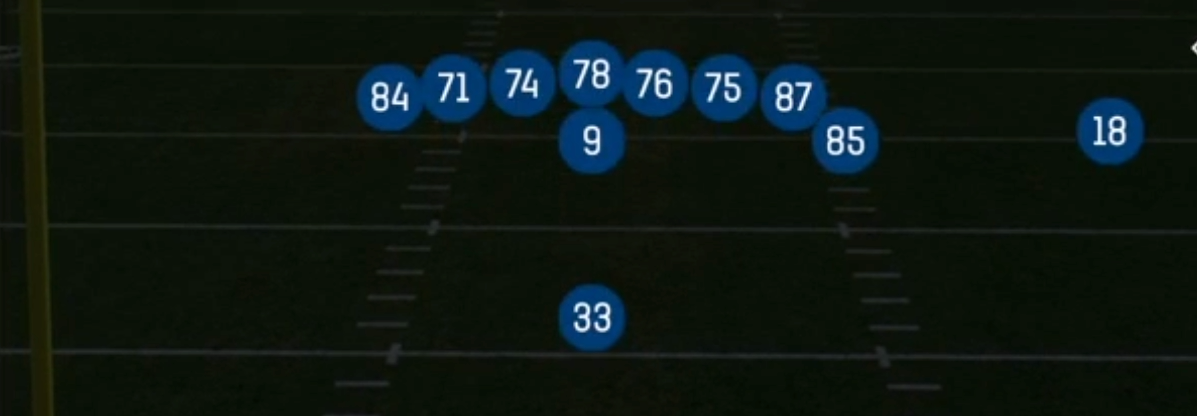
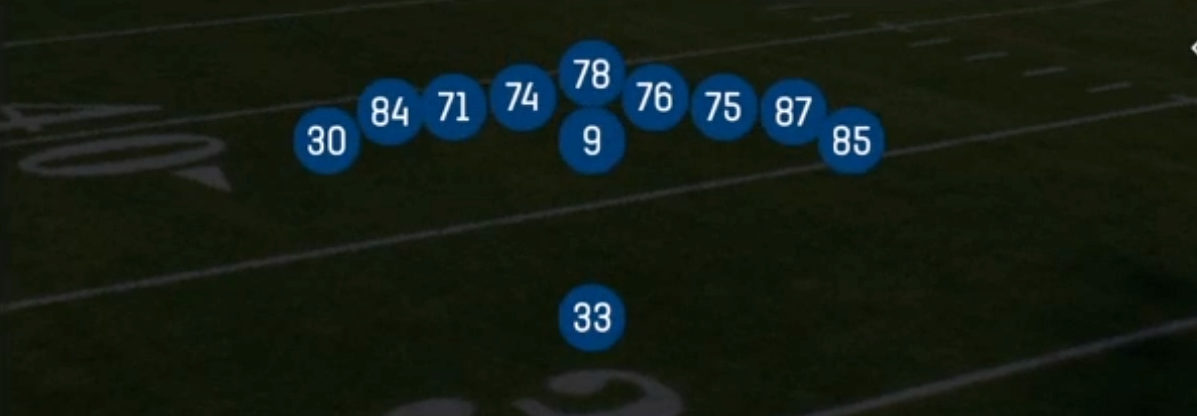
Singleback Wing Tight is a 13 personnel set that puts three tight ends on the field with one halfback and a single split receiver. The alignment stacks an inline tight end and a wing tight end to one side while the third tight end attaches on the opposite side, creating a two-way surface with extra gaps for the defense to fill. Compared to lighter Singleback sets like Ace or Doubles, Wing Tight gives up horizontal spacing in exchange for gap control, extra blockers at the point of attack, and play-action credibility that forces defenses into base or heavy personnel.
The wing alignment is the key. With a tight end off the ball, the offense can pull, kick out, arc release, or leak into the flat without changing the pre-snap picture. That disguise powers the run game (HB Power O, HB Counter, 26 Duo, HB Inside Zone, HB Stretch) and its matching play-action looks (PA Power O, PA Boot, PA Boot Flood, PA Y Throwback, PA Saints Sail). Defenders who trigger downhill on the run keys get punished by tight ends leaking behind them on boot and sail concepts.
Matchup-wise, Wing Tight isolates tight ends against linebackers and safeties while leaving the lone split receiver on an island. When the defense matches with goal line or 4-4 looks, you get one-on-one coverage outside for WR Option, Quick Slant, and Sluggo Seam. When they stay nickel, you run Power at a light box. The Gadget tag reflects the jet motion package (Jet Sweep, PA Jet Sweep, Zone Fake Jet) and misdirection plays that stress eye discipline and punish over-aggressive user defenders.
Strengths
- Elite run fits: HB Power O, HB Counter, 26 Duo, and HB Inside Zone get an extra gap blocker from the wing, giving you a hat on a hat against base fronts and a numbers advantage against nickel or dime.
- Play-action that matches the run: PA Power O, PA Boot Flood, PA Saints Sail, and PA Y Throwback share the same backfield action as the core runs, so linebackers biting on the mesh leave the flat and intermediate zones open for tight ends leaking across the formation.
- Zone beaters built in: PA Boot Flood and PA Flood give a three-level sideline stretch against Cover 3 and Cover 4, while Dagger and PA Dig Cross attack the hole behind hook defenders in Cover 2 and Tampa looks.
- Man beaters against slow linebackers: TE Shake, TE Option, Mesh Spot, and Inside Cross create natural rubs and leverage breaks when a linebacker or strong safety has to carry a tight end, and the lone WR on Quick Slant or WR Option is a clean one-on-one isolation.
- Gadget and motion stress: Jet Sweep, Zone Fake Jet, and HB Misdirection use motion and fake action to move second-level defenders and force users to guess, which sets up counters and throwbacks the rest of the game.
Weaknesses
- Limited vertical threats: with only one true receiver on the field, defenses can play single high, roll a safety to the WR, and crowd the box without fearing multiple deep routes.
- Vulnerable to heavy run blitz: opponents in goal line or 4-4 packages with nano blitzes off the edge can overload the play side and blow up pullers on Power O and Counter before they reach the hole.
- Slow tight end routes versus quality man: athletic linebackers and user-controlled safeties can sit on short TE routes like Y Stick and TE Corners, and three slower targets make separation difficult on third and long.
- Predictable personnel read: 13 personnel screams run to many players, so opponents who match with heavy base and user a linebacker in the A gap can shut down inside runs and force you into play-action from behind the chains.
- Boot and rollout exposure: PA Boot and Fake HB Zone QB Boot leave the backside unblocked, so contain rushers or a user spying the edge can sack or force throwaways if the boot is predictable.
Usage Tips
Establish HB Power O and 26 Duo early in the game, then hit PA Power O or PA Boot Flood from the same look once you see linebackers and the user filling downhill on the mesh.
Read the box pre-snap: if the defense stays in nickel or dime against 13 personnel, audible to a gap run like HB Counter or HB Power; if they bring goal line or 4-4, check to WR Option, Quick Slant, or Sluggo Seam to attack one-on-one coverage outside.
On short yardage and inside the red zone, pair HB Plunge or HB Dive with PA Saints Sail and PA Y-Drag Wheel so the defense cannot sell out on the run without giving up leaking tight ends in the flat and corner.
Against Cover 3 heavy opponents, run PA Boot Flood or PA Flood and hot route the backside TE to a drag to create a high low read on the flat defender, and use Dagger against Cover 2 to hit the seam behind the hook zone.
Use Jet Sweep and Zone Fake Jet as eye candy, then come back with HB Misdirection or HB Counter Wk later in the drive when the user starts cheating toward the motion side.
Plays (49)
 26 DuoDuo, Run Play, Power Run
- DaggerDagger, Pass Play, Cover 2 Beater +6
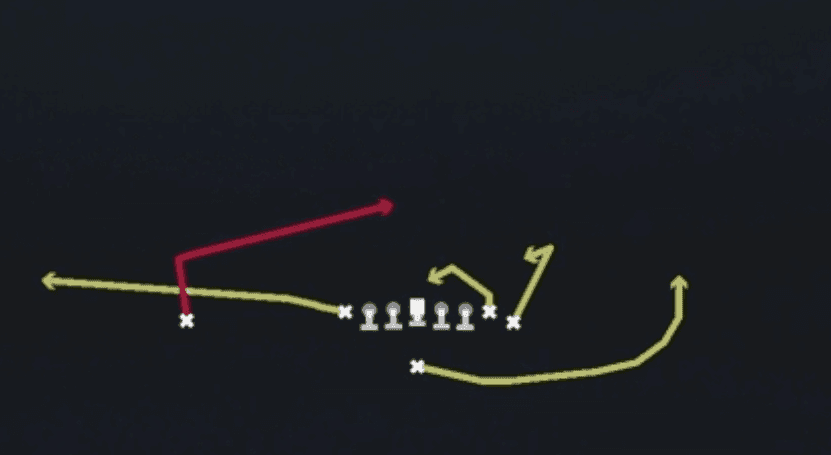 Dragon SpacingSpacing, Pass Play, Cover 3 Beater +5
 Fake HB Zone QB BootInside Zone, Zone Run, Run Play
 HB Ace PowerPower, Run Play, Power Run
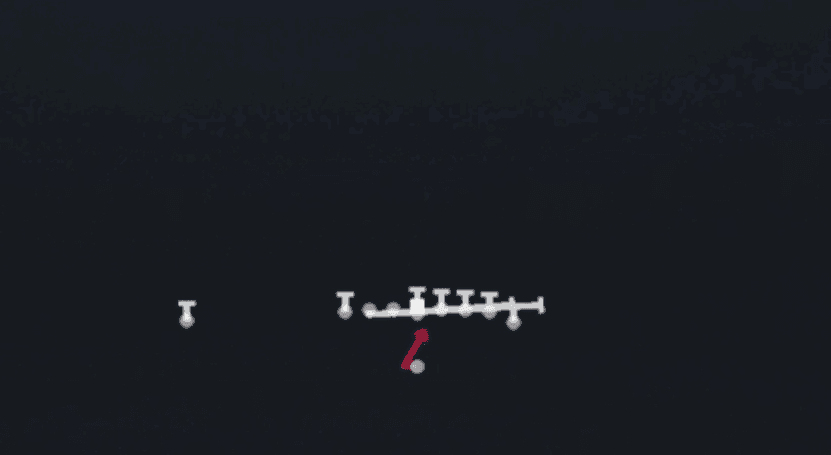 HB CounterCounter, Run Play, Power Run
 HB Counter WkCounter, Run Play, Power Run
 HB DiveDive, Run Play
 HB DrawDraw, Run Play
 HB Inside ZoneInside Zone, Run Play, Zone Run
- HB MisdirectionMisdirection, Run Play
 HB PlungeRun Play, Dive, Inside Zone +1
 HB PowerPower, Run Play, Power Run
 HB Power OPower, Run Play, Power Run
 HB SmashRun Play
 HB StretchOutside Zone, Run Play, Zone Run
 Inside CrossCrosser, Pass Play, Block and Release +3
 Jet SweepSweep, Jet Sweep, Motion +1
 Mesh SpotSpot, Mesh, Pass Play +7
 PA BootPlay Action, Pass Play, Curl +3
 PA Boot FloodPlay Action, Flood, Pass Play +6
- PA Boot LeftBlock and Release, Comeback, Deep Cross +4
 PA Boot SlidePlay Action, Slide, Pass Play +5
 PA Ctr WagglePlay Action, Pass Play, Block and Release +4
 PA Dig CrossPlay Action, Dig, Crosser +4
 PA FloodPlay Action, Flood, Pass Play +5
 PA FL StretchPlay Action, Pass Play, Corner +5
 PA Jet SweepSweep, Jet Sweep, Play Action +5
- PA MillsPlay Action, Mills, Pass Play +4
 PA Power OPlay Action, Pass Play, Deep Cross +4
 PA Roll LtPlay Action, Pass Play, Block and Release +4
- PA Saints SailPlay Action, Sail, Pass Play +6
 PA TE CrossPlay Action, Crosser, Pass Play +4
- PA U-drag WheelPlay Action, Wheel, Drag +6
 PA Wheel SlidePlay Action, Slide, Wheel +5
 PA Y-Drag WheelPlay Action, Wheel, Drag +4
 PA Y SailPlay Action, Sail, Pass Play +2
 PA Y ThrowbackPlay Action, Pass Play, Corner +2
 Power Alert X LookiePass Play, Smash, Man Beater +2
 Quick SlantQuick Pass, Slant, Pass Play +2
 Sluggo SeamSeam, Sluggo, Pass Play +3
 Stick Nod VerticalStick, Stick Concept, Pass Play +6
- Stretch Alert X LookieOutside Zone, Run Play, Zone Run +2
 TE CornersCorner, Pass Play, Post +2
 TE OptionOption Route, Pass Play, Block and Release +3
 TE ShakePass Play, Corner, Go +8
 WR OptionOption Route, Pass Play, Block and Release +2
 Y StickStick, Stick Concept, Pass Play +3
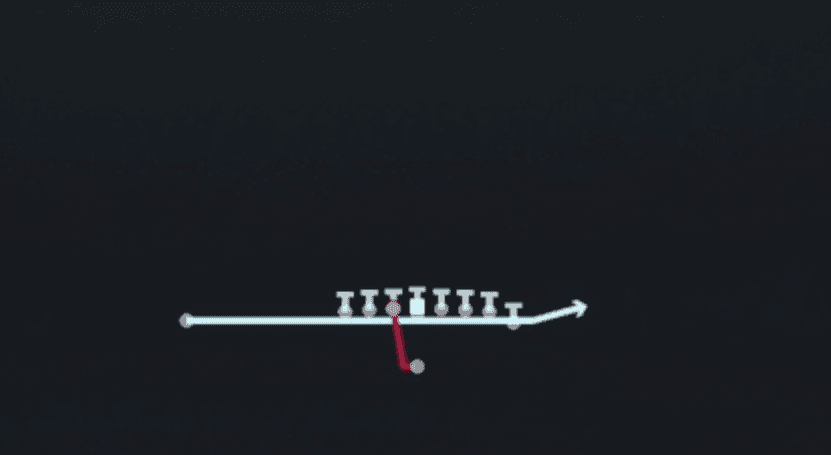 Zone Fake JetMotion, Run Play