Playbooks

At a Glance
Overview
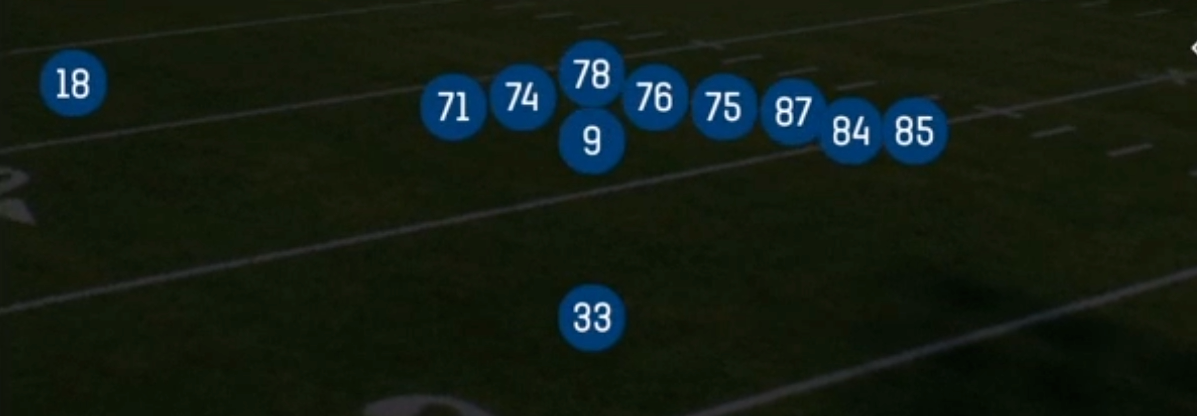
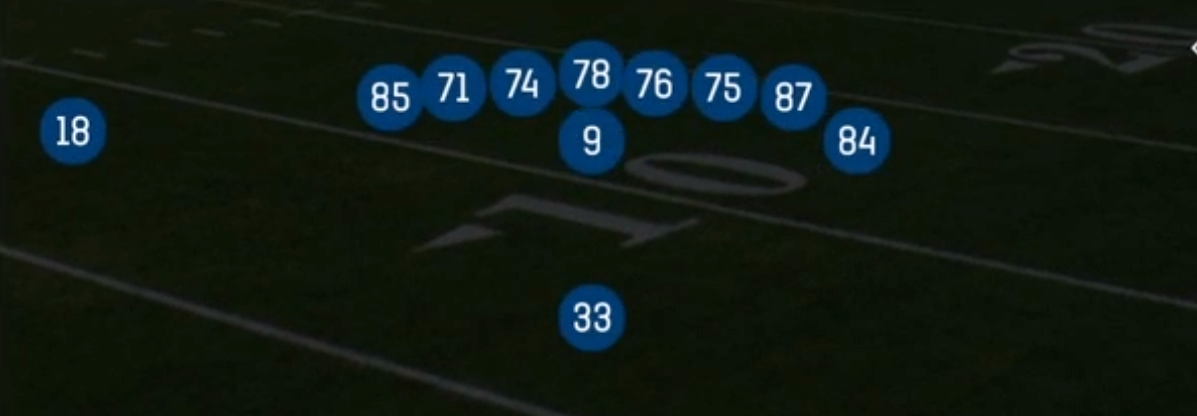
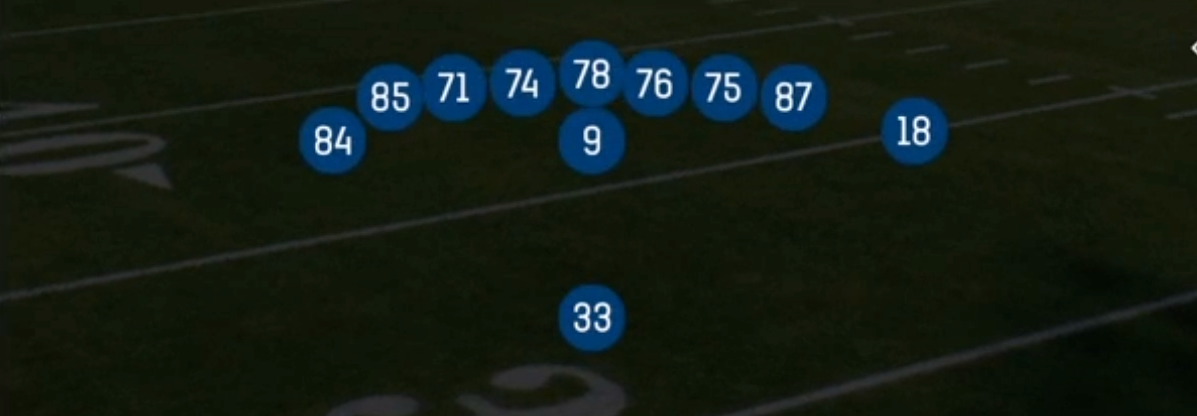
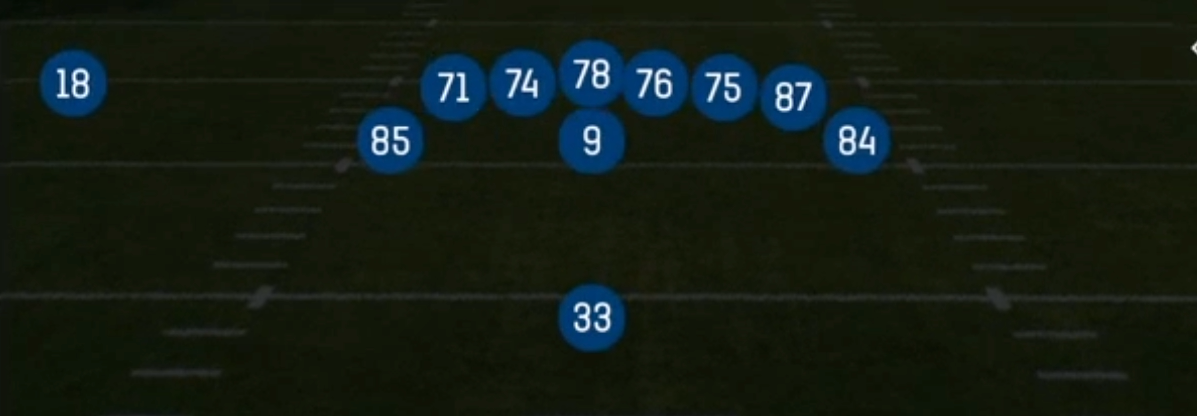
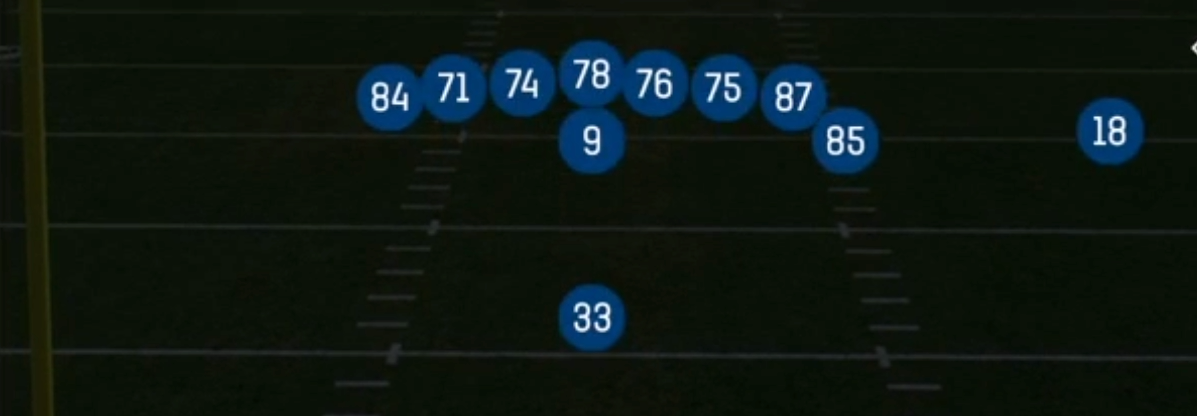
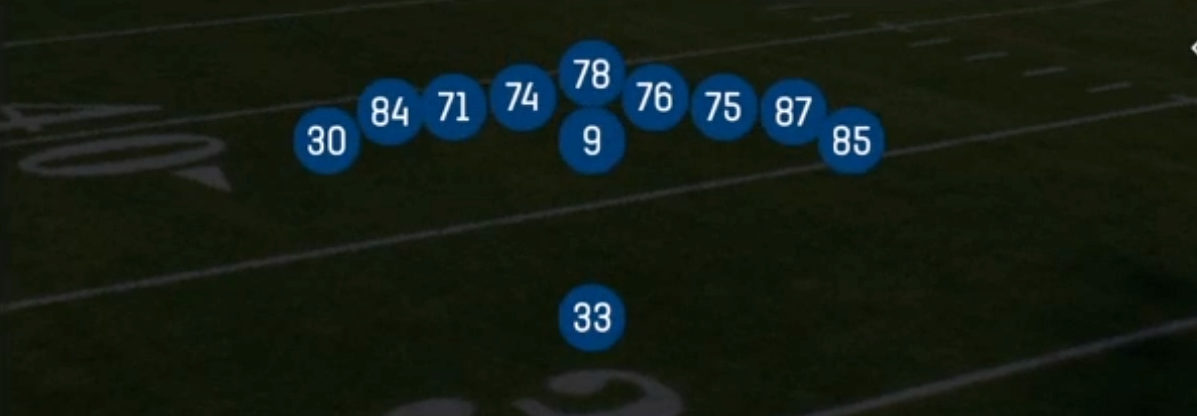
Wing Tight Nasty is one of the heaviest looks in the Singleback formation. It uses 13 personnel (one running back, three tight ends, one wide receiver) and stacks surface blockers into a compressed alignment. Most Singleback sets spread the field with two or three receivers. This set instead pairs an inline tight end with a wing off the edge and brings the lone receiver into a nasty split close to the formation. The result is a condensed box that forces the defense to declare its run fit before the snap, because every gap on the strong side has an extra body to account for.
The menu is built around gap and zone runs: Counter Strong, Duo, HB Inside Zone, HB Stretch, HB Smash and Mtn HB Smash. The wing tight end acts as a lead or kick-out blocker, which gives Duo and Counter Strong real double teams at the point of attack. Once defenses sell out with Goal Line, Big Dime Nasty or 5-2 looks and crash the edges, the play action tree punishes them. Mtn PA Boot Lt, Mtn PA Y-CoPo and PA U-Drag Wheel all use the same backfield action to pull linebackers downhill, then release tight ends into the vacated second level.
The matchup edge comes from forcing base or heavy defensive personnel onto the field. When a defense matches with extra linebackers, your Y tight end and U tight end get slower coverage defenders on wheels, drags and corner routes. When a defense stays light to cover those tight ends, the run game gets favorable numbers inside. The nasty-split receiver is effectively isolated in a condensed alignment where crack blocks and short in-breakers are easy to execute, and motion packages like the Mtn tags let you shift the strength to create leverage mismatches before the snap.
Strengths
- Extra gap blockers on the strong side create true double teams on Duo and Counter Strong, letting a Power HB or 3DRB punish light boxes and nickel personnel
- Identical backfield action between HB Inside Zone, HB Smash and the PA concepts makes Mtn PA Y-CoPo and Mtn PA Boot Lt lethal against defenders who bite on run keys, especially Cover 3 and Cover 1 robber
- Dig Y-Wheel and PA U-Drag Wheel are strong man beaters because tight ends release against linebackers, and the wheel route stresses defenders caught in trail technique out of the backfield or wing
- Stick Spacing gives a quick zone beater that attacks the flat and hook defenders in Cover 2 and Cover 4, providing a reliable answer on 3rd and short without leaving the heavy look
- Motion tags (Mtn) let you shift strength pre snap, which reveals man vs zone and can flip defensive run fits so a stacked side becomes the weak side
Weaknesses
- With only one wide receiver, the passing tree has little vertical spacing, so a Cover 2 Sink or Cover 4 Drop with a user-controlled middle linebacker can smother tight end concepts
- Heavy personnel invites Goal Line and 5-2 defenses that sell out against the run, and a well timed edge nano blitz can blow up HB Stretch before the wing block develops
- Play action concepts take time to develop, so a disciplined user who sits in the flat and ignores the fake can jump the boot flat route for an easy pick
- Savvy opponents key on the set as a run tendency and load the box with a Mike spy or safety fill, forcing you into long third downs if early down runs stall
- Most tight ends lack separation speed, so press man with a fast linebacker or dime backer shadowing the Y can erase the wheel and corner concepts
Usage Tips
Use this set on 1st and 10, short yardage and red zone snaps where the defense is likely to show nickel or dime personnel; run Duo or Counter Strong when you count six or fewer in the box
When the defense responds with Goal Line or Big personnel and crowds the line, audible to Mtn PA Y-CoPo or Mtn PA Boot Lt to attack a single high safety behind the fake
Set a hot route of a streak or out on the nasty-split receiver against Cover 0 and heavy blitz looks, and slide protection toward the pressure side to buy time on play action
Run Stick Spacing on 3rd and 4 or less against zone, reading the flat defender: if he widens, hit the stick route, and if he sinks, dump to the flat immediately
Use the Mtn motion to read coverage before the snap: a defender following the tight end across signals man, so Dig Y-Wheel or PA U-Drag Wheel becomes the call, while a shifting zone rotation points to HB Stretch or Stick Spacing
Plays (11)
 Counter StrongCounter, Run Play, Power Run
 Dig Y-WheelDig, Wheel, Pass Play +4
 DuoDuo, Run Play, Power Run
 HB Inside ZoneInside Zone, Run Play, Zone Run
 HB SmashRun Play
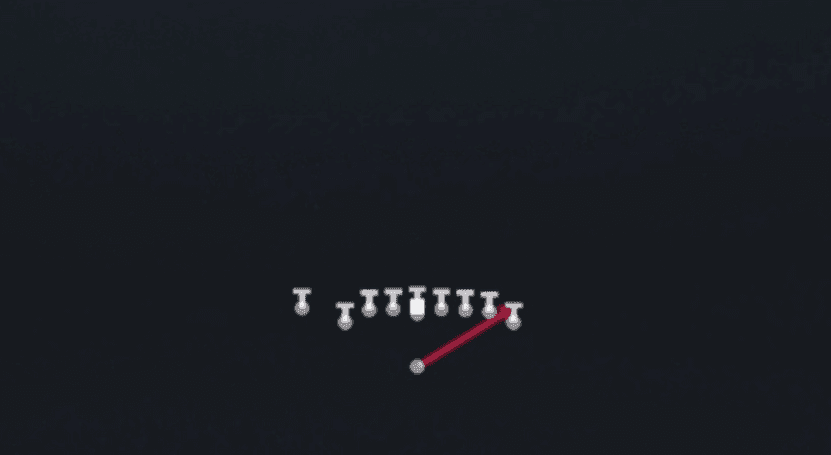 HB StretchOutside Zone, Run Play, Zone Run
 Mtn HB SmashMotion, Run Play
 Mtn PA Boot LtPlay Action, Motion, Pass Play +5
 Mtn PA Y-CoPoPlay Action, Corner Post, Motion +6
 PA U-Drag WheelPlay Action, Wheel, Drag +4
 Stick SpacingStick, Spacing, Stick Concept +6