Playbooks

At a Glance
Overview
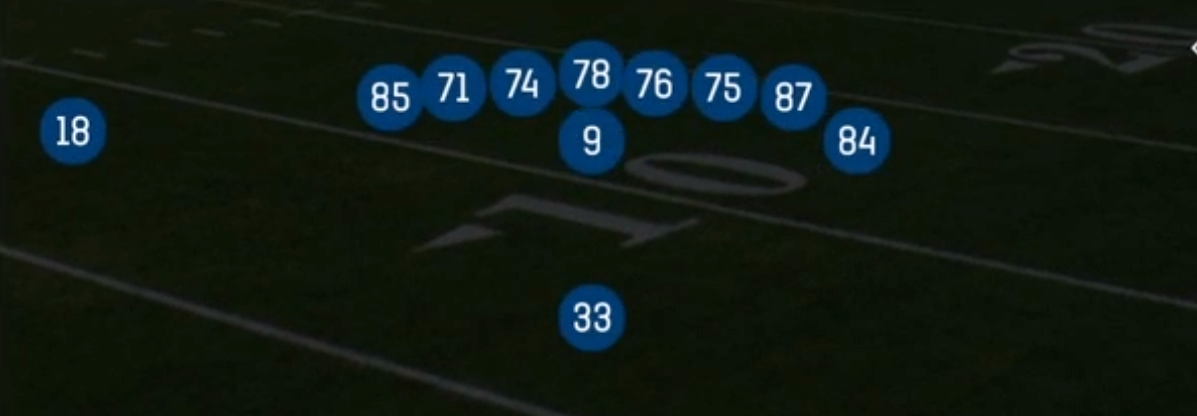
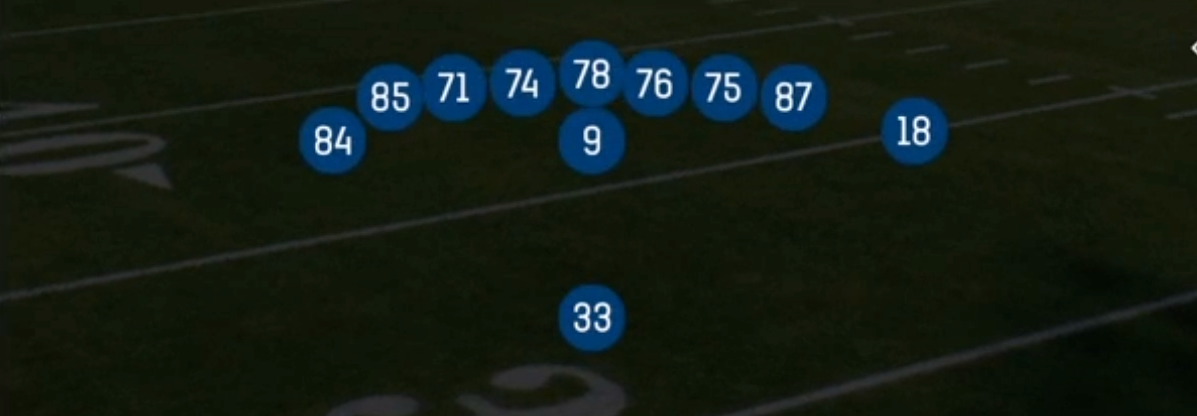
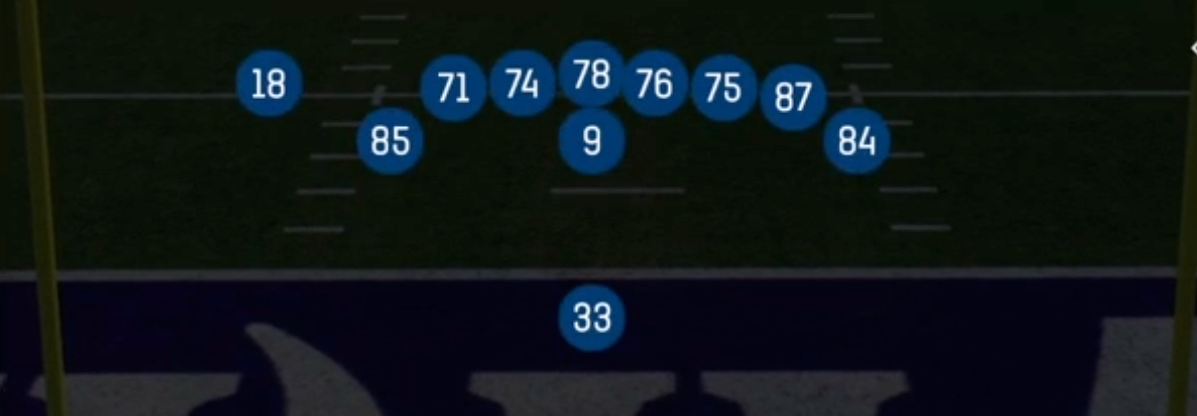
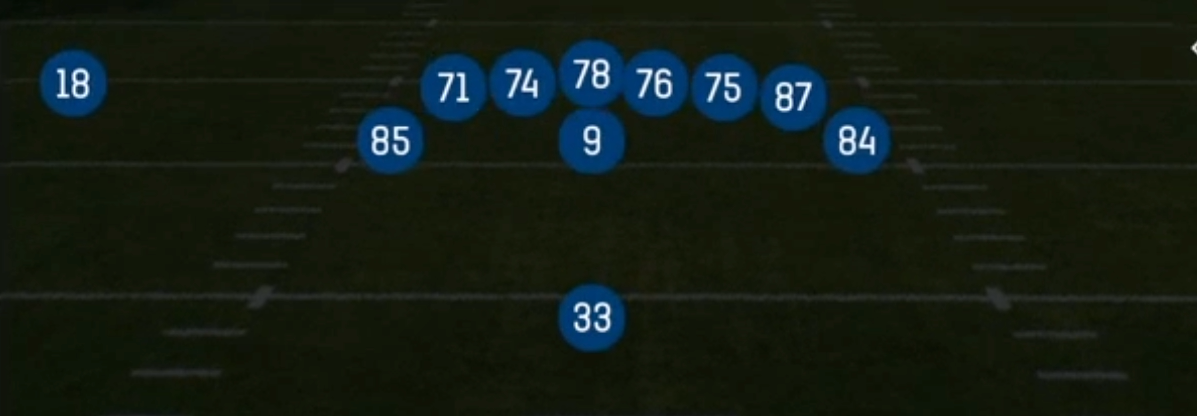
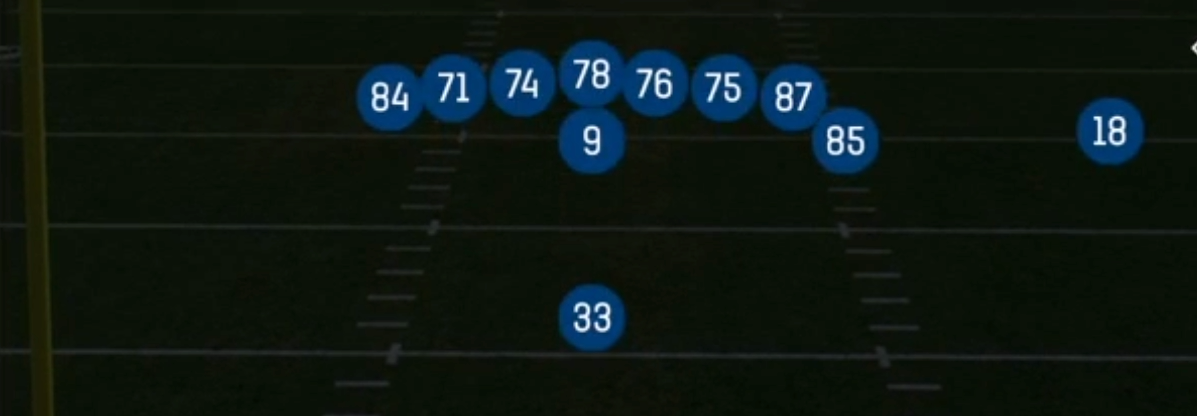
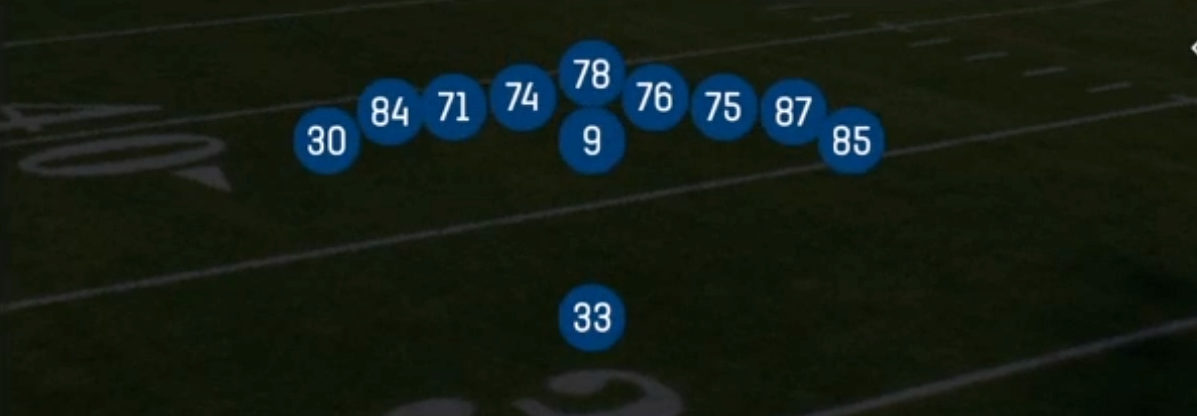
Wing Pair is the heaviest look in the Singleback formation, deploying 13 personnel: one halfback, three tight ends, and a lone split receiver. Instead of spreading the field like Ace Twins or Doubles, Wing Pair packs the tight ends into attached and wing alignments around the core, creating extra gaps and extra gap blockers at the point of attack. Defenses almost always answer with base or goal line personnel, which puts slower linebackers and big nickel safeties on the field and leaves the single X receiver isolated on the backside against a corner, often with little safety help.
The set is built to marry a downhill run game to play action. HB Dive, Mtn HB Plunge, 26 Duo, Power O, HB Counter Wk, and Mtn Counter Str give you gap and man schemes that use the wing tight ends as kick out and lead blockers. HB Inside Zone, HB Stretch, 24 Zone Open, and Wide Zone Wk let you stretch the front horizontally once defenders start crashing. The Gadget tag shows in calls like 0 1 Trap, Jet 6 Drive, Stretch WR Screen, and the RPO Alert Dive Smoke and RPO Dive Alert Smoke looks, which punish defenses that overcommit to the heavy box.
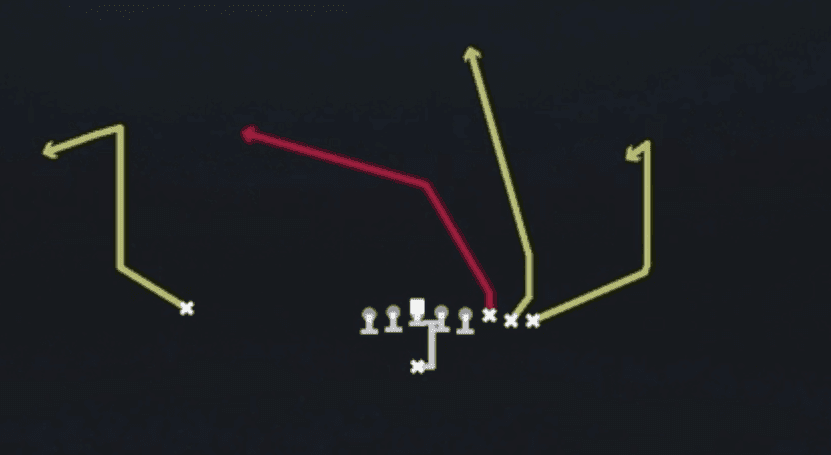
The passing tree punishes run fits. PA X Burst Heavy, PA X Burst Cross, and PA X Burst Hvy isolate the X on deep breaking routes after a hard fake, while PA TE Seam, TE Attack, TE Drive, and Y Stick Heavy get your tight ends matched on linebackers and safeties. PA Boot Lt, PA Boot RT, and PA Sprint HB Flat move the pocket and create easy flood reads, and RZ PA Crossers gives you a dedicated red zone answer when the defense sells out against the run.
Strengths
- Heavy 13 personnel forces base or goal line defensive personnel, creating tight end mismatches against linebackers on TE Attack, PA TE Seam, and Y Stick Heavy
- The isolated X receiver draws one on one coverage when the defense loads the box, making PA X Burst Heavy and PA X Burst Cross elite man beaters against Cover 1 and Cover 0
- Deep run game menu (Power O, 26 Duo, HB Counter Wk, HB Inside Zone, Wide Zone Wk) lets you attack gap and zone fronts from identical pre snap looks, killing defensive reads
- PA Boot Lt and PA Boot RT create high low flood reads on the flat, corner, and crosser that shred Cover 3 and Cover 4 when curl flat defenders bite on the fake
- RPO Alert Dive Smoke and RPO Dive Alert Smoke give you an automatic answer to loaded boxes, throwing the smoke to the X when the corner plays off or a linebacker vacates
Weaknesses
- Only one true receiver means the defense can bracket or shade the X, and a user safety sitting over the top kills most PA X Burst concepts
- Limited vertical threats make the set vulnerable to Cover 0 and edge pressure from goal line packages, with few quick hot route options beyond the tight ends
- Heavy tendency is easy to read: opponents stack the box, user the Mike on HB Dive and Power O fits, and sit on run plays until you prove the pass works
- Play action and boot concepts require longer developing reads, so nano blitzes off the edge and contain defenders can sack the QB on rollouts before the flood clears
- Slow tight ends struggle to separate against athletic linebackers or safeties in man, so a user controlled defender robbing the seam on PA TE Seam or TE Drive creates turnover risk
Usage Tips
Establish HB Inside Zone and Power O early to force the defense into loaded boxes, then call PA X Burst Heavy when you see the single high safety cheat down pre snap
On short yardage and goal line, pair Mtn HB Plunge and Mtn Counter Str with RZ PA Crossers to punish defenders who crash the gap at the snap
When you read Cover 0 or press man on the X, hot route the X to a fade or slant and block the halfback to buy time against the extra rusher
Use PA Boot Lt and PA Boot RT on 2nd and medium against Cover 3, reading flat to corner to crosser, and scramble for yards if the contain defender drops
Mix in 0 1 Trap, Jet 6 Drive, and Stretch WR Screen as change ups when the opponent starts aggressively pinching the defensive line or sending run commit blitzes
Plays (34)
 0 1 TrapTrap, Run Play, Power Run
 24 Zone OpenRun Play, Outside Zone, Zone Run +1
 26 DuoDuo, Run Play, Power Run
 Dragon SpacingSpacing, Pass Play, Cover 3 Beater +5
 HB Counter WkCounter, Run Play, Power Run
 HB DiveDive, Run Play
 HB Inside ZoneInside Zone, Run Play, Zone Run
 HB StretchOutside Zone, Run Play, Zone Run
- HB SweepRun Play
 Jet 6 DriveDrive, Motion, Pass Play +7
 Mtn Counter StrCounter, Motion, Run Play +1
 Mtn HB PlungeMotion, Run Play
 Mtn SpotSpot, Motion, Pass Play +4
 Mtn Spot HeavySpot, Motion, Pass Play +5
 PA Boot LtPlay Action, Pass Play, Comeback +4
- PA Boot RTBlock and Release, Corner, Deep Cross +3
- PA Ctr ShotPlay Action, Pass Play, Deep Cross +4
 PA Sprint HB FlatPlay Action, Flat, Pass Play +4
 PA TE SeamPlay Action, Seam, Pass Play +5
 PA X Burst CrossPlay Action, Crosser, Pass Play +4
 PA X Burst HeavyPlay Action, Pass Play
- PA X Burst HvyPlay Action, Pass Play, Corner +4
 Power OPower, Run Play, Power Run
 Raiders VerticalPass Play, Four Verts, Go +8
 RPO Alert Dive SmokeDive, RPO, Run Play +1
- RPO Dive Alert SmokeDive, RPO, Run Play +2
- RZ PA CrossersCrosser, Deep Cross, Flat +2
 SpacingSpacing, Pass Play, Cover 3 Beater +4
 Stretch WR ScreenScreen Pass, Wr Screen, Bubble Screen +2
 TE AttackPass Play, Seam, Go +6
 TE DriveDrive, Pass Play, Cover 4 Beater +6
- Wide Zone WkRun Play
 Y StickStick, Stick Concept, Pass Play +3
 Y Stick HeavyStick, Stick Concept, Pass Play +2