Playbooks

At a Glance
Overview
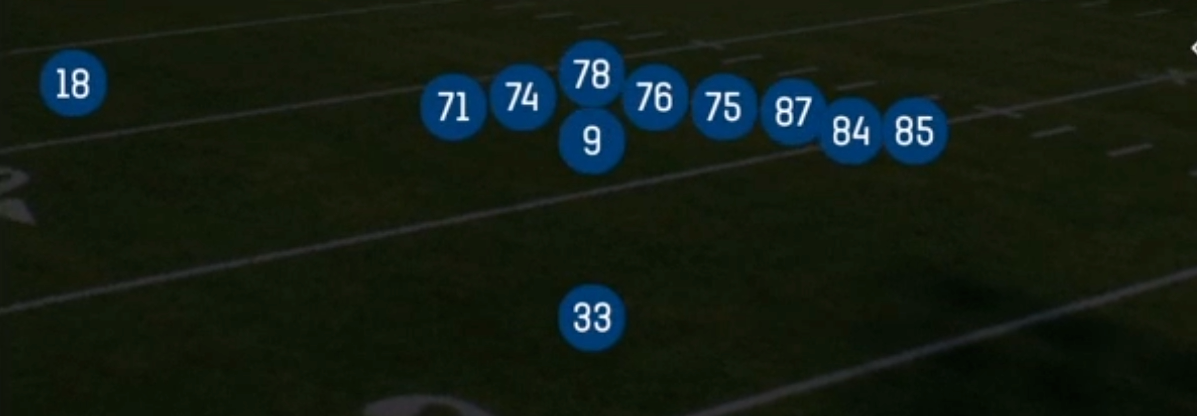
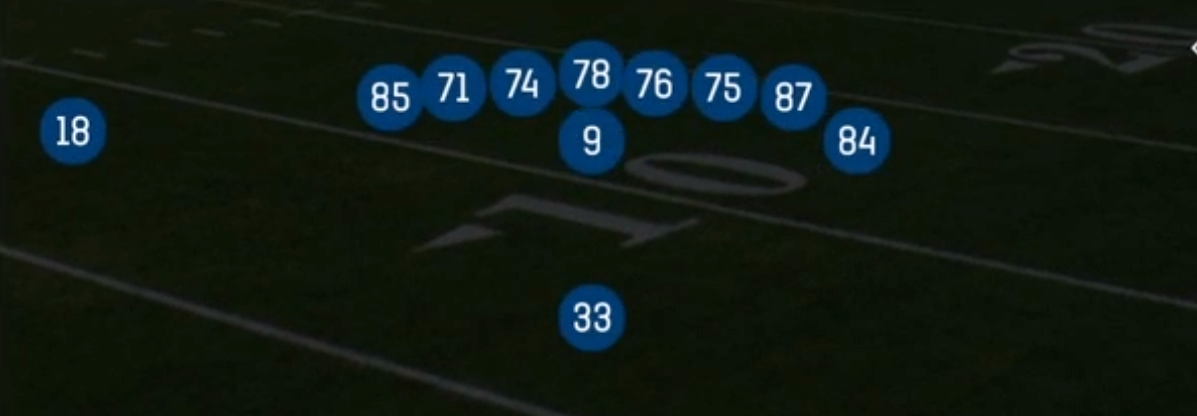
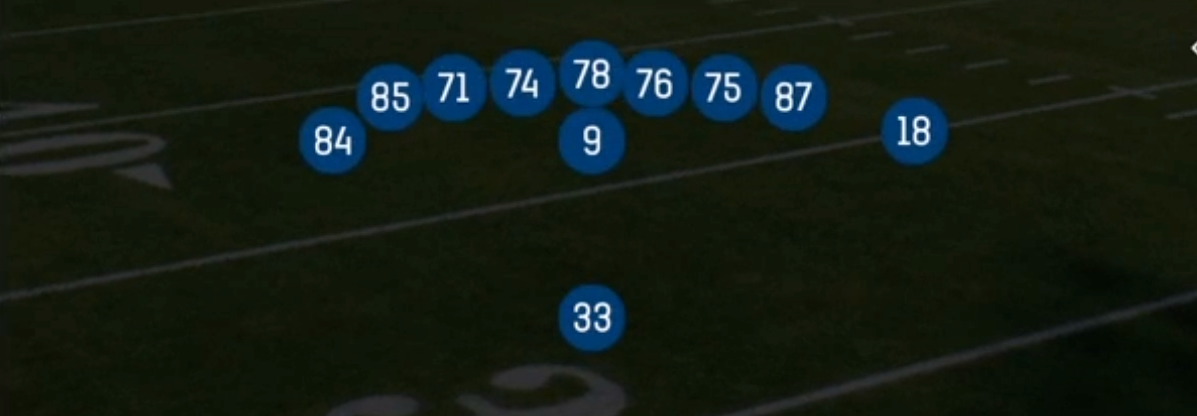
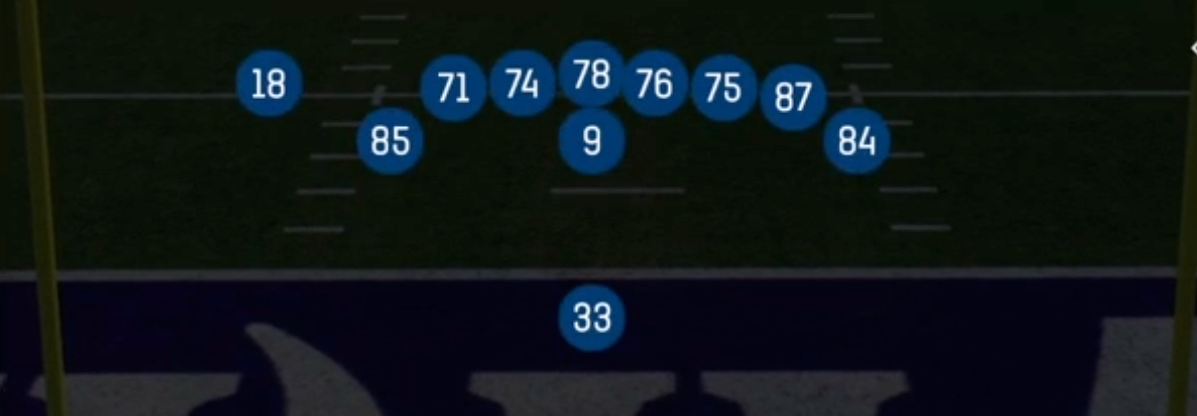
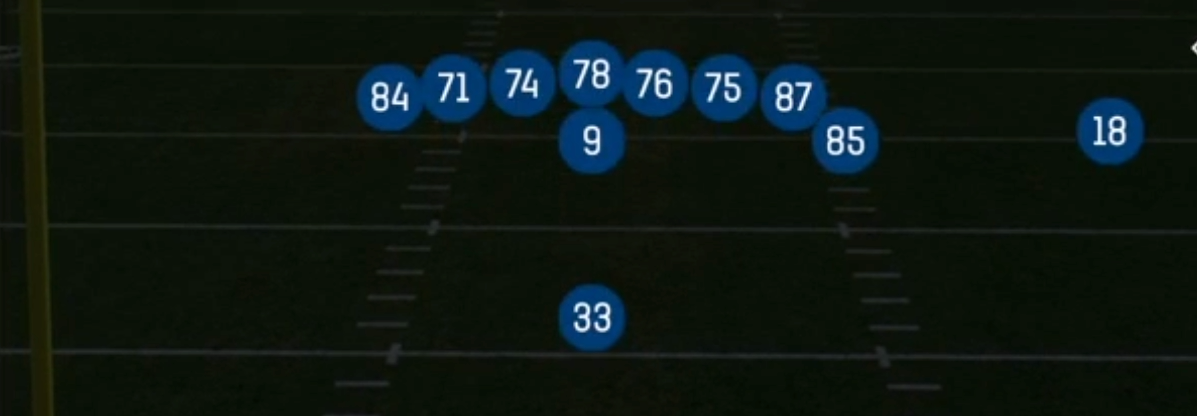
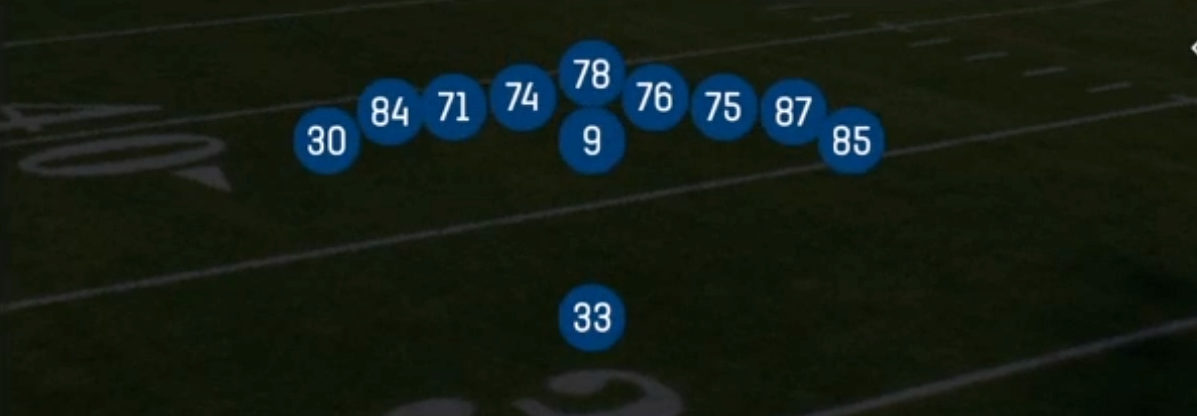
Wing Tight U is a heavy 13 personnel look out of Singleback. It puts three tight ends and one wide receiver on the field with a single back behind the quarterback. Standard Singleback sets spread the tight ends out or pair them with multiple receivers. This set does the opposite and compresses its surface: one tight end lines up inline, a second sits off the edge in a wing alignment, and the U tight end is tucked close to the core of the formation. That gives the offense an extra gap on the strong side and forces defenses to either add a box defender or concede a numbers advantage at the point of attack. The lone receiver is usually isolated to the backside, where he often draws single coverage from a corner with no safety help.
The play list is built around gap and zone runs: 26 Duo, HB Power O, HB Counter Str, Split Zone Strong, HB Inside Zone, and the Mtn stretch and power variants. The wing and U can be used as lead blockers, split flow blockers, or kick-out players, so the same pre-snap look produces downhill power, outside zone, and counter action. Jet Sweep, Zone Fake Jet, and PA Jet Sweep add horizontal stress, which keeps edge defenders and overhang linebackers from crashing on the interior run.
The passing game comes almost entirely off that run threat. PA Boot Slide, Fake HB Zone QB Boot, PA U-Drag Wheel, and Mtn PA Power O use tight ends leaking across the formation against linebackers who have bitten on run keys. Dragon Spacing, Stick Nod Vertical, Sluggo Spacing, and TE Attack give you dropback answers that target the tight ends against slower linebackers and safeties. Because defenders usually answer 13 personnel with base or goal line packages, you can create speed mismatches for an athletic U or the HB out of the backfield.
Strengths
- Three tight end surface creates an extra gap strong, so Power O, Duo, and Split Zone Strong regularly produce a hat for a hat or a numbers advantage against base 4-3 and 3-4 fronts
- Wing and U alignments allow split flow and counter blocking from the same look, so HB Counter Str and Split Zone Strong punish users who flow hard toward the tight end strength
- Jet Sweep, Zone Fake Jet, and PA Jet Sweep use pre-snap jet motion to freeze the edge and overhang defenders, which keeps interior run lanes clean and sets up boots to the opposite side
- PA Boot Slide, Fake HB Zone QB Boot, and PA U-Drag Wheel are strong zone beaters against Cover 3 and Cover 1 robber, since the dragging tight end clears the flat defender and the wheel or corner route attacks the vacated sideline
- Defenses matching 13 personnel with heavy packages leave linebackers covering tight ends and the HB, so TE Attack, Stick Nod Vertical, and PA Sprint HB Flat give you reliable man beaters with slow defenders in coverage
Weaknesses
- Only one true wide receiver means limited vertical stretch, so single high defenses can walk the extra safety into the box and dare you to beat Cover 1 with tight ends
- Compressed alignments make run keys obvious, and a user-controlled linebacker or safety filling the strong B or C gap can blow up Power O and Duo before the pull arrives
- Edge pressure and nano blitzes off the backside are dangerous on boots and play-action, because your blockers are loaded to the strong side and the QB rolls into space with slow developing routes
- Goal line and heavy packages with extra DTs clog the interior, and a defense that slants its front to the tight end strength takes away gap runs and forces you to live on the stretch and jet game
- Predictable formation tendency is easy to film study, so opponents who see Wing Tight U on early downs will stack the box and sit on the run unless you prove the play-action game early
Usage Tips
Use this set on first and 10, short yardage, and when protecting a lead, and check the safety count pre-snap: two high shells mean run Duo or Power O into the light box, single high means move to PA Boot Slide or Fake HB Zone QB Boot
If the defense shifts its front or slants toward the wing, audible to HB Counter Str or Split Zone Strong to hit the backside cutback lane the defense just vacated
On PA U-Drag Wheel and PA Boot Slide, read the flat defender first: if he jumps the drag, the wheel or corner is open over the top, and if he sinks, throw the drag and let the tight end run after the catch
Against press man on the lone receiver, hot route him to a slant or fade and use Sluggo Spacing or Stick Nod Vertical to isolate the U on a linebacker, keeping the HB in to block if you see pressure indicators
Set up the jet game in sequence: call Jet Sweep early, then use Zone Fake Jet and PA Jet Sweep once the edge defenders start widening with the motion, which opens the inside zone and boot action
Plays (23)
 26 DuoDuo, Run Play, Power Run
 Dragon SpacingSpacing, Pass Play, Cover 3 Beater +5
 Fake HB Zone QB BootInside Zone, Zone Run, Run Play
 HB Counter StrCounter, Run Play, Power Run
 HB DiveDive, Run Play
 HB Inside ZoneInside Zone, Run Play, Zone Run
 HB Power OPower, Run Play, Power Run
 HB StretchOutside Zone, Run Play, Zone Run
 Inside Zone SplitInside Zone, Run Play, Zone Run
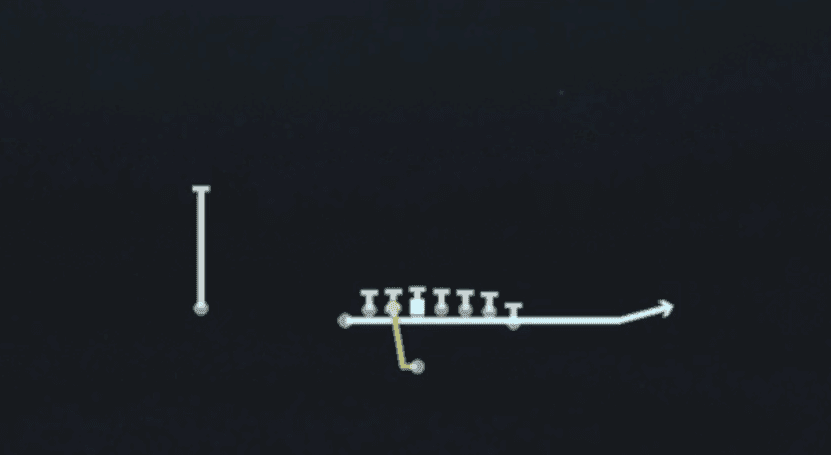 Jet SweepSweep, Jet Sweep, Motion +1
 Mtn HB Power OPower, Motion, Run Play +1
 Mtn HB StretchOutside Zone, Motion, Run Play +1
 Mtn PA Power OPlay Action, Motion, Pass Play +5
 PA Boot SlidePlay Action, Slide, Pass Play +5
 PA DiveDive, Play Action, Pass Play +4
 PA Jet SweepSweep, Jet Sweep, Play Action +6
 PA Sprint HB FlatPlay Action, Flat, Pass Play +4
 PA U-Drag WheelPlay Action, Wheel, Drag +4
 Sluggo SpacingSluggo, Spacing, Pass Play +6
 Split Zone StrongInside Zone, Run Play, Zone Run
 Stick Nod VerticalStick, Stick Concept, Pass Play +6
 TE AttackPass Play, Post, Go +5
 Zone Fake JetMotion, Run Play