Playbooks
At a Glance
Overview
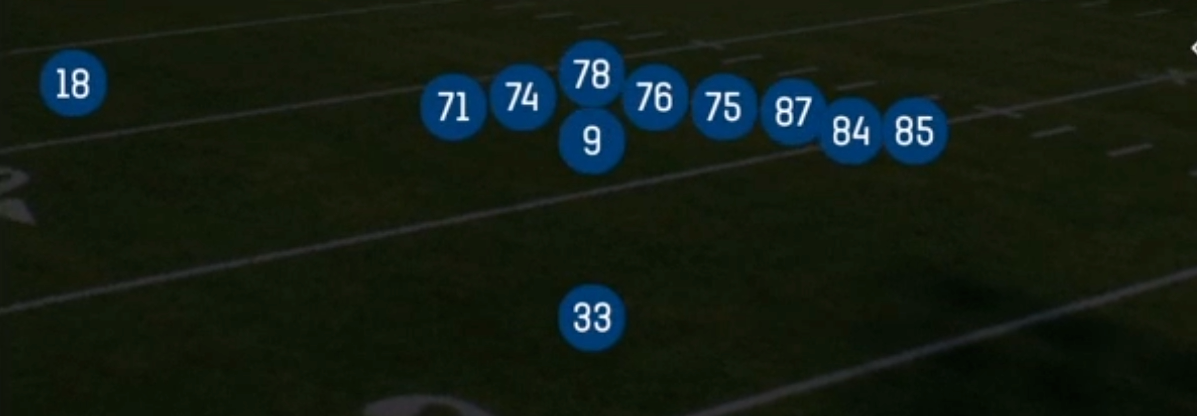
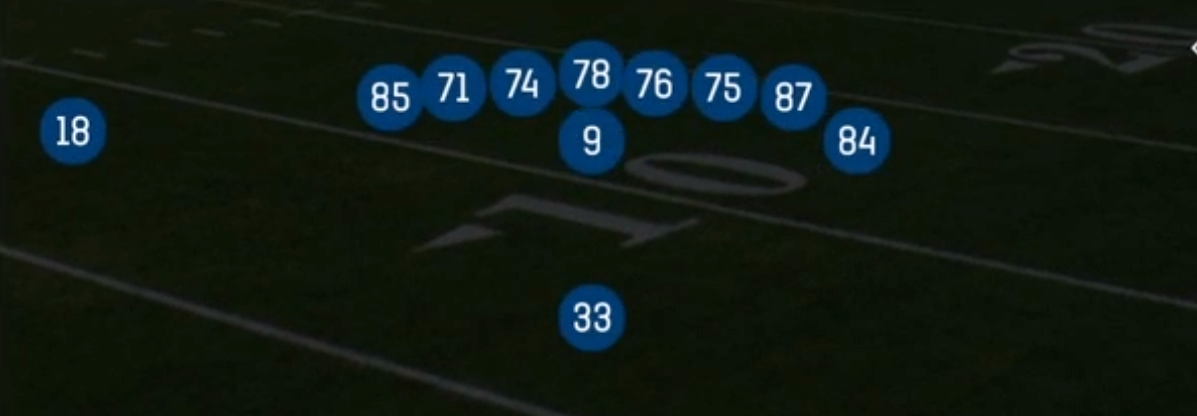
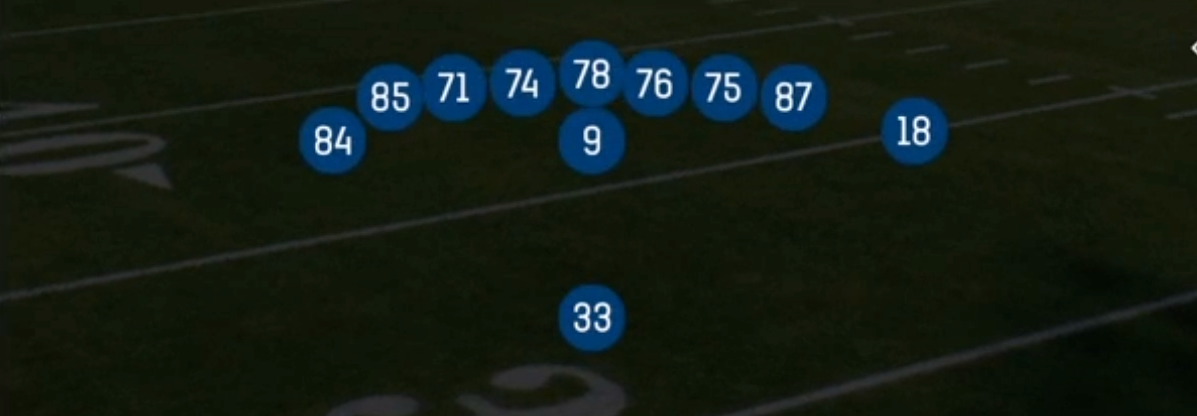
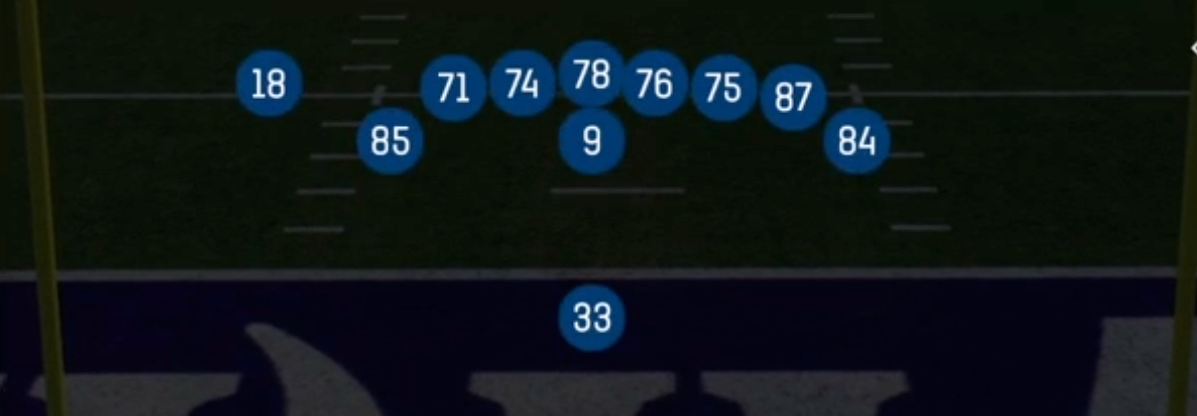
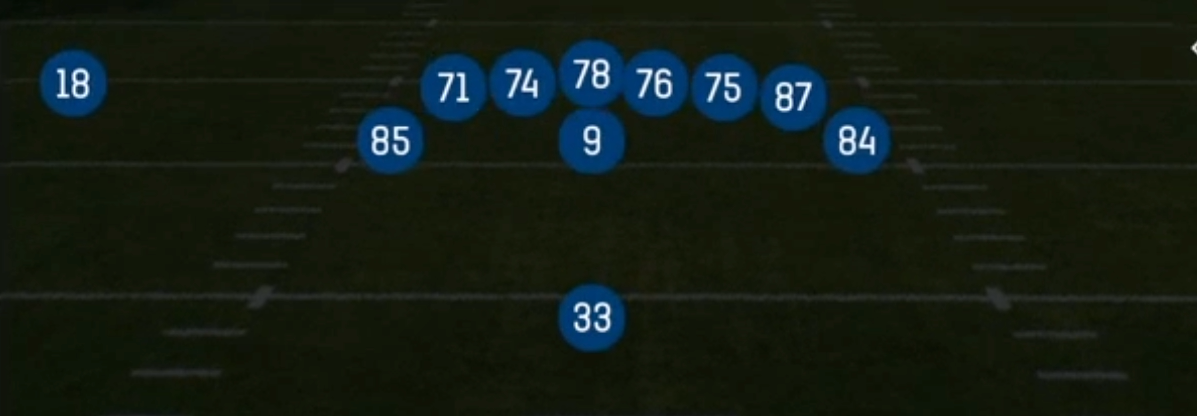
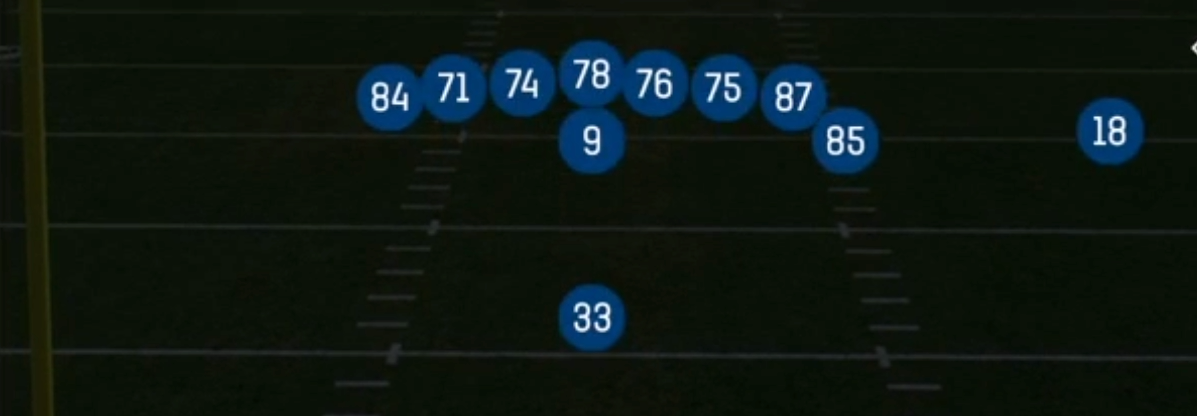
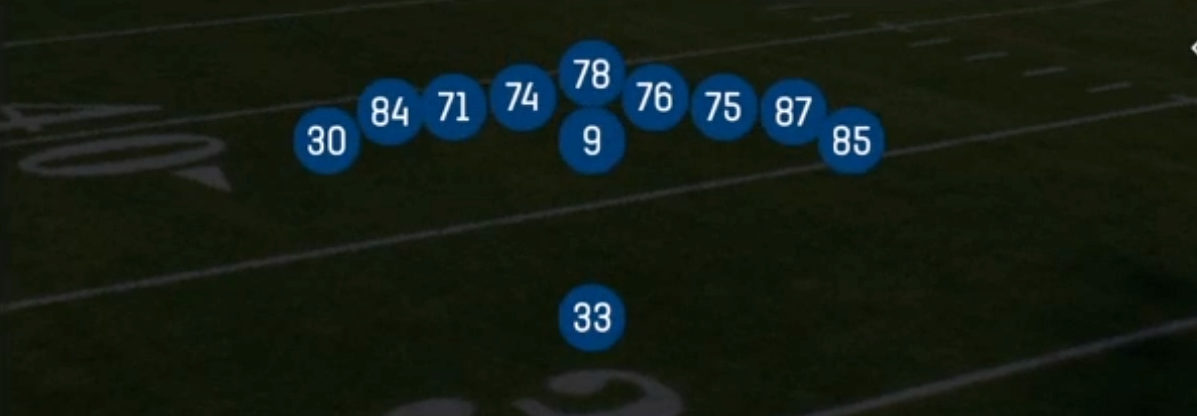
The East Tight set in the Singleback formation is a compressed 13 personnel look: one halfback, three tight ends, and a single wide receiver. Unlike the standard Singleback sets that spread two or three receivers outside the numbers, East Tight packs its skill players close to the core of the formation. The line of scrimmage becomes wide, which forces the defense to account for extra gaps on both sides of the ball. That compression is what separates it from Singleback Ace or Bunch variants. Defenders are pulled inside, the edges get crowded, and the single receiver often draws a softer outside leverage because the defense is loading the box to stop the run.
The personnel package creates matchup problems in both directions. Against base 4-3 or 3-4 personnel, the three tight ends give you extra blockers at the point of attack on HB Plunge, HB Smash, and HB Pitch Strong. When the defense counters with heavy or goal line packages, those same tight ends become receiving threats against linebackers and strong safeties on TE Corners and Trail. Most defensive coordinators sub in bigger bodies against 13 personnel. That leaves slower linebackers covering your flexed tight ends in man, and your lone receiver usually draws a single corner with safety help pulled toward the box.
Conceptually, East Tight is built on run-action misdirection and gadget calls. HB Counter WK punishes flowing linebackers who chase the strong side. PA Fl Stretch and PA Boot sell the downhill run before stretching the defense horizontally with crossers and flats. The TE Option gadget play puts the ball in a tight end's hands as a thrower, and it hits hard against defenders who have been conditioned to crash on every run look. The result is a punishing, deceptive short yardage and red zone package that looks identical before the snap no matter what you call.
Strengths
- The wide three tight end surface creates extra gaps, so HB Plunge and HB Smash consistently generate double teams at the point of attack against base and nickel fronts
- HB Counter WK exploits aggressive user-controlled linebackers who flow toward the strength of the formation, opening cutback lanes on the weak side
- PA Boot and PA Fl Stretch are elite zone beaters against Cover 3 and Cover 1 Robber because the run fake freezes the hook defenders and the flat is left open for the tight end leaking out
- TE Corners and Trail isolate tight ends on linebackers in man coverage, making them reliable man beaters in the red zone when the defense subs in heavy personnel
- The TE Option gadget play looks identical to the base run and play-action calls pre-snap, so it catches defenders who crash on run tendencies and produces explosive plays when the secondary bites
Weaknesses
- With only one wide receiver, the set lacks vertical speed, so defenses can play Cover 0 or Cover 1 with tight press on the lone WR and load the box with an extra defender
- Edge blitzes and nano pressure off the boundary can blow up PA Boot before the quarterback reaches the rollout lane, especially if the tight end on that side releases instead of blocking
- A user-controlled middle linebacker or safety sitting in the short middle can erase TE Corners and Trail windows, since most routes stay underneath and break toward the middle of the field
- The playbook is thin at nine plays, so opponents who scout your tendencies can key the formation and cheat run or pass based on your early down habits
- TE Option relies on a tight end with poor throw accuracy, and a disciplined deep safety or a well-timed user pick turns the gadget into a turnover
Usage Tips
Establish HB Plunge and HB Smash early on first and second down to condition the defense before calling PA Boot, PA Fl Stretch, or TE Option off the same look
Read the box count pre-snap: if the defense shows seven or fewer in the box with two high safeties, stay on the run, but if they bring an eighth defender down, audible to PA Fl Stretch or TE Corners to attack the vacated zones
On short yardage and goal line situations, pair HB Plunge with HB Counter WK to punish linebackers who shoot the strong side gap, and hot route the backside tight end to block if you see an edge blitz
Against man coverage in the red zone, call TE Corners and hot route one tight end to a slant or drag so you have a quick option if the linebacker plays trail technique on the corner route
Save TE Option for moments when your opponent is selling out to stop the run, such as third and short or after two successful runs in a row, and verify the deep safety is creeping down before snapping