Playbooks

At a Glance
In 15 playbooks
Overview
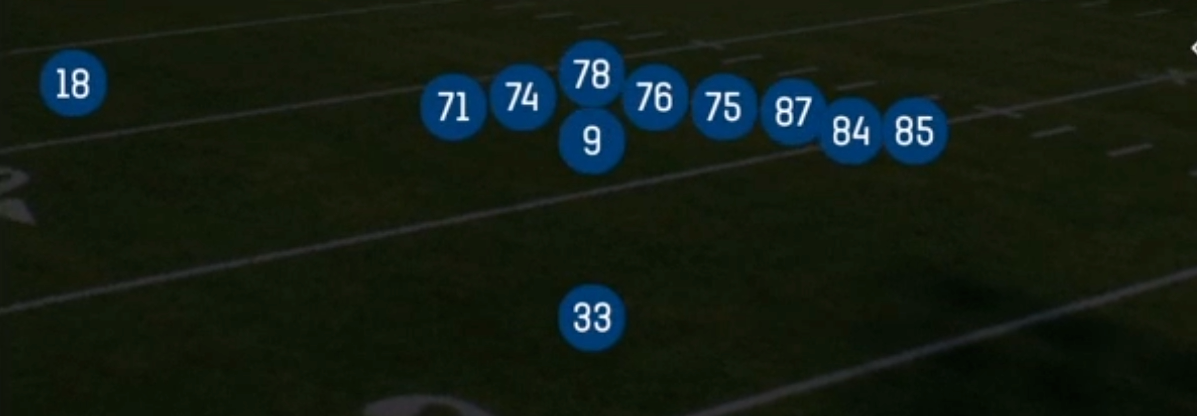
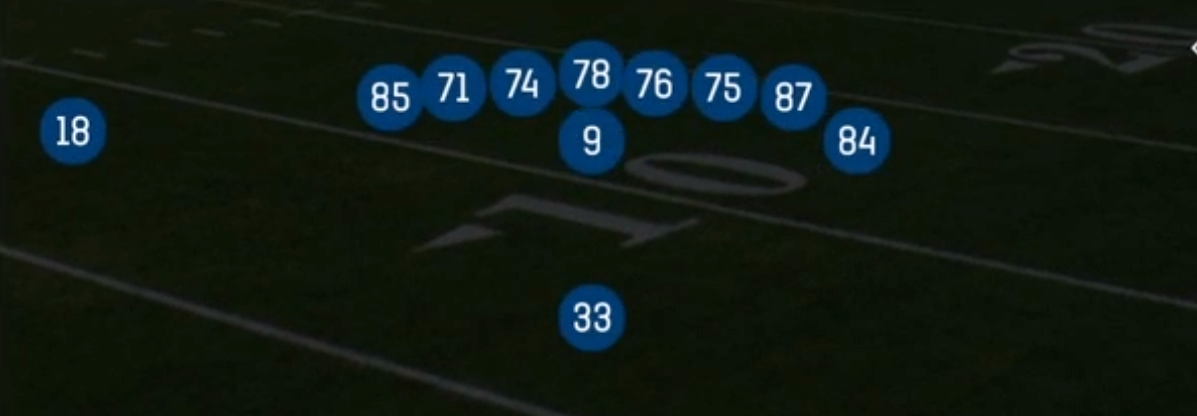
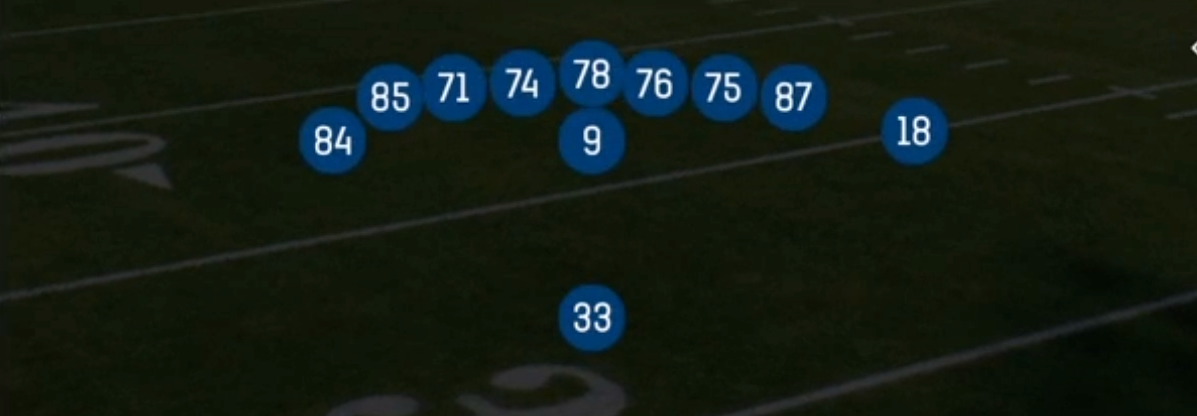
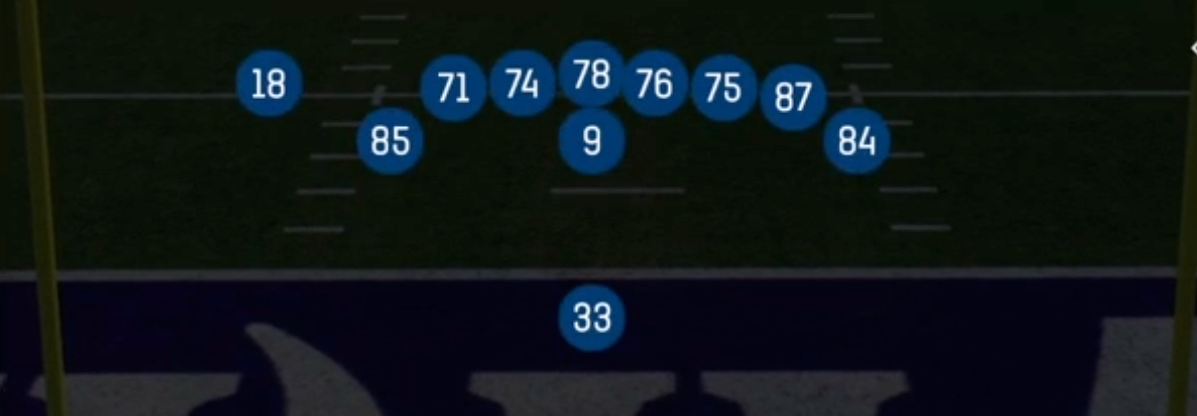
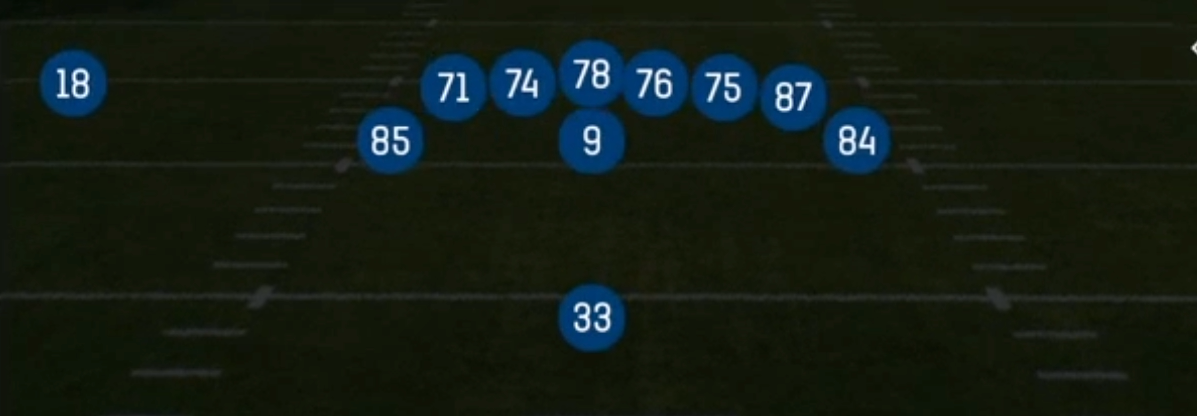
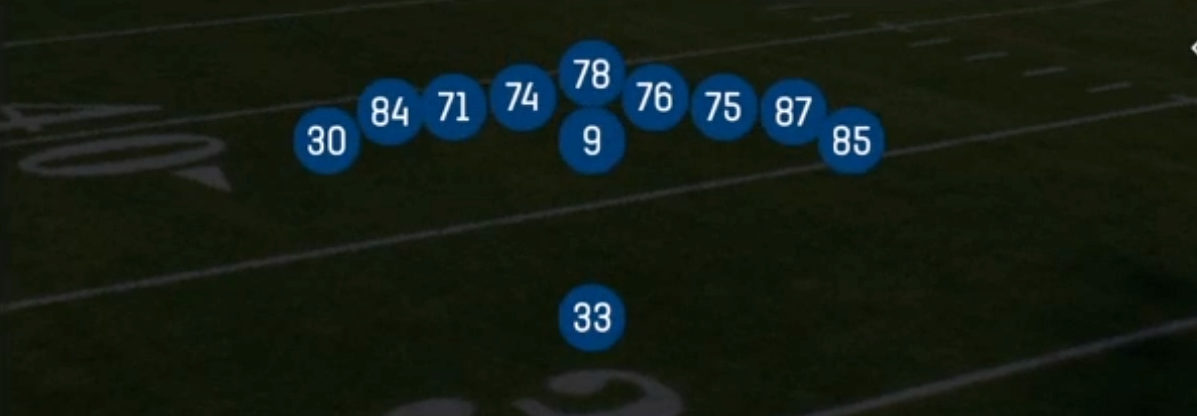
Wing Tight Z is a condensed, heavy 13 personnel look out of Singleback: one running back, three tight ends and a lone Z receiver. Two tight ends align attached to the line, and a third sets up in a wing position off the edge. That extra blocker creates a true eight-man surface to the strength. The Z tightens down near the formation instead of stretching the field. Standard Singleback sets like Ace or Doubles spread the defense horizontally. Wing Tight Z does the opposite. It compresses the box, forces base or goal line personnel onto the field, and dares the defense to fit every gap.
The wing tight end (the H in much of the play art) is the engine of this set. He works as a lead blocker on HB Power O and H Power Toss. He is the puller or insert on HB Counter U, HB Counter Wk and PA Rams Counter. He also becomes the misdirection piece on H Misdirection Wk and PA Misdirection. That flexibility makes this set carry the Gadget tag. The same pre-snap picture produces downhill duo, outside zone, counter and window dressing looks that tax linebacker eye discipline. When the defense rolls a safety down to match the extra gap, it leaves the lone Z isolated on one-on-one coverage outside.
The pass game lives off the run. PA Boot Lt, Fake HB Zone QB Boot Lt and PA Sprint HB Flat attack defenders who crash hard on zone flow. They flood the boot side with a tight end drag, a flat and a deep over. PA Y-Drag Wheel, PA Y Corner and PA Comeback N Go target overaggressive safeties and corners who start playing the run. Dropback concepts like Dagger, Drive, Y Stick and Curl Flat Seam give you a real answer when the defense sits in base zone. Tight end heavy route combos can then work against linebackers and slower safeties.
Strengths
- Complete run menu from one look: 26 Duo, HB Inside Zone, HB Mid Zone, Wide Zone Wk, HB Stretch, HB Power O and HB Counter U all show identical pre-snap alignment, so defenders cannot key the play from the formation.
- The wing creates an extra gap and a lead blocker, so power and counter concepts outnumber base 4-3 fronts at the point of attack. This is especially effective against Cover 2 and Cover 4 shells with only six or seven in the box.
- Elite play-action and boot game: Fake HB Zone QB Boot Lt, PA Boot Lt and PA Sprint HB Flat produce a three-level flood against Cover 3 and matchup zones. Linebackers who bite on zone flow leave the flat and the deep crosser uncovered.
- Gadget misdirection with H Misdirection Wk, PA Misdirection and PA Rams Counter punishes users who fly to the ball side. The wing's motion and counter action create cutback lanes and wide open leak routes.
- Three tight ends create mismatches against base linebackers in man coverage. Y Stick, TE Attack and PA Y-Drag Wheel become reliable man beaters when a slow linebacker is locked onto a receiving tight end.
Weaknesses
- Only one true wide receiver, so defenses can bracket or double the Z and play Cover 1 Robber or Cover 2 Man with little risk on the outside.
- The condensed alignment invites heavy fronts: goal line or 4-4 packages with a safety rotated down can plug every gap and stall the run game on early downs.
- Play-action rollouts are vulnerable to an unblocked edge blitz or a user who drops into the flat. A contain call to the boot side kills Fake HB Zone QB Boot Lt and PA Boot Lt before the QB can set his feet.
- Tight end speed limits vertical stretch. Against Cover 4 or Cover 6, deep shots like PA Comeback N Go and PA Y Corner rarely get over the top, so the offense can feel boxed into short windows.
- The tendency is obvious to film-savvy opponents. If you only run from this set, a user linebacker can shade the strength side and cheat to the wing, which neutralizes power and counter reads.
Usage Tips
Use Wing Tight Z on first and second down and in short yardage when the defense shows base or nickel. Against nickel, hammer 26 Duo and HB Power O into the lighter box. Against goal line, go to the boot or PA Y-Drag Wheel.
Read the safety pre-snap. If a safety walks into the box toward the wing, audible to HB Counter Wk or H Misdirection Wk to run away from the rotation. If both safeties stay high, stick with the inside zone and power menu.
Set up the boot series with outside zone. Run Wide Zone Wk or HB Stretch two or three times, then call Fake HB Zone QB Boot Lt when the defense starts overpursuing. Hot route the deep crosser to a streak if you see Cover 0 or Cover 1 with no deep help.
Against man coverage, hot route a tight end on a slant or in route out of Y Stick or TE Attack to isolate him on a linebacker. Motion the wing across the formation first to confirm man or zone based on whether a defender follows.
In the red zone and on the goal line, lean on PA Y Corner, PA Middle and PA Sprint HB Flat. Aggressive run defense leaves the corner and flat vulnerable, and heavy personnel protection gives you time to let routes develop.
Plays (31)
 26 DuoDuo, Run Play, Power Run
 Curl FlatFlat, Curl, Curl Flat +3
 Curl Flat SeamFlat, Curl, Seam +7
 DaggerDagger, Pass Play, Cover 2 Beater +7
 DriveDrive, Pass Play, Cover 4 Beater +6
- Fake HB Zone QB BootltInside Zone, Zone Run, Run Play
 Fake HB Zone QB Boot LtPlay Action, Pass Play, PA Zone
 HB Counter UCounter, Run Play, Power Run
 HB Counter WkCounter, Run Play, Power Run
 HB DiveDive, Run Play
 HB Inside ZoneInside Zone, Run Play, Zone Run
- HB Mid ZoneRun Play
 HB PitchToss, Run Play
 HB Power OPower, Run Play, Power Run
 HB SmashRun Play
 HB StretchOutside Zone, Run Play, Zone Run
 H Misdirection WkMisdirection, Run Play
 H Power TossToss, Run Play
 H Zone StrRun Play, Outside Zone, Zone Run +2
 PA Boot LtPlay Action, Pass Play, Deep Cross +3
- PA Comeback N GoPlay Action, Go, Pass Play +4
 PA MiddlePlay Action, Pass Play, Post +2
 PA MisdirectionPlay Action, Pass Play, Deep Cross +3
 PA Power OPlay Action, Pass Play, Corner +3
 PA Rams CounterPlay Action, Pass Play, Block and Release +5
 PA Sprint HB FlatPlay Action, Flat, Pass Play +3
 PA Y CornerPlay Action, Corner, Pass Play +3
 PA Y-Drag WheelPlay Action, Wheel, Drag +5
 TE AttackPass Play, Flood, Go +8
 Wide Zone WkOutside Zone, Run Play, Zone Run
 Y StickStick, Stick Concept, Pass Play +3