Playbooks

At a Glance
Overview
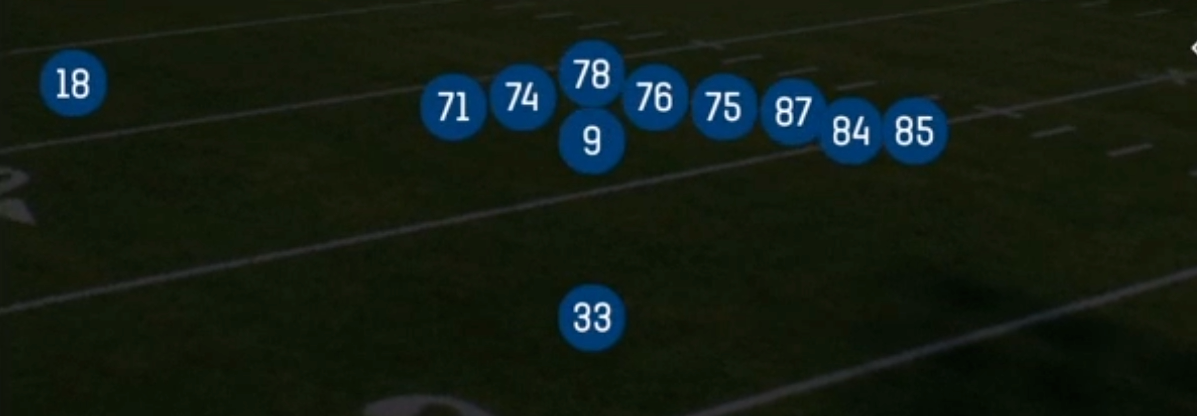
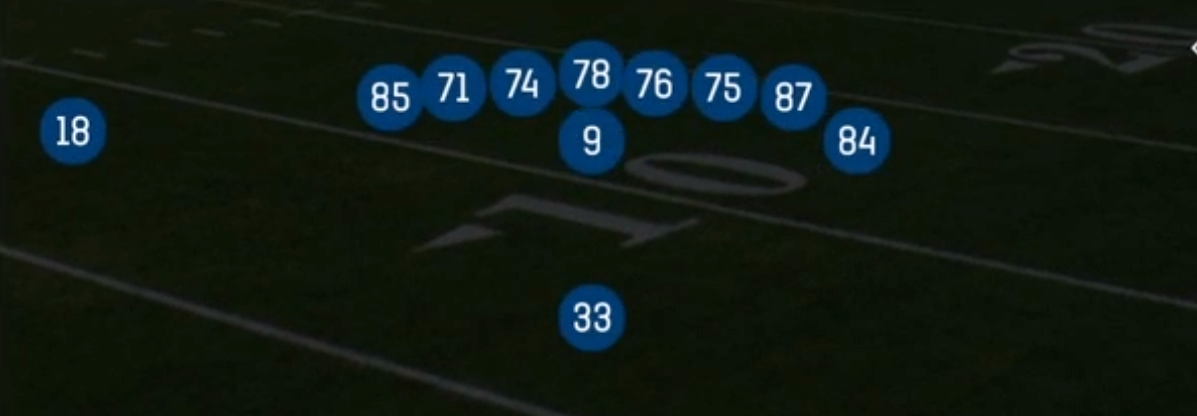
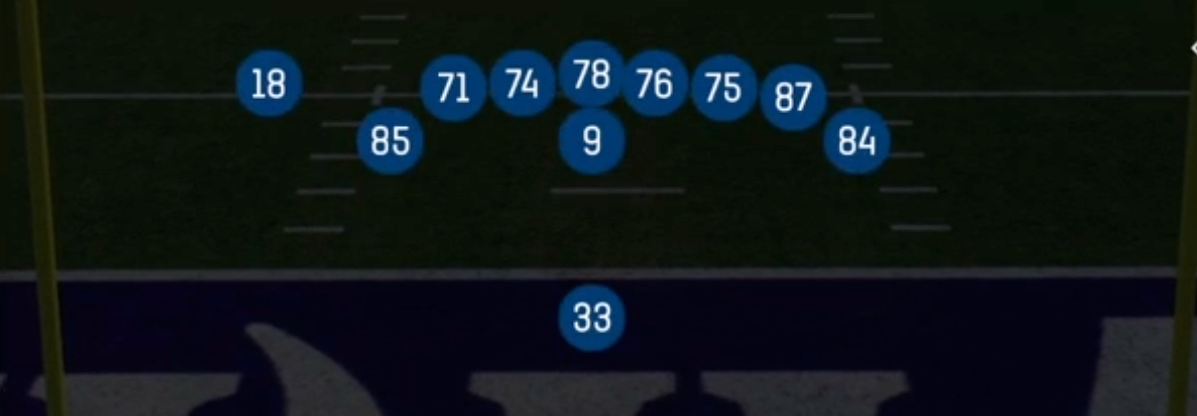
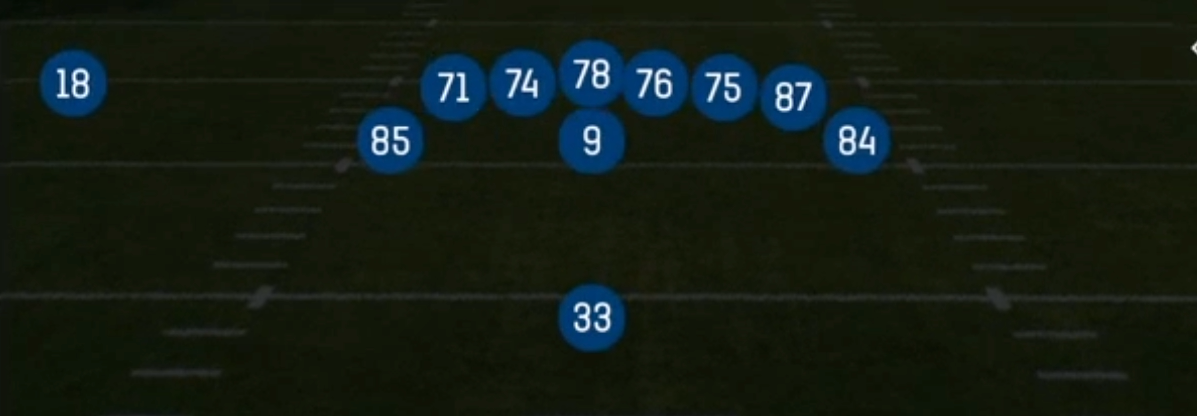
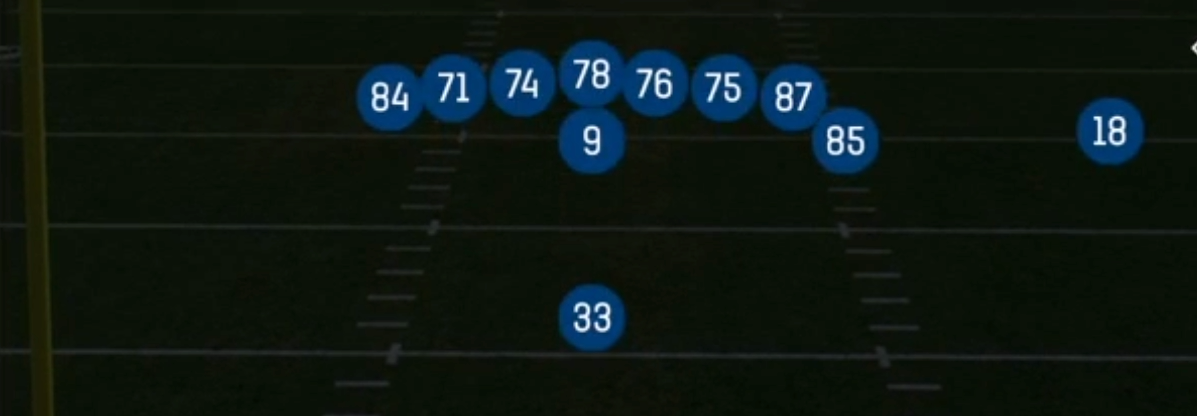
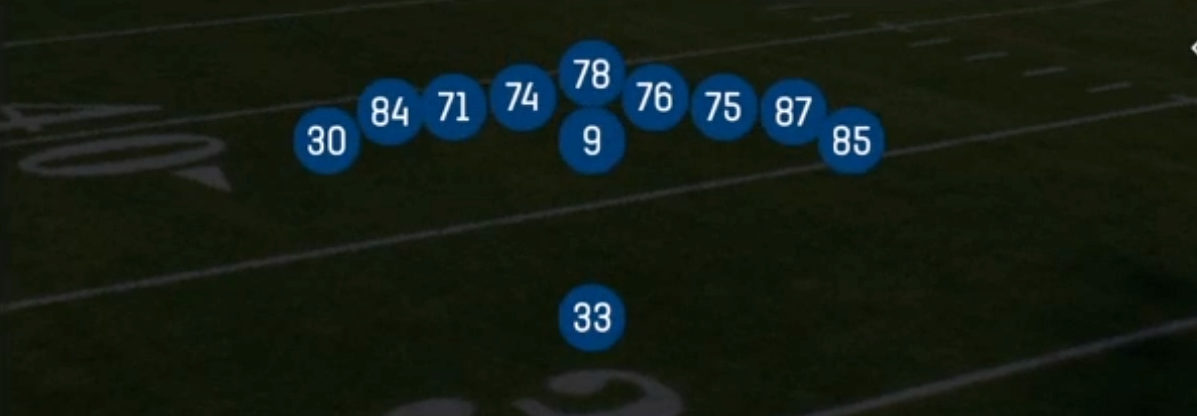
Wing Tight Left is the heaviest, most compressed look in the Singleback formation. It uses 13 personnel (one running back, three tight ends, one wide receiver), with two tight ends stacked to the left: one inline and one on the wing. The lone receiver aligns in a tight split rather than out wide. Sets like Singleback Ace or Trey Open spread the field with 11 or 12 personnel. This one does the opposite: it squeezes the defense into the box and builds a true power surface to the strong side. That extra gap forces the defense to declare early, either by rolling a safety down or by conceding a numbers advantage in the run game.
The play list is built around a downhill run core: Wide Zone, Inside Zone, HB Dive, HB Power and Duo. Jet motion gadgets and play-action shots are layered on top of that core. The wing tight end is the key piece. He can kick out an edge on Power, climb to a linebacker on Duo, or leak into the flat on boots. The tight receiver split lets you run Jet Sweep Wk, Zone Fake Jet Wk and PA Jet Sweep from the same pre-snap picture. That forces linebackers to respect horizontal speed while the backfield flow sells a power run.
The matchup advantage comes from forcing base or goal line defensive personnel onto the field. Once the defense sub in heavy fronts to stop the run, PA Scissors and PA Boot Slide isolate tight ends against slower linebackers and strong safeties. The receiver on Jet motion can outrun a heavy front to the perimeter. This is a set for a Power HB or 3DRB who can punish light boxes and then threaten the flat on play action.
Strengths
- Duo and HB Power gain a true extra gap to the strong side, so the wing tight end can kick out or double team the 3 technique and create clean downhill lanes against 4-3 Over and 3-4 Odd fronts.
- Jet Sweep Wk, Zone Fake Jet Wk and PA Jet Sweep all start from identical jet motion, so a defender keying the motion guesses wrong on at least one of the three plays and loses the edge.
- PA Scissors (post over corner) is a lethal Cover 3 and Cover 4 beater once safeties trigger downhill on run action, leaving the corner route open behind a flat-footed cornerback.
- PA Boot Slide and PA Sprint HB Flat move the pocket away from the blitz side and give a layered flood read (flat, intermediate, deep) that stresses the flat defender in Cover 2 and Cover 3 Buzz.
- Heavy 13 personnel pulls base or goal line personnel onto the field, creating tight end and running back mismatches against linebackers on Stick and the boot concepts.
Weaknesses
- With only one wide receiver on the field, the passing game lacks vertical speed, so Cover 1 Robber and Cover 0 man looks can smother tight ends without fear of a deep outside burner.
- The formation strength telegraphs run strong left, so smart opponents shade their front, slide linebackers with pre-snap shifts, and user the strong side A gap defender to blow up Duo and Power.
- Edge blitzes and nano pressures from the weak side crush PA Boot Slide and PA Sprint HB Flat, because the quarterback turns his back on play action and the backside is left without a tight end.
- A user-controlled middle linebacker or robber sitting in the hook zone takes away Stick and the crossing tight end on boots, which shrinks your quick game options down to the flat.
- The limited play count means that once an opponent recognizes the jet motion tells, the gadget package loses value quickly unless you rep it from other formations.
Usage Tips
Pre-snap, count the box: if the defense shows six or fewer defenders against 13 personnel, audible to Inside Zone or Duo and hit the playside A or B gap with your Power HB.
Run Jet Sweep Wk early to condition the defense, then call Zone Fake Jet Wk and PA Jet Sweep from the same motion once you see the linebackers or safety overrotate toward the jet.
On 3rd and short or 4th and 1, lean on HB Power and HB Dive, but if the defense crashes with a goal line front, check to PA Boot Slide and hit the leaking tight end in the flat.
When you read single high safety and aggressive downhill play from the strong safety, call PA Scissors and throw the corner route on a rhythm drop before the rotation recovers.
Use hot routes to shore up protection: block the running back or backside tight end against heavy blitz looks, or convert the flat route to a quick out against soft Cover 3 to get easy yardage.
Plays (12)
 DuoDuo, Run Play, Power Run
 HB DiveDive, Run Play
 HB PowerPower, Run Play, Power Run
 Inside ZoneInside Zone, Run Play, Zone Run
 Jet Sweep WkSweep, Jet Sweep, Motion +1
 PA Boot SlidePlay Action, Slide, Pass Play +5
 PA Jet SweepSweep, Jet Sweep, Play Action +6
 PA ScissorsPlay Action, Scissors, Pass Play +6
 PA Sprint HB FlatPlay Action, Flat, Pass Play +4
 StickStick, Stick Concept, Pass Play +2
 Wide ZoneOutside Zone, Run Play, Zone Run
 Zone Fake Jet WkMotion, Run Play