Playbooks

Quick Reference
Breakdown
HB Smash out of Singleback Wing Tight shows a Smash concept with the outside receiver running a hitch or short curl and an inside route working vertically up the seam, creating the classic high low stretch on the cornerback and flat defender. The lone route drawn on the diagram breaks vertically upfield from the slot, attacking the seam behind any underneath flat defender while the rest of the protection stays in to pass block for the QB. This is a passing concept built to beat Cover 2 specifically, using the seam sit route to hold the safety while the corner route or vertical release stretches the cushion, so the primary read progression starts at the seam breaking route and works to the corner or flat if the safety jumps the throw.
Defensive Reads
Identify two deep safeties pre-snap, this is a strong indicator the offense called Smash to attack Cover 2 specifically so be ready to bracket the seam route. Watch the flat defender's depth at the snap, if he sits too shallow the seam sitting route will beat him every time so user a linebacker to shallow that window. Key the corner's outside leverage, if he bails deep too fast the underneath hitch or curl will be wide open for an easy completion. Disguise a Cover 3 or Cover 4 shell late to bait the QB into throwing the seam route into a robber defender sitting underneath. Send a nano blitz off the edge on early downs since the protection is built for a standard drop back and extra pressure can collapse the pocket before the seam route develops.
Usage Tips
Use this on early downs or third and medium when you expect a Cover 2 shell since Smash concepts are designed specifically to attack the two deep safety look.
Key the flat defender before the snap, if he sinks with the seam route immediately reset to your outside hitch or curl for an easy completion.
Hot route the backside receiver into a quick slant or drag if you see man coverage to give yourself a checkdown against blitz looks.
Pair this play with Dragon Spacing or Y Stick from the same Wing Tight set so your pre-snap motion and formation tendencies look identical against zone and man coverage.
Attack the boundary corner's leverage, if he is playing outside shade press the seam route hard since he will struggle to get over the top in time.
Other Plays in Wing Tight
 26 DuoDuo, Run Play, Power Run
- DaggerDagger, Pass Play, Cover 2 Beater +6
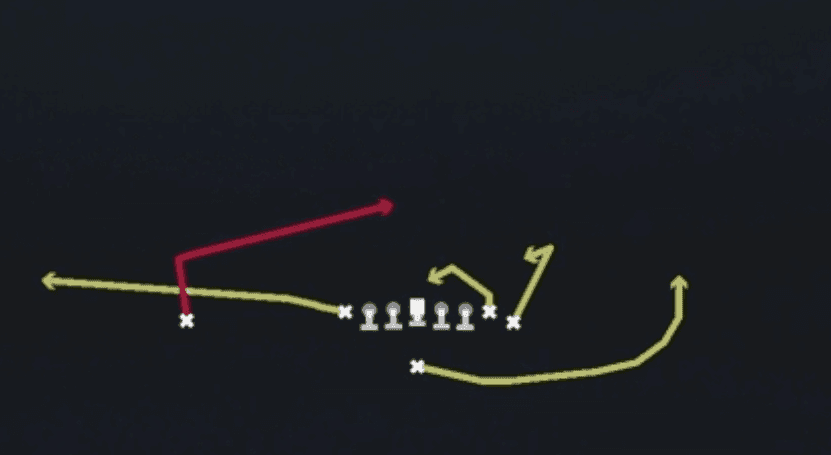 Dragon SpacingSpacing, Pass Play, Cover 3 Beater +5
 Fake HB Zone QB BootInside Zone, Zone Run, Run Play
 HB Ace PowerPower, Run Play, Power Run
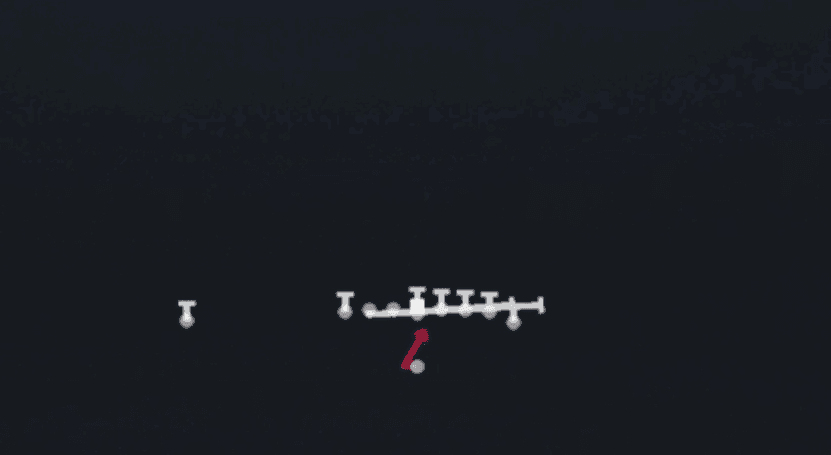 HB CounterCounter, Run Play, Power Run
 HB Counter WkCounter, Run Play, Power Run
 HB DiveDive, Run Play
 HB DrawDraw, Run Play
 HB Inside ZoneInside Zone, Run Play, Zone Run
- HB MisdirectionMisdirection, Run Play
 HB PlungeRun Play, Dive, Inside Zone +1
 HB PowerPower, Run Play, Power Run
 HB Power OPower, Run Play, Power Run
 HB StretchOutside Zone, Run Play, Zone Run
 Inside CrossCrosser, Pass Play, Block and Release +3
 Jet SweepSweep, Jet Sweep, Motion +1
 Mesh SpotSpot, Mesh, Pass Play +7
 PA BootPlay Action, Pass Play, Curl +3
 PA Boot FloodPlay Action, Flood, Pass Play +6
- PA Boot LeftBlock and Release, Comeback, Deep Cross +4
 PA Boot SlidePlay Action, Slide, Pass Play +5
 PA Ctr WagglePlay Action, Pass Play, Block and Release +4
 PA Dig CrossPlay Action, Dig, Crosser +4
 PA FloodPlay Action, Flood, Pass Play +5
 PA FL StretchPlay Action, Pass Play, Corner +5
 PA Jet SweepSweep, Jet Sweep, Play Action +5
- PA MillsPlay Action, Mills, Pass Play +4
 PA Power OPlay Action, Pass Play, Deep Cross +4
 PA Roll LtPlay Action, Pass Play, Block and Release +4
- PA Saints SailPlay Action, Sail, Pass Play +6
 PA TE CrossPlay Action, Crosser, Pass Play +4
- PA U-drag WheelPlay Action, Wheel, Drag +6
 PA Wheel SlidePlay Action, Slide, Wheel +5
 PA Y-Drag WheelPlay Action, Wheel, Drag +4
 PA Y SailPlay Action, Sail, Pass Play +2
 PA Y ThrowbackPlay Action, Pass Play, Corner +2
 Power Alert X LookiePass Play, Smash, Man Beater +2
 Quick SlantQuick Pass, Slant, Pass Play +2
 Sluggo SeamSeam, Sluggo, Pass Play +3
 Stick Nod VerticalStick, Stick Concept, Pass Play +6
- Stretch Alert X LookieOutside Zone, Run Play, Zone Run +2
 TE CornersCorner, Pass Play, Post +2
 TE OptionOption Route, Pass Play, Block and Release +3
 TE ShakePass Play, Corner, Go +8
 WR OptionOption Route, Pass Play, Block and Release +2
 Y StickStick, Stick Concept, Pass Play +3
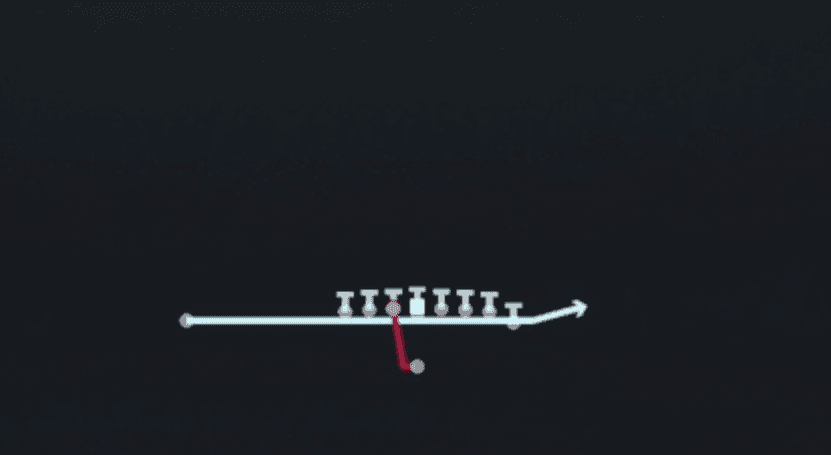 Zone Fake JetMotion, Run Play