Playbooks
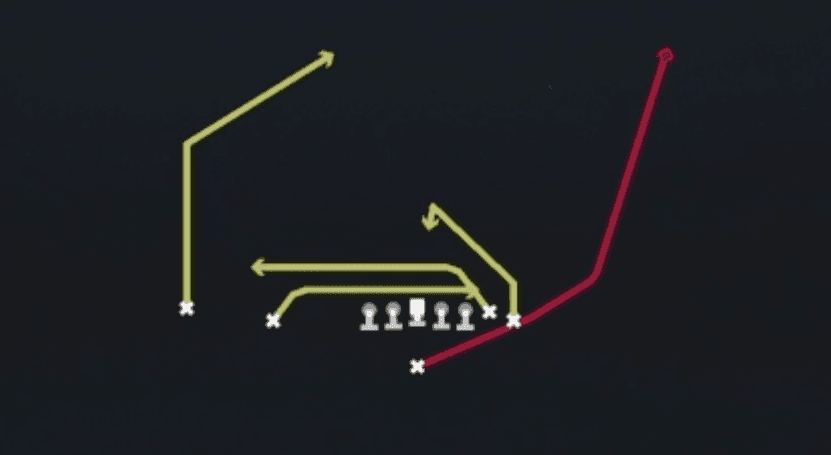
Quick Reference
In 12 playbooks
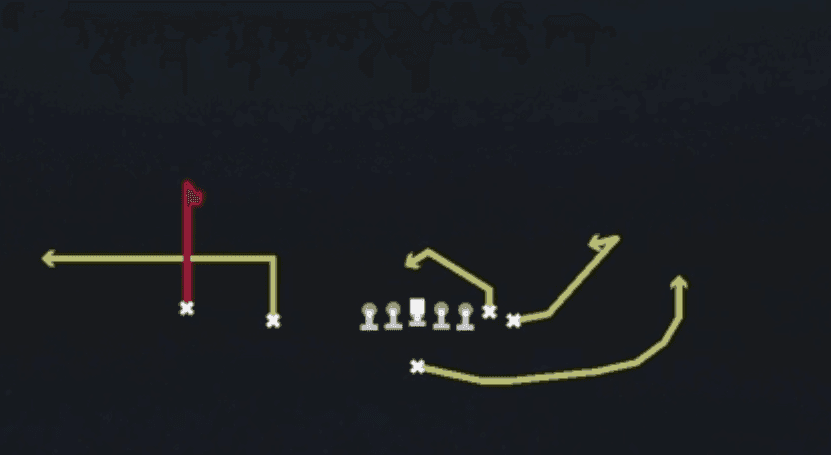
Receiver routes
Depth-chart slots are shown as they line up in the base package for this set.
| Player | Side | Route |
|---|---|---|
| HB1 | Middle | Wheel |
| TE2 | Right | Curl |
| WR1 | Left | Post |
| WR2 | Left | Drag |
| TE1 | Right | Drag |
Read progression
- HB1, Wheel
- TE2 right, Curl
- TE1 right, Drag
- WR2 left, Drag
- WR1 left, Post
Breakdown
Mesh Spot out of Singleback Wing Slot 12 personnel gives you the classic mesh crossing combo on the left side with a shallow drag and a spot route sitting underneath it, while the backside receiver runs a corner route up the boundary and the middle TE releases on a dig that sits down in the throwing lane. The far outside receiver clears vertically to hold the deep defender off the mesh. This is a certified man beater thanks to the natural rub created by the crossing routes, and it also has answers built in against zone thanks to the spot and dig sitting in soft spots. Your primary read starts with the shallow drag against man coverage, then works to the spot underneath, and finally to the corner route on the backside if the defense rotates a zone shell away from the mesh side.
Defensive Reads
Watch for user controlled linebackers sitting in the mesh crossing lane since they can jump the drag or spot route and create a turnover if you telegraph the throw. Identify Cover 3 shells presnap by looking for a single deep safety and three underneath zone defenders since the spot and dig routes are designed to exploit those exact voids. Man coverage with no safety help over the top is where this play thrives, especially if the defense shows Cover 1 or Cover 0 with blitzers off the edge. Look for a nickel or slot corner cheating inside presnap, which signals a possible nano blitz or hot blitz through the middle that the shallow drag can beat before pressure arrives. Cover 4 or match quarters coverage with disciplined linebackers sinking into their zones is the toughest shell to attack, since the mesh routes get picked up in the shallow zones and the corner route is doubled by a deep quarter defender.
Usage Tips
Check the middle of the field pre snap to determine one high or two high safety alignment before deciding whether to prioritize the shallow drag or the backside corner route.
Against man coverage, trust the mesh concept to create natural separation and take the shallow drag as your first read since the traffic in the middle will hang up trailing defenders.
Against zone shells, work the spot route and the dig from the TE since both routes settle into throwing windows underneath linebackers and in front of deep defenders.
Use this play on second and medium to third and short since the shallow routes get the ball out quick and the spot route is a reliable checkdown against a hard pass rush.
Pair this play with Y Stick or Quick Slant in your play calling sequence, then come back with PA Y Cross Flood or Four Verticals once the defense starts jumping the short mesh routes.
Other Plays in Wing Slot
 26 DuoDuo, Run Play, Power Run
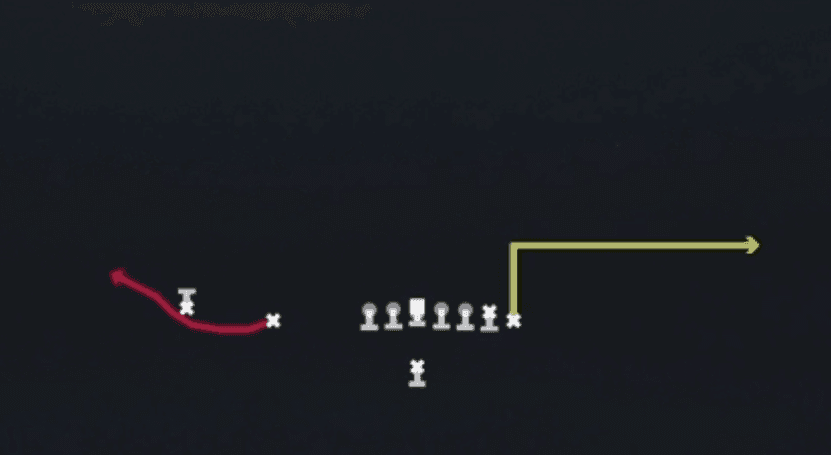 Bubble ScreenScreen Pass, Bubble Screen, Pass Play +1
 Counter UCounter, Run Play, Power Run
 DaggerDagger, Pass Play, Cover 2 Beater +6
 Dragon SpacingSpacing, Pass Play, Cover 3 Beater +5
 Four VerticalsFour Verts, Pass Play, Cover 2 Beater +6
 HB Ace PowerPower, Run Play, Power Run
 HB DiveDive, Run Play
- HB Mid ZoneRun Play
 HB MisdirectionMisdirection, Run Play
 HB PowerPower, Run Play, Power Run
 HB Power OPower, Run Play, Power Run
 HB SlamDive, Run Play
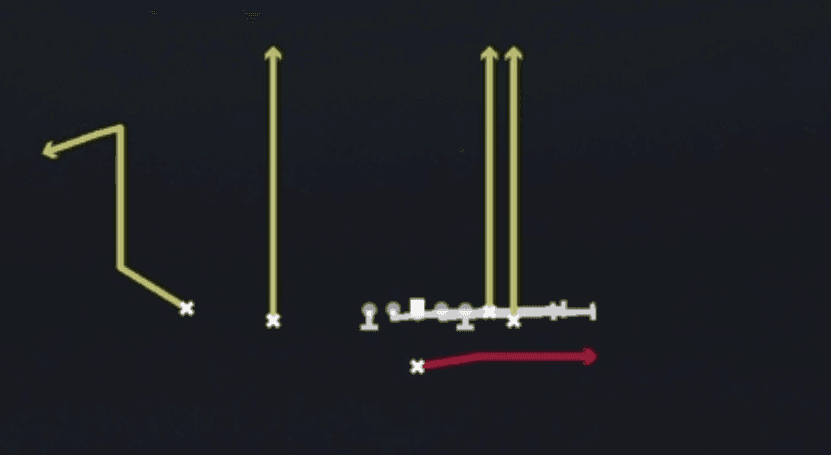 HB Slip ScreenScreen Pass, Hb Screen, Pass Play +2
 HB StretchOutside Zone, Run Play, Zone Run
- HB Toss StrongToss, Run Play
 HB Zone Alert BubbleInside Zone, Run Play, Zone Run +2
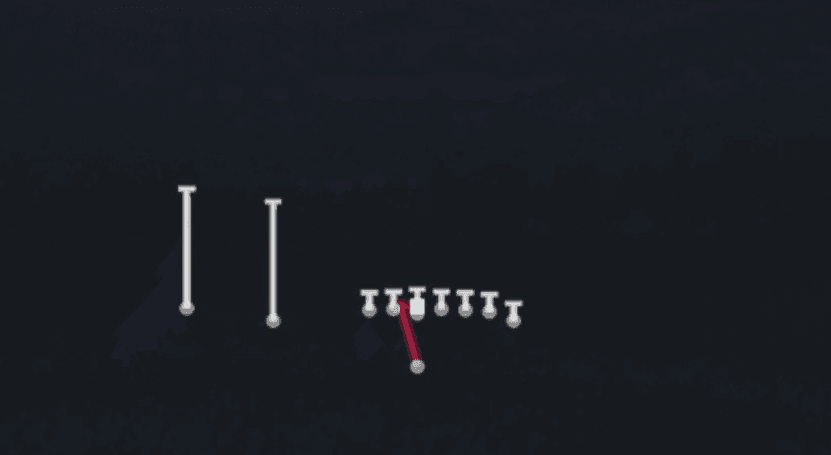 HB Zone WkInside Zone, Run Play, Zone Run
 H Misdirection StrMisdirection, Run Play
 H Zone StrRun Play, Outside Zone, Zone Run +1
 Inside Zone SplitInside Zone, Run Play, Zone Run
 Jet 6 Drive WheelWheel, Drive, Motion +7
 Jet HB PowerPower, Motion, Run Play +1
 Jet HB SlashMotion, Run Play
- Jet PA Boot ScreenScreen Pass, Corner, Streak +5
- Jet PA Boot SlideCorner, Deep Cross, Crosser +6
 Jet PA Boot Y LeakPlay Action, Motion, Pass Play +5
 Jet PA PowerPlay Action, Motion, Pass Play +4
 Jet SweepSweep, Jet Sweep, Motion +1
 Mtn Duo WrapDuo, Motion, Run Play +1
- Mtn HB Zone WKInside Zone, Motion, Run Play +1
 Mtn PA Z SlidePlay Action, Slide, Motion +6
 Mtn Wide Zone WkOutside Zone, Motion, Run Play +1
 Off TackleOff Tackle, Run Play
- Out N UpOut, Out And Up, Pass Play +2
 PA Boot SlidePlay Action, Slide, Pass Play +5
 PA Boot TE LeakPlay Action, Pass Play, Deep Cross +4
 PA Boot Y SailPlay Action, Sail, Pass Play +2
- PA Boot Y Sail (m20)Play Action, Sail, Pass Play +7
 PA Counter StrPlay Action, Pass Play, Deep Cross +5
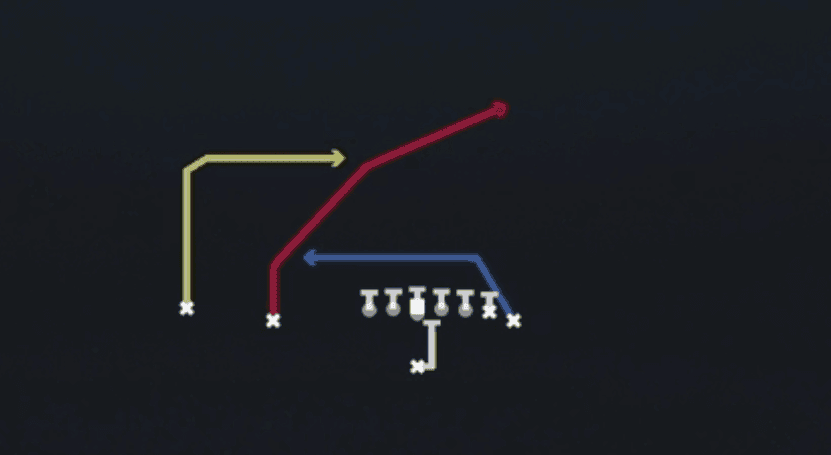 PA Cross Dig ShotPlay Action, Dig, Crosser +3
 PA DaggerPlay Action, Dagger, Pass Play +6
 PA FL DiveDive, Play Action, Pass Play +5
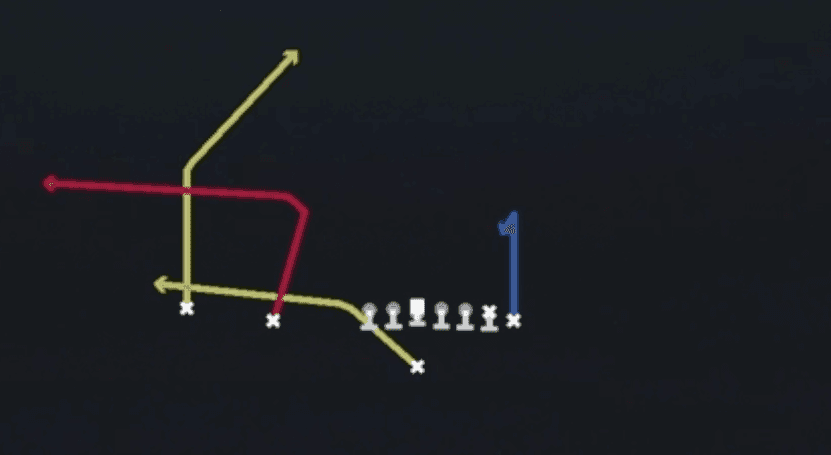 PA ForkPlay Action, Pass Play, Block and Release +3
 PA Fork Y-DigPlay Action, Dig, Pass Play
 PA Jet SweepSweep, Jet Sweep, Play Action +8
 PA Power OPlay Action, Pass Play, Corner +5
 PA RolloutPlay Action, Pass Play, Block and Release +4
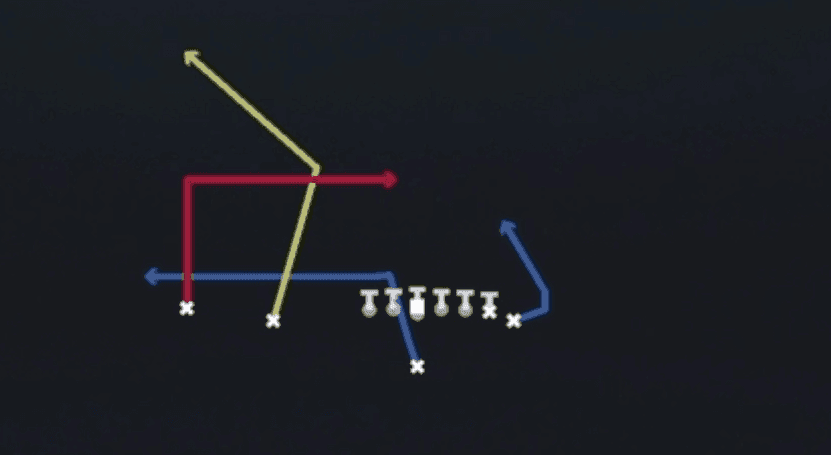 PA Sail DigPlay Action, Dig, Sail +7
 PA Sail X PostPlay Action, Post, Sail +6
 PA Slot N GoPlay Action, Go, Pass Play +4
 PA Sprint HB FlatPlay Action, Flat, Pass Play +4
- PA StretchPlay Action, Pass Play, Post +2
 PA TE ScissorsPlay Action, Scissors, Pass Play +2
- PA TE Scissors (20)Play Action, Scissors, Pass Play +6
 PA Y CornerPlay Action, Corner, Pass Play +3
- PA Y Cross FloodPlay Action, Crosser, Flood +8
 PA Y DragPlay Action, Drag, Pass Play +5
 PA Y-Drag WheelPlay Action, Wheel, Drag +5
- PA Y-pocoPlay Action, Post Corner, Pass Play +6
 PA Y ScreenPlay Action, Screen Pass, Pass Play +5
 Quick SlantQuick Pass, Slant, Pass Play +2
 Slot DeepPass Play, Go, Flat +7
 Slot PostPass Play, Block and Release, Curl +4
 SmashSmash, Pass Play, Cover 2 Beater +6
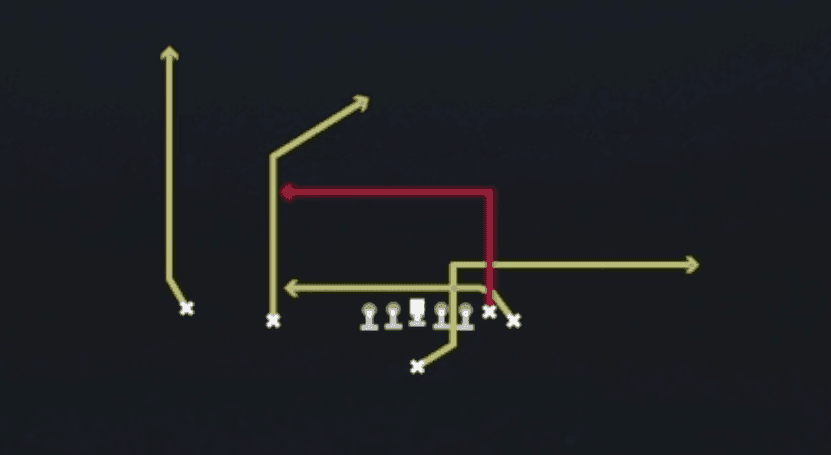 U DriveDrive, Pass Play, Cover 4 Beater +6
 U Drive CheckDrive, Pass Play, Cover 4 Beater +6
 X CurlCurl, Pass Play, Out +1
 X ReturnMotion, Post Sit, Streak +2
- Y-go Slot CrossGo, Crosser, Pass Play +5
 Y StickStick, Stick Concept, Pass Play +2
 Zone Fake JetMotion, Run Play