Playbooks

At a Glance
Overview
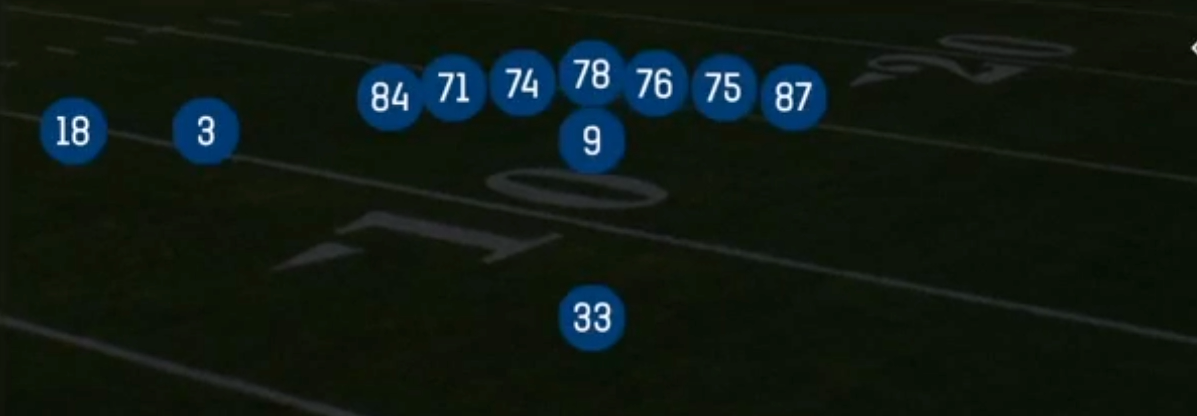
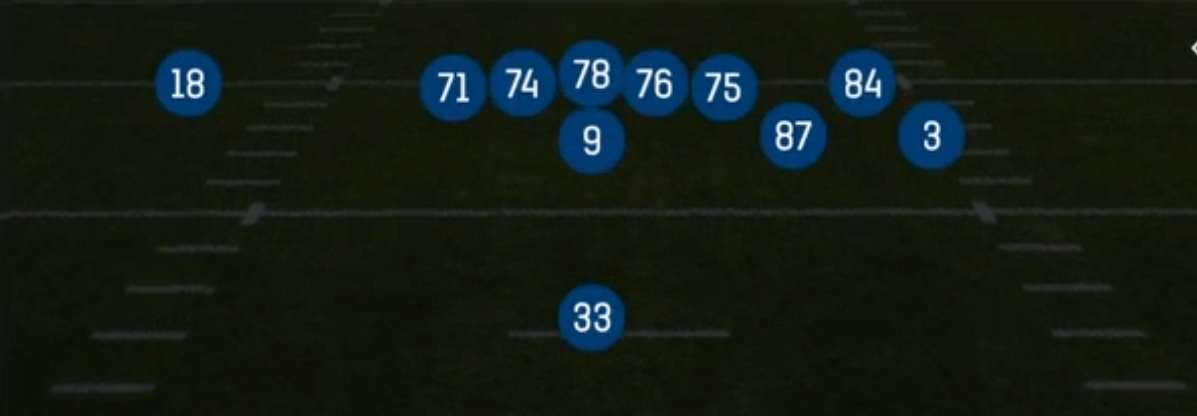
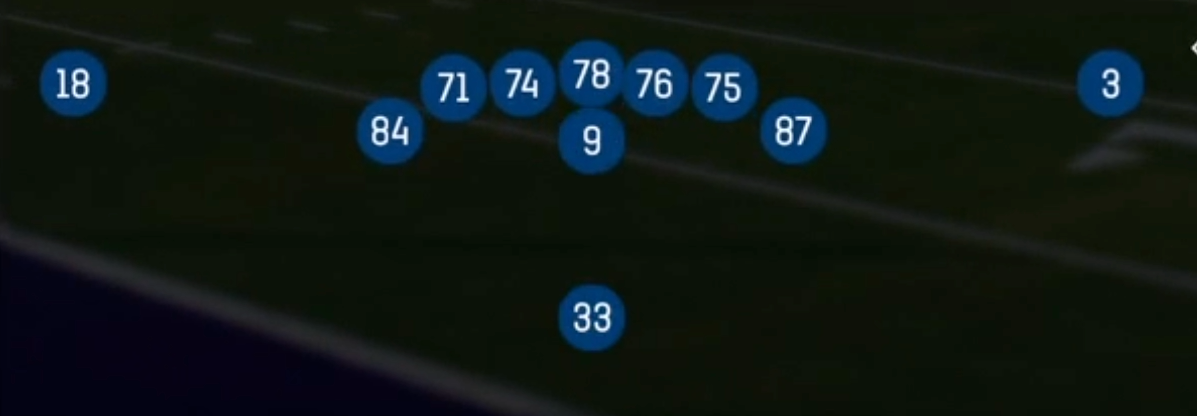
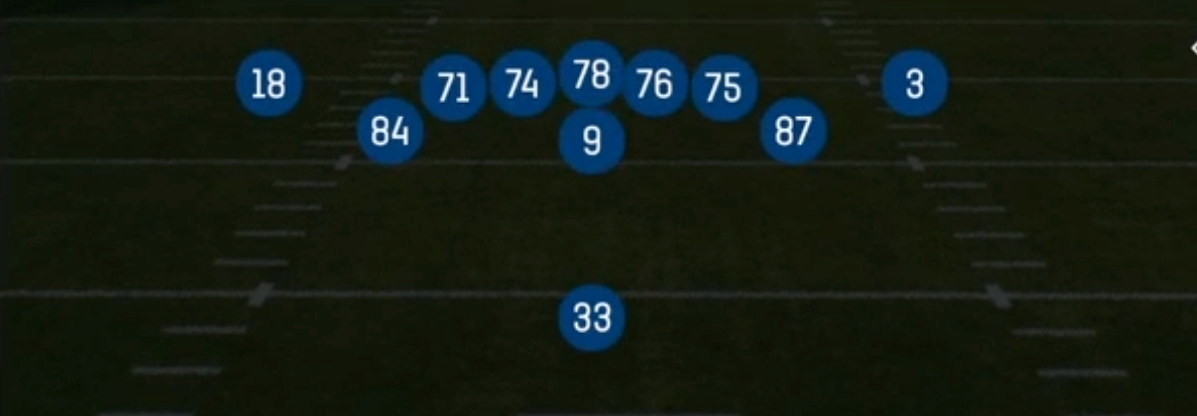
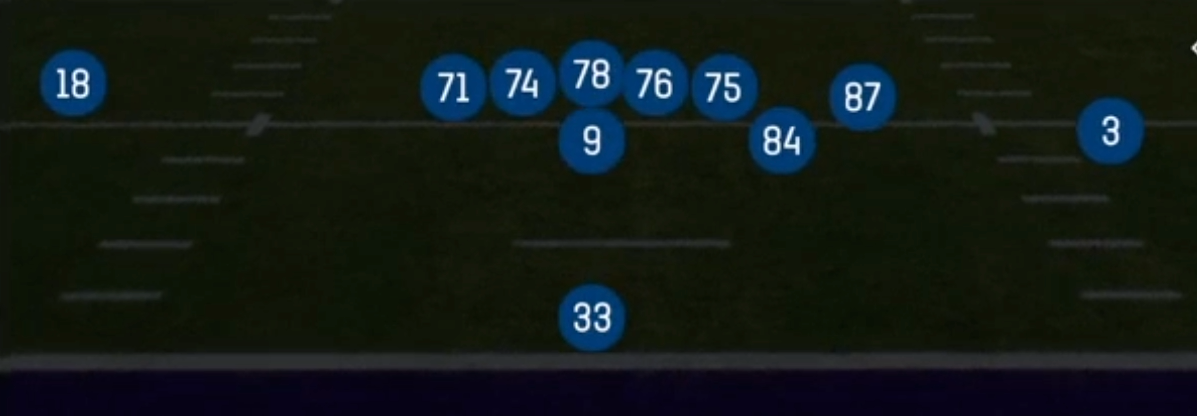
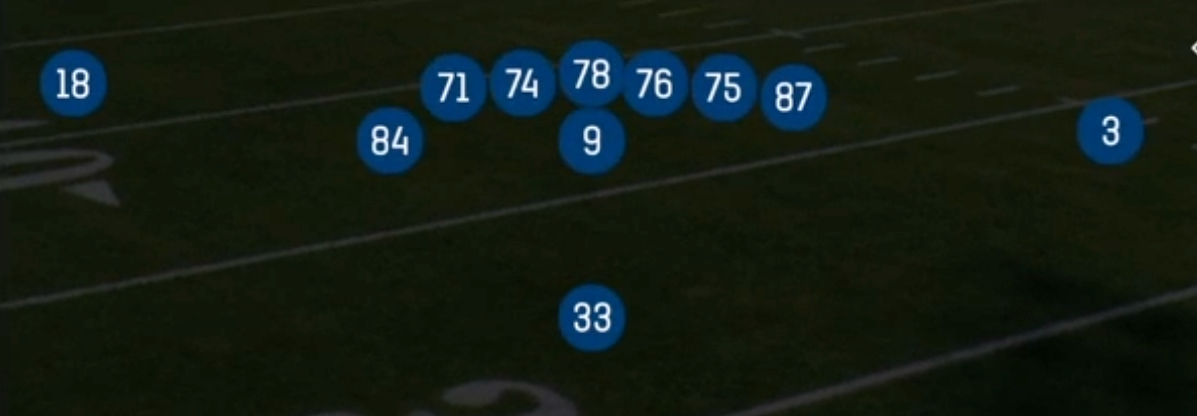
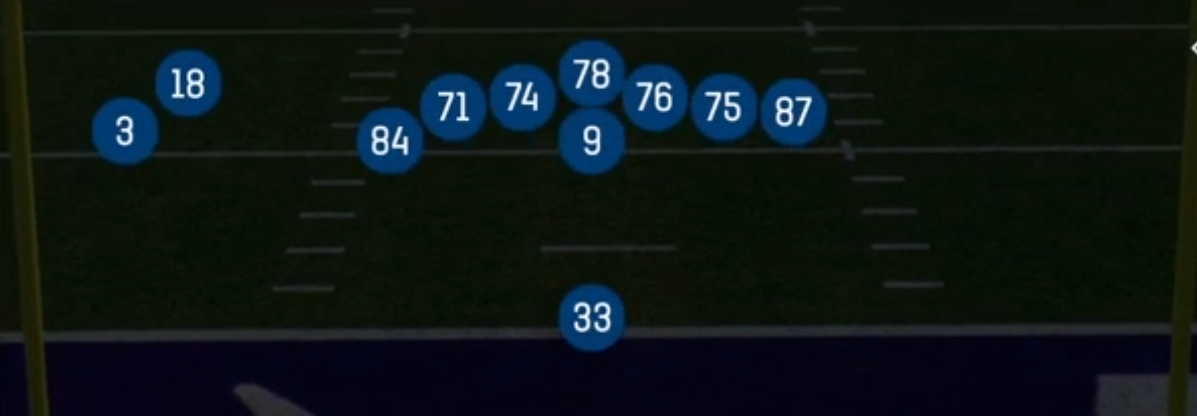
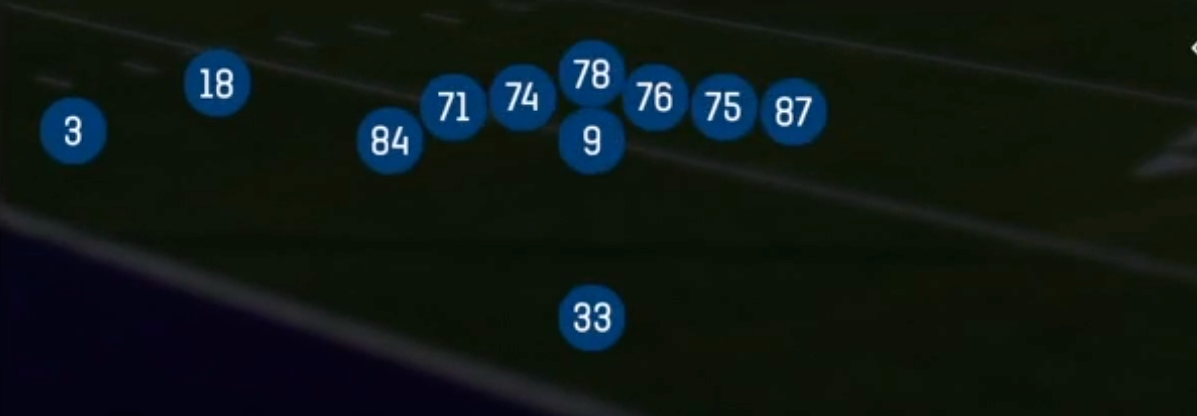
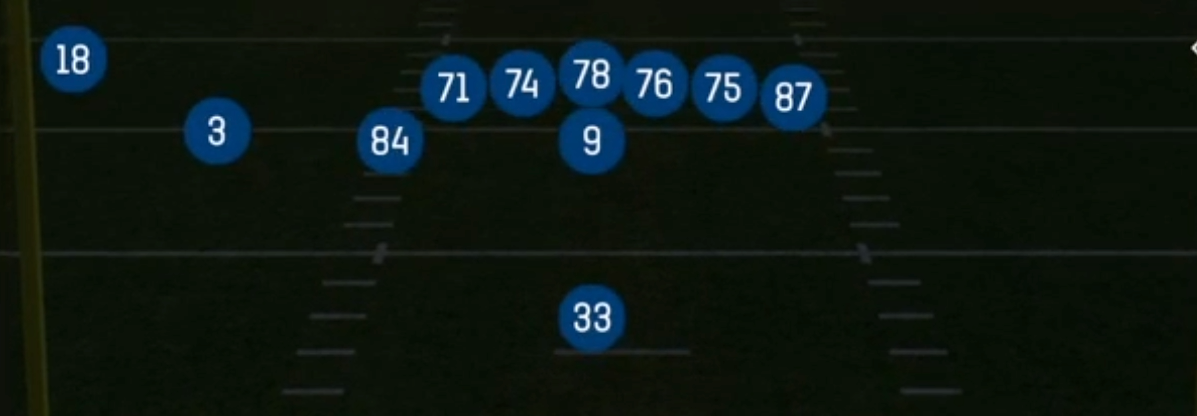
Singleback Wing is a 12 personnel set (1 RB, 2 TE, 2 WR) that puts one tight end inline and aligns the second as a wing, set just off the line and outside the end man on the line of scrimmage. Singleback Ace balances both TEs on the line. Wing instead creates an unbalanced strength with an extra gap at the point of attack and a mobile blocker who can arc, kick out, lead, or leak into routes. The two receivers split wide, which keeps the defense honest on the perimeter while the run game does the heavy lifting inside. The halfback sits alone in the backfield, so the defense has to read flow from the RB and the wing rather than from a fullback.
This set is built around misdirection, and the Gadget tag fits. The wing TE is the engine for Counter U, HB Power O, End Around Lead, and HB Slash Fk End Arnd. The same pre-snap look can produce a downhill dive (Mtn HB Dive, HB Blunt Dive), a gap scheme pull, or a reverse to the perimeter. Linebackers and user-controlled defenders who key the wing or chase the first read get punished by HB Counter WK, HB Misdirection, and PA End Around, which all attack the vacated side.
The passing menu is layered on those run looks. Mtn PA Boot, PA Boot Lt, Close PA Sail, and Mtn PA Cross move the pocket and flood one side with flat, sail, and crosser routes. PA Misdirection Shot and PA Verts Y Dig take vertical shots once safeties trigger on the run. Alert RPO tags (HB Stretch Alert Lookie, Zone Split Alert Smoke, 26 Duo Alert X Smoke) give you built-in answers to press and loaded boxes. TE Stick, TE Attack, and TE Stick Fade are the matchup plays: they isolate the wing TE on a linebacker or strong safety when the defense stays in base personnel to handle the run.
Strengths
- Elite misdirection run package: Counter U, HB Counter WK, Mtn HB Counter, and HB Power O pull blockers away from flow, punishing linebackers who overpursue and users who crash the frontside A gap.
- Gadget constraint plays like End Around Lead, HB Slash Fk End Arnd, and PA End Around use the fake handoff to freeze the backside edge, creating easy perimeter yardage against aggressive contain or over-shifted fronts.
- Play-action boots off identical run looks (Mtn PA Boot, PA Boot Lt, Close PA Sail, Mtn PA Cross) are strong Cover 3 and Cover 4 zone beaters, high-lowing the flat defender with flat, sail, and deep crosser routes.
- Alert RPO tags give built-in man beaters. HB Stretch Alert Lookie and 26 Duo Alert X Smoke let you throw the quick glance or smoke screen when a single high safety drops a defender into the box or corners press.
- TE isolation plays (TE Stick, TE Attack, TE Stick Fade) exploit base defenses that stay in to stop 12 personnel runs, putting your best TE on a linebacker in man coverage, especially from the wing alignment with a free release.
Weaknesses
- Only two wide receivers are on the field, so defenses can stay in base 4-3 or 3-4 personnel without penalty, stacking the box and playing Cover 1 or Cover 3 Sky with an extra run defender.
- The wing alignment tips strength. Sharp opponents slide the line and shift linebackers toward the wing, then user the backside linebacker or safety to sit on counters and end arounds.
- Boots and rollouts are vulnerable to backside edge pressure. A QB contain or spy assignment on the backside DE, or an edge blitz from the boot side, blows up Mtn PA Boot and PA Boot Lt before the sail route develops.
- With both TEs frequently assigned to block on play action, Cover 0 and nano blitz pressure can overwhelm protection and leave few quick outlets, forcing hot routes to the WRs or an immediate checkdown.
- Deep shot concepts like PA Misdirection Shot, PA Verts Y Dig, and Sluggo Seam need long fake-handoff animations, so overload blitzes and user-controlled pass rushers generate sacks if you get greedy against a heavy blitz tendency.
Usage Tips
Establish Mtn HB Dive, HB Mid Zone, or 26 Duo on early downs. Once linebackers start flowing hard to the wing side, dial up Counter U or HB Counter WK back to the weak side on the next series.
Read the pre-snap shift. If the defense slides its front and linebackers toward the wing TE, flip the play or audible to End Around Lead or HB Misdirection to attack the thinned out backside.
Motion the wing TE across the formation to diagnose coverage. If a linebacker or safety travels with him, it is man, so check to TE Stick Fade or an Alert Lookie play; if the defense rotates without following, it is zone, so go to Close PA Sail or Spacing.
On 3rd and short or goal line, lean on HB Power O and HB Blunt Dive. If the box is loaded with a single high safety, audible to HB Stretch Alert Smoke or Zone Split Alert Smoke and throw the smoke screen to the uncovered side.
In the red zone, use RZ Mtn PA Crossers and Close PA Post against zone. Against Cover 0, hot route the inline TE to a quick slant and keep the RB in to block, since the compressed field reduces boot space.
Plays (56)
 26 DuoDuo, Run Play, Power Run
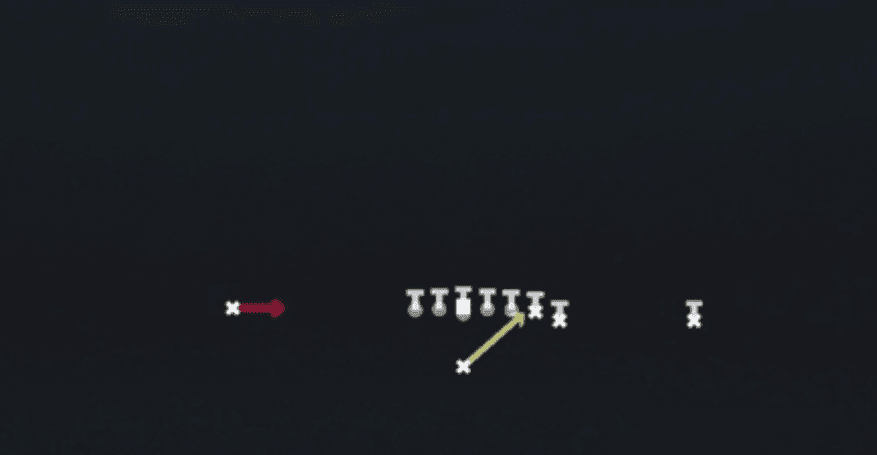 26 Duo Alert X SmokeDuo, Run Play, Power Run +2
 Close PA CrossPlay Action, Crosser, Pass Play +4
 Close PA PostPlay Action, Post, Pass Play +2
 Close PA SailPlay Action, Sail, Pass Play +7
 Close Zone StrgRun Play, Inside Zone, Zone Run +2
 Counter UCounter, Run Play, Power Run
 Curl ComboCurl, Pass Play, Flat +1
 DriveDrive, Pass Play, Cover 4 Beater +6
 End Around LeadEnd Around, Trick Play, Run Play
 HB Blunt DiveDive, Run Play
- HB Counter WKCounter, Run Play, Power Run
 HB DelayRun Play
 HB DiveDive, Run Play
- HB Mid ZoneRun Play
 HB MisdirectionMisdirection, Run Play
- HB Power OPower, Run Play, Power Run
 HB Slant 18Run Play
- HB Slash Fk End ArdRun Play
 HB Slash Fk End ArndEnd Around, Trick Play, Run Play
 HB SmashRun Play
 HB Stretch Alert LookieOutside Zone, Run Play, Zone Run +2
 HB Stretch Alert SmokeOutside Zone, Run Play, Zone Run +2
 HB Toss CrackToss, Run Play
 HB Zone TossInside Zone, Toss, Run Play +1
- H Zone WKInside Zone, Run Play, Zone Run
 Mtn HB CounterCounter, Motion, Run Play +1
 Mtn HB DiveDive, Motion, Run Play
 Mtn HB SlamDive, Motion, Run Play
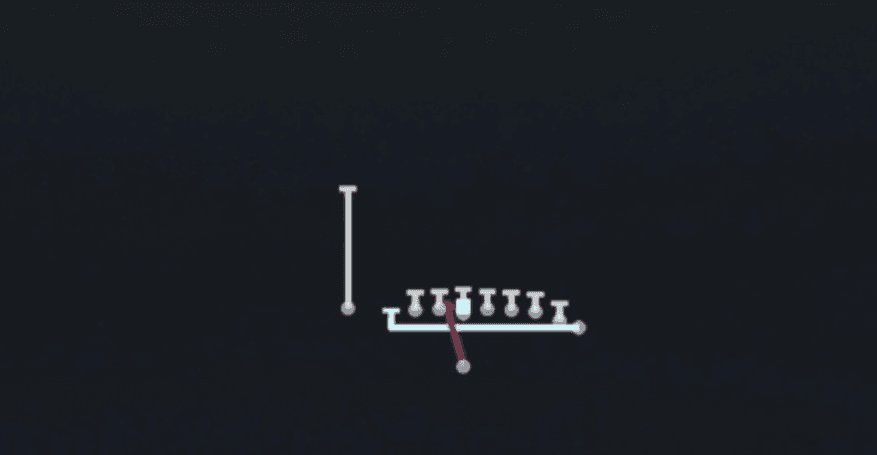 Mtn H Zone WkInside Zone, Motion, Run Play +1
 Mtn PA BootPlay Action, Motion, Pass Play +5
- Mtn PA Copo SlidePlay Action, Slide, Corner Post +8
 Mtn PA CrossPlay Action, Crosser, Motion +5
 Mtn PA Fk SlidePlay Action, Slide, Motion +6
 Mtn PA PoCo SlidePlay Action, Slide, Post Corner +4
 PA Boot LtPlay Action, Pass Play, Comeback +4
 PA Comebacks Y DigPlay Action, Dig, Comeback +3
 PA End AroundEnd Around, Play Action, Trick Play +4
- PA MiddlePlay Action, Pass Play, Post +2
 PA Misdirection ShotPlay Action, Pass Play, Deep Cross +2
- PA Power OPlay Action, Pass Play, Corner +5
 PA TE FloodPlay Action, Flood, Pass Play +6
 PA Verts Y DigPlay Action, Dig, Four Verts +7
 PA Y-Drag WheelPlay Action, Wheel, Drag +5
 RZ Mtn PA CrossersPlay Action, Crosser, Motion +2
- Scene 44-4Run Play
- Sluggo SeamSeam, Sluggo, Pass Play +3
 SpacingSpacing, Pass Play, Cover 3 Beater +3
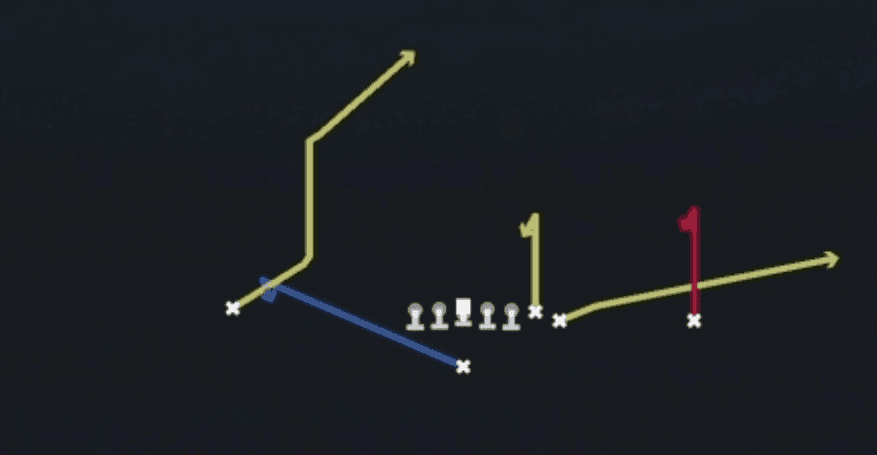 Steeler CurlsCurl, Pass Play, Post +1
 TE AttackPass Play, Four Verts, Seam +5
 TE StickStick, Stick Concept, Pass Play +3
 TE Stick FadeFade, Stick, Stick Concept +4
 WR DriveDrive, Pass Play, Cover 4 Beater +6
 Zone Split Alert LookieInside Zone, Run Play, Zone Run +2
- Zone Split Alert SmokeInside Zone, Run Play, Zone Run +2
 Z SpotSpot, Pass Play, Cover 3 Beater +4