Playbooks

Quick Reference
In 2 playbooks
Breakdown
HB Smash from Singleback Wing lines up in 12 personnel with only the HB releasing on a route, shown by the single red release line breaking to the flat off the backfield alignment. The tight ends and offensive line stay in to protect, giving the quarterback a clean, quick pocket with no other routes shown in the diagram, so this is a designed check down or screen style pass built around the back leaking out. Since the diagram shows no other receivers running vertical routes, the primary read is the HB out of the backfield, using him as a safety valve or a designed pass into space against overpursuing linebackers.
Defensive Reads
Watch for linebackers blitzing off the edge or up the middle, since their vacated zone is exactly where the HB route is designed to attack. If the defense shows Cover 2 or Cover 3 shells with linebackers sitting in shallow zones, the HB release can get swallowed up, so be ready to check to a different concept. User controlled defenders spying the backfield or sitting on the flat route can jump this concept, so scan the underneath zone before committing to the throw. Man coverage on the HB out of the backfield with a linebacker in space is a matchup the offense wins nearly every time, so treat man coverage as a green light. If the defense stacks extra defenders near the box pre-snap, expect the throw to be there quickly, so user a defender to trail the HB release as soon as the ball is snapped.
Usage Tips
Use this as a change of pace call after running heavier personnel groupings from Singleback Wing to keep the defense guessing on run versus pass.
Check pre-snap for linebackers cheating up into the box, since a light box with the HB uncovered in the flat is exactly the matchup this play wants.
Snap the ball quickly and get the HB into his route before edge defenders can convert their rush into a spy on the backfield.
Pair this call with 26 Duo or HB Power O earlier in a series so the defense respects the run first, then hit them with this backfield release for an easy explosive gain.
Against aggressive man pressure, this is a great answer because the HB route attacks the space vacated by blitzing linebackers.
Other Plays in Wing
 26 DuoDuo, Run Play, Power Run
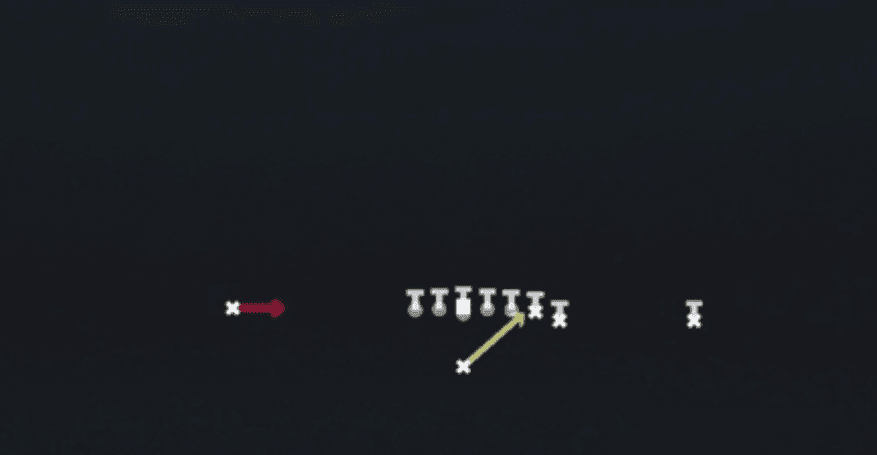 26 Duo Alert X SmokeDuo, Run Play, Power Run +2
 Close PA CrossPlay Action, Crosser, Pass Play +4
 Close PA PostPlay Action, Post, Pass Play +2
 Close PA SailPlay Action, Sail, Pass Play +7
 Close Zone StrgRun Play, Inside Zone, Zone Run +2
 Counter UCounter, Run Play, Power Run
 Curl ComboCurl, Pass Play, Flat +1
 DriveDrive, Pass Play, Cover 4 Beater +6
 End Around LeadEnd Around, Trick Play, Run Play
 HB Blunt DiveDive, Run Play
- HB Counter WKCounter, Run Play, Power Run
 HB DelayRun Play
 HB DiveDive, Run Play
- HB Mid ZoneRun Play
 HB MisdirectionMisdirection, Run Play
- HB Power OPower, Run Play, Power Run
 HB Slant 18Run Play
- HB Slash Fk End ArdRun Play
 HB Slash Fk End ArndEnd Around, Trick Play, Run Play
 HB Stretch Alert LookieOutside Zone, Run Play, Zone Run +2
 HB Stretch Alert SmokeOutside Zone, Run Play, Zone Run +2
 HB Toss CrackToss, Run Play
 HB Zone TossInside Zone, Toss, Run Play +1
- H Zone WKInside Zone, Run Play, Zone Run
 Mtn HB CounterCounter, Motion, Run Play +1
 Mtn HB DiveDive, Motion, Run Play
 Mtn HB SlamDive, Motion, Run Play
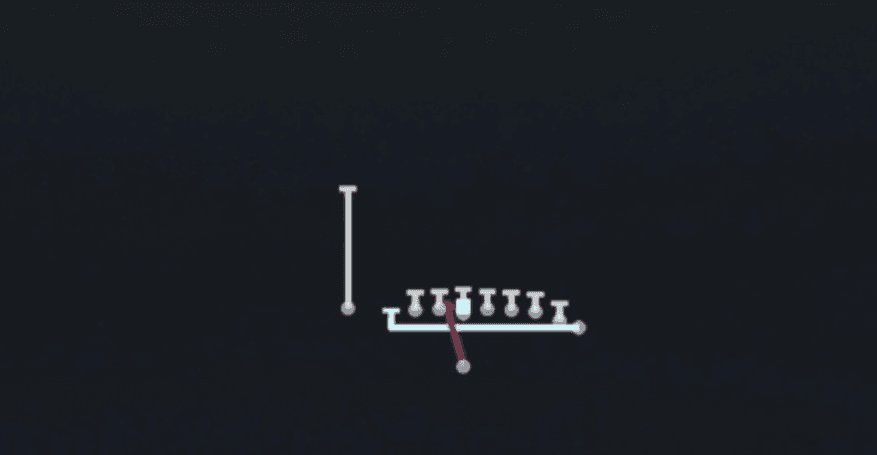 Mtn H Zone WkInside Zone, Motion, Run Play +1
 Mtn PA BootPlay Action, Motion, Pass Play +5
- Mtn PA Copo SlidePlay Action, Slide, Corner Post +8
 Mtn PA CrossPlay Action, Crosser, Motion +5
 Mtn PA Fk SlidePlay Action, Slide, Motion +6
 Mtn PA PoCo SlidePlay Action, Slide, Post Corner +4
 PA Boot LtPlay Action, Pass Play, Comeback +4
 PA Comebacks Y DigPlay Action, Dig, Comeback +3
 PA End AroundEnd Around, Play Action, Trick Play +4
- PA MiddlePlay Action, Pass Play, Post +2
 PA Misdirection ShotPlay Action, Pass Play, Deep Cross +2
- PA Power OPlay Action, Pass Play, Corner +5
 PA TE FloodPlay Action, Flood, Pass Play +6
 PA Verts Y DigPlay Action, Dig, Four Verts +7
 PA Y-Drag WheelPlay Action, Wheel, Drag +5
 RZ Mtn PA CrossersPlay Action, Crosser, Motion +2
- Scene 44-4Run Play
- Sluggo SeamSeam, Sluggo, Pass Play +3
 SpacingSpacing, Pass Play, Cover 3 Beater +3
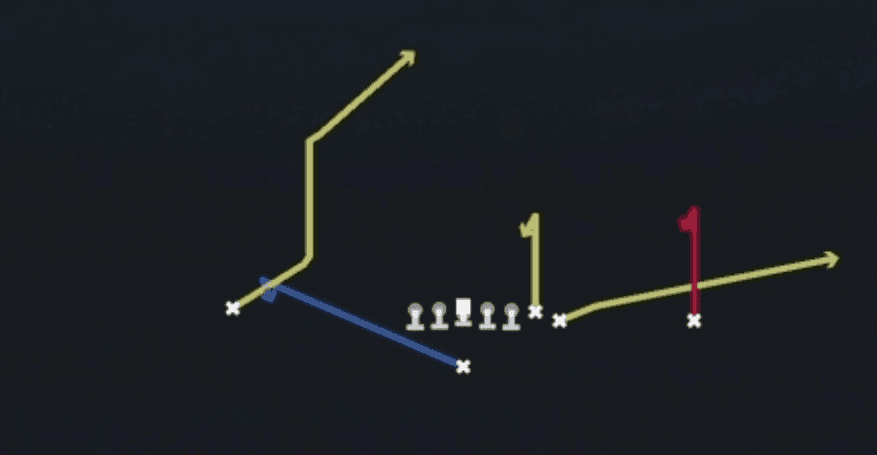 Steeler CurlsCurl, Pass Play, Post +1
 TE AttackPass Play, Four Verts, Seam +5
 TE StickStick, Stick Concept, Pass Play +3
 TE Stick FadeFade, Stick, Stick Concept +4
 WR DriveDrive, Pass Play, Cover 4 Beater +6
 Zone Split Alert LookieInside Zone, Run Play, Zone Run +2
- Zone Split Alert SmokeInside Zone, Run Play, Zone Run +2
 Z SpotSpot, Pass Play, Cover 3 Beater +4