Playbooks

At a Glance
In 21 playbooks
Overview
Y Off Trips Wk is a Shotgun 11 personnel set that stacks three eligible receivers to the strength side, with the Y tight end aligned off the ball as a wing or H inside the trips. The lone X receiver is isolated backside and the running back is offset to the weak side. The key difference from standard Gun Trips TE or Trips Y looks is that the Y is off the line of scrimmage. That frees him to motion, shift, or arc across the formation (the Boomerang, Bounce, and Mtn tags) without changing the strength or forcing an illegal formation. It also lets him release clean off the snap, so press and jams against him are much harder for defenders.
The weak side back alignment creates natural counter and split flow run action. Counter Y, HB Flip Counter, Inside Zone Split, and Y Lead Read Option all use the off Y as a kick out or lead blocker coming back across the formation. Defenses have to account for a trips passing surface on one side and a gap scheme run threat on the other. That creates conflict for overhang defenders and the weak side linebacker. Against a 3 over 2 or checked coverage rotation to trips, the backside X is left on an island, which makes Slot Fade style isolations, Mtn X Slant Spot, and backside go routes viable man beaters.
The play list is one of the deepest in Shotgun. It covers RPO Alert and RPO Bubble packages, true Air Raid concepts like Four Verticals, Stick, Curls, and Mesh style crossers, play action shots like Mtn PA Portland and Bounce PA Post Curls, and gadget looks like Mtn WR Counter Rt and Boomerang Y Lead Read Option. Because the Y can act as a sixth blocker, a flex slot, or a motion decoy on the same alignment, the defense gets almost no pre snap tell about run, pass, or screen.
Strengths
- The off ball Y releases free of jams and can be motioned across via Boomerang and Mtn tags, flipping the run strength and creating leverage mismatches against linebackers on Mtn Y Cross and Mtn Y Corner.
- Trips to the field with an isolated backside X punishes Cover 1 and Cover 0 rotations, as Slot Fade, Mtn X Slant Spot, and a hot routed backside go give your best WR a one on one with no safety help.
- RPO Alert Split Bubble, RPO Alert Bubble Dive, and RPO Glance Bubble read the overhang defender: bubble to trips if he fits the run, give the dive if he widens, which stresses nano blitz users who crash the box.
- Zone beaters are deep: Strong Flood, Curls Combo, Hi Lo Dig, and Dig Cross high low the hook and curl zones, while Four Verticals and 22 Sluggo Verts attack Cover 3 seams with the Y bending inside the deep middle defender.
- The weak side back plus a pulling or arcing Y gives a legit gap scheme run game (Counter Y, HB Power O, PA Flip Counter), and the play action off those looks produces huge crossers when linebackers bite on the pull.
Weaknesses
- Only five linemen are protecting on standard passes, and with the RB offset weak and the Y off the line, overload blitzes to the trips side from the slot and field safety can get home before routes like Four Verticals or 22 Fade Stops develop.
- A user controlled middle linebacker or robber safety sitting in the hole can erase Mtn Y Cross, Dig Cross, and Post N Cross since so many concepts funnel crossers through the same zone.
- RPO and read option plays depend on reading the correct defender, and sim defenders or users who shade outside and spill the dive can create negative plays, especially with a pocket passer at QB.
- The trips side alignment telegraphs pass strength to experienced opponents, who can check cover 3 match or quarters and cloud to the trips side while bracketing the isolated X.
- With only one TE and the Y often assigned a lead or kick out block, the run game struggles against heavy boxes on short yardage, and Tackle Trap or Outside Zone can get blown up by a crashing edge.
Usage Tips
Pre snap, count the defenders to the trips side: if they have fewer than three over the trips with a single high safety, audible to a trips RPO or Quick Unders, and if they overload trips, hot route the backside X to a slant or go to punish the isolated corner.
On 1st and 10 and 2nd and medium, lean on RPO Alert Mtn Dive and Inside Zone Split to force the defense into a heavier box, then return to Mtn PA Portland or Bounce PA Post Curls on the next series when the linebackers start triggering downhill.
Against Cover 2 and Tampa 2, call Sluggo Seam or Verticals Y Out and read the middle hook defender, and against Cover 3 run Strong Flood or Curls Combo and throw to the flat when the flat defender carries vertical.
If your opponent is blitzing the trips side, slide protection toward trips and block the RB, or call HB Slip Screen and TE Screen to punish the pressure; Quick Short Post and Slants are your fast answers on 3rd and short.
Use Mtn and Boomerang motion to diagnose man versus zone: if a defender travels with the Y across the formation, you have man coverage, so work Mtn Y Angle, Mtn Shock H Opt, and crossing man beaters.
Plays (68)
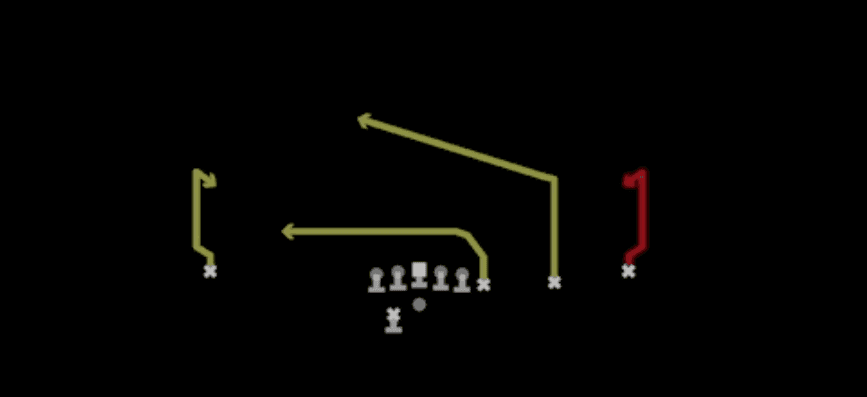 22 Fade StopsPass Play, Curl, Drag +2
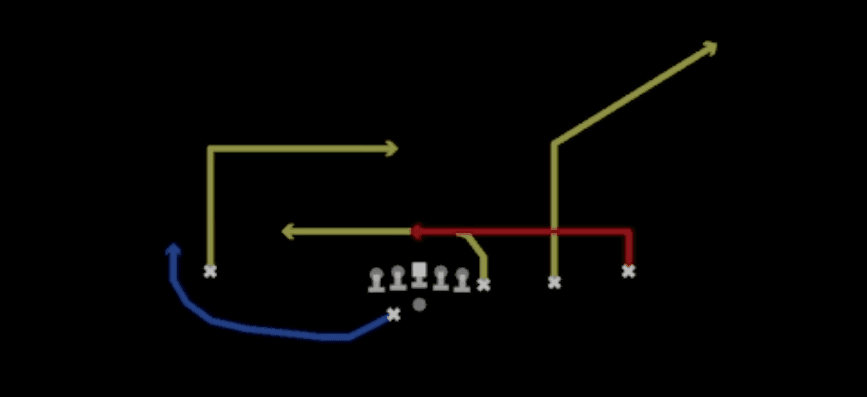 22 Shallow SailShallow Cross, Sail, Pass Play +7
 22 Sluggo VertsSluggo, Four Verts, Pass Play +7
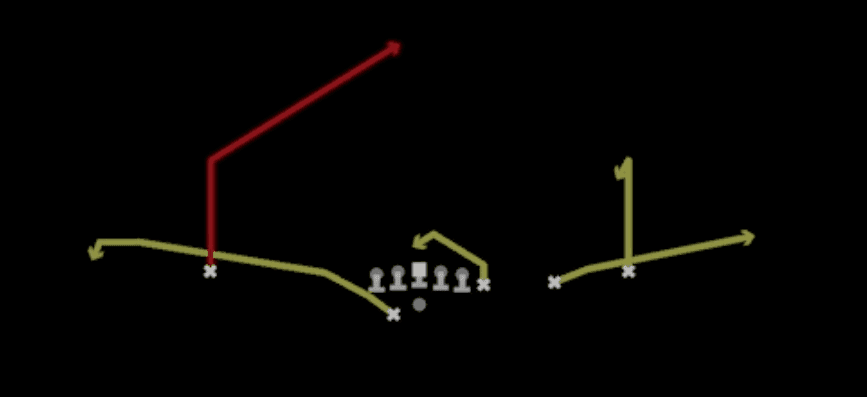 22 Z InPass Play, Curl, Post +1
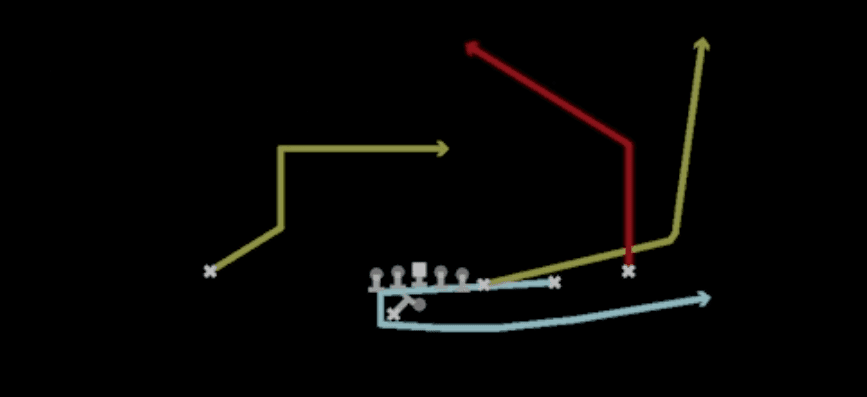 Boomerang PA PortlandPlay Action, Motion, Pass Play
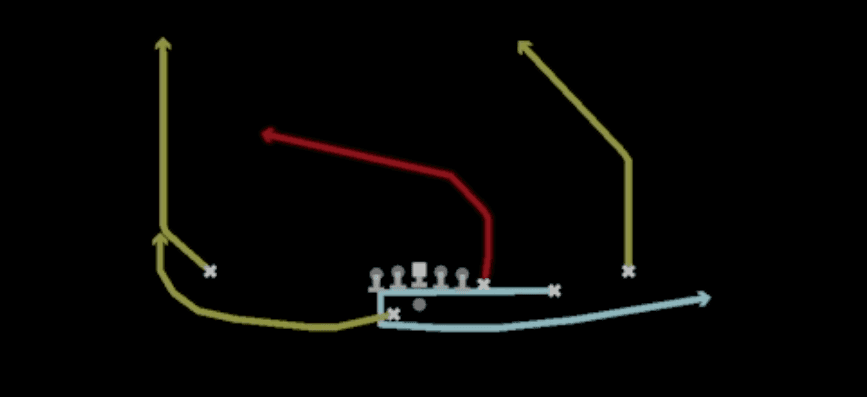 Boomerang Y CrossY Cross, Motion, Pass Play +1
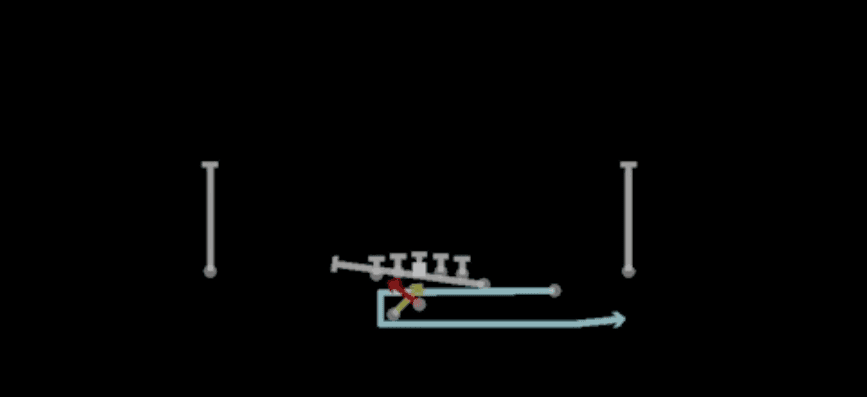 Boomerang Y Lead Read OptionRead Option, Motion, Run Play
 Bounce Inside ZoneInside Zone, Motion, Run Play +1
 Bounce PA Post CurlsPlay Action, Post, Motion +3
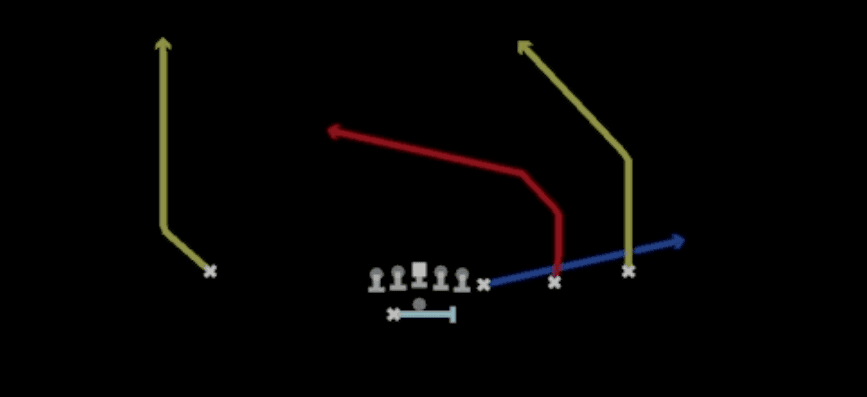 Bounce Slot CrossMotion, Crosser, Pass Play +4
 Chip Corner StrikeCorner, Pass Play, Block and Release +2
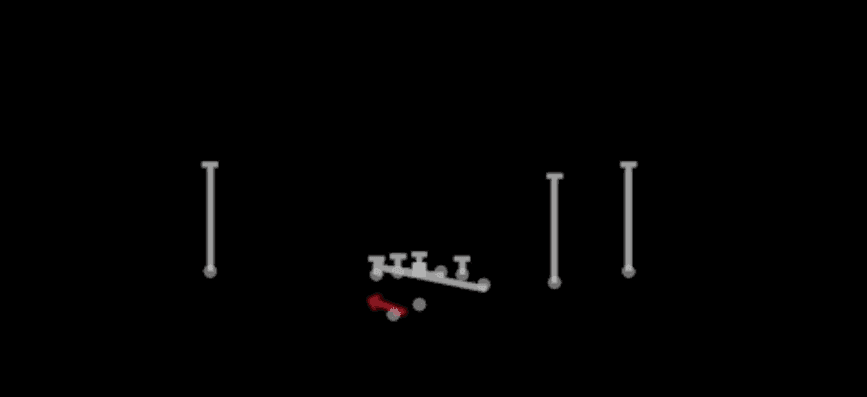 Counter YCounter, Run Play, Power Run
 CurlsCurl, Pass Play, Flat +1
 Curls ComboCurl, Pass Play, Flat +1
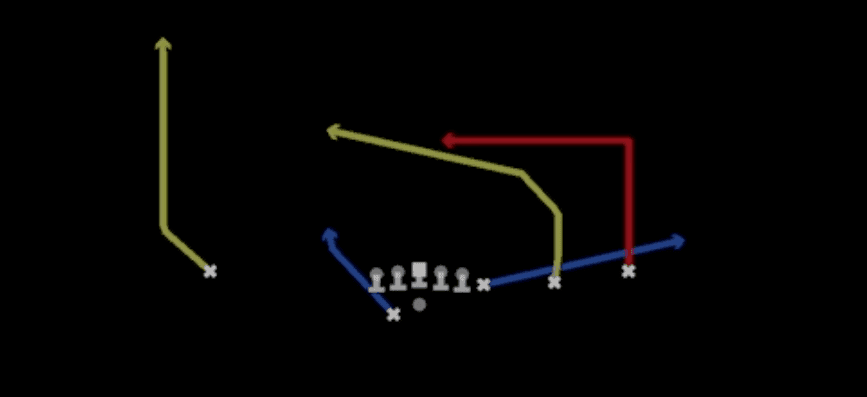 Dig CrossDig, Pass Play, Crosser +4
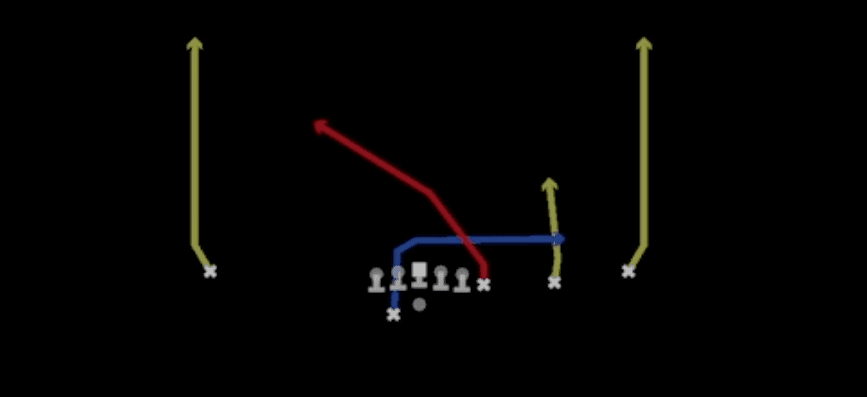 Four VerticalsFour Verts, Pass Play, Cover 2 Beater +7
 HB DrawDraw, Run Play
- HB Flip CounterRun Play
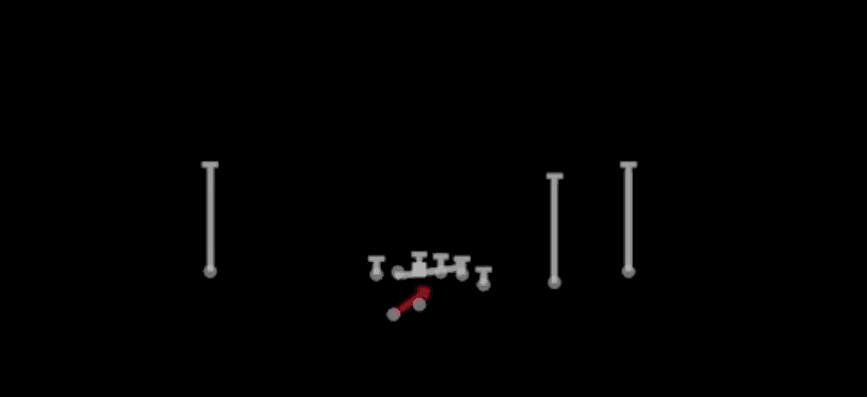 HB Power OPower, Run Play, Power Run
 HB Slip ScreenScreen Pass, Hb Screen, Pass Play +4
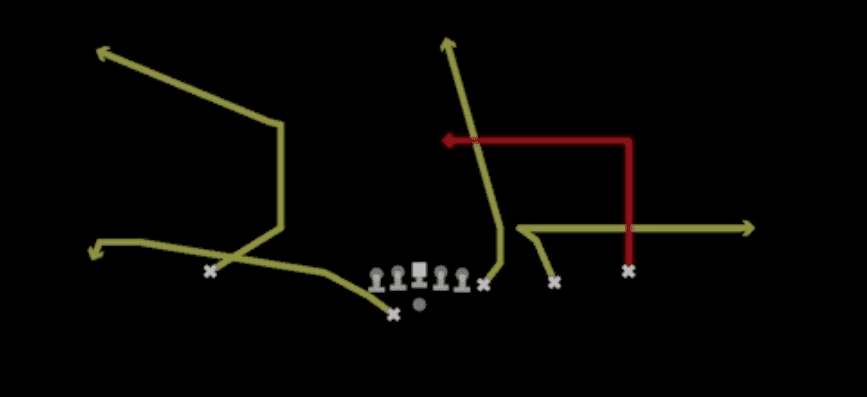 Hi Lo DigDig, Pass Play, Corner +3
 Inside ZoneInside Zone, Run Play, Zone Run
 Inside Zone SplitInside Zone, Run Play, Zone Run
- Mid ZoneRun Play
 Mtn CurlsMotion, Curl, Pass Play +2
 Mtn Fade DaggerFade, Dagger, Motion +8
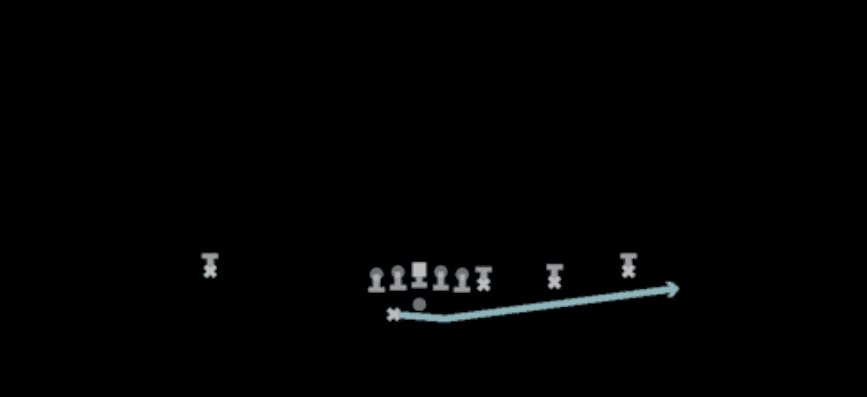 Mtn HB SwingSwing, Motion, Pass Play
- Mtn PA PortlandPlay Action, Motion, Pass Play +4
- Mtn PA WR Zone FloodCorner, Deep Cross, Crosser +7
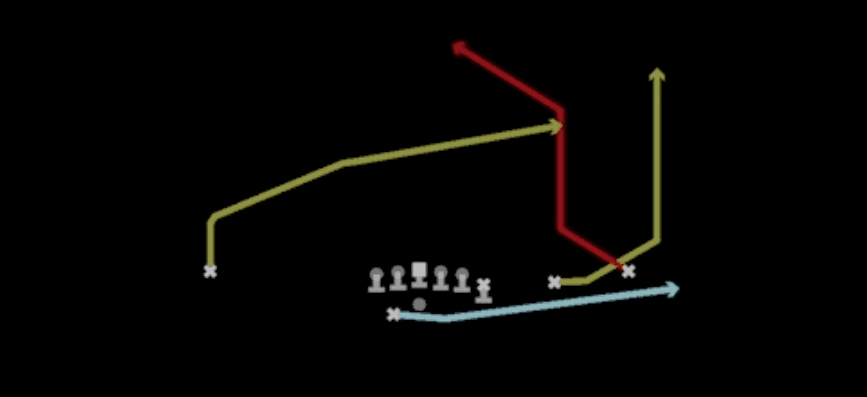 Mtn Pump And GoGo, Motion, Pass Play +5
- Mtn RPO DiveDive, RPO, Motion +4
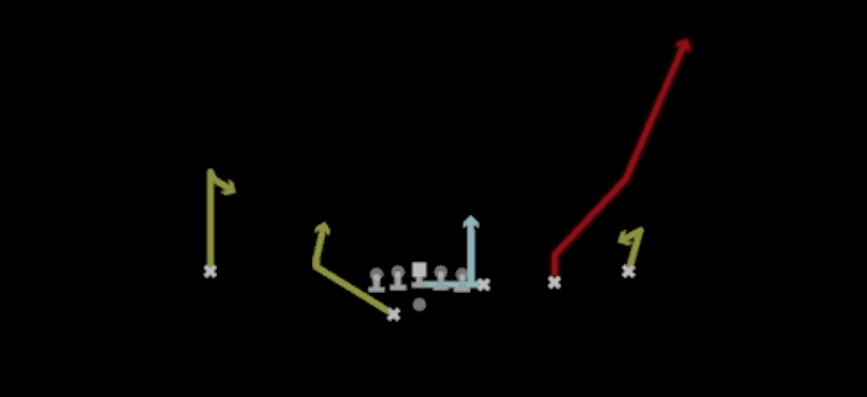 Mtn Shock H OptMotion, Curl, Hitch +4
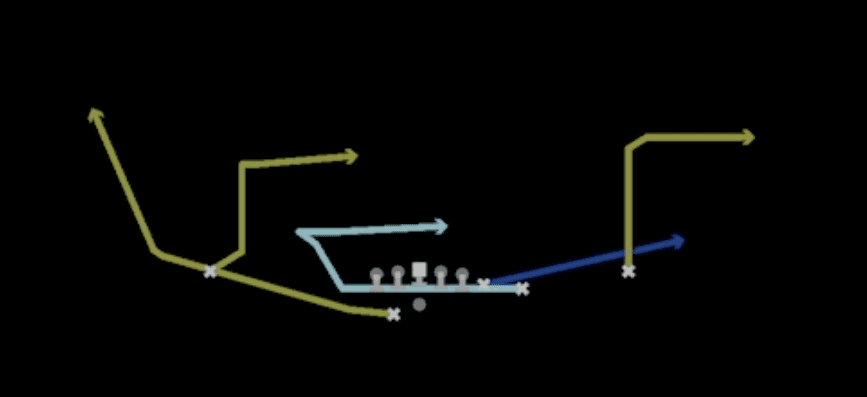 Mtn Slot Whip InWhip, Motion, Pass Play +5
- Mtn WR Counter RtRun Play
- Mtn WR ZoneRun Play
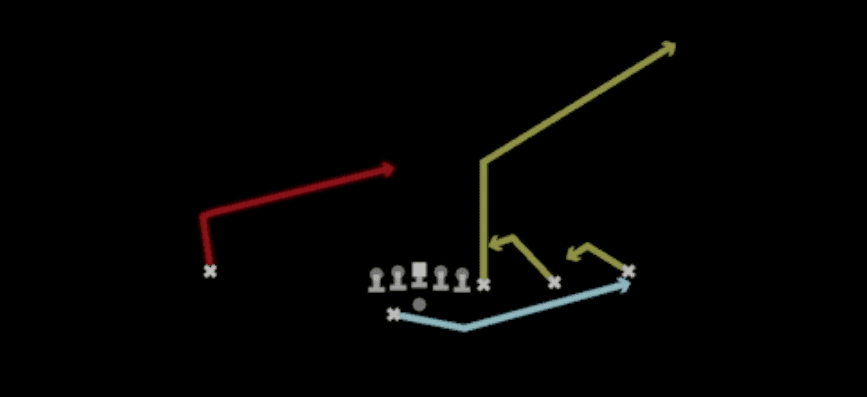 Mtn X Slant SpotSlant, Spot, Motion +4
 Mtn Y AngleAngle, Motion, Pass Play +5
 Mtn Y CornerCorner, Motion, Pass Play +2
- Mtn Y CrossCrosser, Y Cross, Motion +5
- Mtn Y Lead Read OptionRead Option, Motion, Run Play
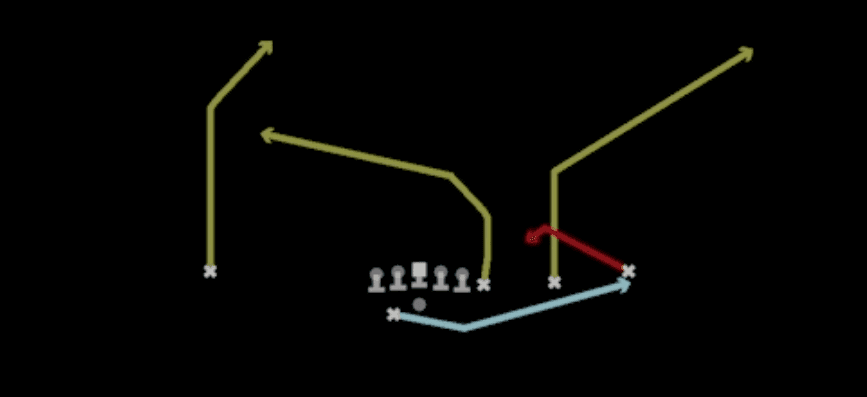 Mtn Z SpotSpot, Motion, Pass Play +6
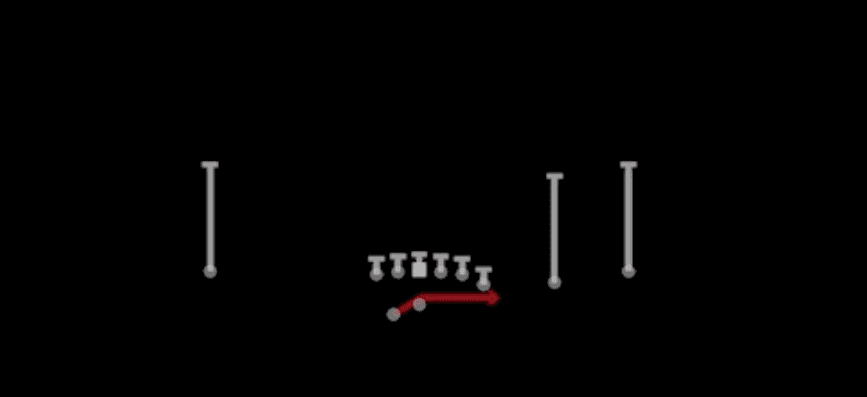 Outside ZoneOutside Zone, Run Play, Zone Run
- PA Flip CounterComeback, Deep Cross, Crosser +5
 PA SlidePlay Action, Slide, Pass Play +4
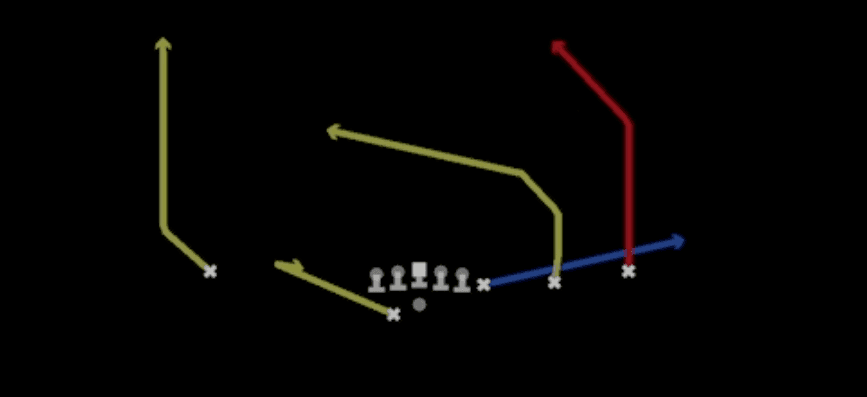 Post N CrossPost, Pass Play, Crosser +3
 Quick Fork ZigQuick Pass, Pass Play, Slant +1
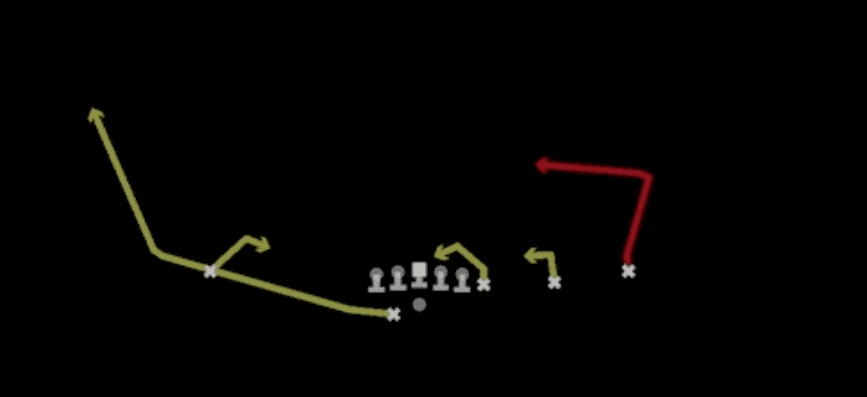 Quick Short PostQuick Pass, Post, Pass Play +1
 Quick UndersQuick Pass, Pass Play, Drag +5
 RPO Alert Bubble DiveRPO, Pass Play, Run Play +1
- RPO Alert Flip CounterBubble Screen, Option Route, Run Play +1
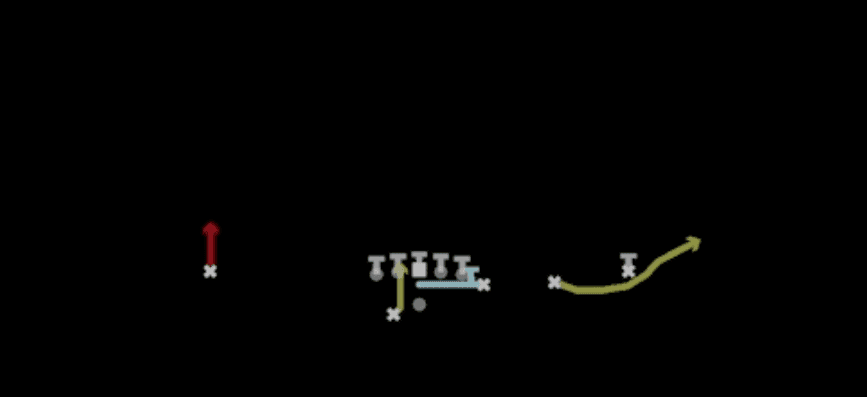 RPO Alert Mtn DiveRPO, Motion, Pass Play +2
 RPO Alert Split BubbleRPO, Pass Play, Run Play
 RPO Glance BubbleRPO, Pass Play, Run Play +2
- RPO Thunder BubbleRPO, Pass Play, Run Play +2
- RPO Zone DiveDive, RPO, Run Play +3
- Same Side ZoneRun Play
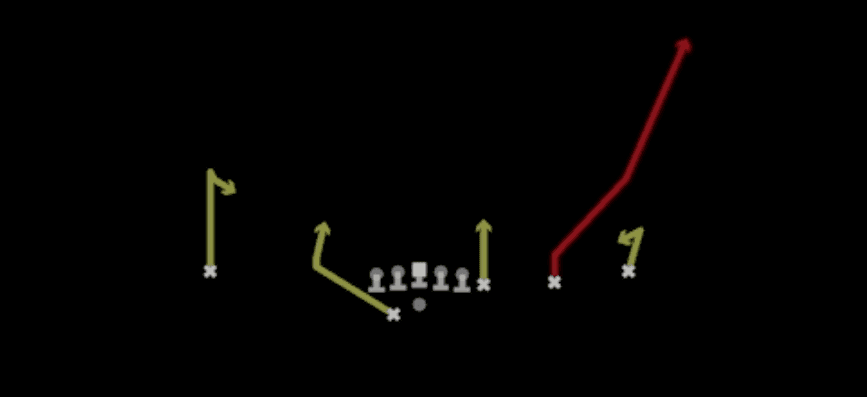 Shock H OptionOption Route, Motion, Pass Play +4
 SlantsSlant, Pass Play, Flat
 Slot 2 BucPass Play, Flood, Go +8
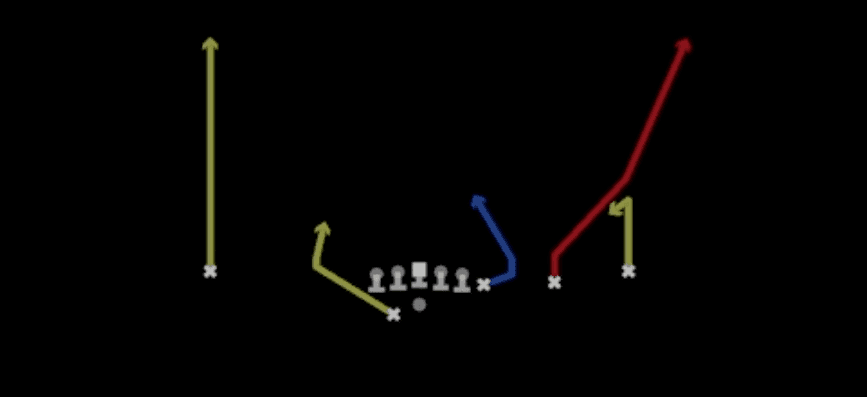 Slot FadeFade, Pass Play, Hitch +3
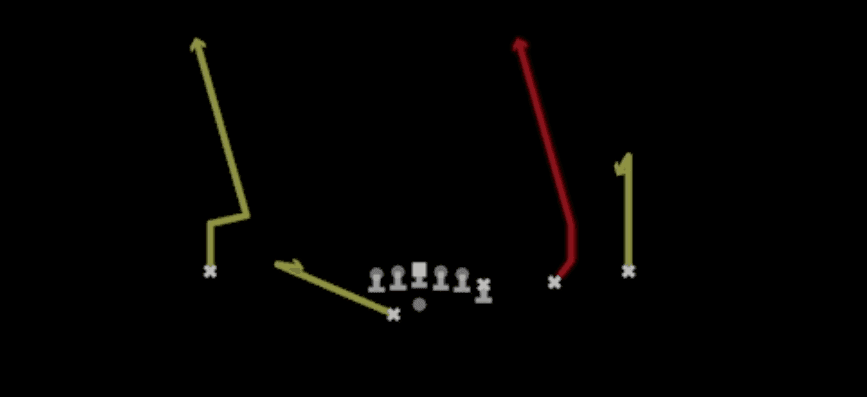 Sluggo SeamSeam, Sluggo, Pass Play +3
 StickStick, Stick Concept, Pass Play +4
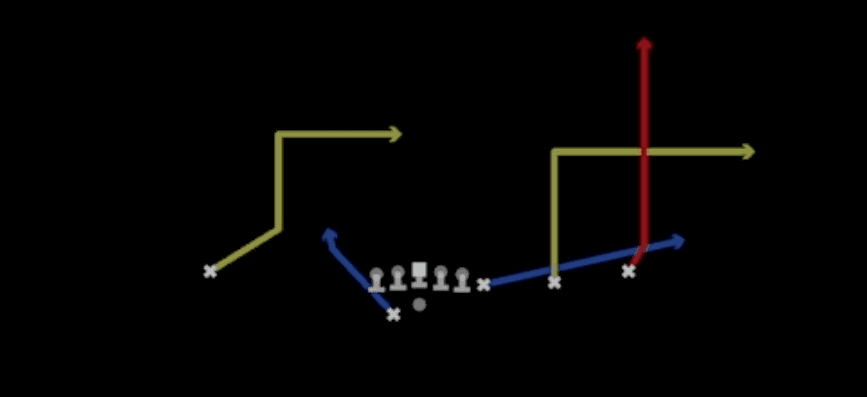 Strong FloodFlood, Pass Play, Cover 3 Beater +5
 Tackle TrapTrap, Run Play, Power Run
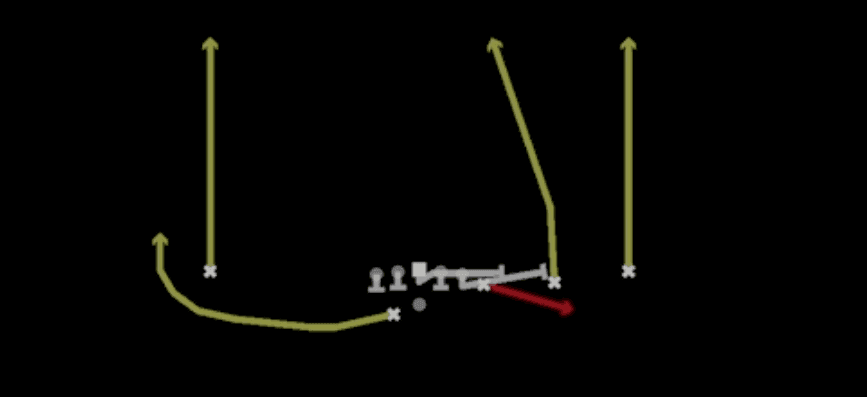 TE ScreenScreen Pass, Te Screen, Pass Play +3
 Verticals Y OutOut, Four Verts, Pass Play +5
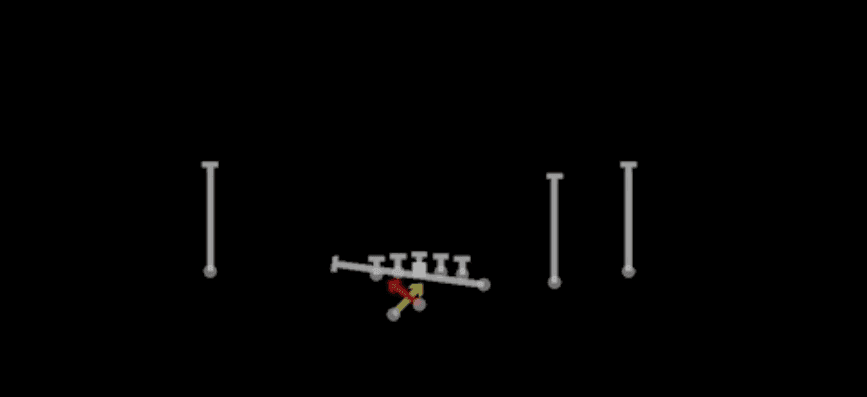 Y Lead Read OptionRead Option, Run Play
 Z UnderPass Play, Quick Pass, Shallow Cross +8









