Playbooks

Receiver routes
Depth-chart slots are shown as they line up in the base package for this set.
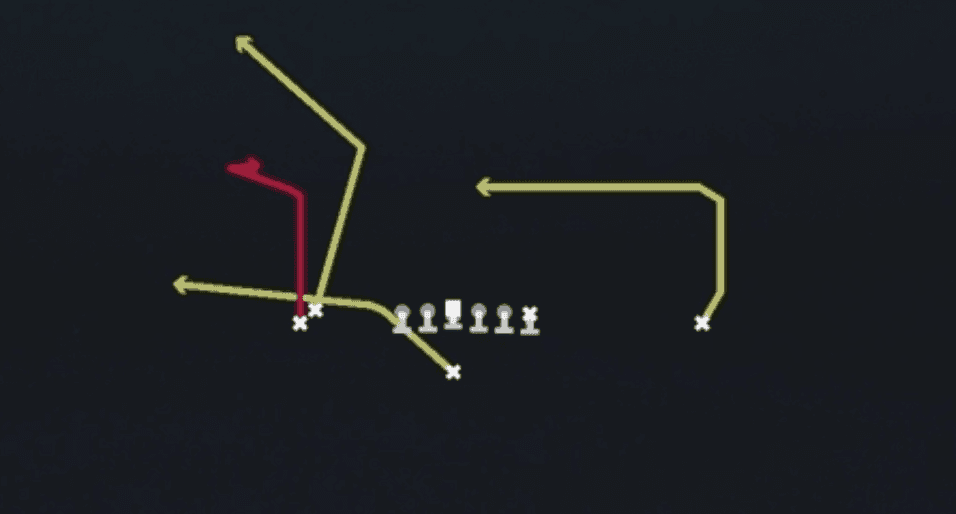
| Player | Side | Route |
|---|---|---|
| HB1 | Middle | Flat |
| WR3 | Left | Speed Out |
| WR1 | Left | Post |
| WR2 | Right | Deep In |
| TE1 | Right | Short In |
Read progression
- WR2 right, Deep In
- TE1 right, Short In
- HB1, Flat
- WR1 left, Post
- WR3 left, Speed Out
Breakdown
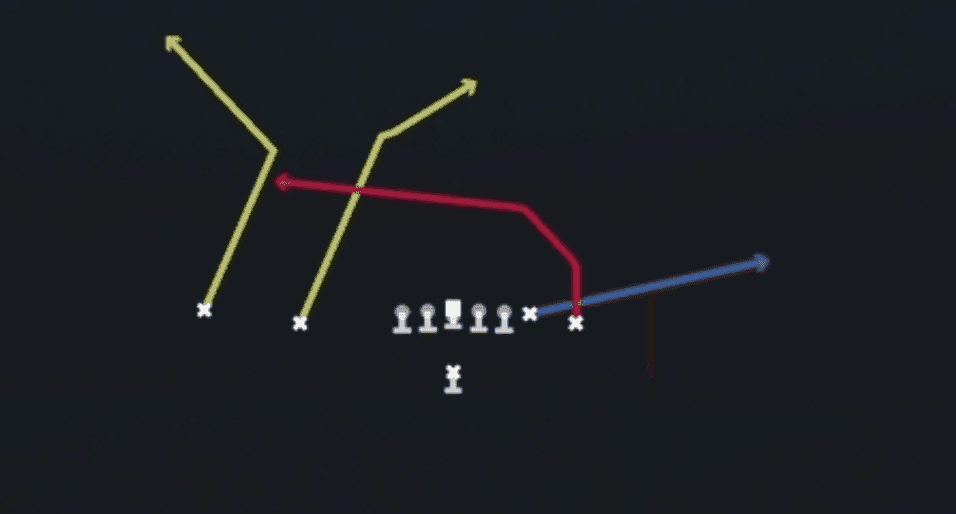
Flanker Dig lines up out of Singleback Doubles with 11 personnel and attacks the middle of the field with a horizontal stretch on top of a vertical shot. The backside receiver runs a deep corner while the inside slot clears out on a deep cross, and on the play side the TE runs a shallow drag under a dig route that sits at the sticks, with the RB releasing to the flat as a checkdown or coverage-clearer. This is a zone beater that uses the dig to settle in soft spots between linebackers and safeties, and the primary read progression starts with the dig, works down to the flat, and comes back to the drag if the middle is clogged.
Defensive Reads
Pre-snap check safety depth, if both safeties are deep and even you are likely facing a Cover 2 or Cover 4 shell that leaves the dig route exposed in the intermediate seam Watch the middle linebacker at the snap, if he sinks hard to the dig window you need to reset to the drag or flat instead of forcing the throw This play struggles against man coverage with a deep safety over the top since the dig has less separation and the corner route can get taken away by a lurking safety Identify blitz packages by counting box defenders, if the defense brings five or six rushers the dig route becomes a hot throw since it settles quickly in front of blitzing linebackers Key on the cornerback over the drag route, if he sits and squats in a zone drop instead of following the receiver you are likely in zone coverage and the dig should be your first look
Usage Tips
Look for two-high shells pre-snap since the dig sits in the honey hole between the hash and the numbers where zone defenders struggle to get depth
Use the flat route from the RB as your first hot read against Cover 3 sink or if the underneath defenders jump the dig
If you see man coverage, pair this call with Flanker Drag or Four Verticals on the next snap so defenders start cheating and open up throwing lanes over the middle
Best used on second and medium to second and long where the dig route depth matches the sticks and gives you a natural conversion throw
Snap the ball with tempo after seeing linebacker depth, since a shallow linebacker alignment signals the window for the dig will be tighter and you may need to hold the ball an extra beat for it to develop
Other Plays in Doubles
 0 1 TrapTrap, Run Play, Power Run
 Bubble ScreenScreen Pass, Bubble Screen, Pass Play +1
 Corner StrikeCorner, Pass Play, Block and Release +1
 Curl FlatsFlat, Curl, Pass Play +1
 DaggerDagger, Pass Play, Cover 2 Beater +7
 Deep AttackPass Play, Go, Post +7
 Double SlantsSlant, Pass Play, Flat
- Fade OutOut, Fade, Pass Play +1
- Fade SmashFade, Smash, Pass Play +5
 Flanker DragDrag, Pass Play, Block and Release +3
 Flanker DriveDrive, Pass Play, Cover 4 Beater +6
 ForkPass Play, Flood, Corner +6
 Four VerticalsFour Verts, Pass Play, Cover 2 Beater +5
 Goalline FadeFade, Pass Play, Block and Release +2
- HB CounterCounter, Run Play, Power Run
 HB CutbackRun Play, Inside Zone, Zone Run +1
 HB DiveDive, Run Play
 HB DrawDraw, Run Play
- HB Mid ZoneRun Play
- HB MisdirectionMisdirection, Run Play
 HB Power OPower, Run Play, Power Run
 HB Power O Alert BubblePower, Run Play, Power Run +2
 HB Pump DrawDraw, Run Play
 HB SlamDive, Run Play
 HB SlashRun Play, Power Run, Power +1
 HB Slip ScreenScreen Pass, Hb Screen, Pass Play +4
 HB StretchOutside Zone, Run Play, Zone Run
 HB Stretch Alert BubbleOutside Zone, Run Play, Zone Run +2
 HB Wide DrawDraw, Run Play
 Inside CrossCrosser, Pass Play, Block and Release +3
 Inside ZoneInside Zone, Run Play, Zone Run
- Jet SweepSweep, Jet Sweep, Motion +1
 Levels DivideLevels, Pass Play, Cover 2 Beater +4
 Mtn Z SpotSpot, Motion, Pass Play +5
 PA BootPlay Action, Pass Play, Block and Release +3
 PA Boot ComebackPlay Action, Comeback, Pass Play +4
- PA Corner PostPlay Action, Post, Corner Post +6
 PA Ctr WagglePlay Action, Pass Play, Block and Release +4
 PA Draw ShotDraw, Play Action, Pass Play +4
 PA HB LookPlay Action, Pass Play, Block and Release +4
- PA Jet SweepSweep, Jet Sweep, Play Action +8
- PA Misdirect ShotPlay Action, Pass Play, Deep Cross +2
 PA Power OPlay Action, Pass Play, Block and Release +5
 PA SD Y-CornerPlay Action, Corner, Pass Play +4
 PA Slot StopPlay Action, Pass Play, Corner +3
 PA StretchPlay Action, Pass Play, Angle +5
- PA TE Screen GtPlay Action, Screen Pass, Te Screen +4
- PA Y-corner ForkPlay Action, Corner, Pass Play +3
 PA Y GlancePlay Action, Pass Play, Stop And Go +2
 PA Y-SailPlay Action, Sail, Pass Play +7
 PA Zone ShotPlay Action, Pass Play, Post +1
- Salem X KittyComeback, Hitch, Post +3
 SlantsSlant, Pass Play, Flat
 Slot SeamSeam, Pass Play, Comeback +4
 Sluggo SeamSeam, Sluggo, Pass Play +3
- SmashSmash, Pass Play, Cover 2 Beater +3
 StreaksStreak, Pass Play, Fade +1
 TE PostPost, Pass Play, Corner +4
 Tight Zone WkInside Zone, Run Play, Zone Run
- Tight Zone WK 2Inside Zone, Run Play, Zone Run
 Whip UndersWhip, Pass Play, Corner +4
 X DaggerDagger, Pass Play, Cover 2 Beater +7
 Y Shallow CrossShallow Cross, Crosser, Pass Play +5
 Z-Close CornerCorner, Pass Play, Block and Release +3
 Z-Close CrossCrosser, Pass Play, Block and Release +3
 Z-Close CurlCurl, Pass Play, Flat +2
- Zone Fake JetMotion, Run Play
 Z Post Y OutOut, Post, Pass Play +3
 Z SpotSpot, Pass Play, Cover 3 Beater +4
 Z UnderPass Play, Go, Out +9