Playbooks

At a Glance
In 13 playbooks
Overview
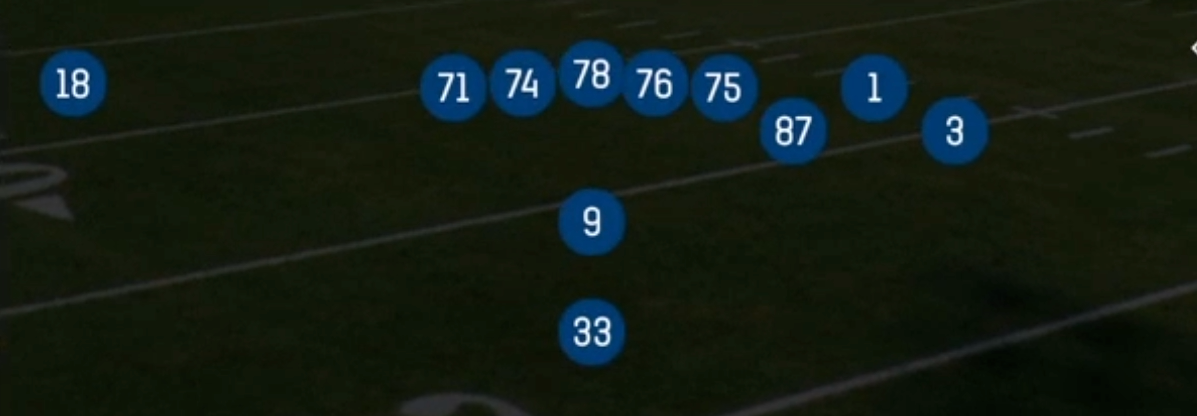
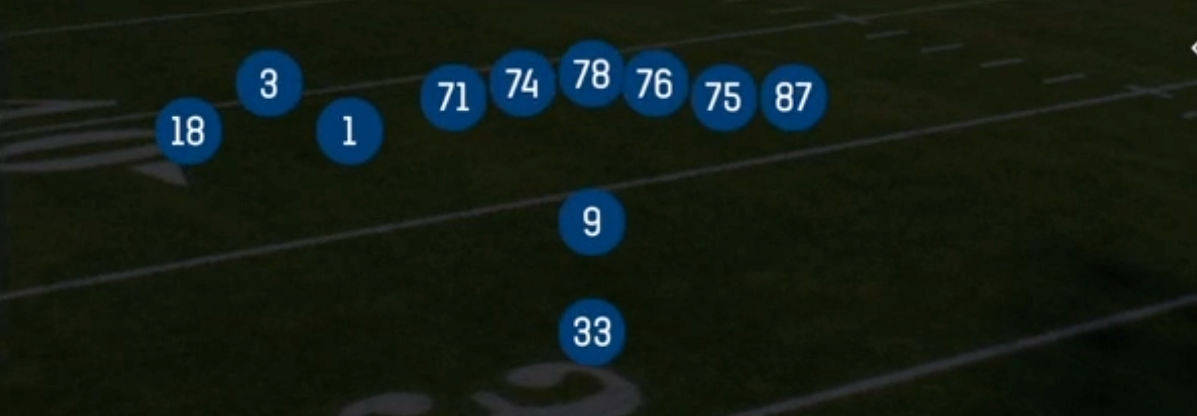
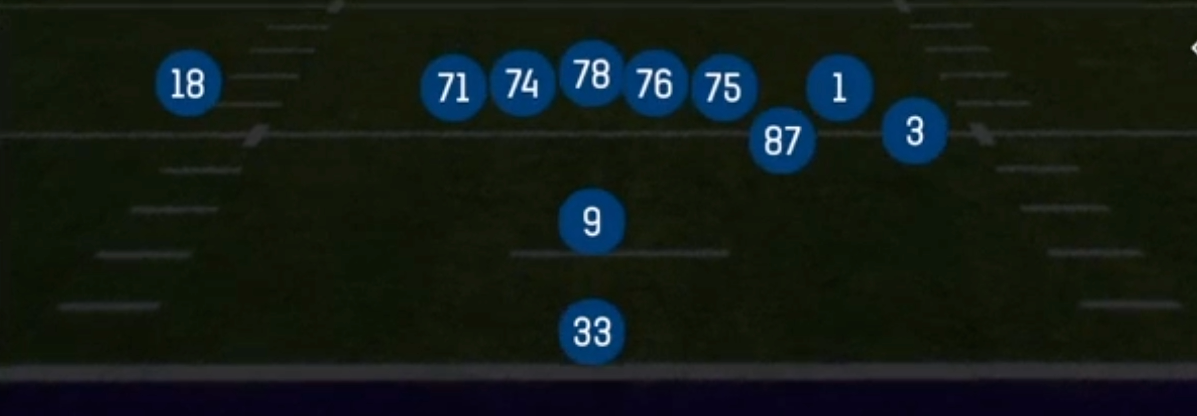
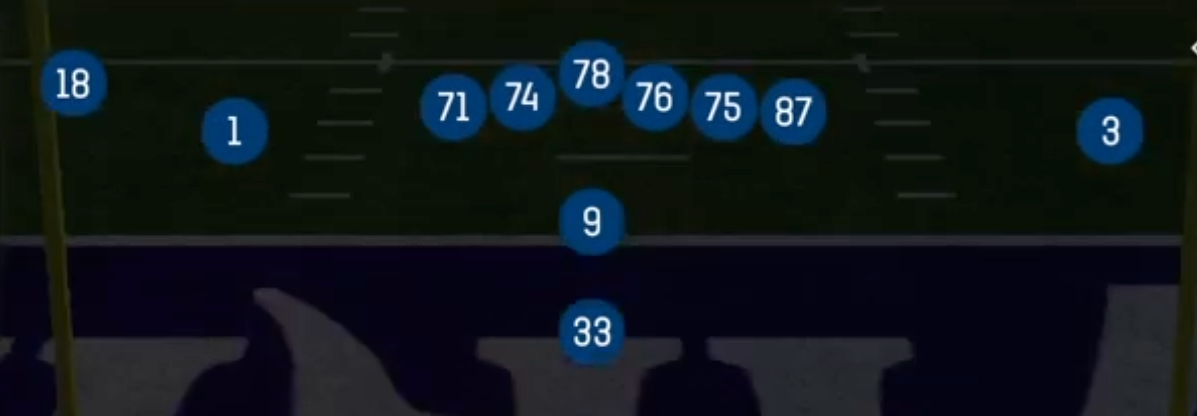
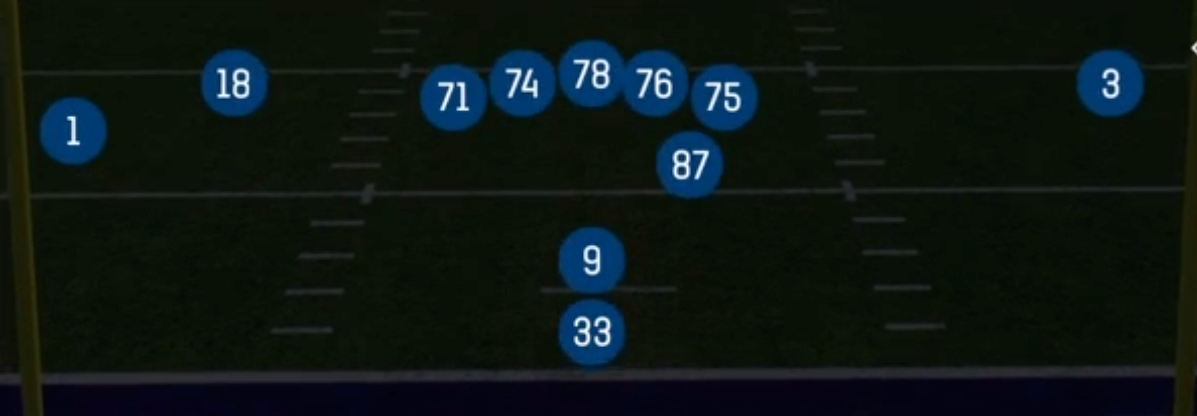
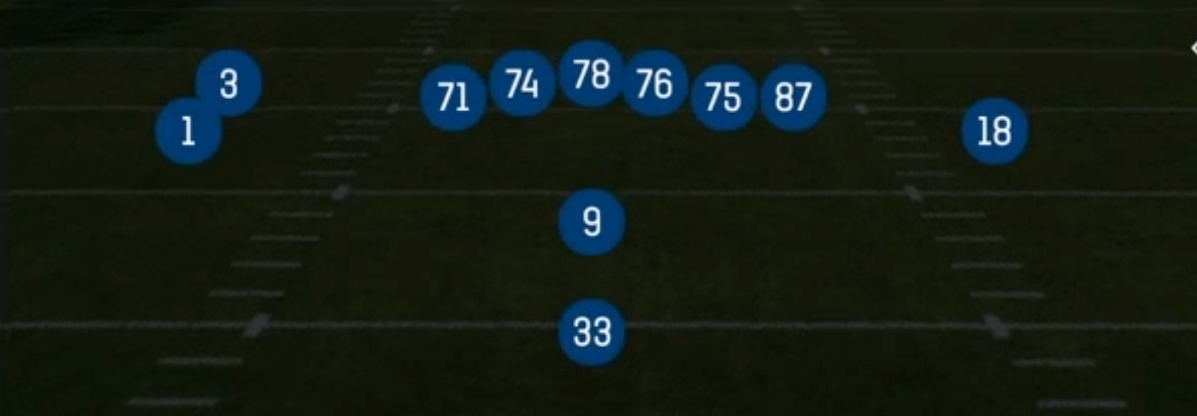
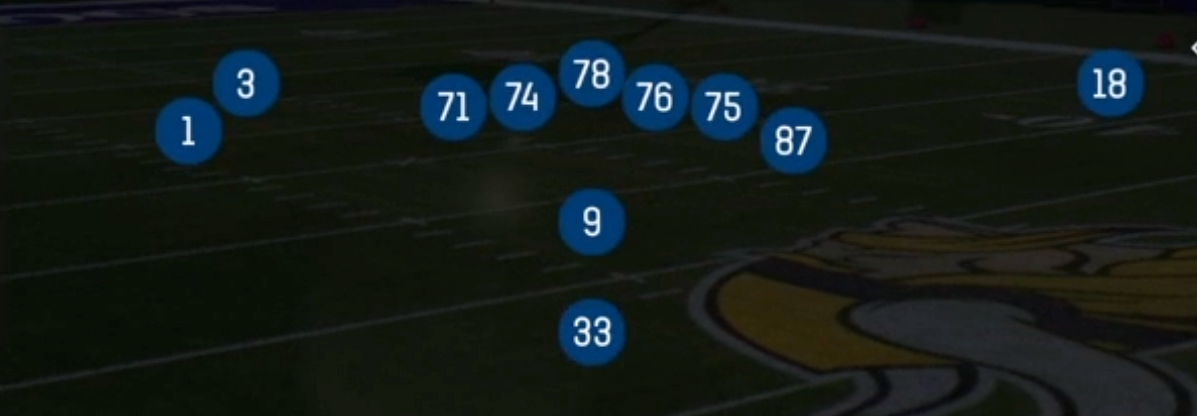
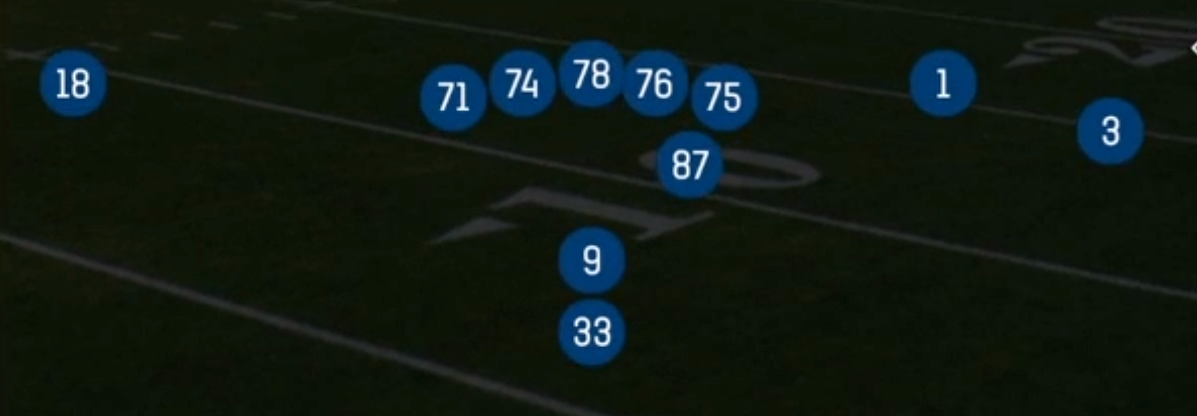
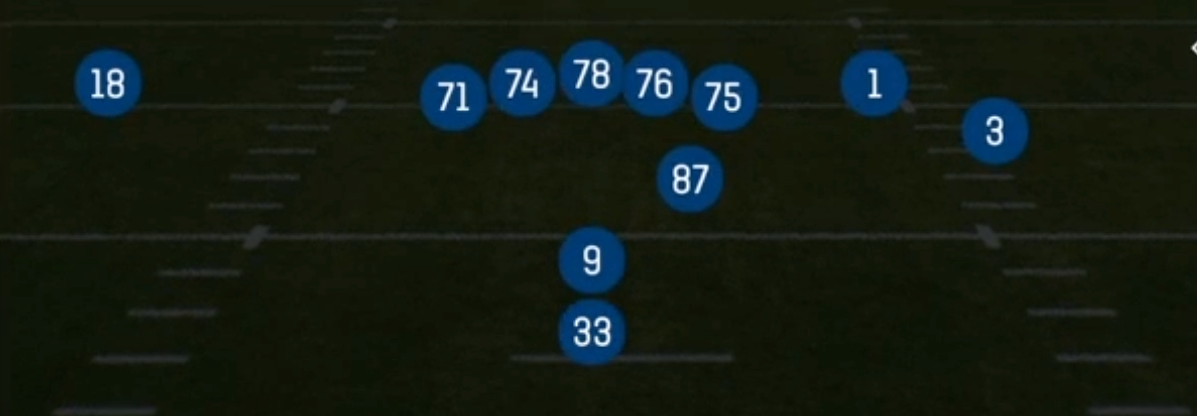
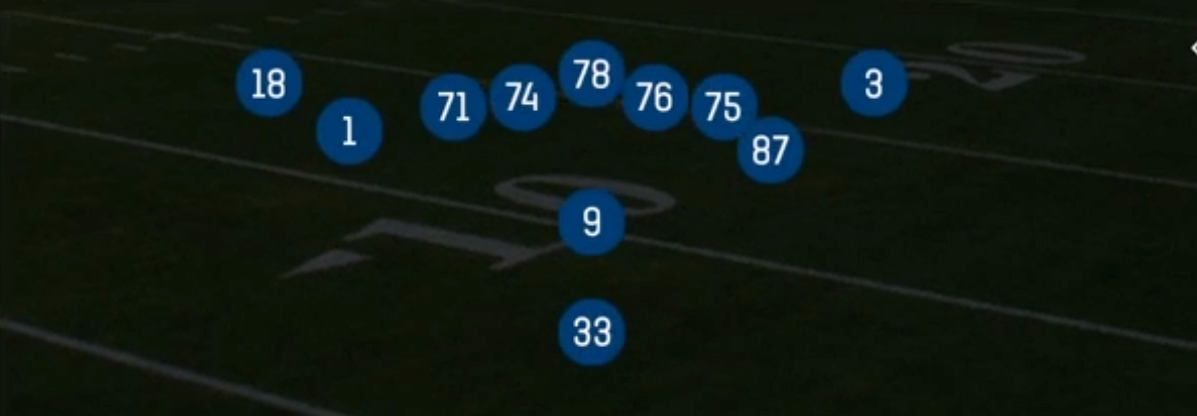
Doubles Y Off is a 2x2 look out of the Pistol that uses 11 personnel with the tight end aligned off the ball as a move or H-back type, paired with a slot receiver on the opposite side and a receiver split wide to each side. That off-ball Y is what separates this set from the standard Pistol Doubles or Trey looks. Because he is not attached to the line, the Y can arc, lead, pull across the formation, or release cleanly into routes without fighting a jam from a defensive end. The back sits directly behind the quarterback in the Pistol alignment, so the defense gets no directional read on run versus pass based on the running back's position.
The playbook in this set leans heavily into misdirection and gadget concepts. Jet and Orbit motion tags on plays like Jet Pass Fk Zone, Orbit PA Cross, Orbit Triple Option, and Orbit RPO Peek Y Pop let you move the slot receiver across the formation to stress eye discipline and force linebackers to declare their responsibilities. Option football is fully built out with Read Option, Gt Read Option, Counter Read Option, Y Lead Read Option, and triple option variants, while Escort and PA tagged shots such as PA Post Shot, PA Deep In, and Fade Smash punish defenders who trigger downhill on the run fakes.
The matchup value comes from the flexibility of the off-ball Y. Against base personnel, he can be flexed into space to isolate a linebacker in man coverage on Counter Y, PA Cross, or Orbit PA Y Corner. Against nickel or dime, the Y becomes an extra blocker on Zone Split, Pin Pull Sweep, and HB Stretch Alert Bubble, letting you run at lighter boxes. Meanwhile the slot receiver (the SLWR tag) is the engine of the motion game, getting free releases on jet sweeps, bubble alerts, and crossers that attack the middle of zone coverage.
Strengths
- The off-ball Y creates a defined linebacker isolation on Counter Y, Orbit PA Y Corner, and Orbit RPO Peek Y Pop, making it one of the cleanest man beaters in the set when a linebacker is matched on the tight end
- Jet and Orbit motions on Jet Pass Fk Zone, Jet PA Cross, and Orbit PA Cross drag underneath defenders with the motion, opening the intermediate crossing window against Cover 3 and Cover 4 match rules
- A complete option package (Read Option, Gt Read Option, Counter Read Option, Y Lead Read Option, Orbit Triple Option) punishes defenders who crash the mesh and forces the opponent to commit a user to the quarterback or pitch
- Pistol alignment hides run direction, so Zone Split, Pin Pull Sweep, HB Stretch Alert Bubble, and HB Draw all come from an identical pre-snap picture that pairs perfectly with the play-action shots
- Built-in answers to any coverage shell: Four Verticals and PA Post Shot stretch single high, Fade Smash and Tech Out attack Cover 2 corners, and Slants handles press man and zero blitz looks
Weaknesses
- With the Y off the ball and only five linemen attached, edge pressure from overload or nano blitzes can beat the protection on longer developing shots like PA Post Shot and PA Deep In before the play-action fake finishes
- A disciplined user spying the mesh point or sitting in the middle hook can shut down both the read option keeps and the crossers that the set relies on most
- Motion-heavy plays are telegraphed; opponents who shift linebackers with the motion or check to match coverage can eliminate the jet and orbit misdirection before the snap
- The single tight end limits true power run capability in short yardage, making the set less reliable against goal line or heavy 5-2 looks that load the box
- Option plays with pitch components carry fumble and negative play risk against a user spilling the pitch man, which can quickly create third and long situations
Usage Tips
Check the box count before the snap: against six or fewer defenders, stay in Zone Split, HB Zone, or Pin Pull Sweep, and against seven or more, audible to Orbit PA Cross or PA Slot Cross to attack the vacated middle
Use HB Stretch Alert Bubble and RPO Read Flat Wheel as first down calls, reading the slot defender's leverage; if the flat defender plays soft, throw the bubble immediately and take the free yards
When you see press man with a single high safety, Counter Y and Orbit RPO Peek Y Pop isolate the Y on a linebacker, and you can hot route the outside receiver on the Y side to a streak to clear out the deep defender
On third and short, Slants and Tech Out give quick answers to Cover 0 pressure, while Gt Read Option or Y Lead Read Option keeps the defense honest if they spread out to cover the quick game
Set up your shots by running Read Option and Jet Touch Pass early in the drive, then come back to PA Post Shot, Fade Smash, or PA Deep In once the opponent starts committing a user to the run fake
Plays (33)
- Counter Read OptionCounter, Read Option, Run Play +1
 Counter YCounter, Run Play, Power Run
 Escort HB Wide Zone WkOutside Zone, Motion, Run Play +1
 Escort PA CrossPlay Action, Motion, Pass Play +5
 Escort PA SlidePlay Action, Slide, Motion +6
 Fade SmashFade, Smash, Pass Play +6
 Four VerticalsFour Verts, Pass Play, Cover 2 Beater +5
- Gt Read OptionRead Option, Run Play
 HB DiveDive, Run Play
 HB DrawDraw, Run Play
 HB Slip ScreenScreen Pass, Hb Screen, Pass Play +2
 HB Stretch Alert BubbleOutside Zone, Run Play, Zone Run +2
- HB ZoneInside Zone, Run Play, Zone Run
 Jet PA CrossPlay Action, Motion, Pass Play +5
 Jet Pass Fk ZoneMotion, Run Play
 Jet Touch PassMotion, Run Play
 Orbit PA CrossPlay Action, Motion, Pass Play +5
 Orbit PA Y CornerPlay Action, Corner, Motion +4
- Orbit RPO Peek Y PopStreak, Swing, Pass Play +1
 Orbit Triple OptionTriple Option, Motion, Run Play
- Orbit Triple Option WKTriple Option, Motion, Run Play
 PA CrossPlay Action, Pass Play, Crosser +4
 PA Deep InPlay Action, Pass Play, Flat +2
 PA Post ShotPlay Action, Post, Pass Play +2
- PA Slot CrossPlay Action, Crosser, Pass Play +2
 Pin Pull SweepSweep, Pin And Pull, Run Play +1
 Read OptionRead Option, Run Play
 RPO Read Flat WheelRPO, Flat, Wheel +4
 SlantsSlant, Pass Play, Flat
 Tech OutOut, Pass Play, Curl +3
- Y Lead Read OptionRead Option, Run Play
 Zone Fake JetMotion, Run Play
 Zone SplitInside Zone, Run Play, Zone Run