Playbooks

At a Glance
Overview
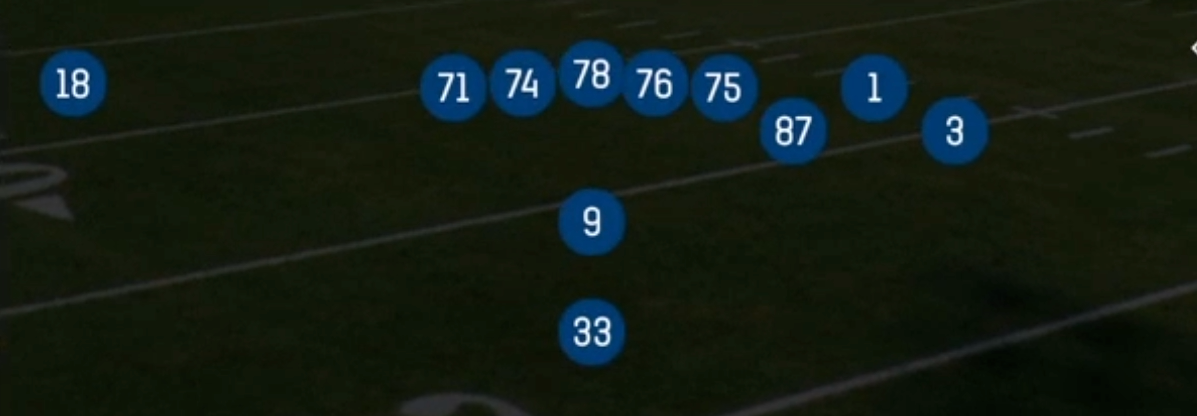
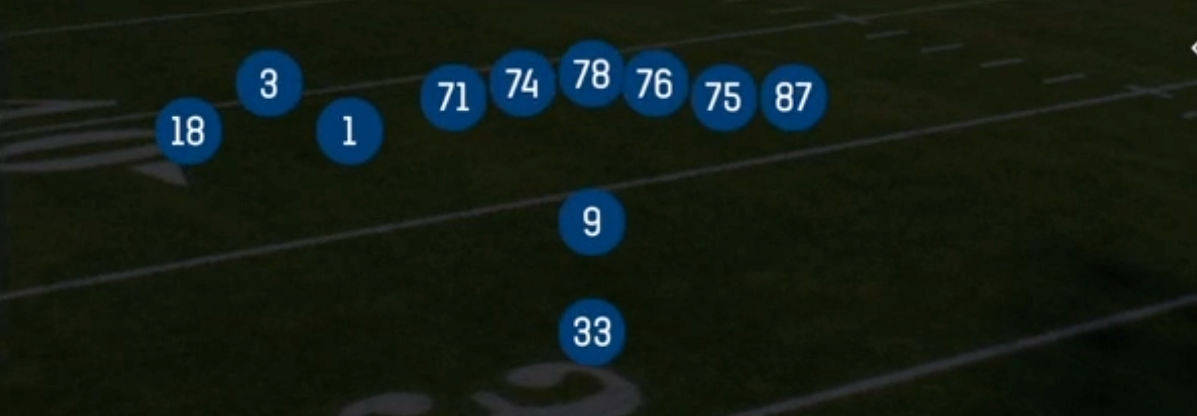
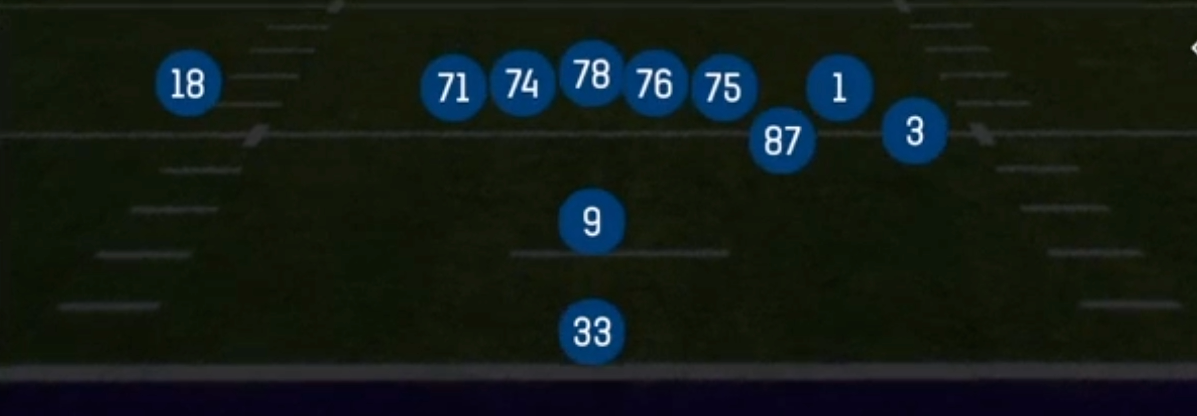
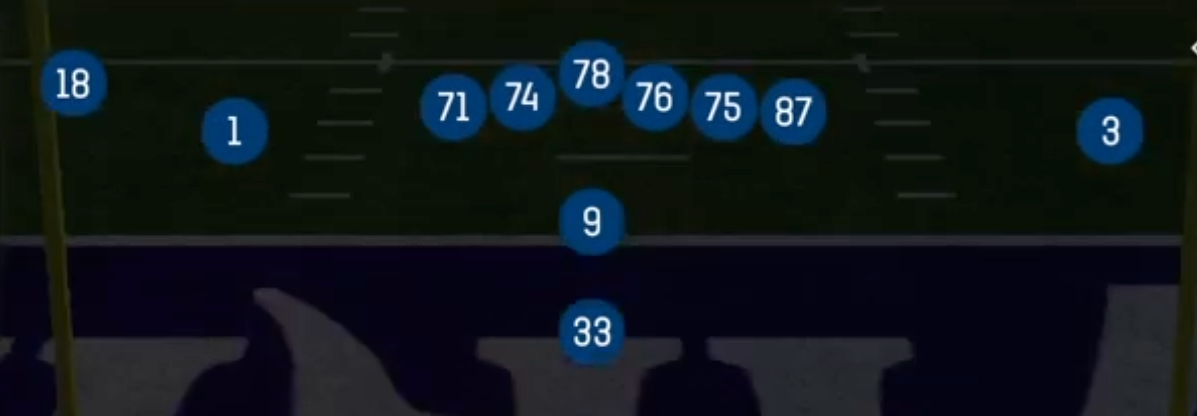
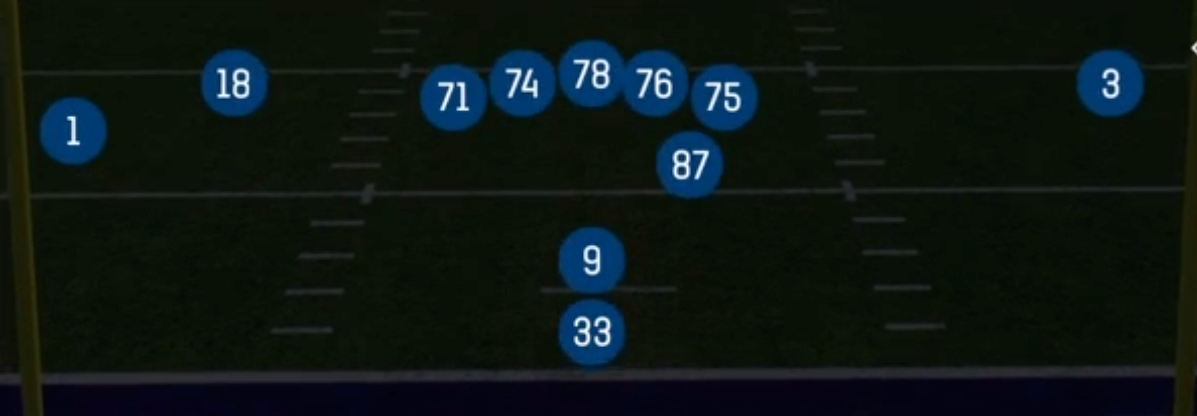
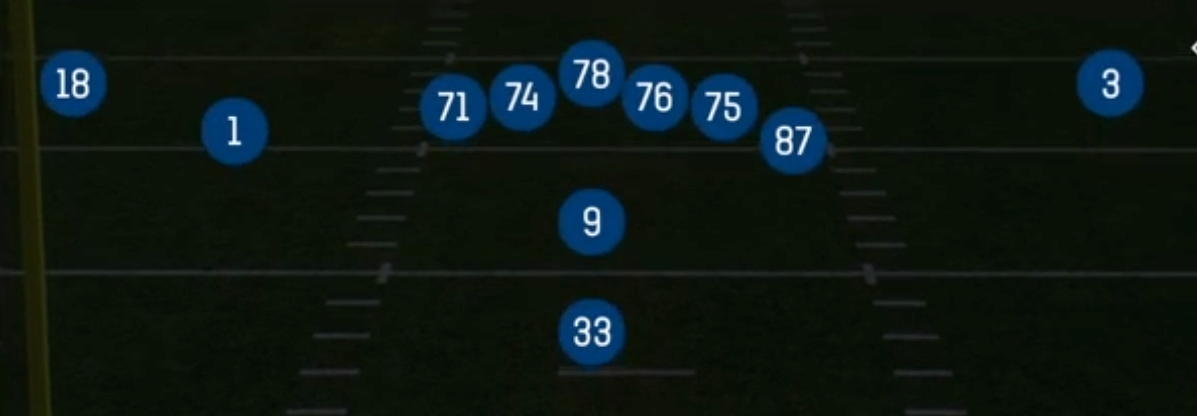
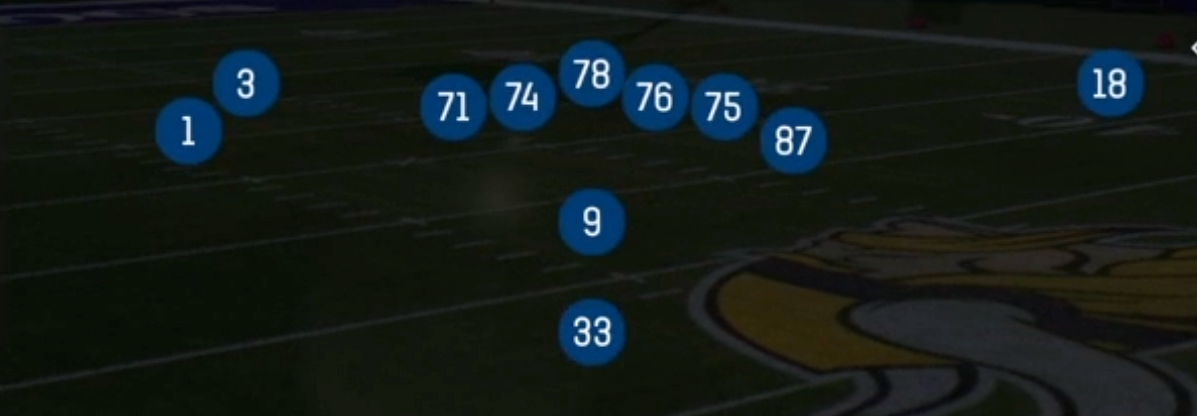
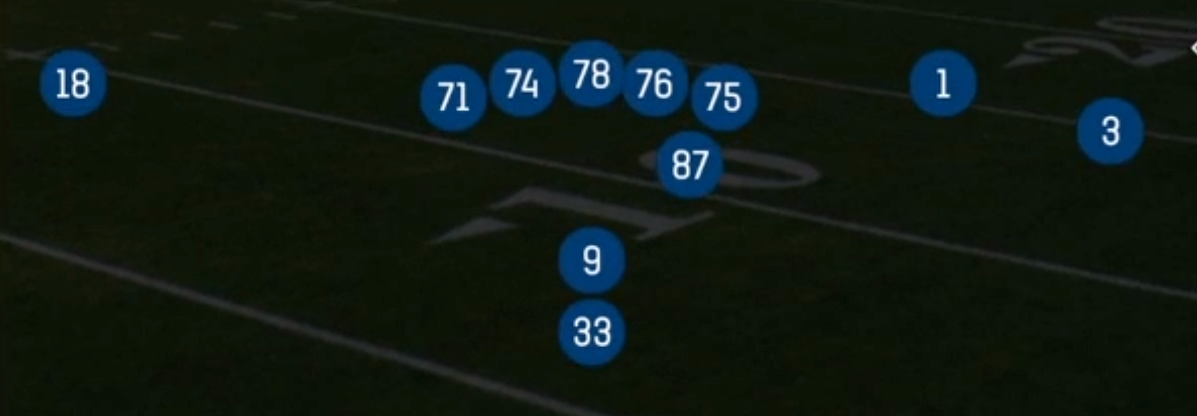
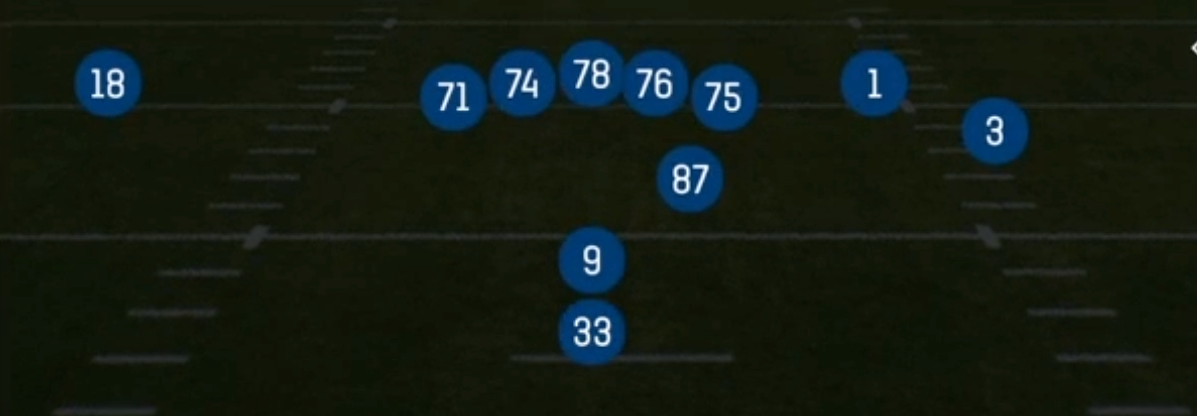
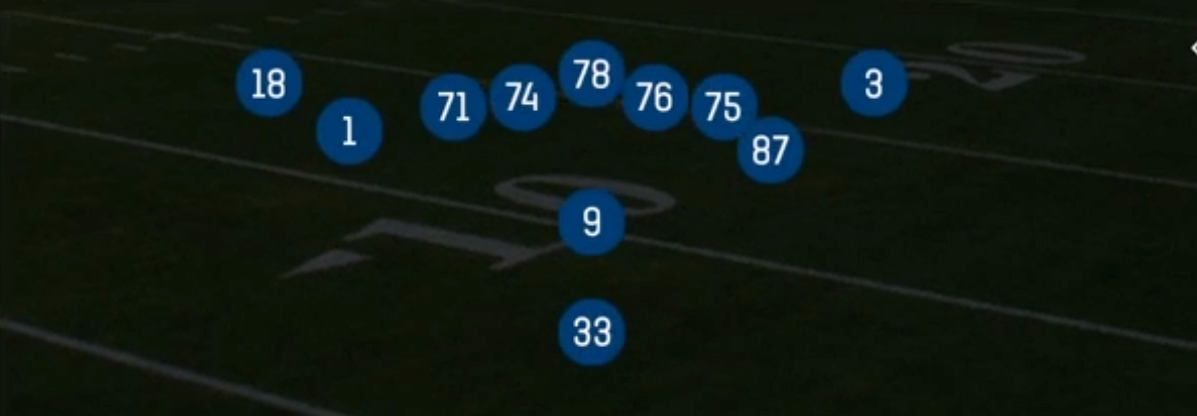
Doubles Hip in the Pistol is a 2x2 look from 11 personnel. One side has a split end and a slot receiver. On the other side, the tight end is off the ball at the hip of the tackle, H back style, with a flanker outside him. The QB sits in the short Pistol alignment with the RB directly behind him, so the run game has no directional tell before the snap. Standard Doubles puts the TE attached on the line. The Hip alignment lets him arc, kick out, or sift across the formation on the snap, which is why this set carries Mtn Pin Pull Sweep, Read Option, and HB Zone Wk alongside a deep play action menu.
The set is built around jet motion and misdirection. Fk Jet Divide, Zone Fake Jet, Jet PA Cross, Jet PA Cross HB Leak, and Jet Touch Pass all use a receiver flying across the formation to move second level defenders and flip safety rotation. The two RPOs (RPO Alert Jet Slant and RPO Jet Alert Slant) put a flat or hook defender in conflict with a slant behind him, and the Mtn PA Boot family gets the QB outside the pocket with the TE leaking as a built in underneath outlet.
The matchup value comes from the slot and the hip TE. Your SLWR works against a nickel or safety in space on Mesh Rail, Z Shake Crosser, and Tech Out. The Hip TE is hard for linebackers to key because his release looks the same on runs and play action. A 3DRB or Power HB threatens the defense on zone, slip screen, and leak concepts, and a Gadget player on jet motion gives you a perimeter speed threat that pulls the defense before the ball is snapped.
Strengths
- Jet motion concepts like Fk Jet Divide and Jet PA Cross force the defense to declare its rotation pre snap, so you can read man coverage (a defender chasing across) or zone (linebackers bumping) before the ball is snapped.
- The Hip TE creates run and pass conflict. His arc and sift releases on Mtn Pin Pull Sweep and HB Zone Wk look identical to his leak releases on Jet PA Cross HB Leak and Mtn PA Boot Fork, which freezes user linebackers.
- Mesh Rail and Z Shake Crosser are strong man beaters. The mesh creates natural rubs underneath while the rail stresses linebackers in trail technique, which beats Cover 1 and Cover 0 pressure.
- The PA Boot concepts (Mtn PA Boot, Mtn PA Boot Fork) are elite Cover 3 and Cover 4 zone beaters, creating a flood with a deep over, an intermediate route, and a flat control route against rolled coverage.
- The RPO Alert Jet Slant and RPO Jet Alert Slant give you pre snap answers against loaded boxes. You can throw the slant or alert route into the vacated window when the defense brings a safety down to fit the run.
Weaknesses
- With only five linemen plus an off ball TE, max protection is limited. Edge pressure from the TE's side can beat his chip block on boot concepts before the rollout develops.
- A user controlled robber or hook defender sitting in the middle of the field kills the crossers on Jet PA Cross and Z Shake Crosser, and those routes are your primary reads in several play action concepts.
- Jet motion plays take time to develop. Nano blitzes off the edge, especially Mug A gap looks, can get home before the handoff or fake is complete.
- Cover 2 Man and 2 Match brackets on the slot and TE limit the intermediate game, and the set has few true vertical isolation routes to punish two high shells.
- Heavy motion use becomes predictable. Opponents who recognize the formation will spin to Cover 3 Buzz or Cover 6 and sit on the flat and hook, which takes away the Alert and slant windows.
Usage Tips
On early downs against single high safety looks, run HB Zone Wk or Mtn Pin Pull Sweep a few times. That sets up Mtn PA Boot and Mtn PA Boot Fork once linebackers start triggering downhill on the Hip TE's movement.
Against man coverage on 3rd and medium, go to Mesh Rail. If the defense shows Cover 0, hot route the RB to a quick out or slant so you have an answer inside the pressure window.
When the box shows six or more defenders pre snap, call RPO Alert Jet Slant or RPO Jet Alert Slant and read the flat defender. Throw the slant if he squeezes the run, and hand it off if he widens.
Use Fk Jet Divide and Zone Fake Jet as tendency breakers after you have shown Jet Touch Pass and Jet PA Cross, because the defense will overreact to motion flow.
In red zone and short yardage, the Mtn HB Slip Screen and Jet PA Cross HB Leak exploit aggressive blitzers. Audible to them when you see a linebacker walked up on the edge or an overloaded pressure look.
Plays (17)
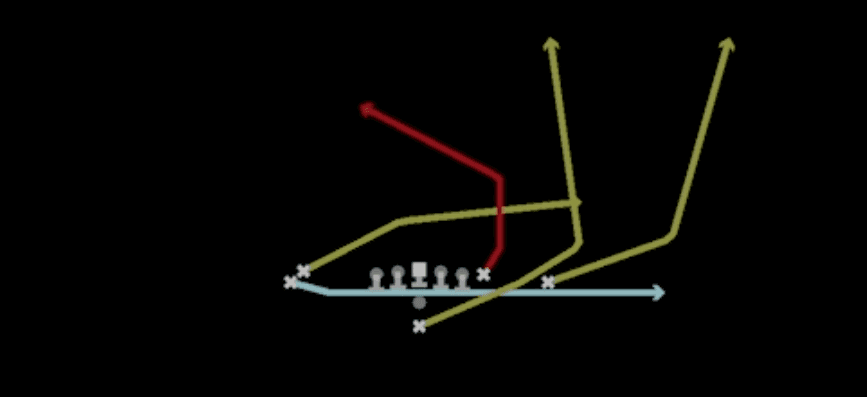 Fk Jet DividePlay Action, Motion, Pass Play +5
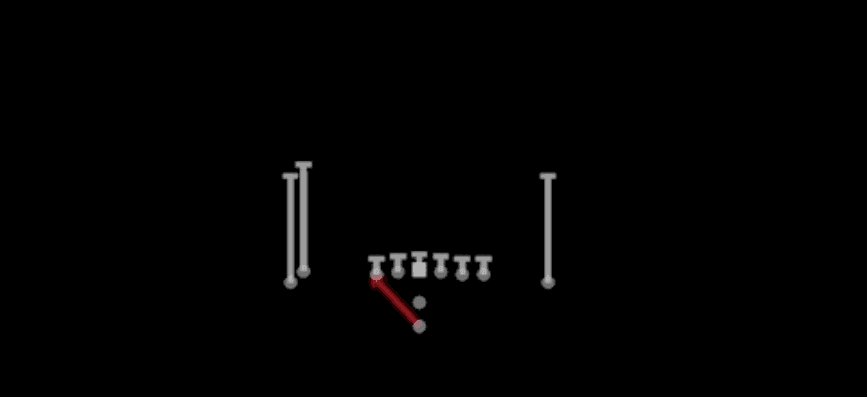 HB Zone WkInside Zone, Run Play, Zone Run
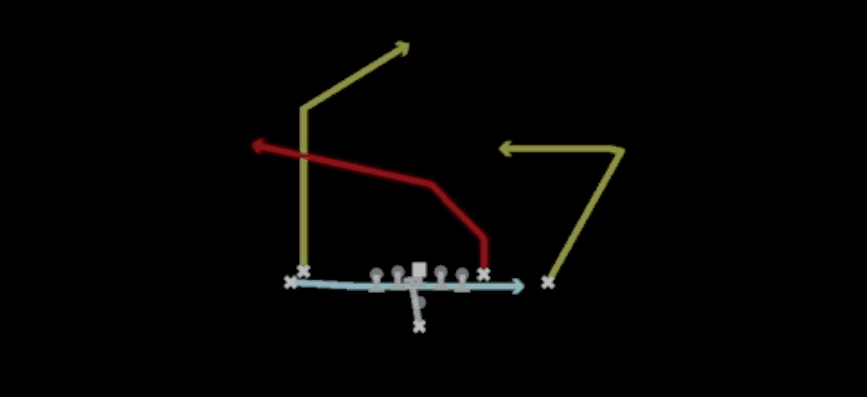 Jet PA CrossPlay Action, Motion, Pass Play +5
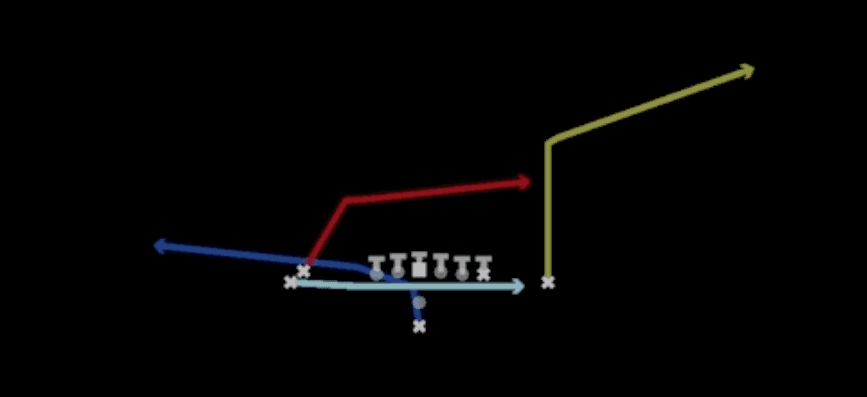 Jet PA Cross HB LeakPlay Action, Motion, Pass Play +5
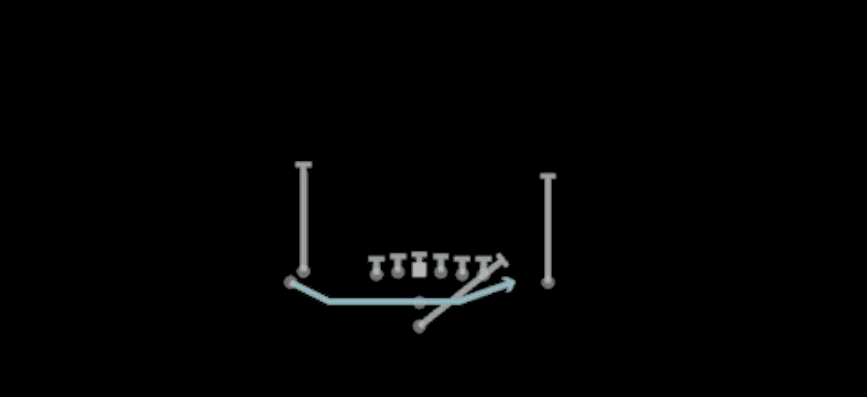 Jet Touch PassMotion, Run Play
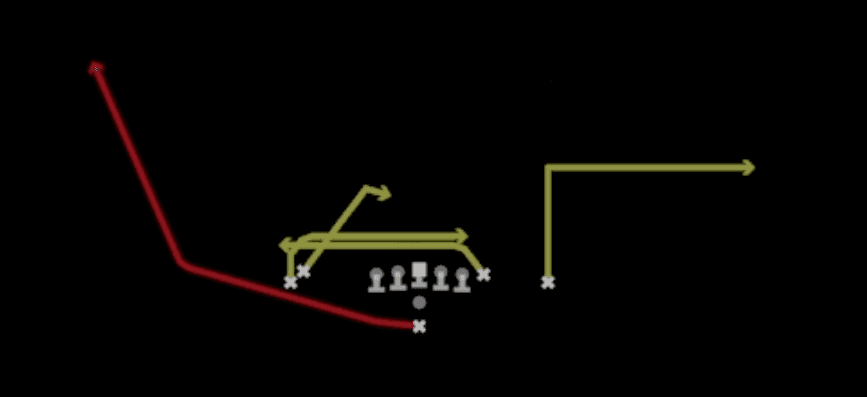 Mesh RailMesh, Pass Play, Man Beater +4
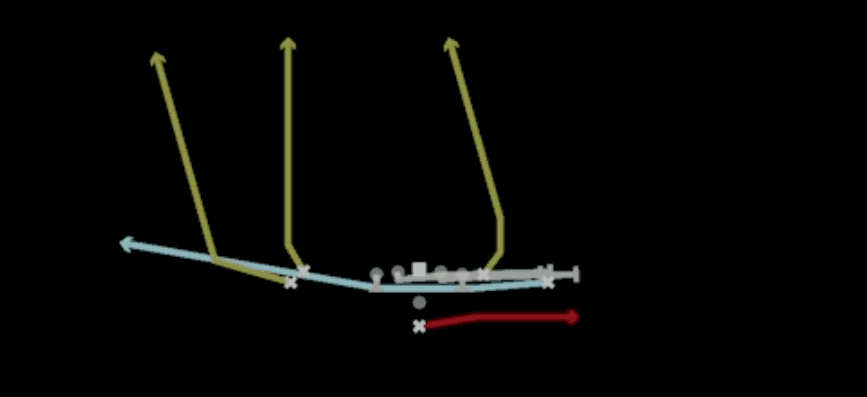 Mtn HB Slip ScreenScreen Pass, Hb Screen, Motion +5
- Mtn PA BootPlay Action, Motion, Pass Play +4
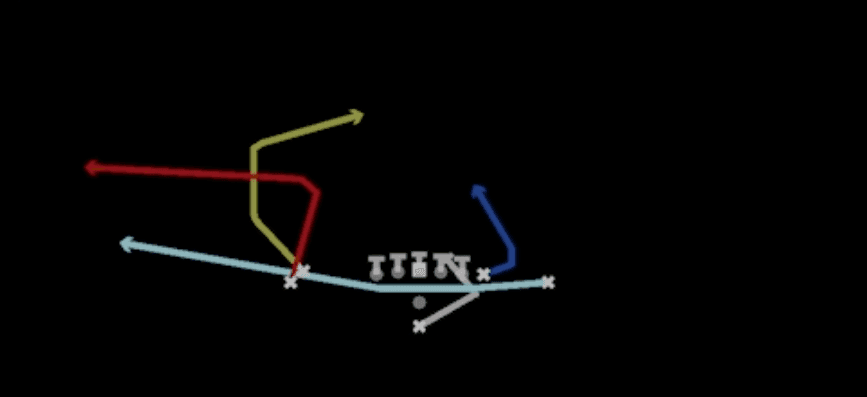 Mtn PA Boot ForkPlay Action, Motion, Pass Play
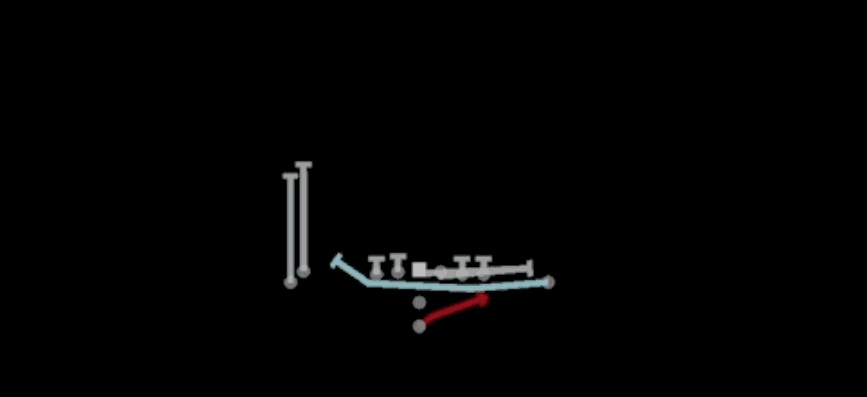 Mtn Pin Pull SweepSweep, Pin And Pull, Motion +2
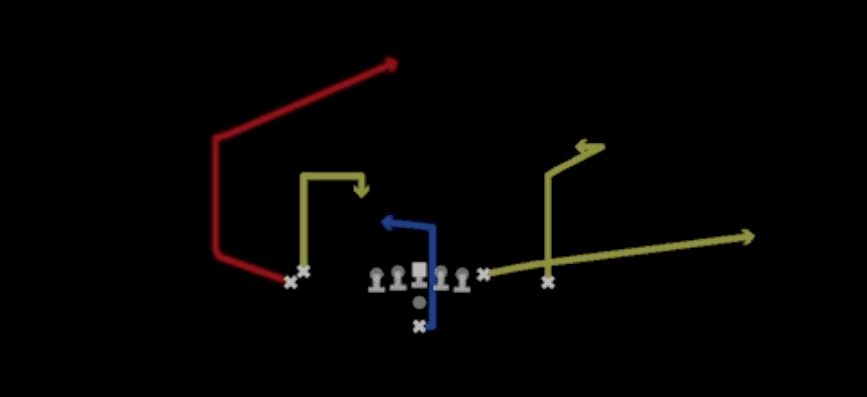 PA Post SwirlPlay Action, Post, Pass Play +3
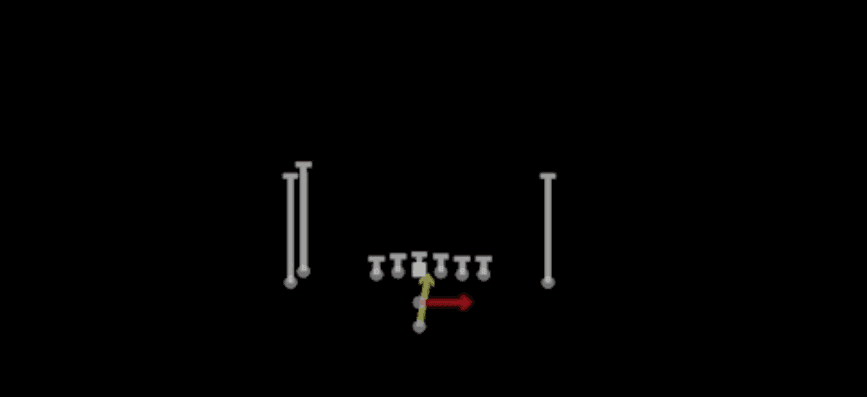 Read OptionRead Option, Run Play
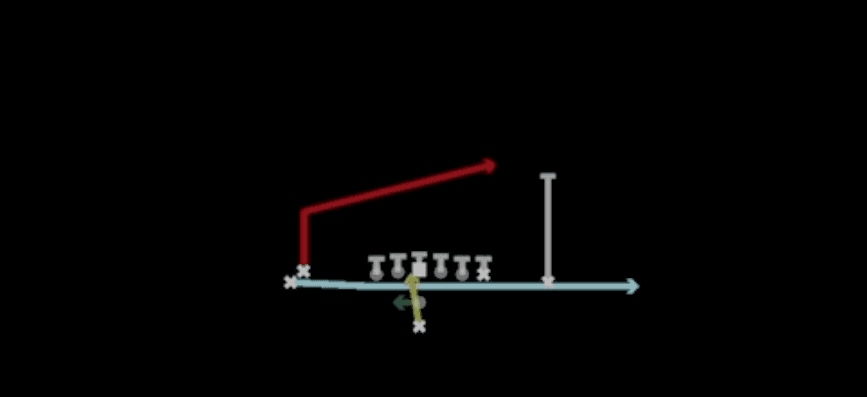 RPO Alert Jet SlantRPO, Slant, Motion +2
- RPO Jet Alert SlantRPO, Slant, Motion +2
 Tech OutOut, Pass Play, Curl +3
 Zone Fake JetMotion, Run Play
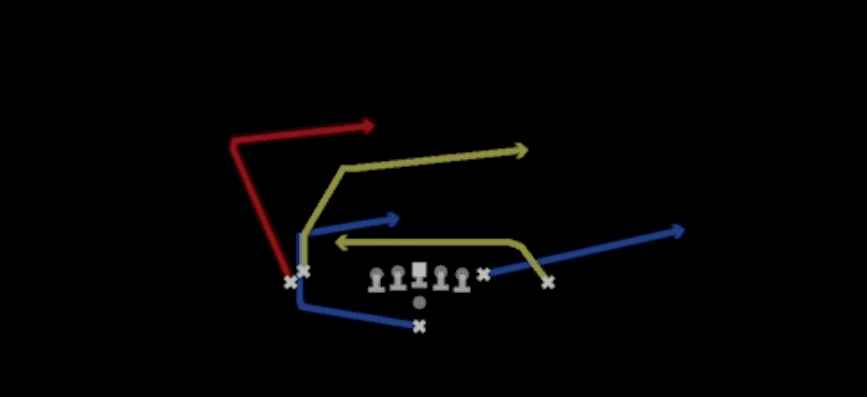 Z Shake CrosserCrosser, Pass Play, Block and Release +3