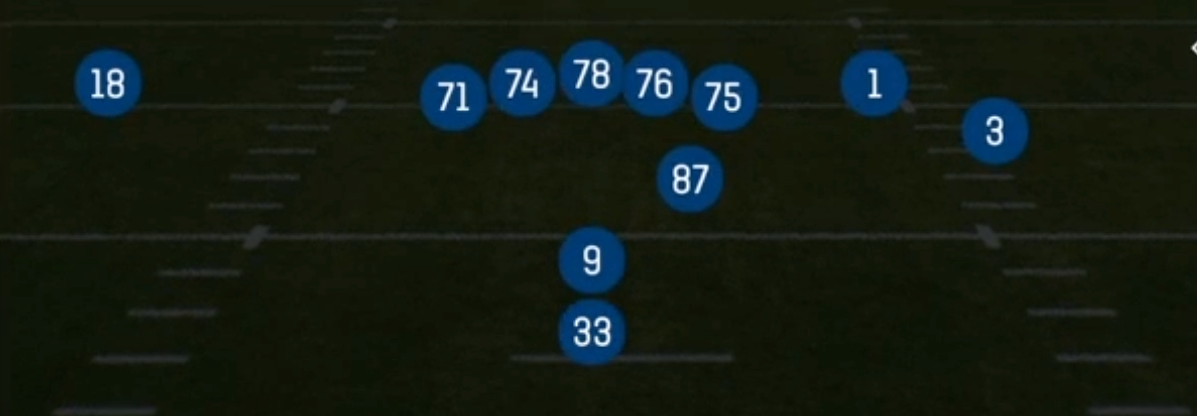
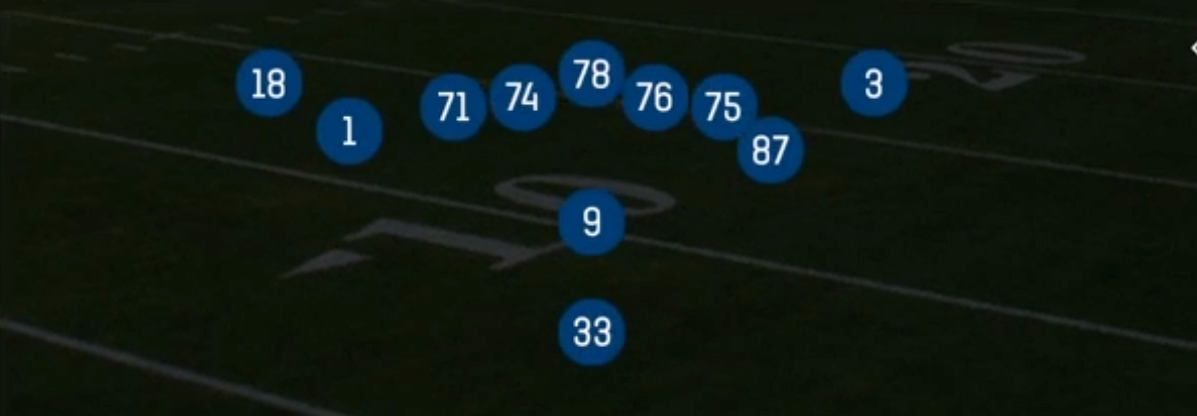
Playbooks

At a Glance
Overview
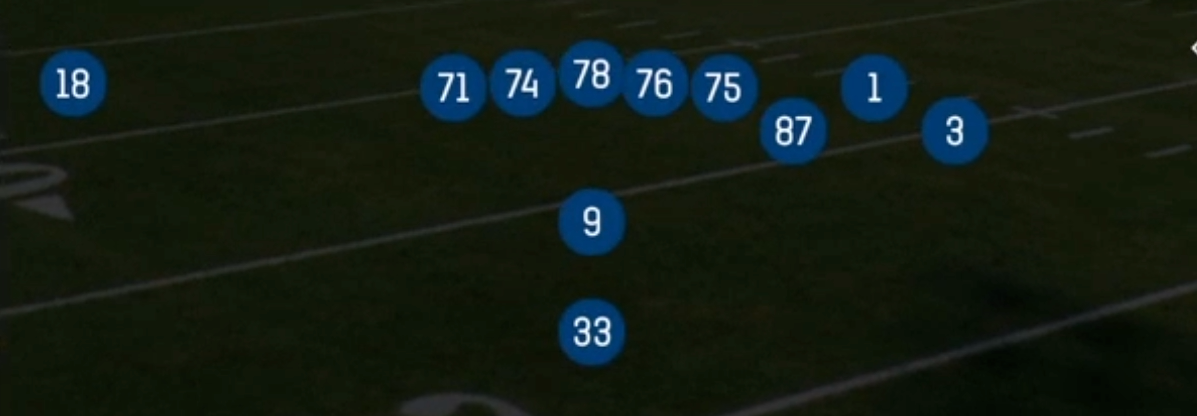
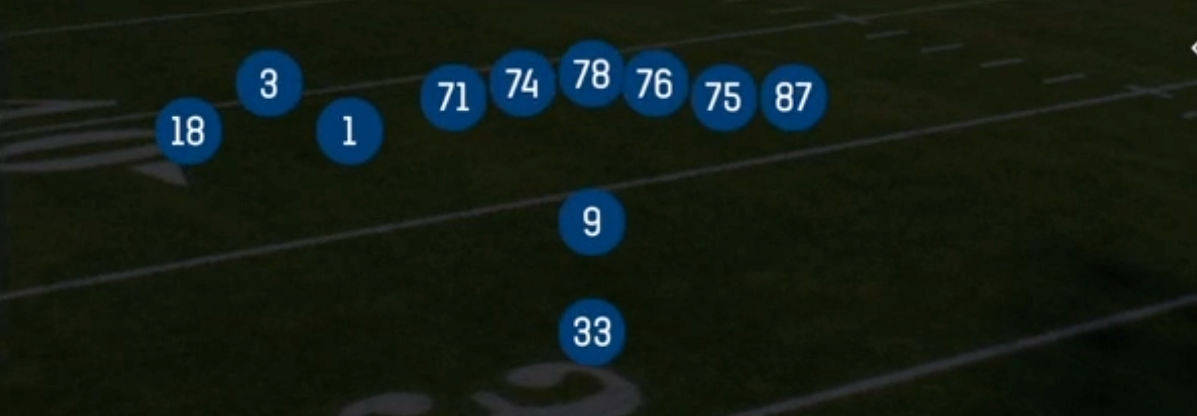
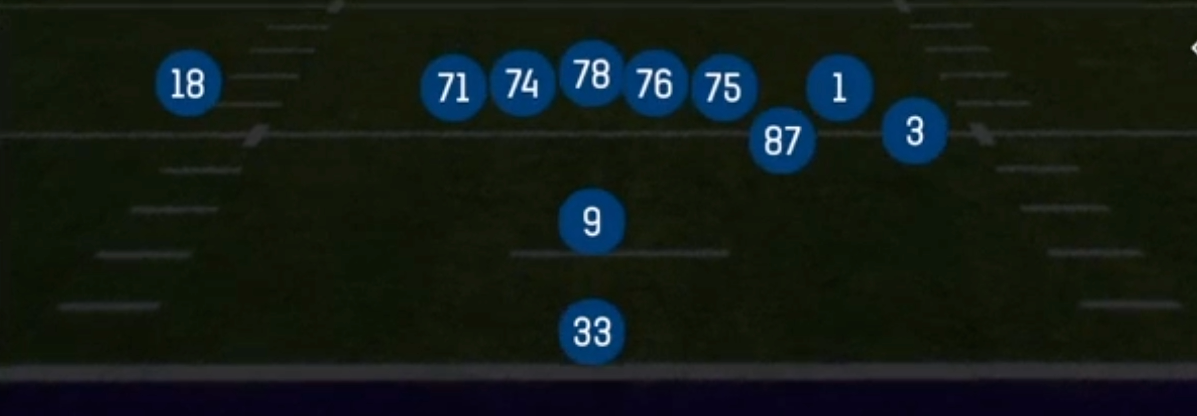
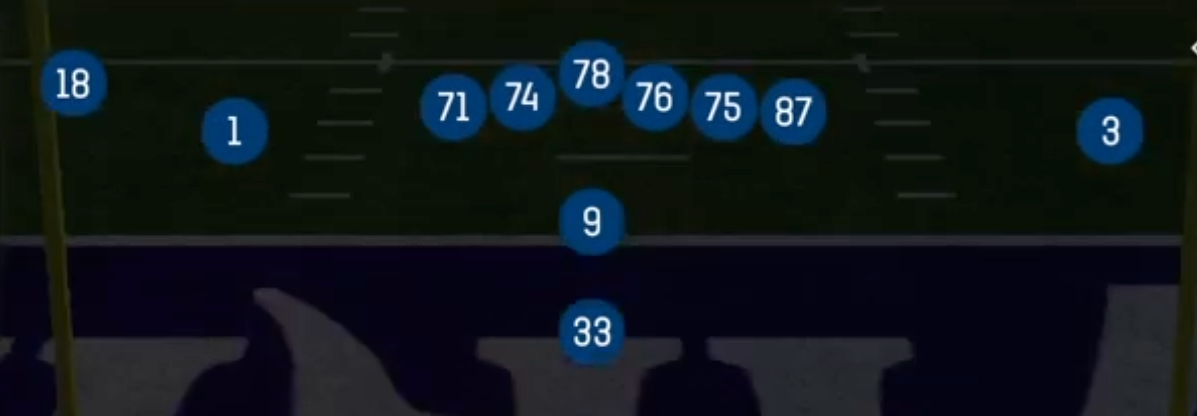
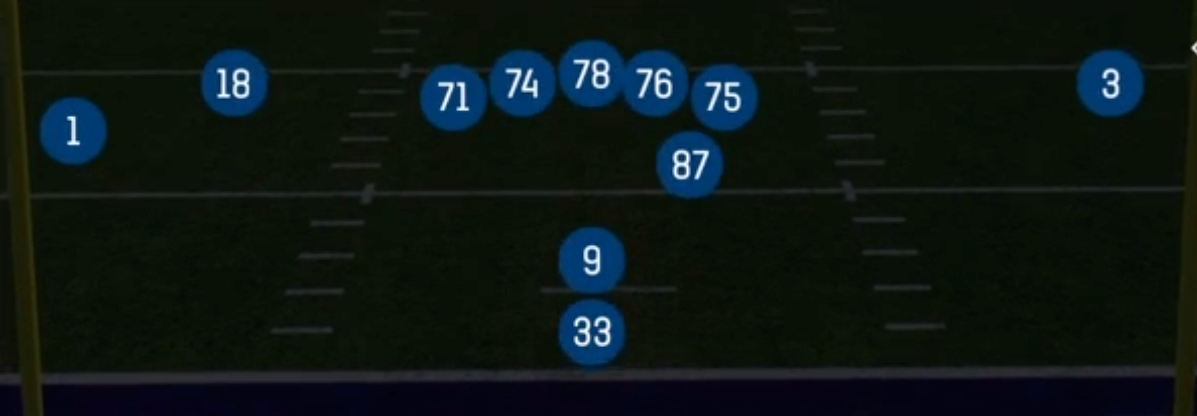
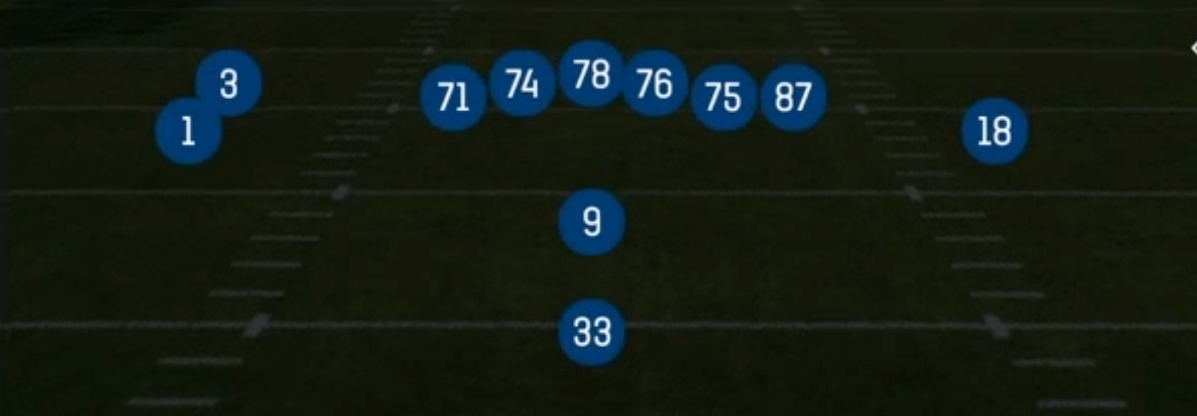
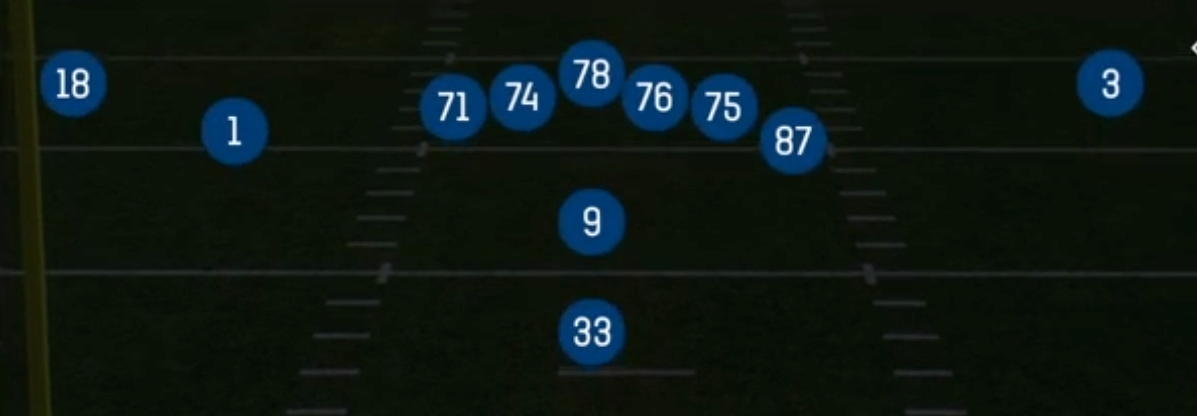
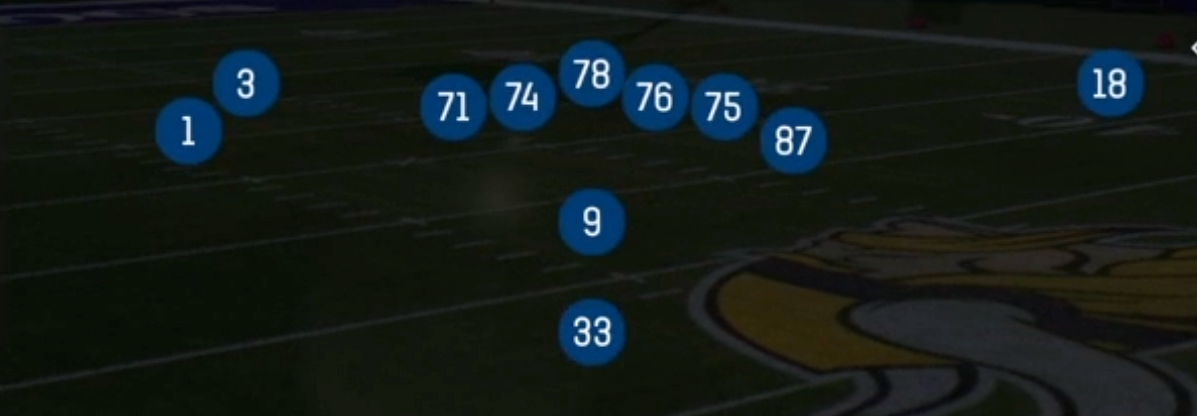
The Open Flex set in the Pistol formation spreads the defense out of 11 personnel by detaching the tight end from the core and aligning him in a flexed position off the line, while the quarterback sits in the pistol alignment with the running back directly behind him. Unlike tighter Pistol sets that keep the TE attached for gap control, Open Flex trades a sixth blocker for horizontal stretch. That forces defenses to declare their intentions pre-snap: if a linebacker walks out to cover the flexed TE, the box lightens for the zone run game, and if a safety rolls down instead, you know you are likely facing a single high shell or man coverage.
The pistol backfield is what makes this set dangerous. Because the RB aligns straight behind the QB, the defense gets no pre-snap tell on run direction, so Inside Zone Split, HB Zone Wk, HB Stretch, Counter F, and HB Dive all look identical at the snap. Add Read Option and a deep play-action menu (PA Double Post, PA Boot, PA Boot Rt, PA X Slant) and you have a set built on run and pass looks that hold second-level defenders for a critical beat. The Mtn variations (Mtn HB Zone Wk, Mtn HB Stretch, Mtn PA Boot Rt) add pre-snap movement that changes leverage and helps you identify man versus zone before the ball is snapped.
The Gadget tag reflects how Open Flex leans on misdirection and constraint plays. The flexed TE is the key matchup piece: against base defense he often draws a slower linebacker in man coverage, and against nickel he can overpower a slot corner on in-breaking routes. Meanwhile the outside receivers get isolated on the perimeter for Verticals, Slants, and Z Spot, letting you pick on the weakest corner once the run game forces a safety into the box.
Strengths
- Pistol backfield alignment hides run direction, so Inside Zone Split, HB Stretch, Counter F, and HB Dive all present the same pre-snap look and punish defenders who guess on run fits
- PA Double Post is an elite Cover 3 and Cover 1 beater, as the run fake pulls linebackers and the high safety gets stuck choosing between two posts, especially when you hot route the RB to a block to buy extra time
- The flexed TE creates a linebacker mismatch in man coverage, making PA X Slant and Slants reliable man beaters where the TE box outs or slants away from inside leverage
- Mtn plays like Mtn HB Zone Wk and Mtn PA Boot Rt give you a built-in motion read: if a defender travels with the motion man, you have confirmed man coverage and can audible to a man beater like Slants or Verticals
- PA Boot and PA Boot Rt create easy flood reads against Cover 3 and Cover 4, stressing the flat and curl defenders with a high, medium, low progression on the rollout side
Weaknesses
- Detaching the TE removes an inline blocker, so Cover 0 and edge pressure from the TE side can overwhelm protection on seven step play action like PA Double Post before the posts clear
- A user-controlled middle linebacker or robber safety sitting in the hook zone can jump the PA X Slant and Slants windows, turning your quick game into interception opportunities
- Outside zone concepts like HB Stretch and Mtn HB Stretch struggle when defenses set a hard edge with a spilled defensive end or crashing outside linebacker, since there is no attached TE to seal the edge
- Boot concepts roll to predictable sides, and opponents who scout your tendencies can shade coverage or bring a contain blitzer from the boot side to force throws on the run
- Against heavy dime personnel that matches speed on speed, the flexed TE loses his mismatch value and the formation lacks enough blockers to punish lighter boxes consistently
Usage Tips
Count the box pre-snap: with six or fewer defenders in the box, stick with Inside Zone Split or HB Zone Wk; with seven or more, check to PA Double Post or Verticals to attack the thin coverage behind them
On first and ten, establish Inside Zone Split and Counter F early so your PA Boot and PA Double Post fakes actually pull linebackers later in the drive
Use the Mtn plays as a coverage identifier on second and medium, and if the motion reveals man, hot route the flexed TE on a slant or drag while keeping the outside receivers on their base routes
Against Cover 2, hot route the slot or TE on Verticals to a seam or post to split the safeties, and against Cover 3 run PA Double Post or Z Spot to high low the flat and curl defenders
When opponents start bringing edge pressure to stop Read Option and HB Stretch, dial up HB Slip Screen to punish the vacated second level and slow down their blitz tendencies
Plays (17)
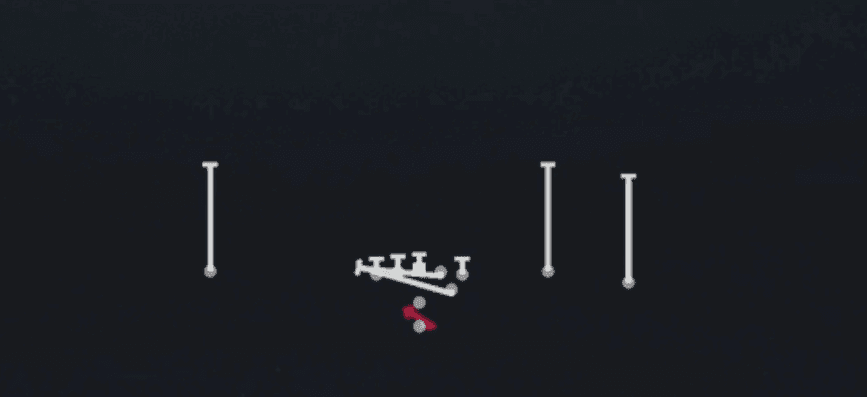 Counter FCounter, Run Play, Power Run
- HB DiveRun Play
- HB Slip ScreenScreen Pass, Post, Streak +1
- HB StretchRun Play
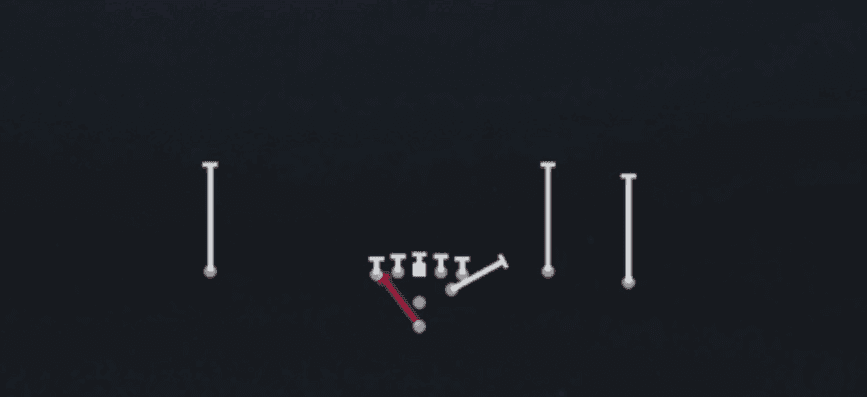 HB Zone WkInside Zone, Run Play, Zone Run
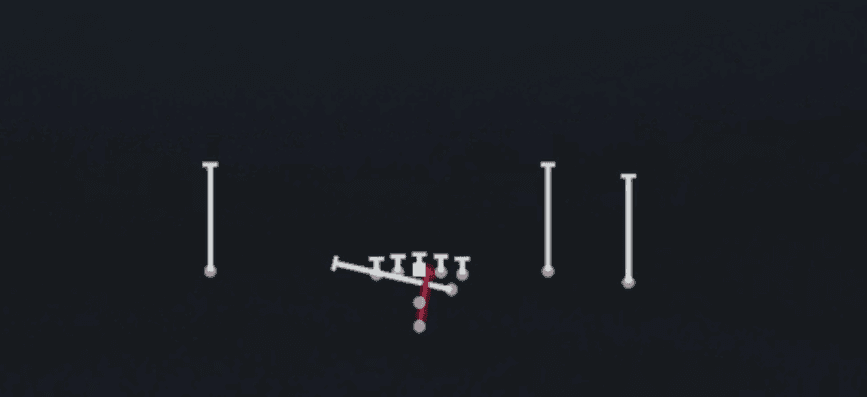 Inside Zone SplitInside Zone, Run Play, Zone Run
- Mtn HB StretchRun Play
- Mtn HB Zone WkRun Play
- Mtn PA Boot RtBlock and Release, Corner, Deep Cross +4
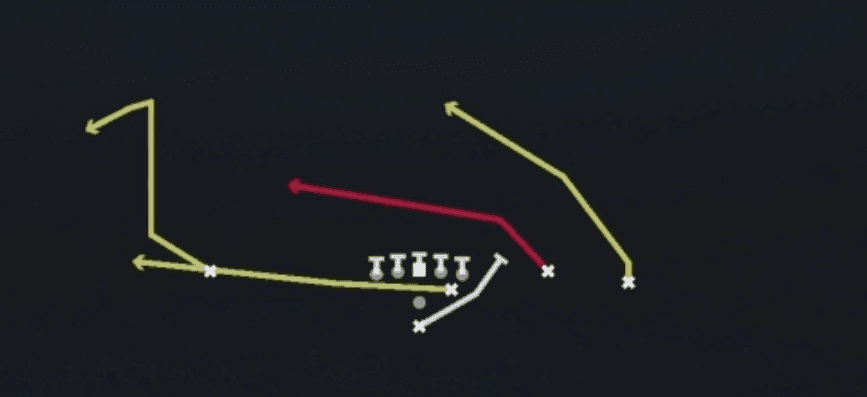 PA BootPlay Action, Pass Play, Comeback +3
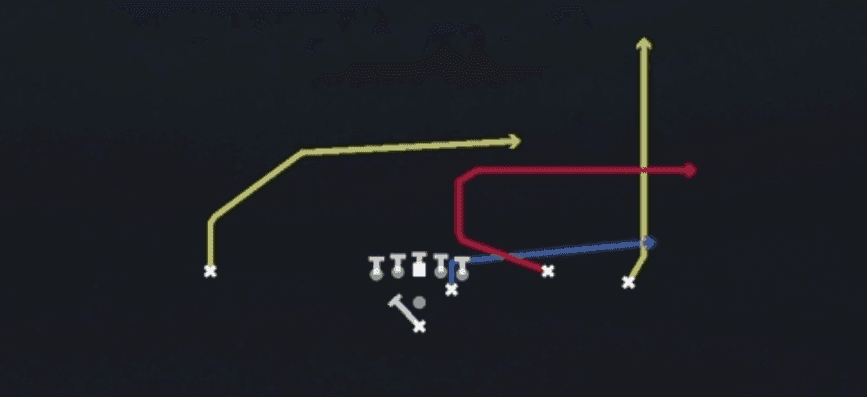 PA Boot RtPlay Action, Pass Play, Block and Release +4
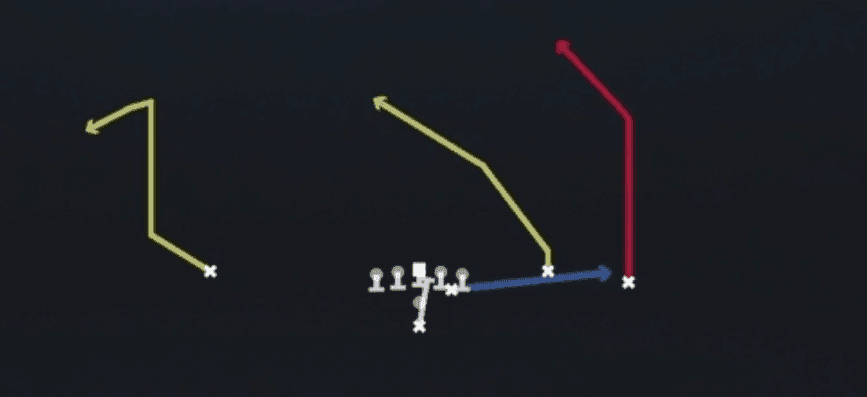 PA Double PostPlay Action, Post, Double Posts +7
- PA X SlantSlant, Flat, Post +4
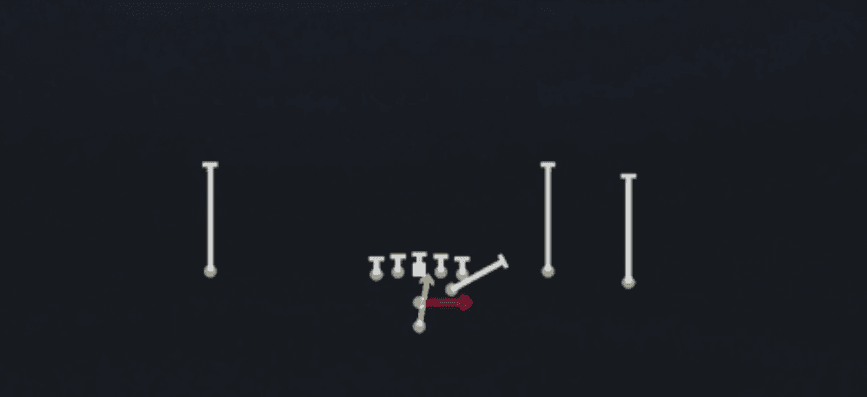 Read OptionRead Option, Run Play
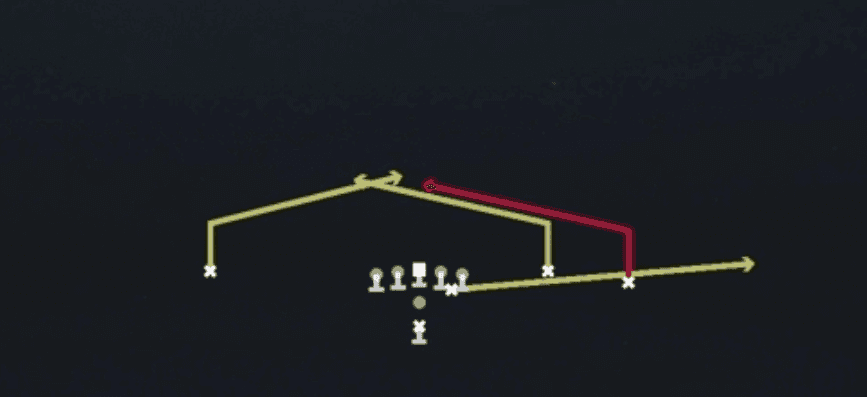 SlantsSlant, Pass Play, Flat
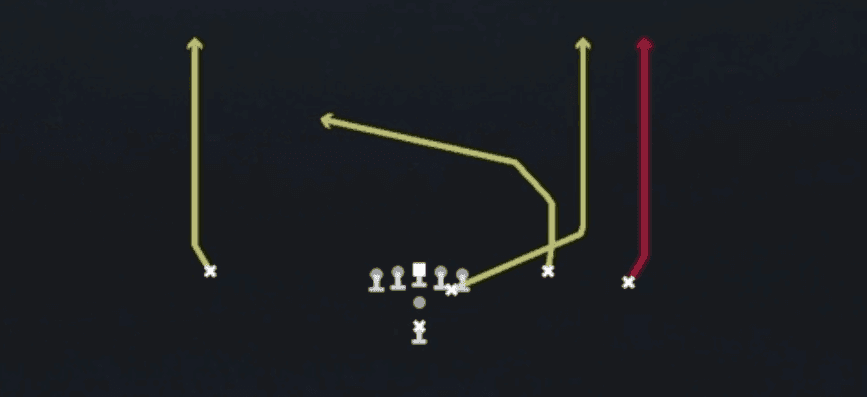 VerticalsFour Verts, Pass Play, Cover 2 Beater +5
- Z SpotCorner, Flat, Slant +1