Playbooks

Overview
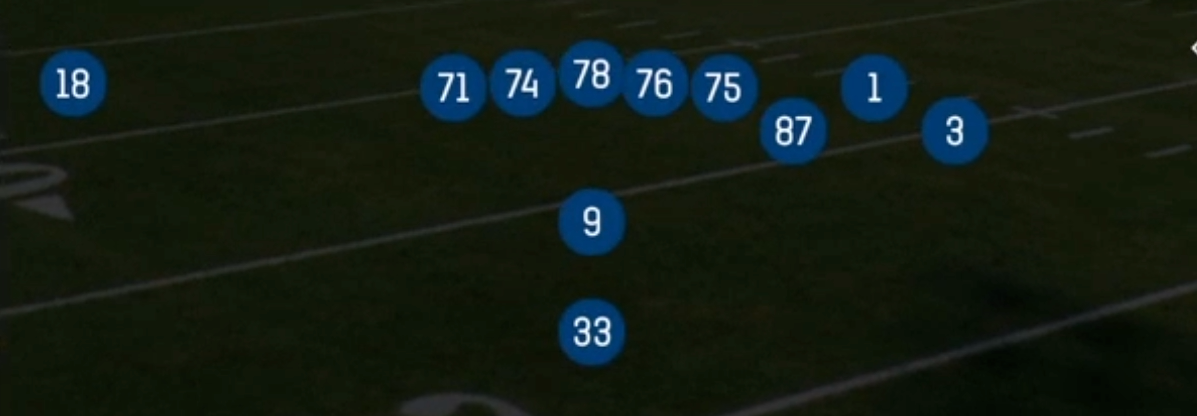
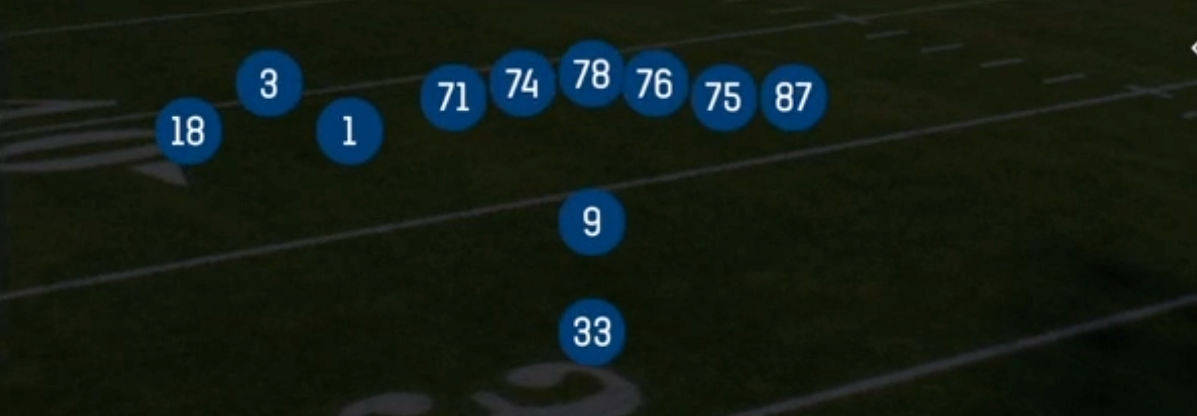
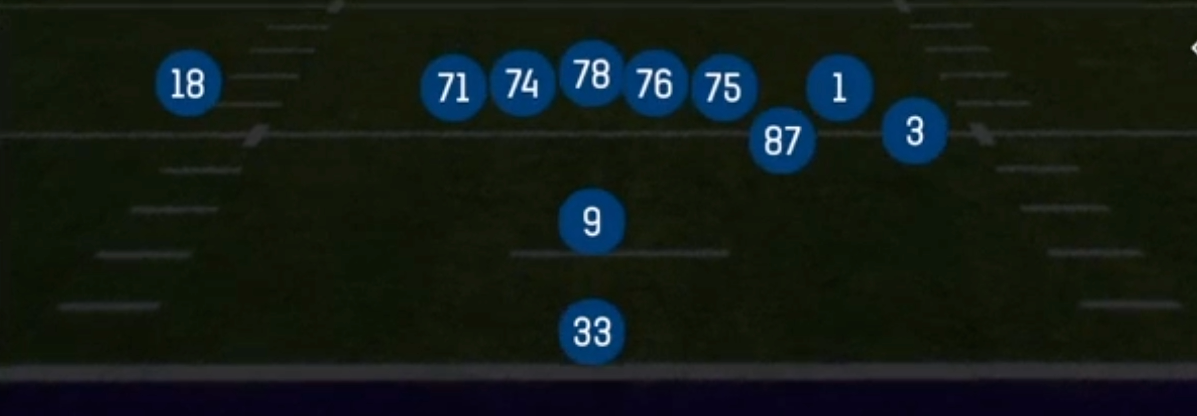
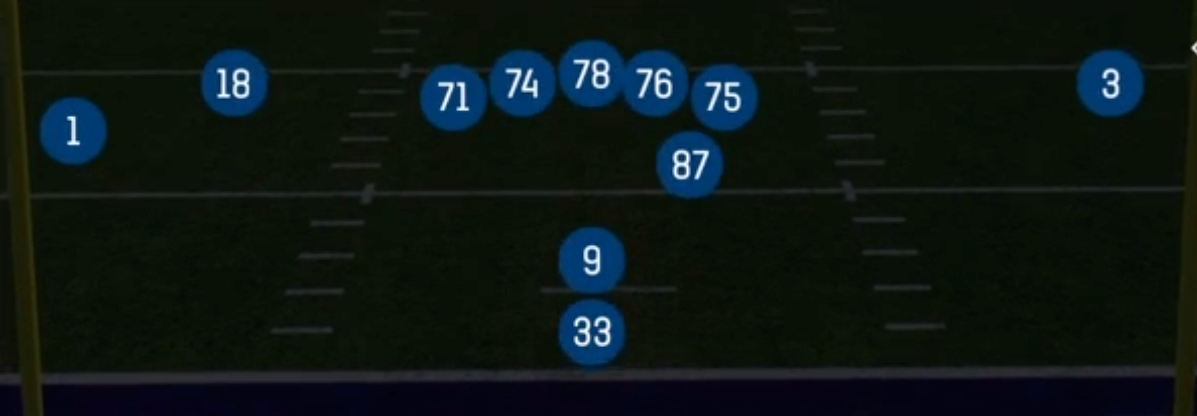
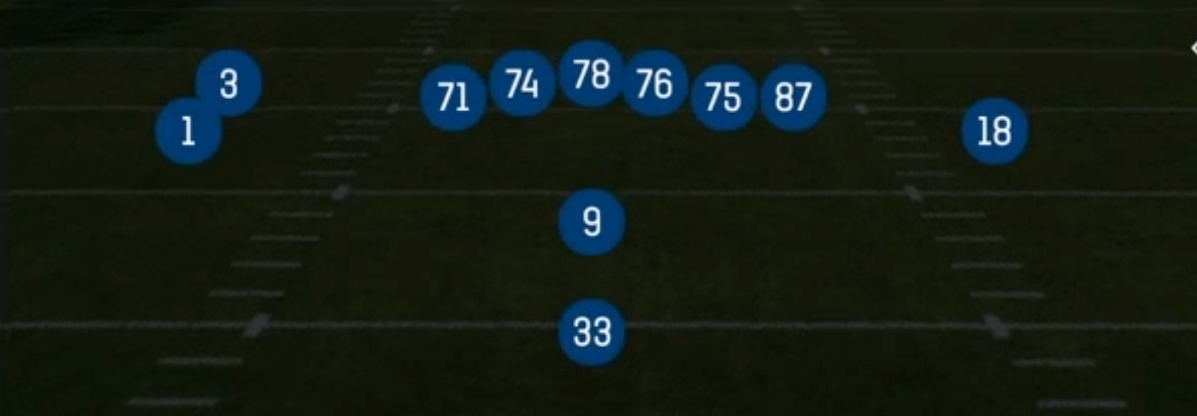
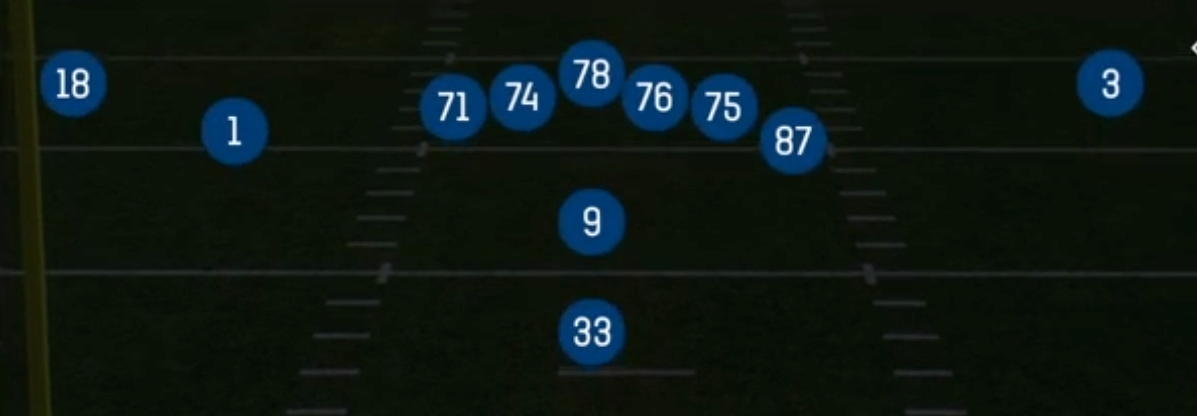
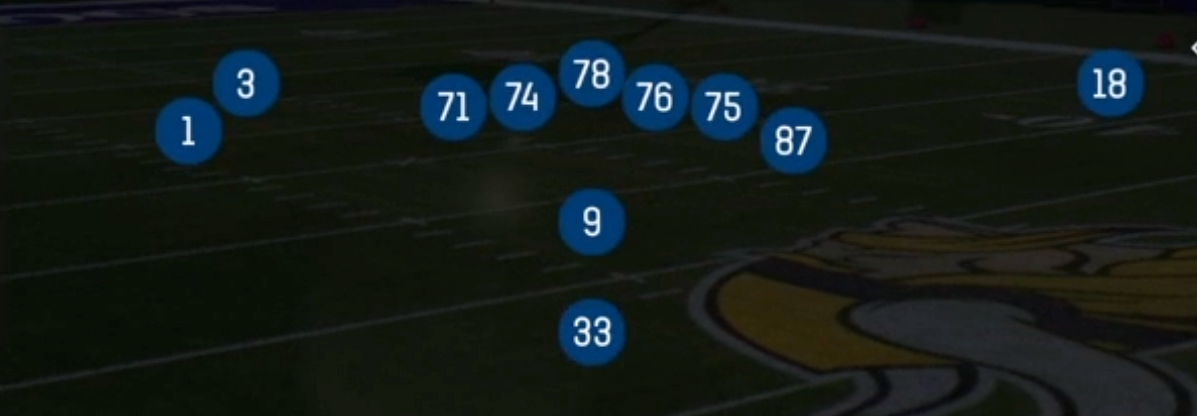
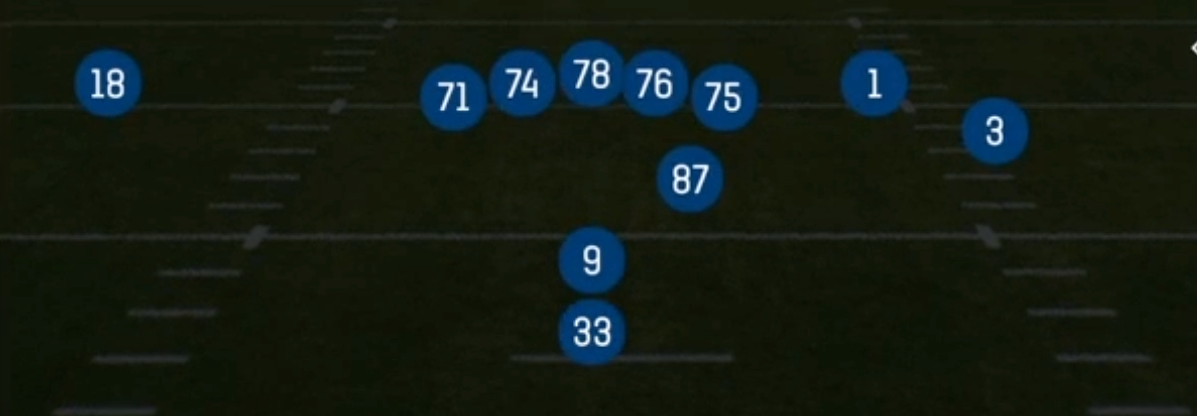
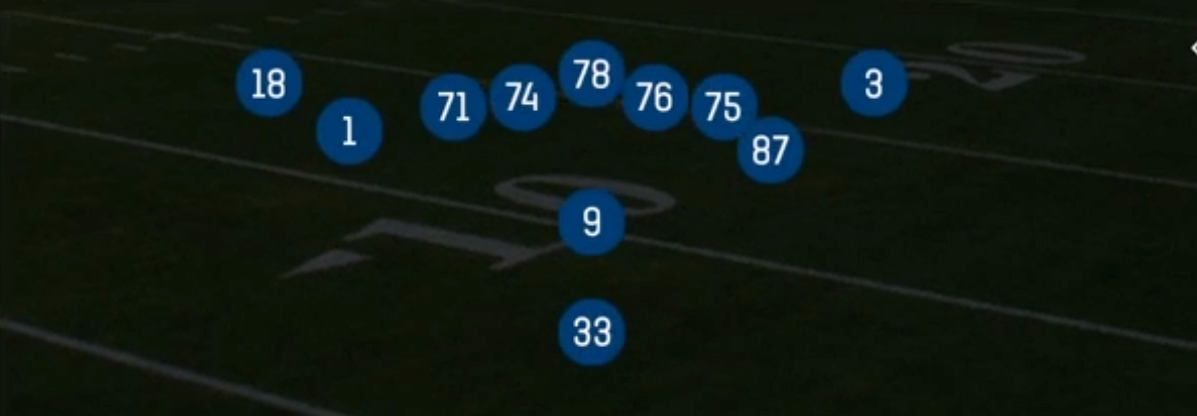
Doubles in the Pistol formation is a balanced 2x2 look out of 11 personnel: two receivers on each side of the formation, with the running back aligned directly behind the quarterback at pistol depth. The SLWR tag tells you a true slot receiver lines up inside on one side, while the tight end serves as the second inside threat on the other. Other Pistol sets tilt strength to one side or stack bodies in the core. Doubles spreads the field evenly, which forces the defense to declare its coverage shell and box count before the snap. Against a balanced alignment it is much harder for the defense to disguise a rotation to the strength, so your pre-snap read is cleaner than in most 11 personnel looks.
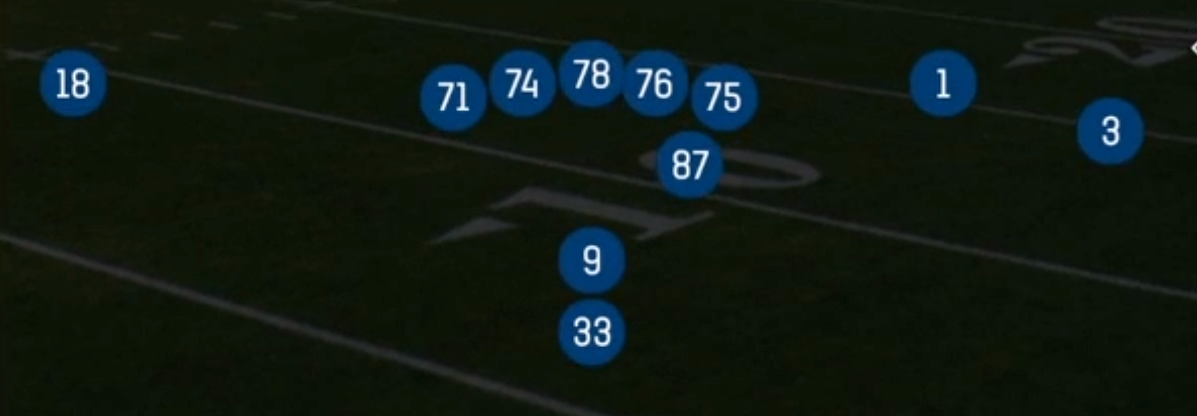
The pistol backfield is what separates this set from Gun Doubles. Because the back sits behind the quarterback instead of offset, the run game can hit either A gap without tipping direction. That makes HB Dive, HB Zone, HB Slam, HB Counter, and HB Draw legitimate downhill threats, and it gives Read Option and Read Option Wk a true two-way mesh. The Gadget tag comes from the jet motion package (Jet Inside Zone, Jet Touch Pass, Jet Touch Pass Fk HB), which gets your fastest slot moving laterally before the snap and stresses edge defenders and flat defenders at the same time.
Conceptually, Doubles lets you pair every run with a matching pass tag. RPO Alert Bubble and RPO Zone Alert Bubble punish defenses that bring an extra defender into the box. PA Boot, PA Ctr Waggle, and PA Post Shot use the same pistol mesh to hold second-level defenders. Four Verticals, Curl Flats, Slants, and Flanker Dig give you quick answers on each side. The tight end matchup is the key isolation: if the defense plays base personnel you get a flexed tight end on a slower linebacker, and if it goes nickel you can run downhill at a lighter box. Either way the slot receiver on the opposite side ends up isolated on a nickel corner or safety.
Strengths
- The pistol mesh gives true two-way run threats, so HB Dive, HB Zone, HB Counter, and both Read Option plays can attack either side of the defense without the offset back tipping run direction.
- RPO Alert Bubble and RPO Zone Alert Bubble are elite light-box and heavy-box punishers: if the defense walks a safety down or nano blitzes off the edge, the bubble or alert throw is open before pressure arrives.
- The 2x2 alignment forces the defense to show its shell pre-snap, making it easy to identify Cover 2 (attack with Four Verticals seams or Flanker Dig) versus Cover 3 (attack with Curl Flats or Weak Flood).
- Jet motion on Jet Inside Zone, Jet Touch Pass, and Jet Touch Pass Fk HB drags man defenders across the formation and freezes zone flat defenders, creating outside leverage for the sweep and cutback lanes for the inside zone.
- The Slants, Y Shallow Cross, and Middle Hook concepts are quick man beaters that get the ball out fast, and a flexed tight end on a linebacker in Cover 1 is a reliable mismatch on shallow crossers and slants.
Weaknesses
- With only one tight end and a running back in protection, six-man and overload blitzes from a single side can beat your slide protection on play-action, especially PA Post Shot and PA Deep In, which need time to develop.
- A user-controlled defender sitting in the middle hole can erase Y Shallow Cross, Middle Hook, and Flanker Dig, since several core pass concepts converge on the same intermediate zone.
- The balanced look gives no natural strength for the run game, so defenses in a 2 high shell with a spilled edge defender can squeeze HB Slam and HB Counter without committing extra bodies to the box.
- Read Option and Read Option Wk require a mobile quarterback. A pocket passer turns the keep option into a liability, and savvy opponents will crash the unblocked end knowing the quarterback cannot punish it.
- Jet motion takes time and telegraphs a lateral action. Opponents who shade the defensive line to the motion side or user the flat defender can blow up Jet Touch Pass for a loss.
Usage Tips
Count the box pre-snap on every RPO: with six or fewer defenders in the box, hand off on RPO Zone Alert Bubble; with seven or more, or with the slot defender walked down, throw the bubble or the alert immediately.
On 1st and 10 against Cover 3, pair HB Zone with PA Boot on the next snap. The same pistol mesh sucks linebackers downhill, and the crosser on the boot opens behind them for a chunk gain.
Versus Cover 2 or Cover 4, audible to Four Verticals and hot route the running back to a flat or a block depending on the blitz look. Hold the safety with your eyes and hit the seam on the side he leaves.
On 3rd and short against man coverage, check to Slants or Y Shallow Cross and slant the flexed tight end if a linebacker is matched on him. It is a fast, high percentage completion that beats press.
Use Jet Touch Pass Fk HB after you have run Jet Touch Pass and Jet Inside Zone a few times. Defenders who start chasing the motion leave the back leaking out behind them for an easy throw and run.
Plays (26)
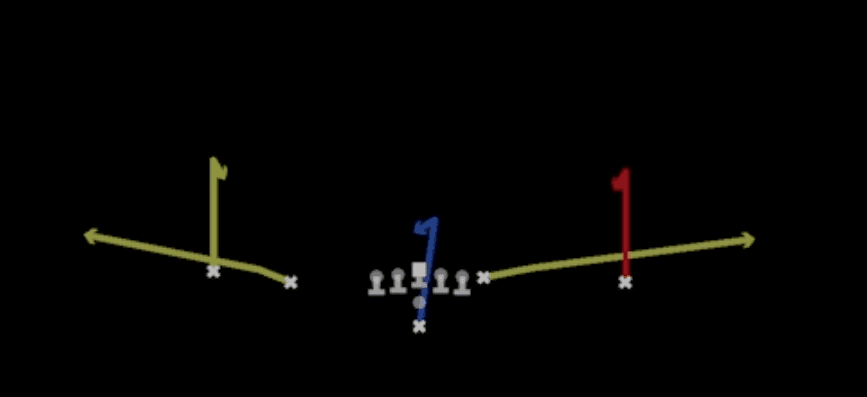 Curl FlatsCurl, Pass Play, Flat +1
 Flanker DigDig, Pass Play, Curl +4
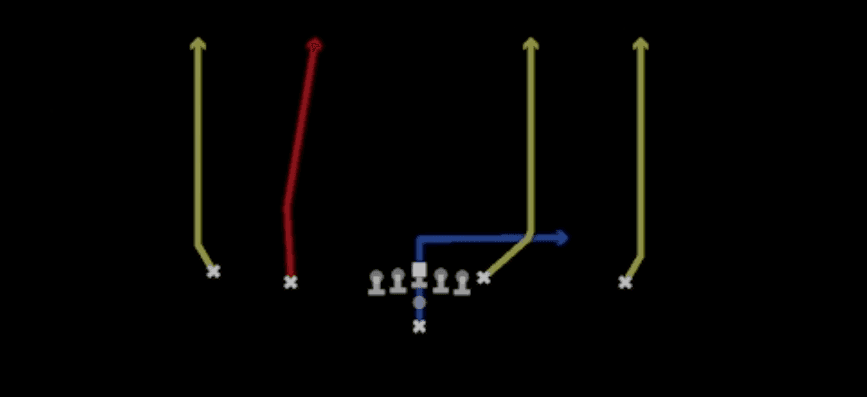 Four VerticalsFour Verts, Pass Play, Cover 2 Beater +4
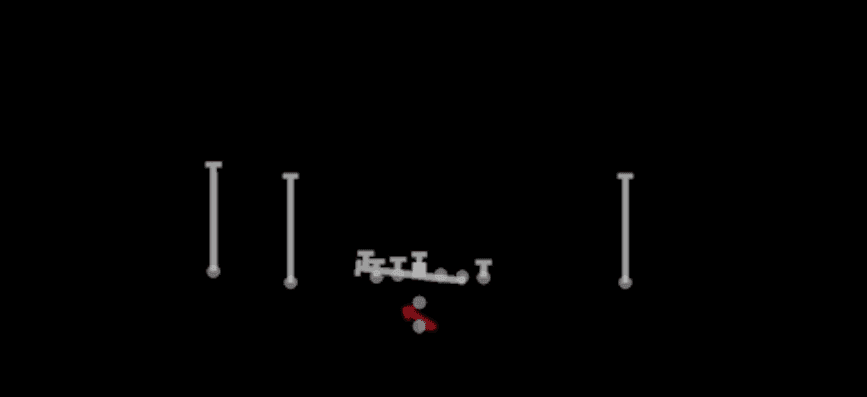 HB CounterCounter, Run Play, Power Run
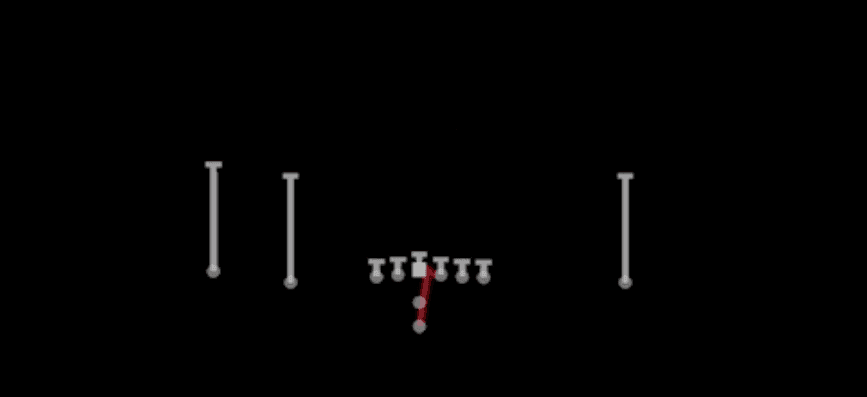 HB DiveDive, Run Play
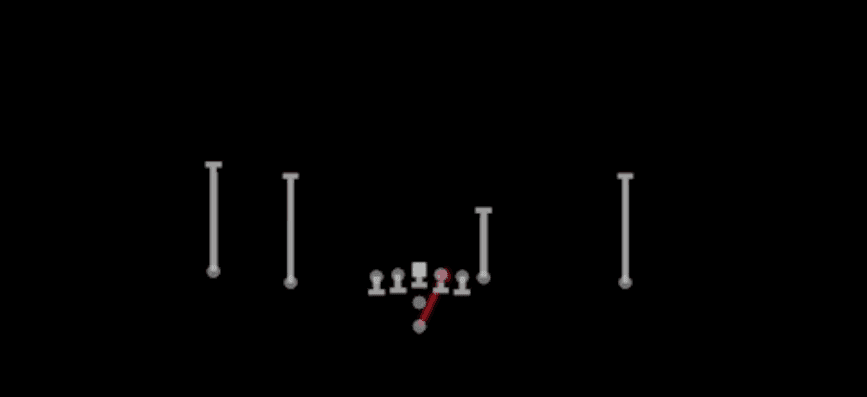 HB DrawDraw, Run Play
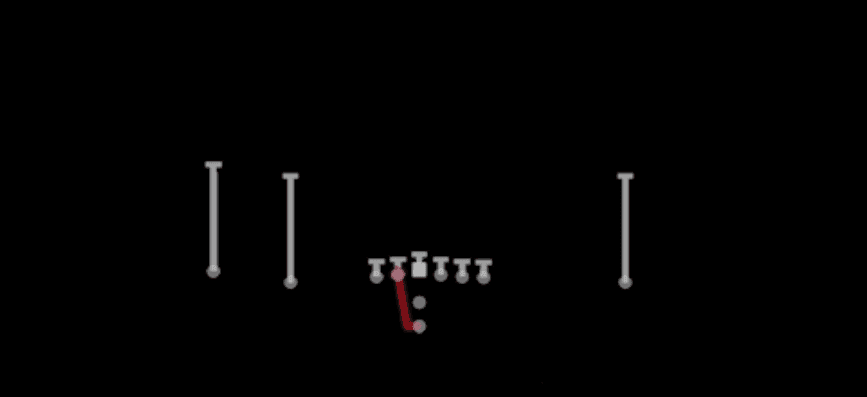 HB SlamDive, Run Play
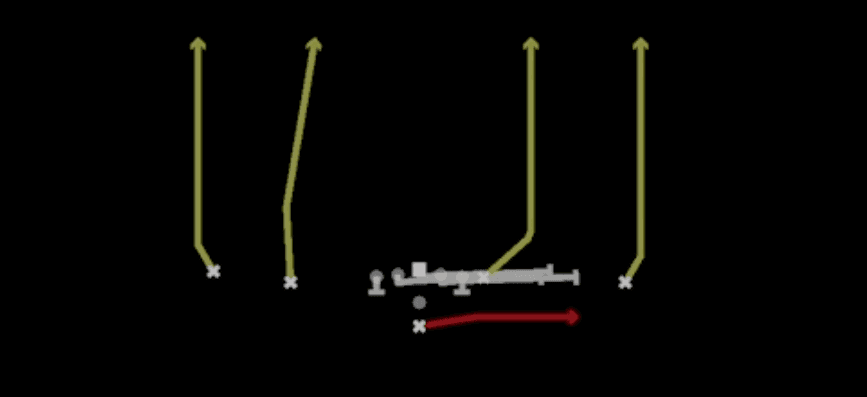 HB Slip ScreenScreen Pass, Hb Screen, Pass Play +2
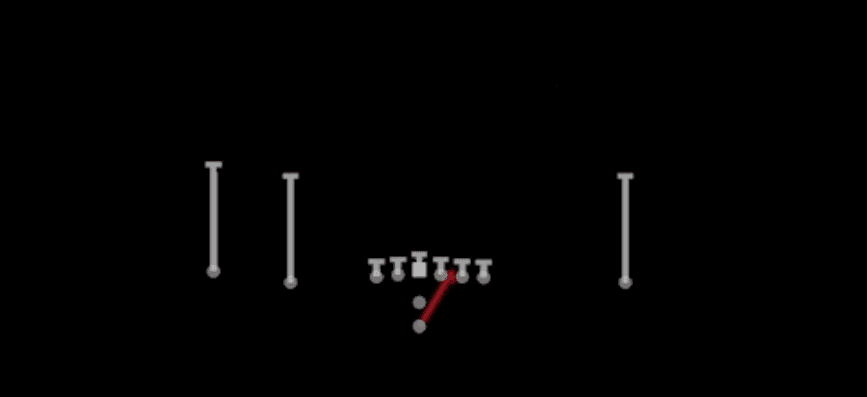 HB ZoneInside Zone, Run Play, Zone Run
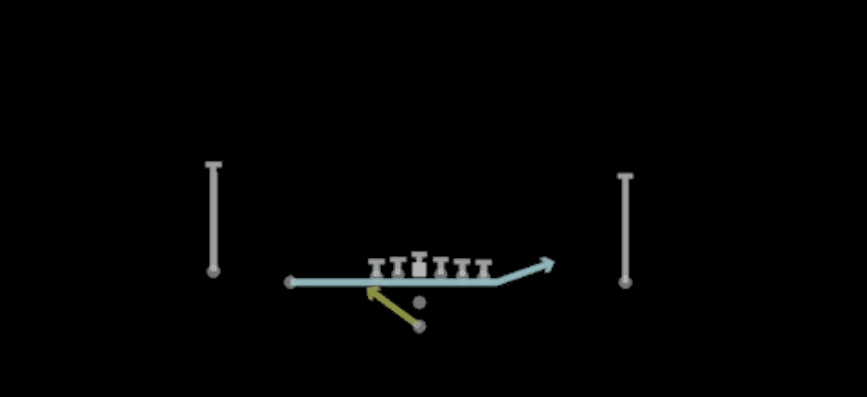 Jet Inside ZoneInside Zone, Motion, Run Play +1
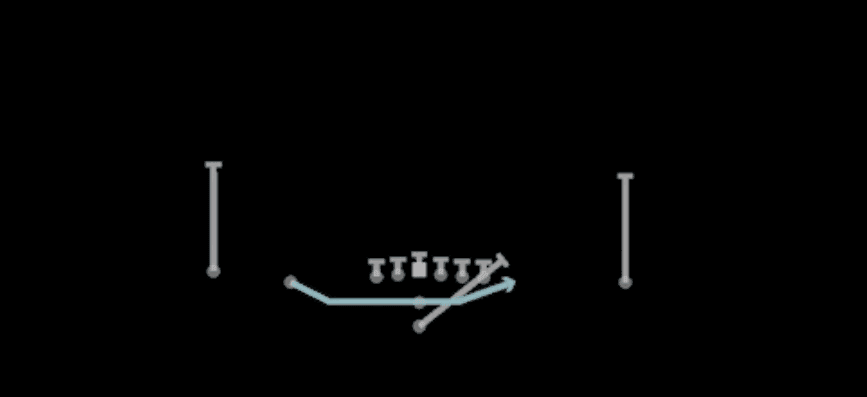 Jet Touch PassMotion, Run Play
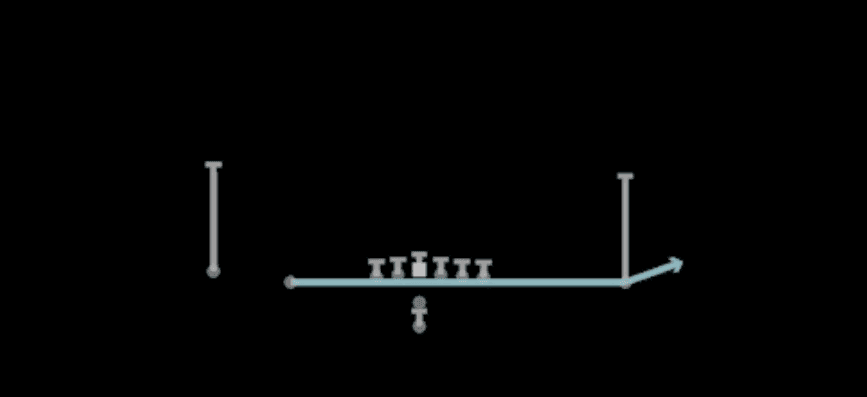 Jet Touch Pass Fk HBMotion, Run Play
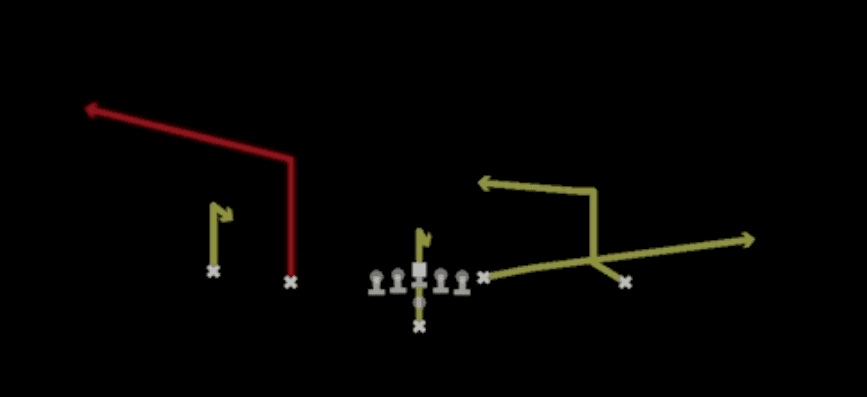 Middle HookPass Play, Quick Pass, Curl +8
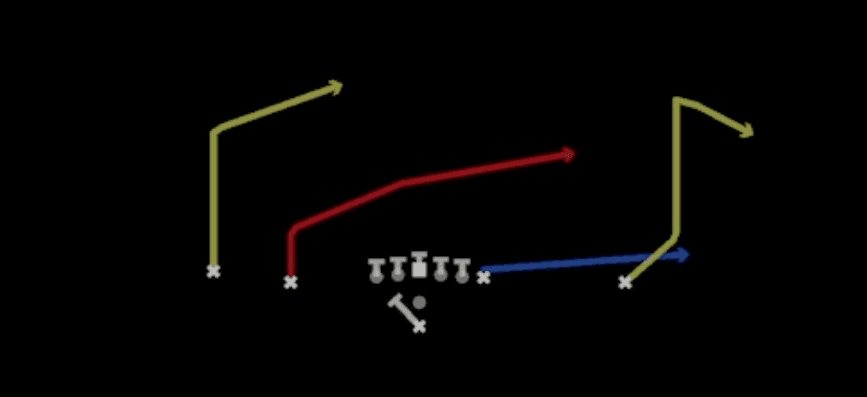 PA BootPlay Action, Pass Play, Block and Release +4
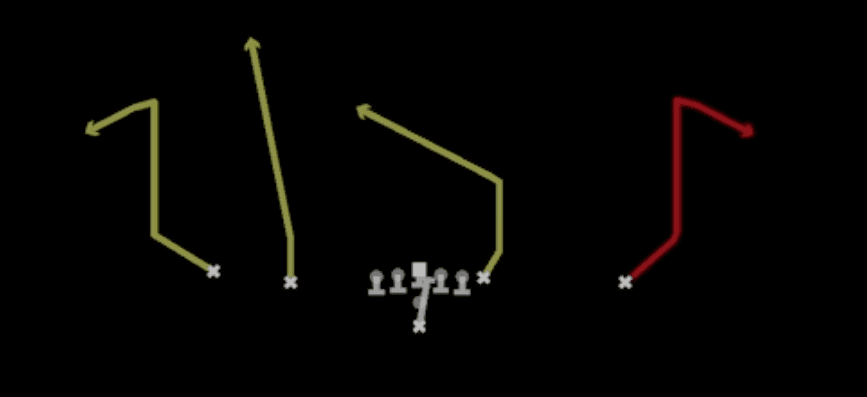 PA ComebacksPlay Action, Pass Play, Comeback +2
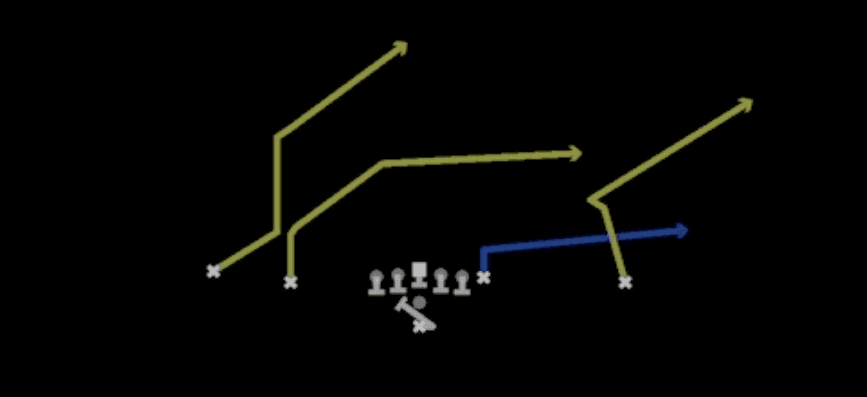 PA Ctr WagglePlay Action, Pass Play, Block and Release +4
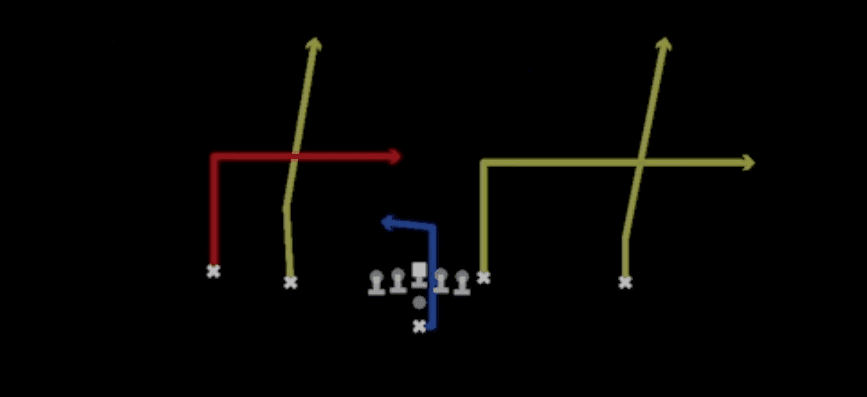 PA Deep InPlay Action, Pass Play, Flat +3
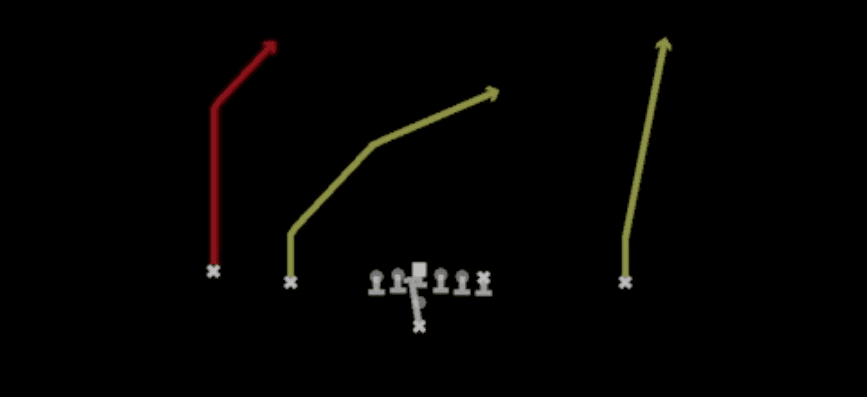 PA Post ShotPlay Action, Post, Pass Play +3
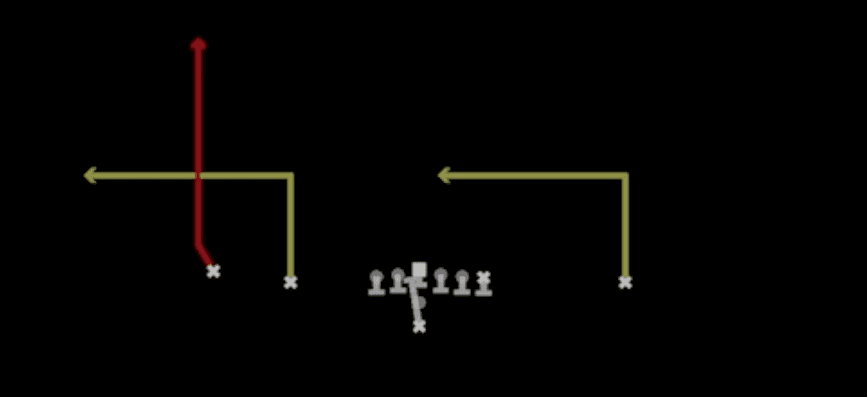 PA WR SlipPlay Action, Pass Play, Fade +2
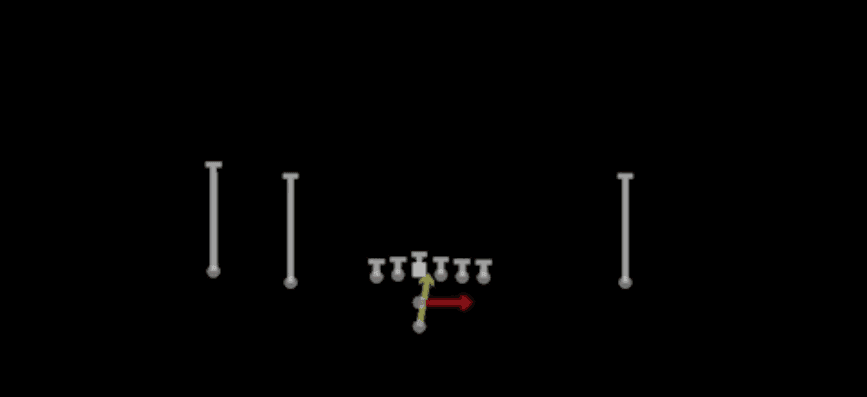 Read OptionRead Option, Run Play
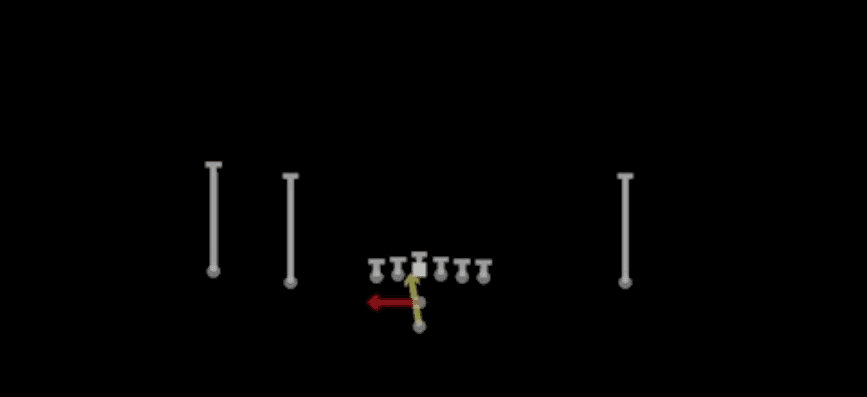 Read Option WkRead Option, Run Play
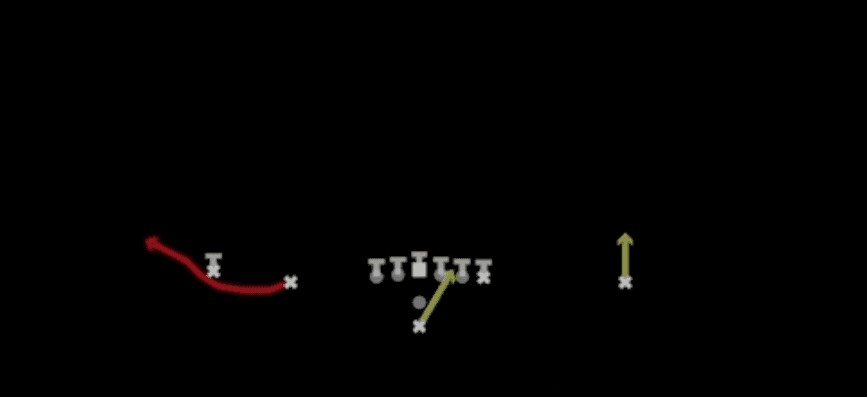 RPO Alert BubbleRPO, Pass Play, Run Play
- RPO Zone Alert BubbleRPO, Pass Play, Run Play +2
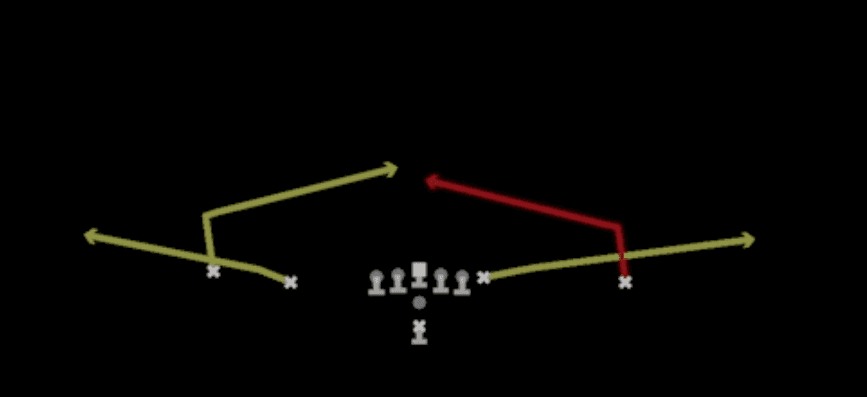 SlantsSlant, Pass Play, Flat
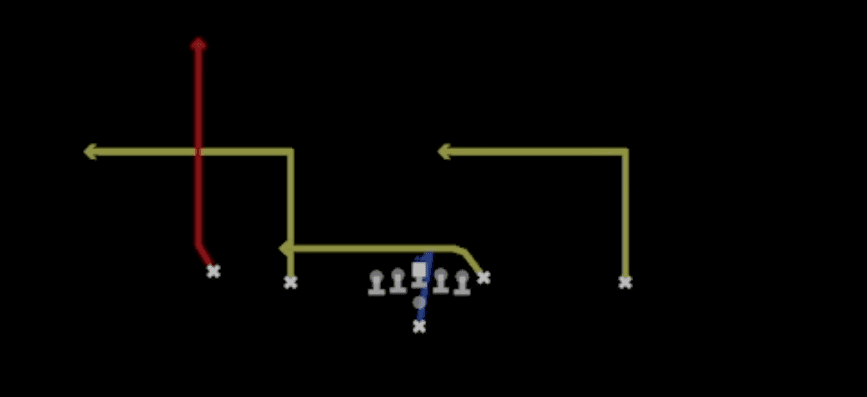 Weak FloodFlood, Pass Play, Cover 3 Beater +6
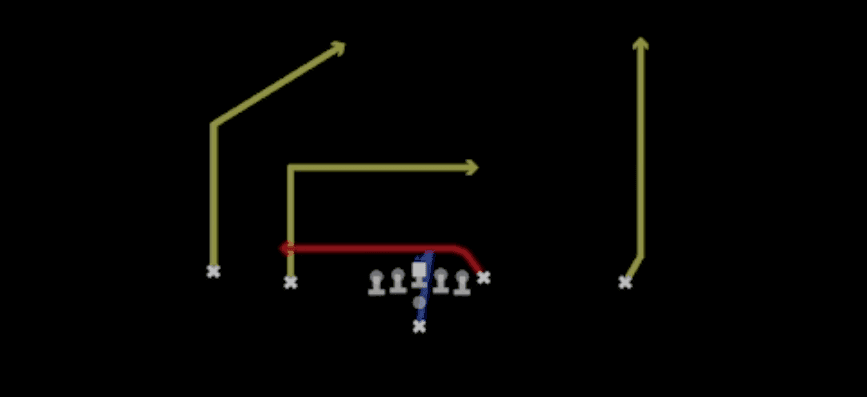 Y Shallow CrossShallow Cross, Pass Play, Crosser +5