Playbooks

At a Glance
Overview
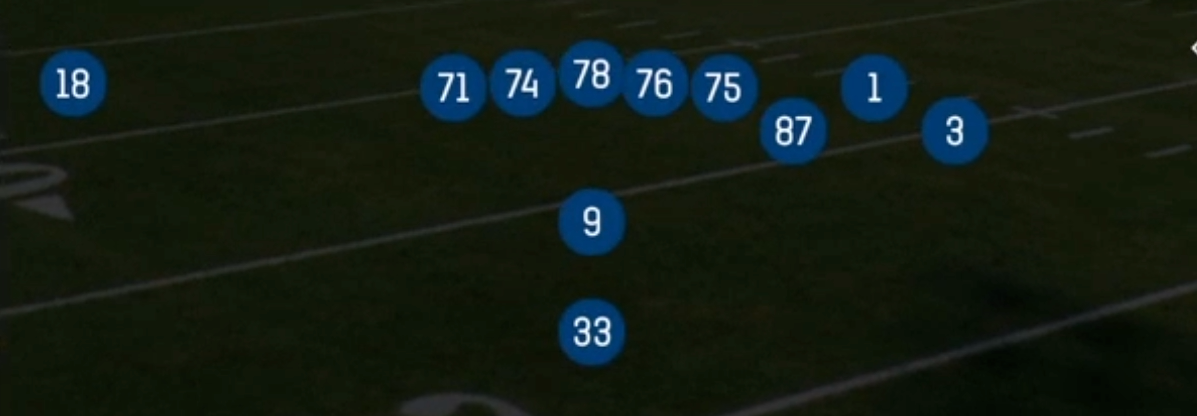
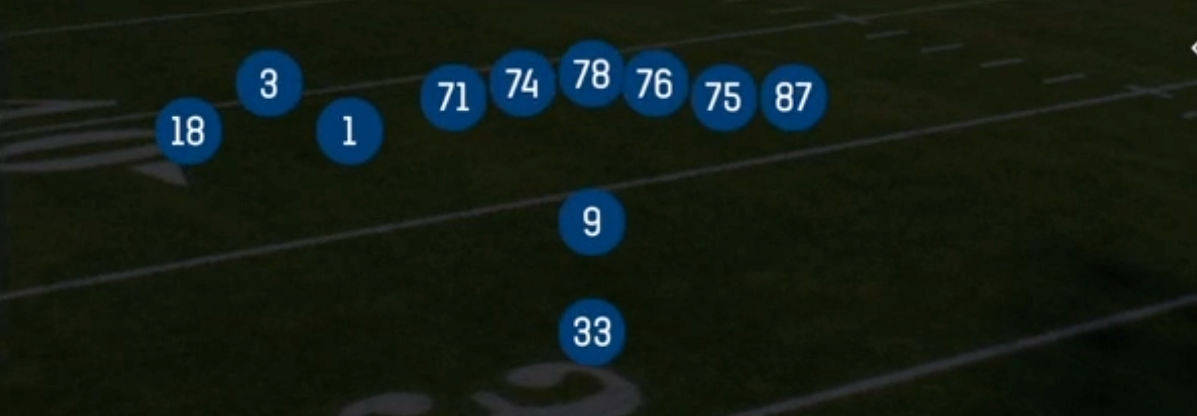
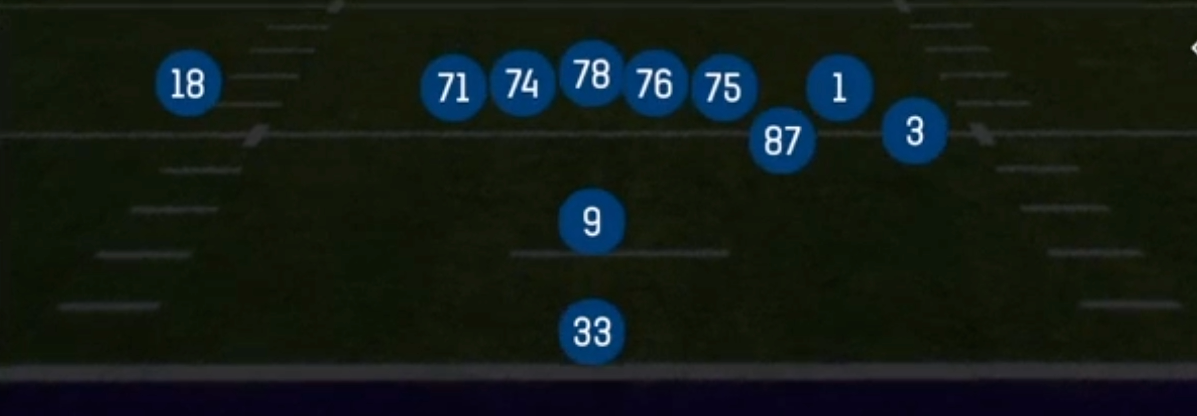
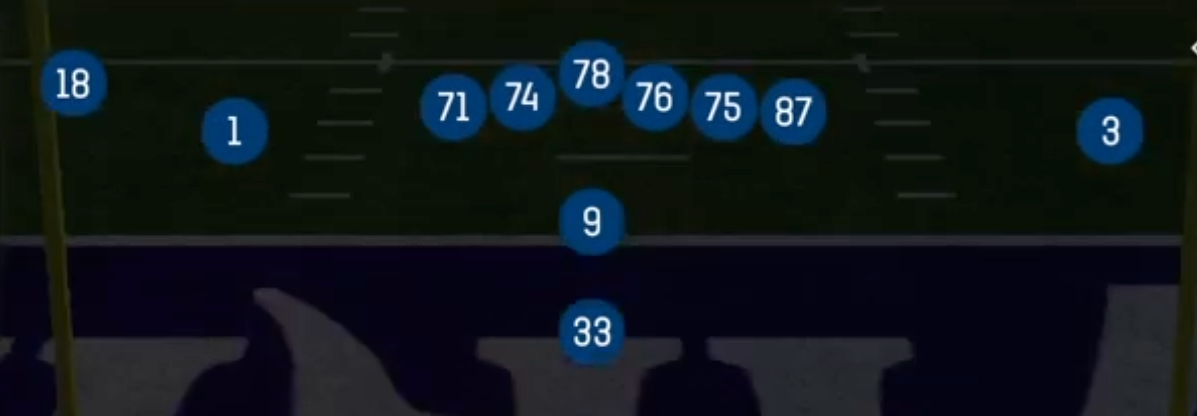
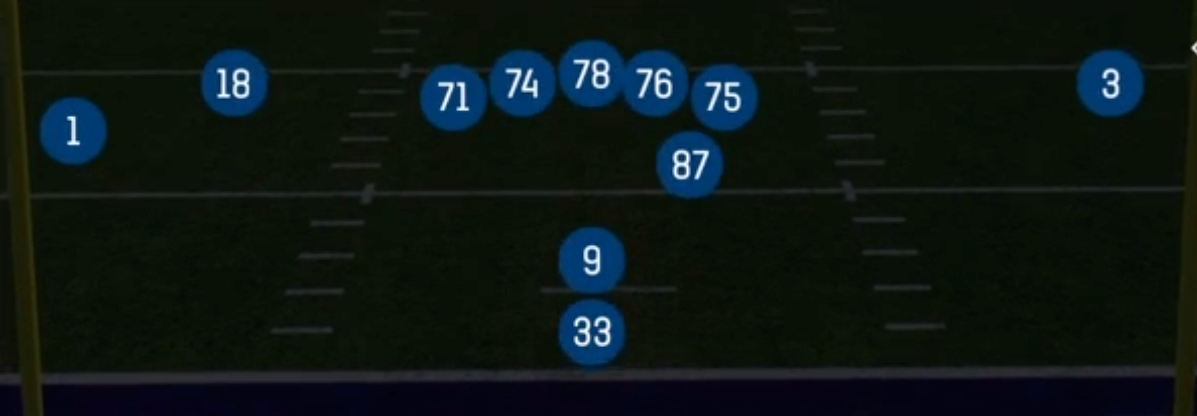
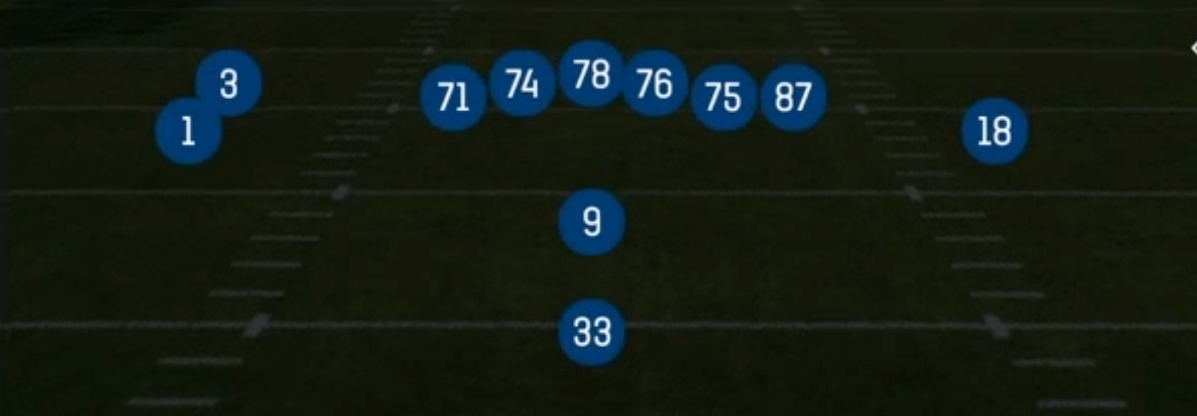
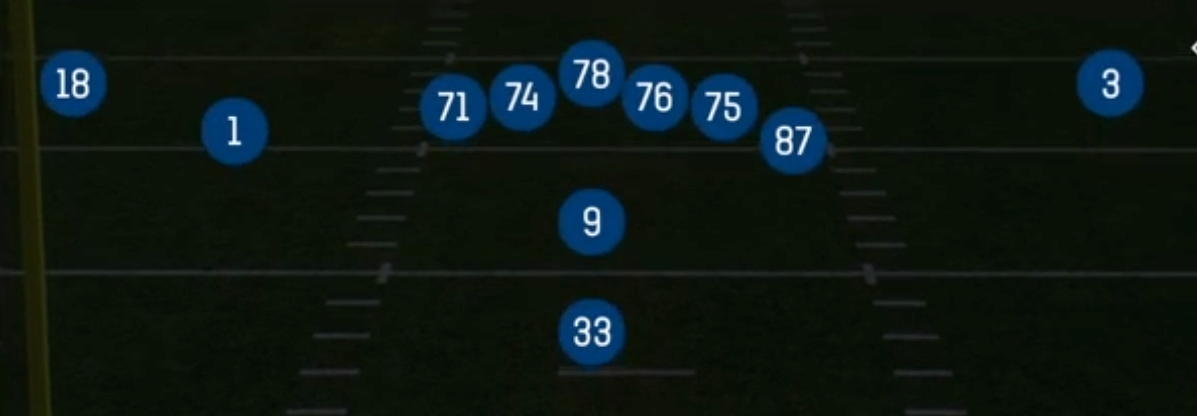
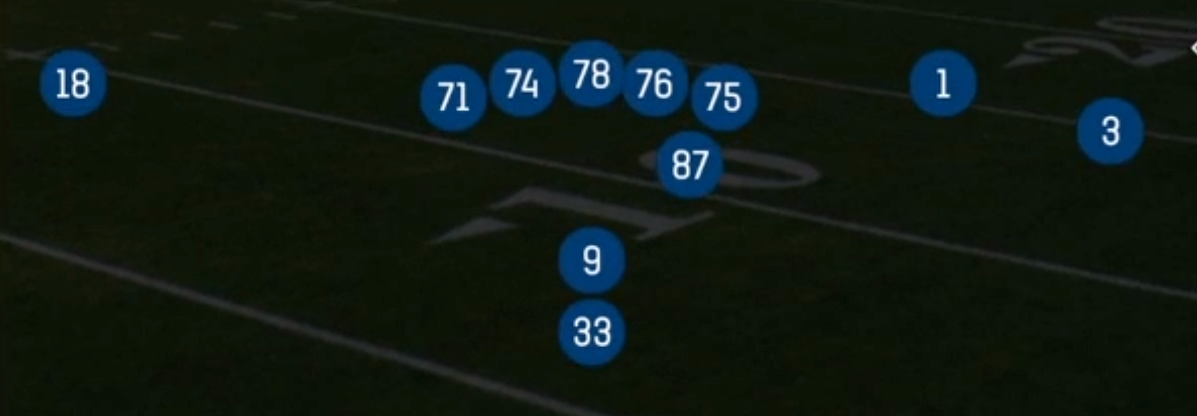
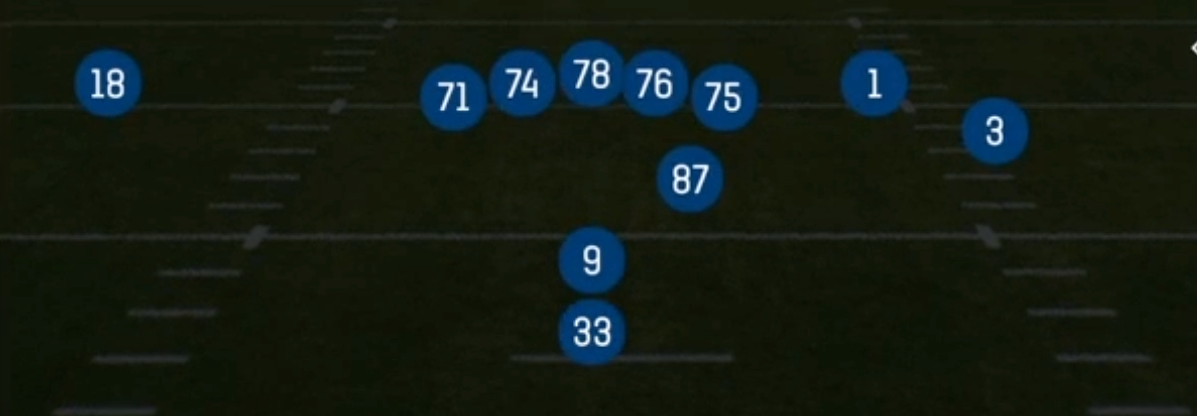
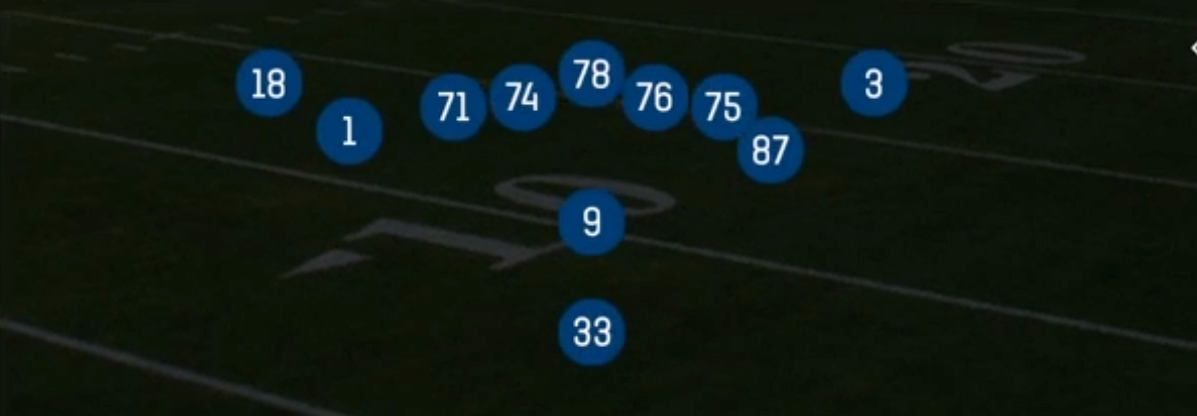
Doubles Y Off Stack is a 2x2 look out of the Pistol with 11 personnel: two receivers on each side, with the tight end aligned off the ball and stacked behind a receiver instead of attached to the line. The QB sits in the short gun, and the running back aligns directly behind him. This differs from standard Pistol Doubles or Trey sets because the Y has a free release from the stack. Press defenders cannot jam him, and the stack alignment forces the defense to declare how it will handle two receivers who share nearly the same launch point. That free release, combined with the Pistol's downhill run angles, gives this set a multiple feel that is hard to key pre-snap.
The play list is built around deception. Jet motion shows up in Jet PA Y Leak, Jet Touch Pass, Jet PA Boot, Jet HB Zone, Jet Wide Zone Wk and Jet PA HB Wheel, so the defense sees the same pre-snap movement before sweeps, zone runs, boots and wheel shots. Those plays carry the Gadget tag. The SLWR tag reflects the slot receiver alignments that drive the stack releases and bubble looks. Behind that sits a full Pistol run game: Wide Zone, HB Split Zone, HB Dive, HB Draw and Read Option. That keeps linebackers honest and sets up PA Post Shot, PA Cross and PA Boot Slide.
The matchup value comes from the stacked Y. Against man coverage, the linebacker or safety assigned to the tight end has to work through traffic from depth, which creates natural rub and pick situations. Against zone, the stack puts two vertical threats in one area and stresses the flat and curl defenders, especially when jet motion pulls a defender out of position. A fast slot or a tight end with strong route running can be isolated on a safety or linebacker, while the outside receivers take the corners deep on Four Verticals and Flanker Spot.
Strengths
- The stacked Y gets a free release against press, and the stack creates built-in rub action that beats Cover 1 and Cover 0 man, especially on PA Cross and Jet PA Y Leak when the Y crosses under the defender trailing him.
- Jet motion shows the same pre-snap picture before Jet HB Zone, Jet Wide Zone Wk, Jet Touch Pass, Jet PA Boot and Jet PA HB Wheel. This punishes users who flow with the motion and creates easy cutback lanes and wheel matchups on linebackers.
- Four Verticals from a 2x2 stack look stresses Cover 3 and Cover 4 seam defenders. Hot routing the stacked Y to a seam or post puts the deep middle safety in a bind and makes it a reliable zone beater.
- RPO Zone Alert Bubble and Read Option let you take what the box count gives you. Throw the bubble against a light edge, hand off against a two high shell, and keep on Read Option when the end crashes, which forces the defense to commit numbers.
- The Pistol alignment allows true downhill runs (HB Dive, HB Split Zone, HB Draw) along with play action that sells hard. PA Post Shot and PA Boot Slide pull linebackers up for explosive shots over the middle and on rollout flats.
Weaknesses
- With the Y off the line, you have only five true blockers on dropbacks. Overloaded edge pressure and nano blitzes off the stacked side can beat the RB's pickup on longer developing plays like Four Verticals and PA Post Shot.
- Jet motion plays take time to develop. A user-controlled linebacker or safety sitting in the middle hook zone can spy the jet player and blow up Jet Touch Pass and Jet HB Zone before the mesh finishes.
- Because the Y aligns off the ball, the edge on the stacked side has no attached blocker. That makes outside runs like Wide Zone and Jet Wide Zone Wk vulnerable to a crashing end or a fast outside linebacker set to contain.
- Stack alignments tip route concepts. Experienced opponents who switch to bracket or banjo style coverage (Cover 2 Man, Cover 6, or matchup zones) can pass off the stack releases and remove the rub advantage.
- If you lean too hard on the jet motion package, defenders can play the tendency. Shading coverage toward the motion side or dropping a safety into the flat takes away the bubble, the boot flat and the wheel all at once.
Usage Tips
Read the box pre-snap. Six or fewer defenders in the box means Wide Zone, HB Split Zone or HB Dive should hit. Seven or more with a single high safety means you should audible to Four Verticals or PA Post Shot to attack the deep middle.
Against Cover 0 or Cover 1 blitz, audible to PA Cross or Jet PA Y Leak and slant the stacked receiver. The stack creates a natural pick, so hot route the RB to block to buy time against the extra rusher.
Use Jet HB Zone and Jet Wide Zone Wk early in the game to establish the motion tendency. On third and medium, come back with Jet PA Boot or Jet PA HB Wheel when the flat defender starts chasing the jet.
RPO Zone Alert Bubble is an ideal first and ten call against off coverage or a soft slot corner. If the flat defender widens, give to the RB. If he stays inside, throw the bubble immediately for easy yards.
In the red zone, Flanker Spot and HB Slip Screen punish aggressive blitzes and man coverage. Hot route the stacked Y to a fade or corner route against single high looks to create a high/low read on the outside defender.
Plays (18)
 Flanker SpotSpot, Pass Play, Cover 3 Beater +4
 Four VerticalsFour Verts, Pass Play, Cover 2 Beater +4
 HB DiveDive, Run Play
 HB DrawDraw, Run Play
 HB Slip ScreenScreen Pass, Hb Screen, Pass Play +2
 HB Split ZoneInside Zone, Run Play, Zone Run
 Jet HB ZoneMotion, Inside Zone, Run Play +1
 Jet PA BootPlay Action, Motion, Pass Play +5
 Jet PA HB WheelPlay Action, Wheel, Motion +5
 Jet PA Y LeakPlay Action, Motion, Pass Play +6
 Jet Touch PassMotion, Run Play
 Jet Wide Zone WkOutside Zone, Motion, Run Play +1
 PA Boot SlidePlay Action, Slide, Pass Play +5
 PA CrossPlay Action, Pass Play, Crosser +5
 PA Post ShotPlay Action, Post, Pass Play +2
 Read OptionRead Option, Run Play
 RPO Zone Alert BubbleRPO, Pass Play, Run Play +2
 Wide ZoneOutside Zone, Run Play, Zone Run