Playbooks
At a Glance
In 1 playbook
Overview
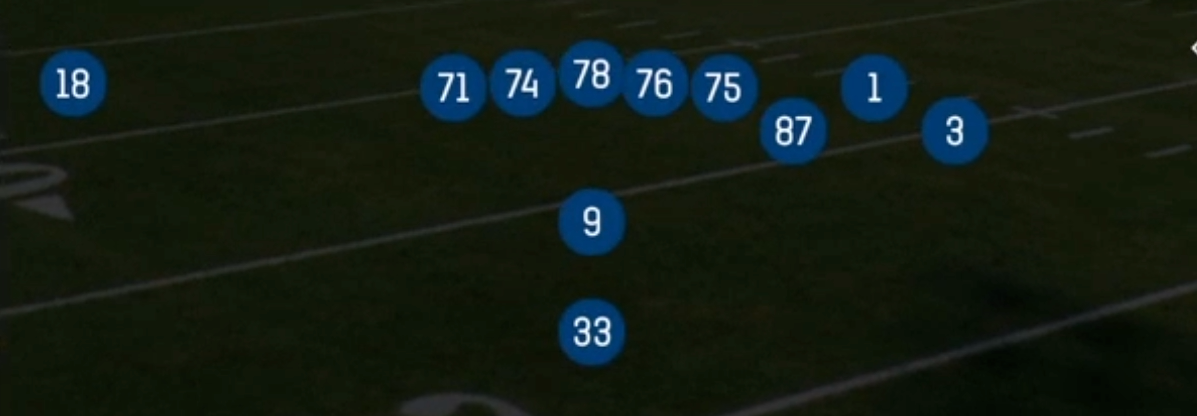
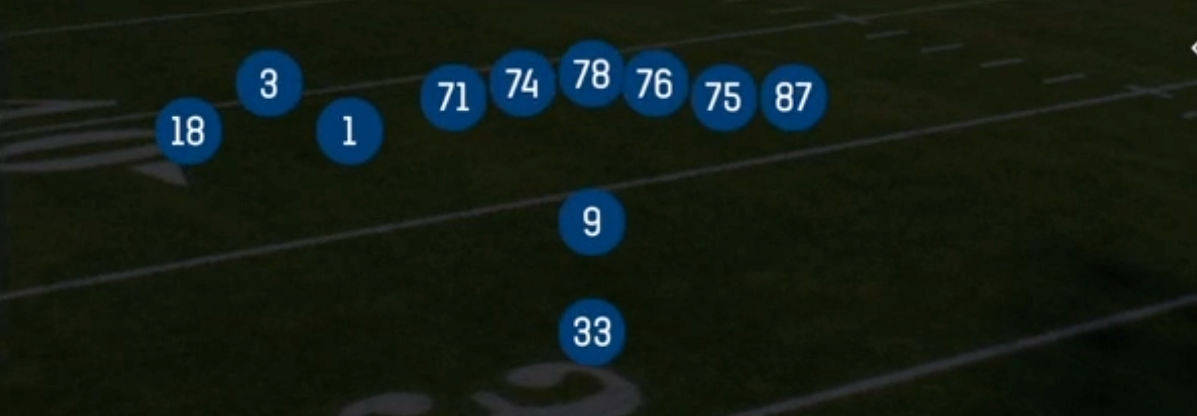
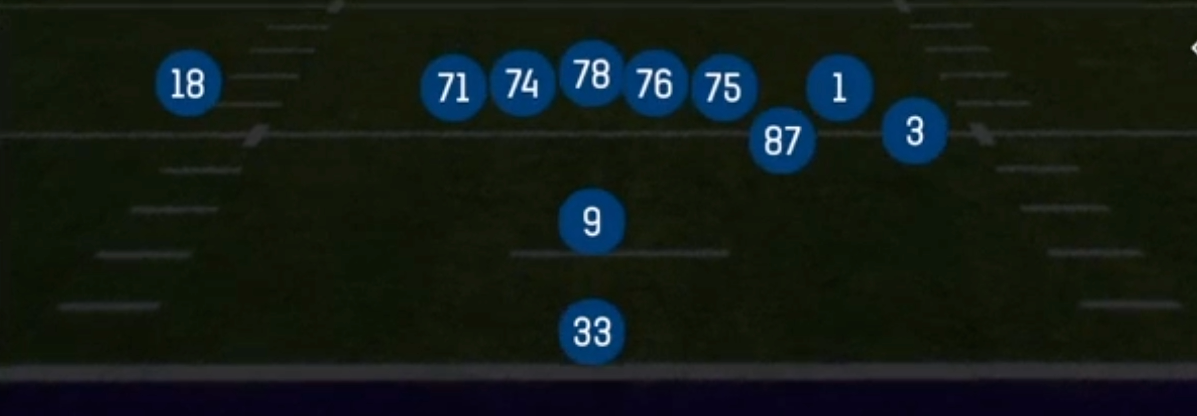
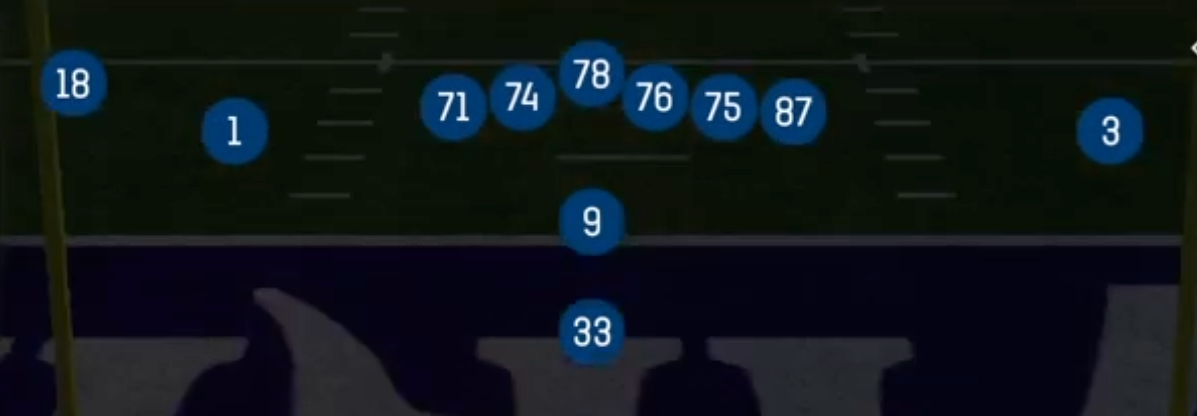
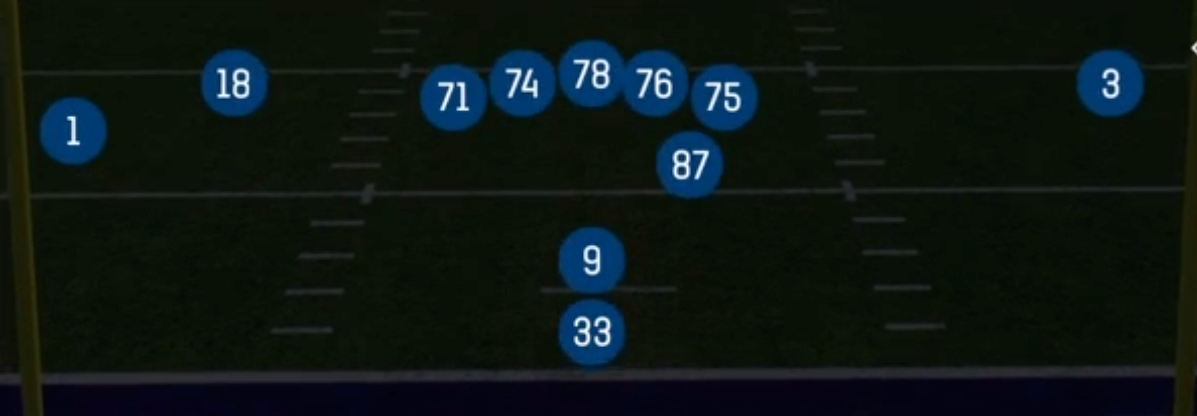
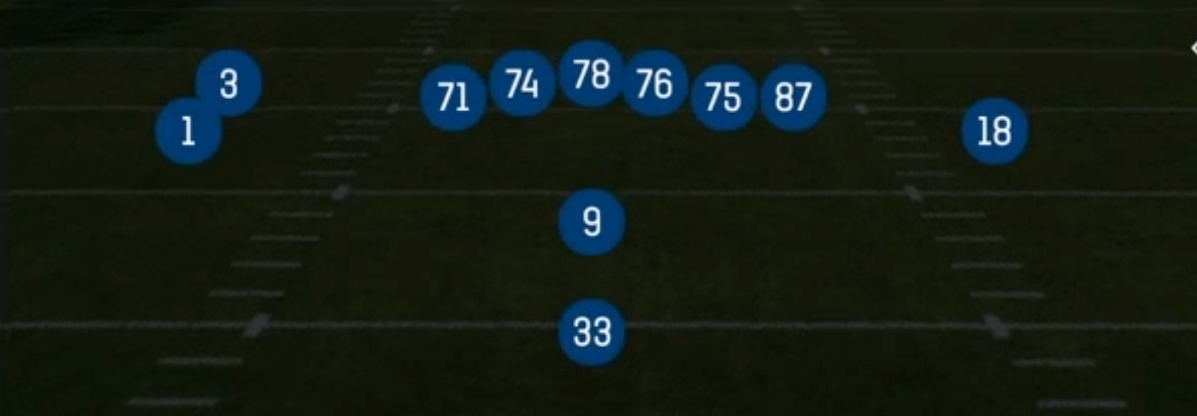
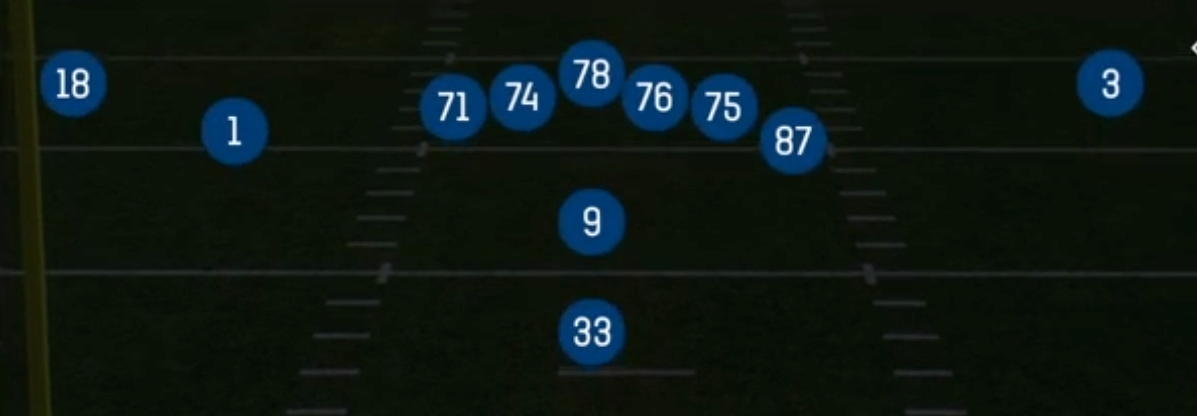
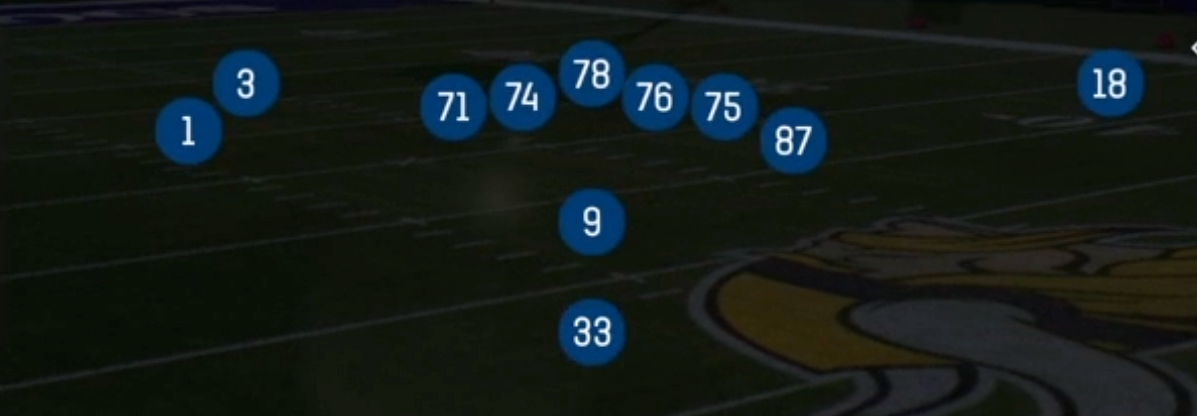
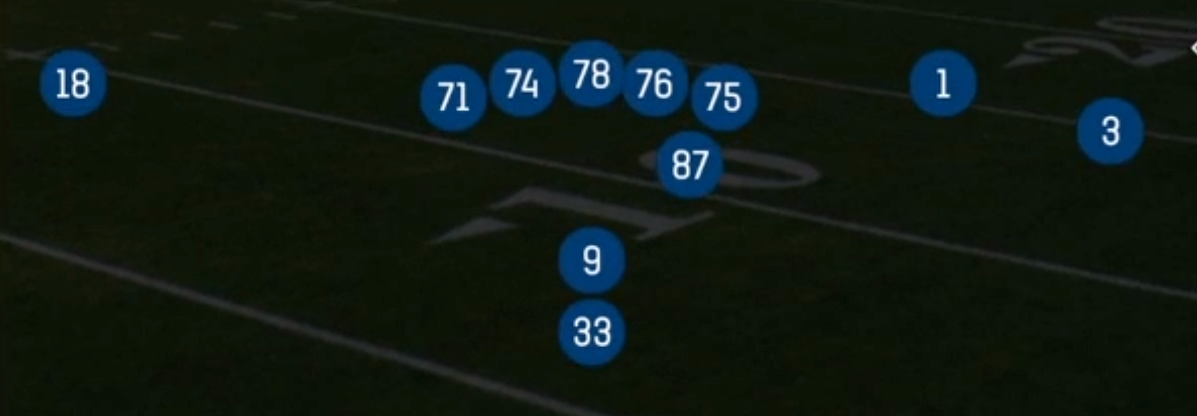
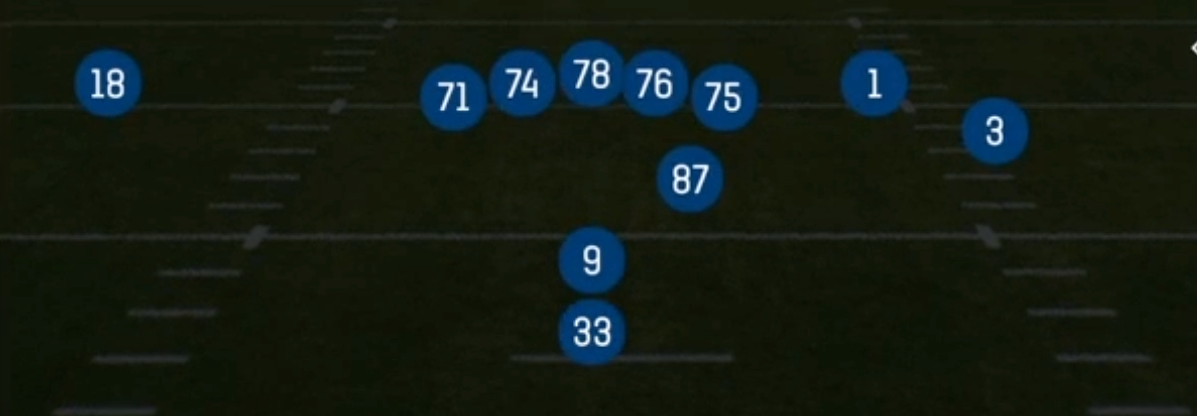
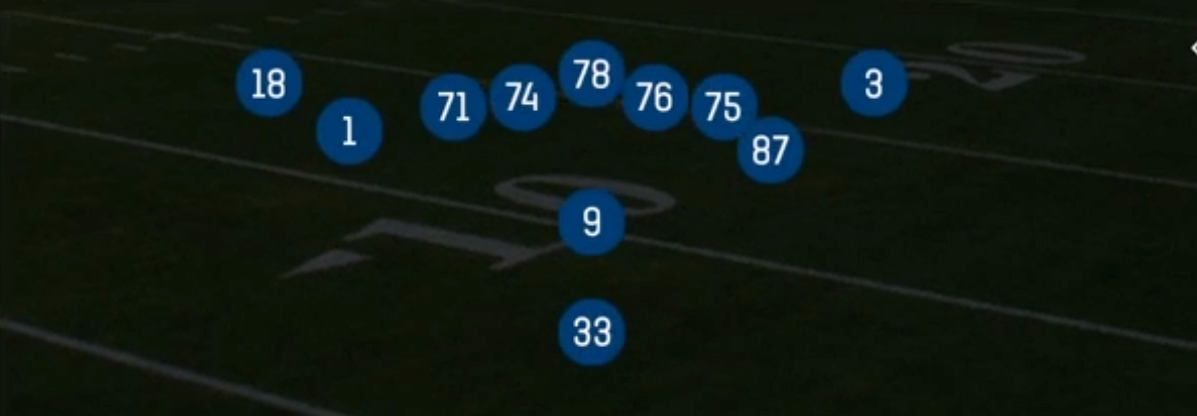
Spread Y Slot in the Pistol is a 2x2 11 personnel look that detaches the tight end from the formation and places him in the slot, with a wide receiver outside him and a two receiver surface on the opposite side. The running back aligns directly behind the quarterback in the Pistol alignment, which keeps the run game downhill and hides the direction of the handoff. Unlike tighter Pistol sets that keep the Y attached to the line, this set spreads the defense horizontally and forces the defensive coordinator to declare how he wants to cover a tight end in space.
The personnel alignment is where the matchup value lives. With the Y in the slot, defenses in base personnel have to put a linebacker or safety on him, which the Y Cross and Four Verticals seam routes punish. If the defense subs into nickel to match the spread look, you now have a big bodied tight end working against a slot corner, and the Pistol run game (HB Stretch and Zone Split) gets to attack a lighter box. The Gadget tag reflects that this set leans on misdirection and constraint plays like Zone Split and the play action concepts rather than pure base offense.
Conceptually, the set covers every layer of a defense. Four Verticals and Fade Smash stress Cover 2 and Cover 3 rotations, Y Cross is a premier zone and man beater that brings the tight end across the field at intermediate depth, and Mtn PA Split Flood and PA Corner Spot use the Pistol run action to hold linebackers before flooding the sideline. Because the Y is already detached, you can motion him, hot route him, or use him as a flexible seam threat without tipping your hand the way a traditional inline alignment would.
Strengths
- Y Cross is elite against Cover 3 and Cover 4 because the tight end crosses the field behind flat defenders and in front of deep safeties, and it doubles as a man beater when the Y draws a linebacker in coverage.
- Four Verticals from a 2x2 alignment puts the slotted Y on a seam against a hook defender or safety, splitting Cover 2 and Cover 3 Buzz and giving you a quick read off the middle of field safety.
- The Pistol backfield hides run direction, so HB Stretch and Zone Split attack light nickel boxes while also setting up Mtn PA Split Flood and PA Corner Spot, which layer the flat, corner, and deep routes to flood one sideline against Cover 3.
- Fade Smash gives you a built in Cover 2 answer, with the corner and hitch combination high lowing the flat defender while the fade tests press corners in man.
- The detached Y creates a forced personnel conflict: base defense leaves a linebacker on your tight end, and nickel defense lightens the box for the Pistol run game.
Weaknesses
- With the tight end split out, you only have five linemen and the back in protection, so Cover 0 and nano blitzes from the slot or A gaps can hit the quarterback before deep concepts like Four Verticals and PA Corner Spot develop.
- Play action concepts require a long mesh and a slow developing drop, which makes Mtn PA Split Flood vulnerable to edge pressure and user controlled defenders who sit in the flat and ignore the run fake.
- A user controlled linebacker or safety sitting in the middle hook zone can take away Y Cross and the Four Verticals seam at the same time, forcing you into outside throws.
- The run game is limited to outside zone and split zone flavors, and without an inline tight end the backside edge is unblocked or softly blocked, so defenses loading the box in 5 or 6 man fronts can spill runs to pursuit.
- The play list is thin on quick game, so against heavy press man with a spy you have few built in answers outside of hot routing slants or drags.
Usage Tips
Pre snap, read the defender over the Y: a linebacker means Y Cross or the seam in Four Verticals is your first read, while a slot corner means audible to HB Stretch or Zone Split against the lighter box.
On 3rd and medium, Y Cross is your go to call; hot route the back to a quick out or block if you see a blitz look, and hold the Y until he clears the hook zone.
Against Cover 2 shells with two high safeties, check to Fade Smash and read the flat defender, throwing the corner if he jumps the hitch and the hitch if he bails.
Use HB Stretch and Zone Split early to establish Pistol run action, then call Mtn PA Split Flood or PA Corner Spot on 1st and 10 or 2nd and short when linebackers start triggering downhill.
If the defense shows Cover 0 or a nano blitz, slide protection toward the pressure and hot route the Y to a slant or quick drag so you have an immediate outlet before the rush arrives.