Playbooks

At a Glance
Overview
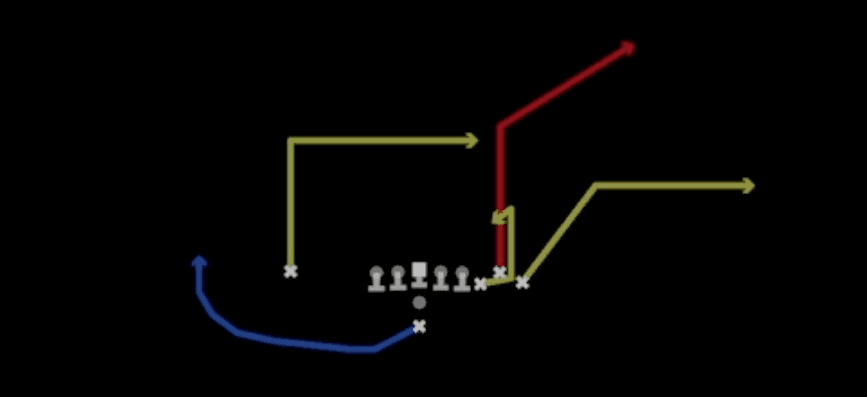
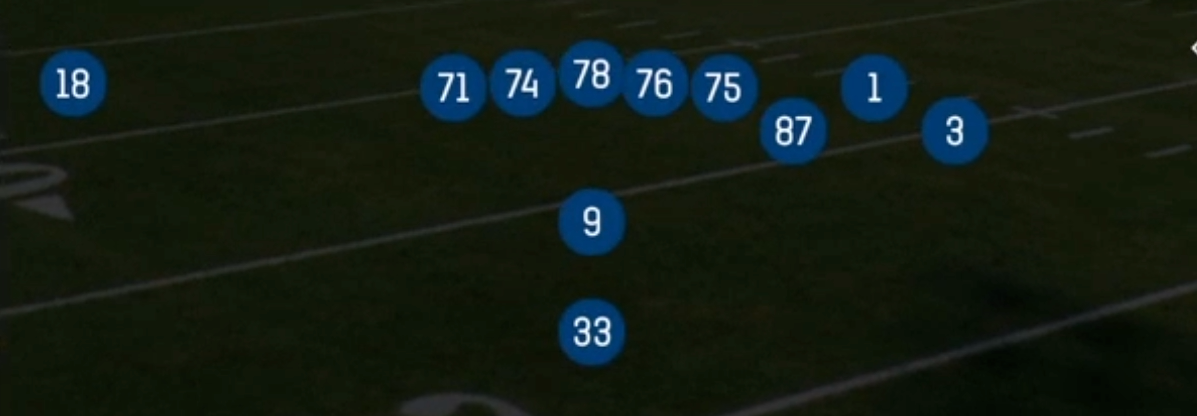
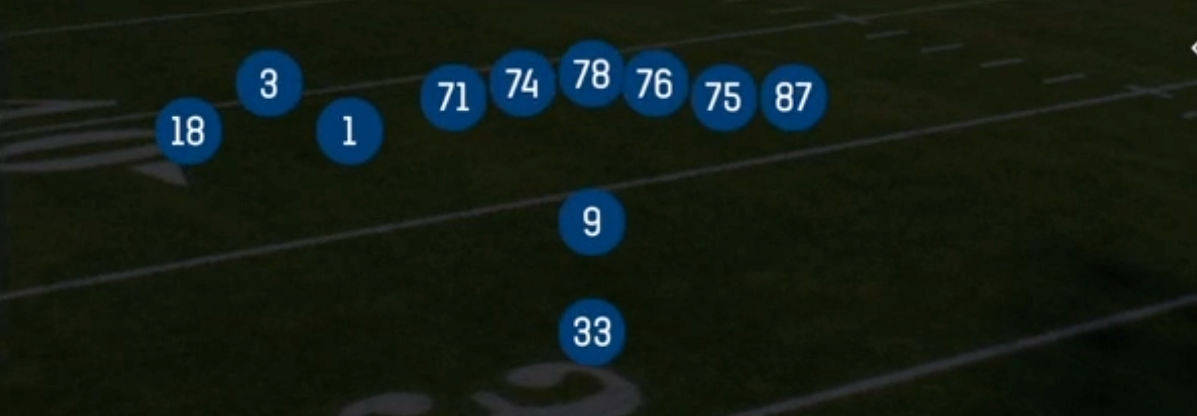
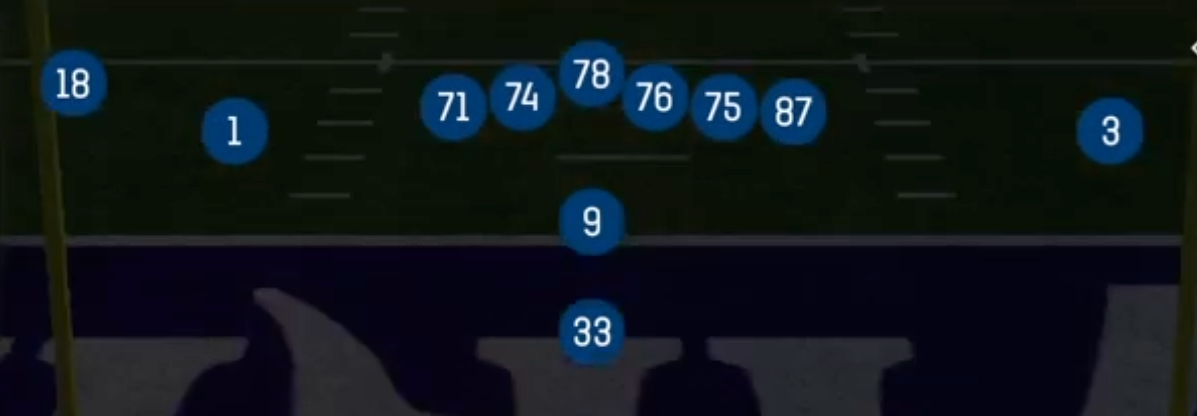
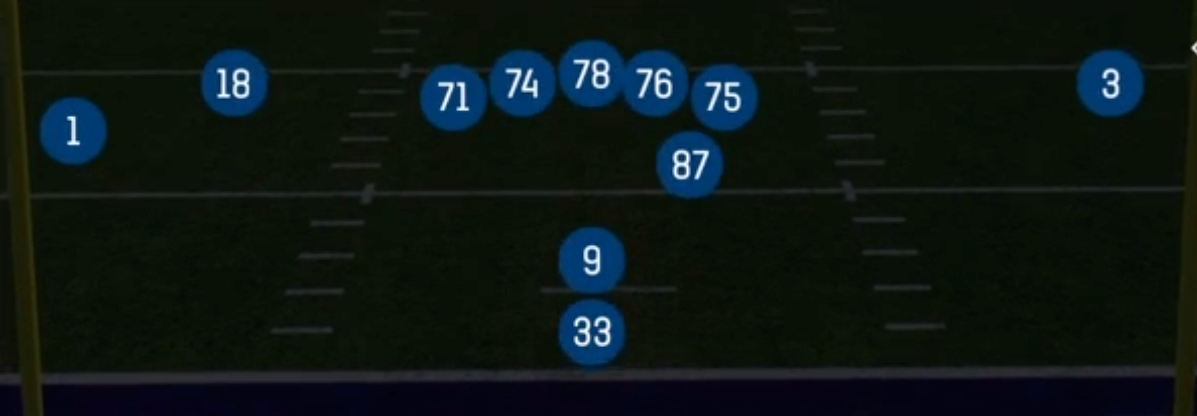
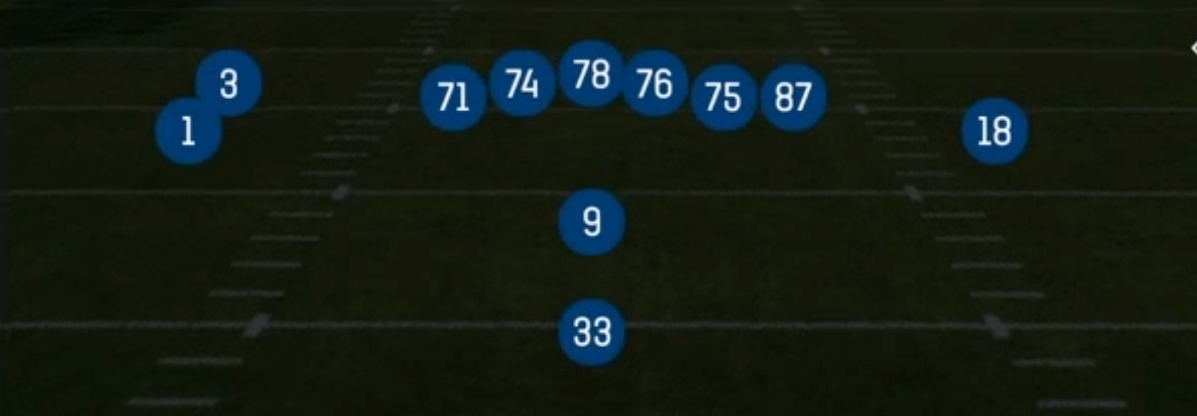
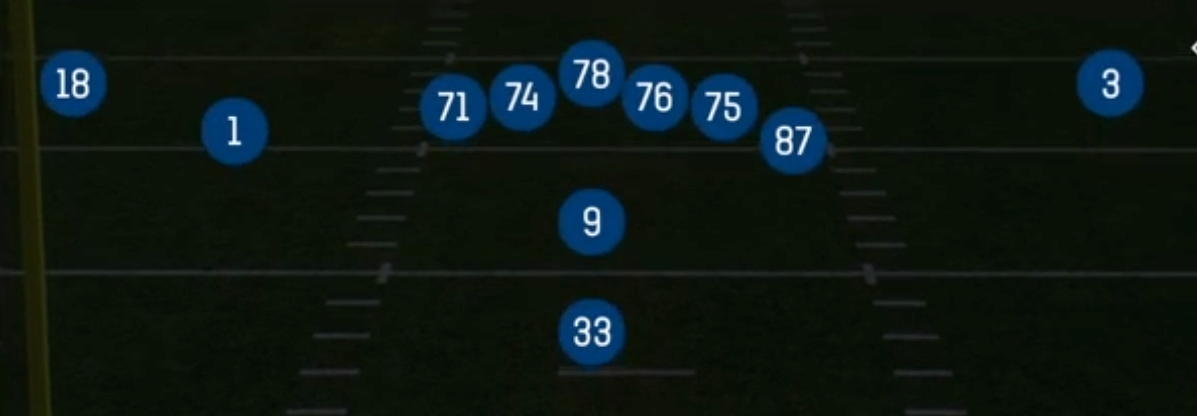
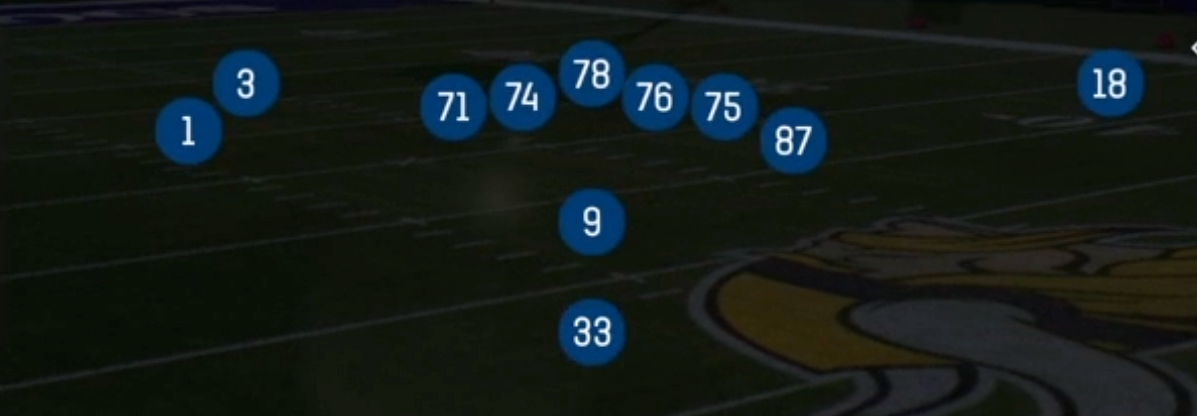
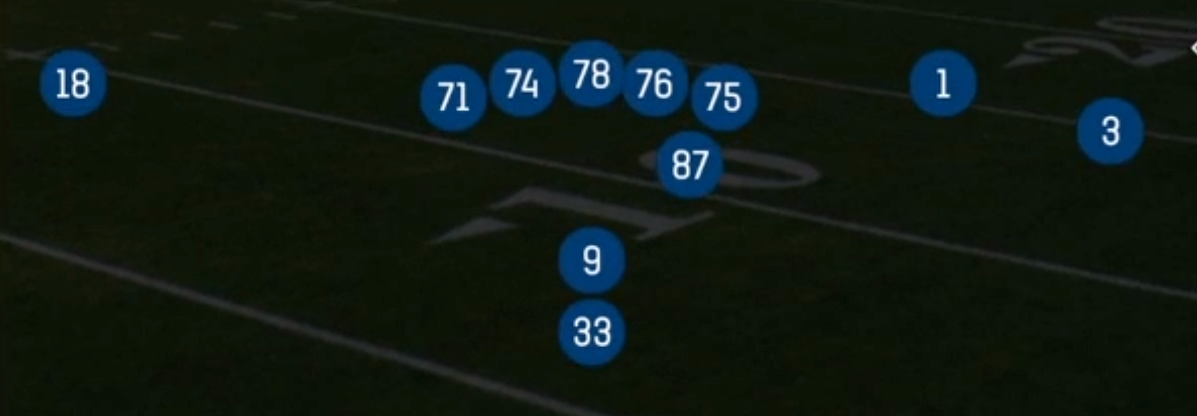
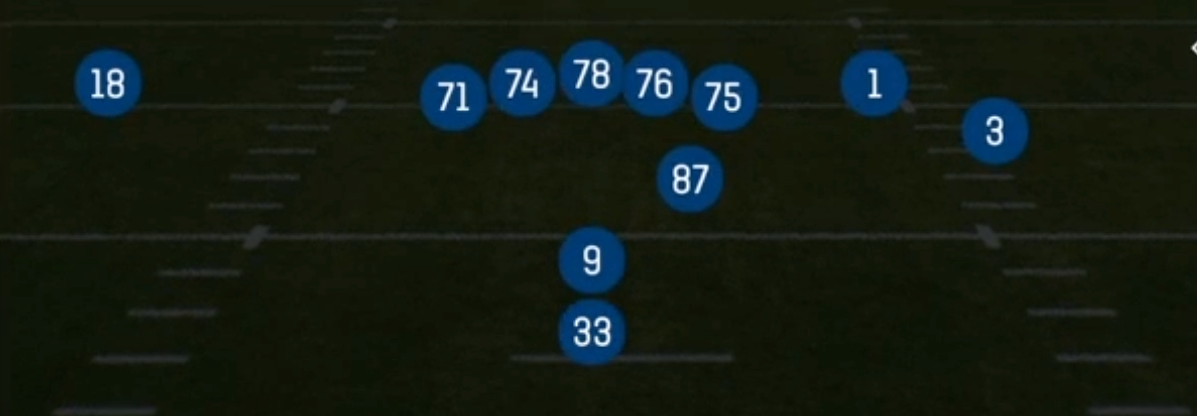
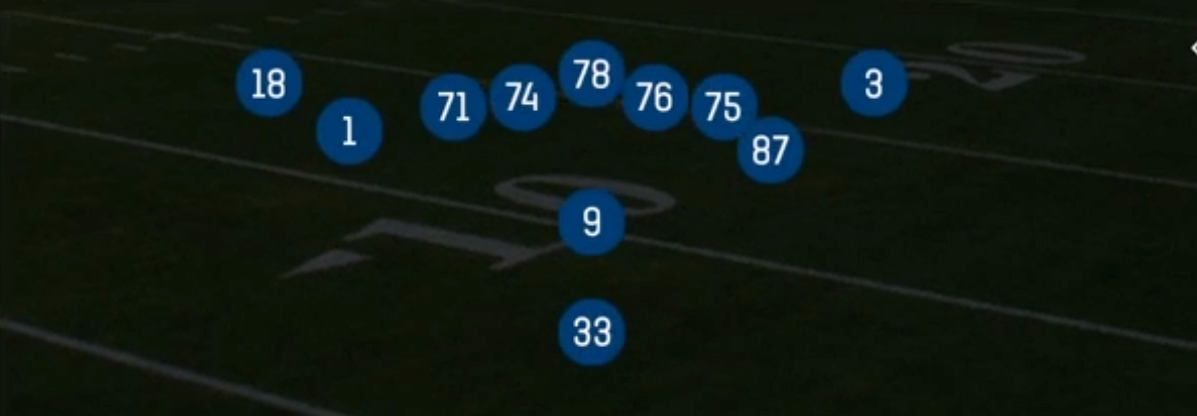
Bunch X Nasty is a compressed 11 personnel look out of the Pistol. Three receivers stack in a tight bunch built around the X, and the tight end sits in a nasty split, flexed a yard or two off the tackle instead of attached. Most Pistol sets spread receivers evenly or keep the tight end inline. This one crowds the formation into condensed spacing, so you get natural rub routes and release traffic that man coverage struggles to fight through, while the running back stays in the downhill Pistol alignment behind the QB.
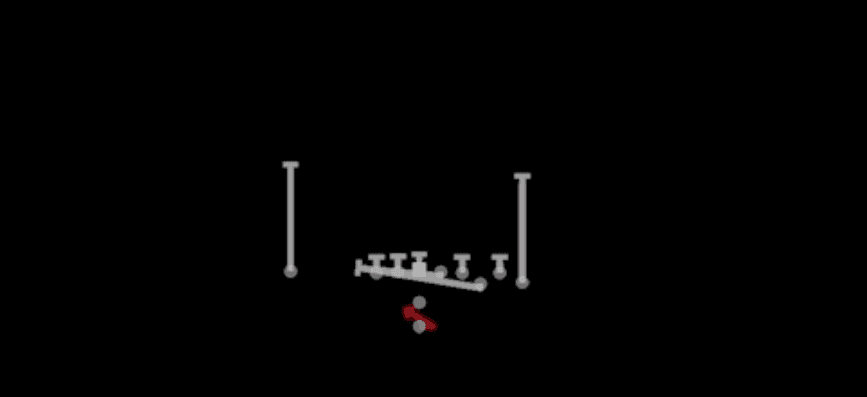
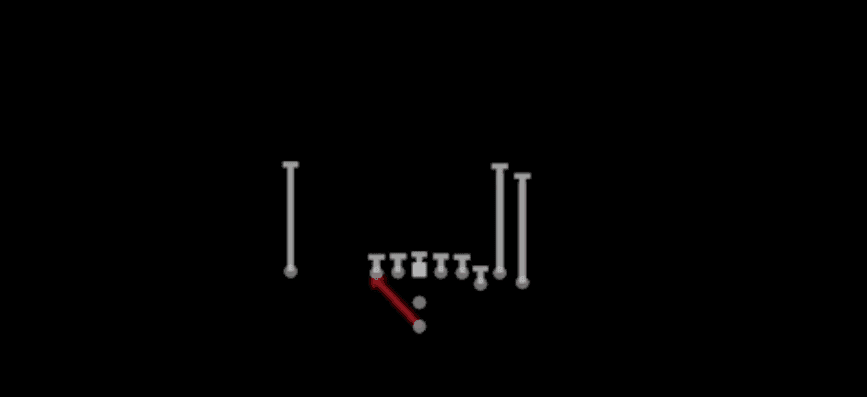
The nasty split is what makes the set work. The tight end is close enough to block down or kick out on HB Zone, HB Zone Wk and HB Counter, and he still threatens a quick release into the flat or seam. Defenses have to account for a run-strength tight end and a three-man bunch at once. That often forces them to kick a safety or overhang defender toward the bunch, which lightens the box for the Pistol run game. The Pistol depth also lets your back read zone flow and hit either side of the formation, which fits Power HB and 3DRB tagged backs.
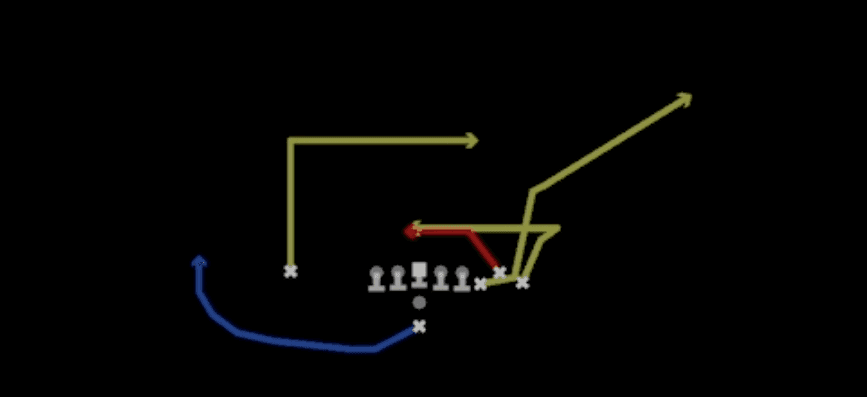
The pass menu leans on classic bunch combos. Corner Out Dig floods three levels. Slant Spacing attacks underneath windows with rub action. Smash Return pairs a high corner with a whip-back underneath route that breaks man leverage. The SLWR tag signals that the slot receiver is the focal point, so put your best route runner or YAC threat on the inside bunch position. The Gadget tag means this set can be a home for trick personnel or position swaps that create mismatches against base defensive personnel.
Strengths
- Bunch alignment creates built-in rubs and picks on Slant Spacing and Smash Return, making this a premier man beater against Cover 1 and Cover 0 looks
- Corner Out Dig puts three vertical levels on one side, stressing Cover 3 buzz and Cover 4 quarters defenders who have to pick between the corner and the dig
- The nasty split tight end gives HB Counter and HB Zone Wk an extra puller or kick-out blocker, so the run game hits hard against light boxes the bunch forces
- Pistol depth lets Power HB and 3DRB backs read zone blocking and cut back, and the same alignment disguises run versus pass until the snap
- Smash Return's whip route breaks off the corner route's traffic, punishing defenders who jump the high shoulder in press or trail technique
Weaknesses
- Compressed bunch spacing lets one user-controlled defender (usually a hook or curl defender) sit in the middle of the combo and take away multiple routes at once
- Bunch-specific coverage checks like Bunch Match or banjo calls pass off the rubs cleanly, which neutralizes Slant Spacing and Smash Return
- Backside pressure from the non-bunch edge is dangerous because protection slides toward the bunch, and nano blitzes off the weak side can beat the Pistol back's pickup
- Only six plays in the set means the tendencies are easy to scout, and opponents who read bunch as pass and nasty as run can guess correctly
- The condensed formation leaves the backside field empty, so there is little isolation outside the numbers once defenders squeeze the bunch
Usage Tips
Pre-snap, check the coverage over the bunch: if defenders are lined up in press man stacked on top of each other, go straight to Slant Spacing or Smash Return for the rub
Against Cover 3 or a single high safety, run Corner Out Dig and read the flat defender: if he sinks with the corner, hit the out, and if he widens, throw the dig behind him
When the defense shifts a safety or linebacker toward the bunch, audible to HB Counter or HB Zone Wk to attack the lightened backside box with the nasty tight end leading
Hot route the tight end to a block or slide protection toward the weak side on third and long if you have seen backside nano pressure earlier in the game
Use this set on third and short and in the red zone, where the bunch rubs and the Power HB run threat make it hard for defenses to commit to one answer