Playbooks

At a Glance
Overview
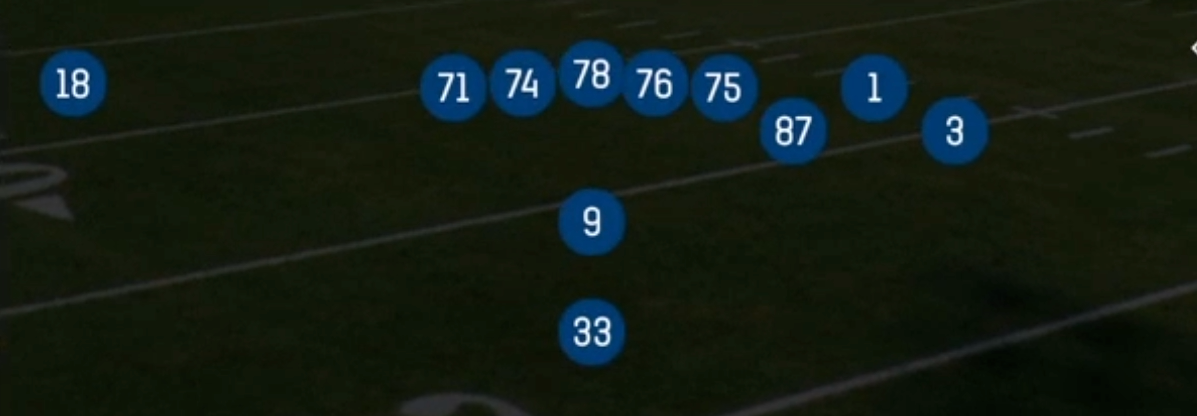
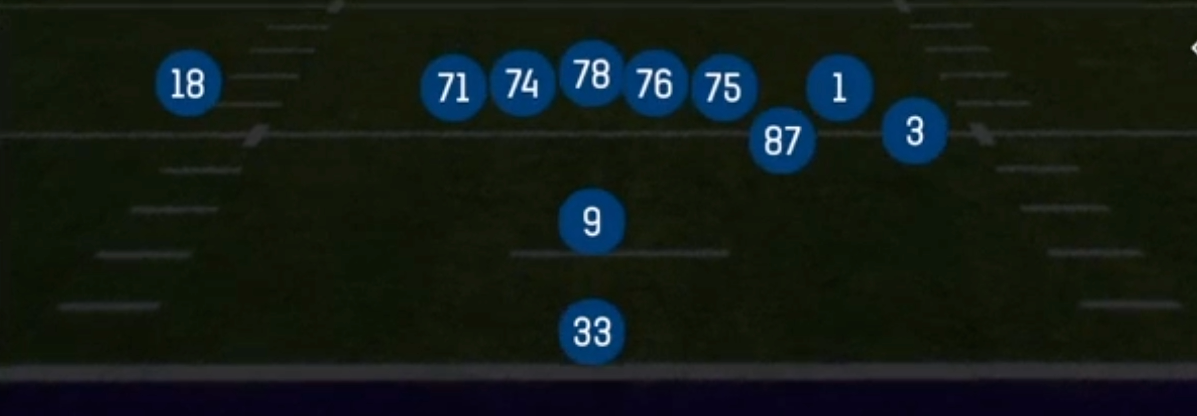
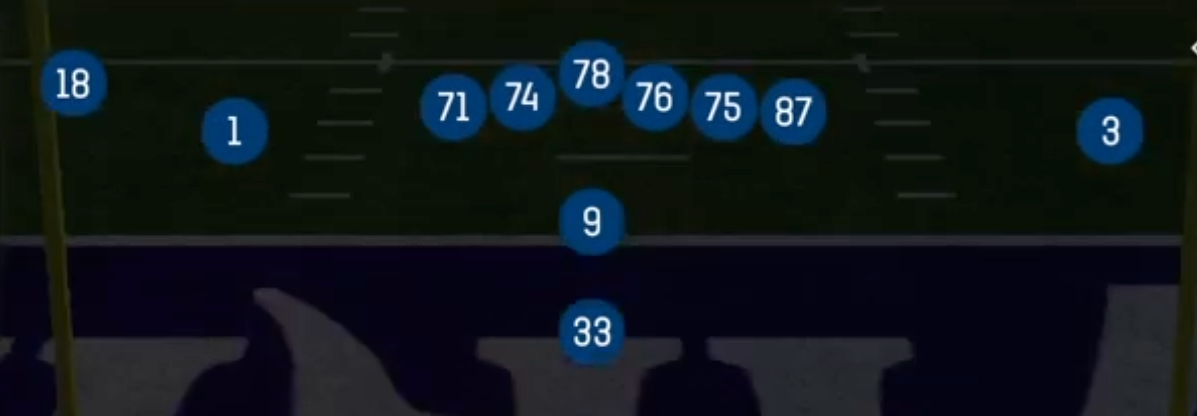
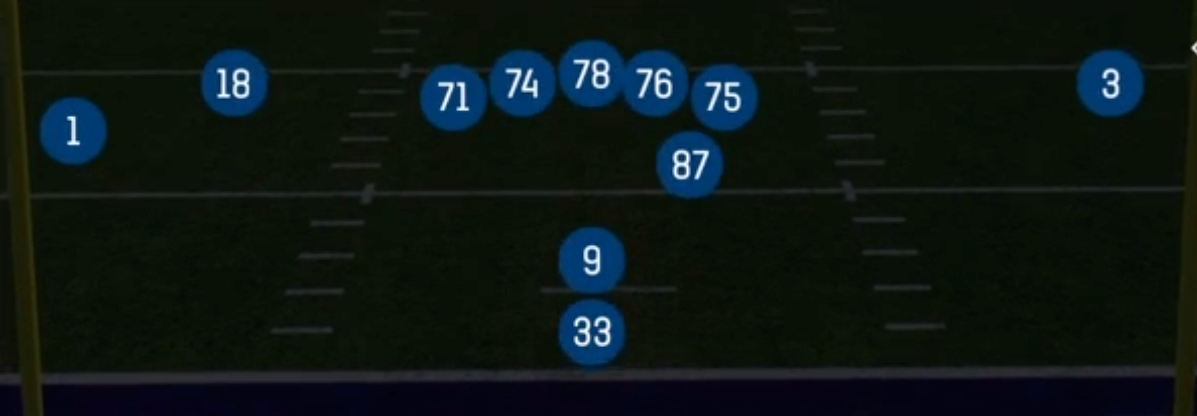
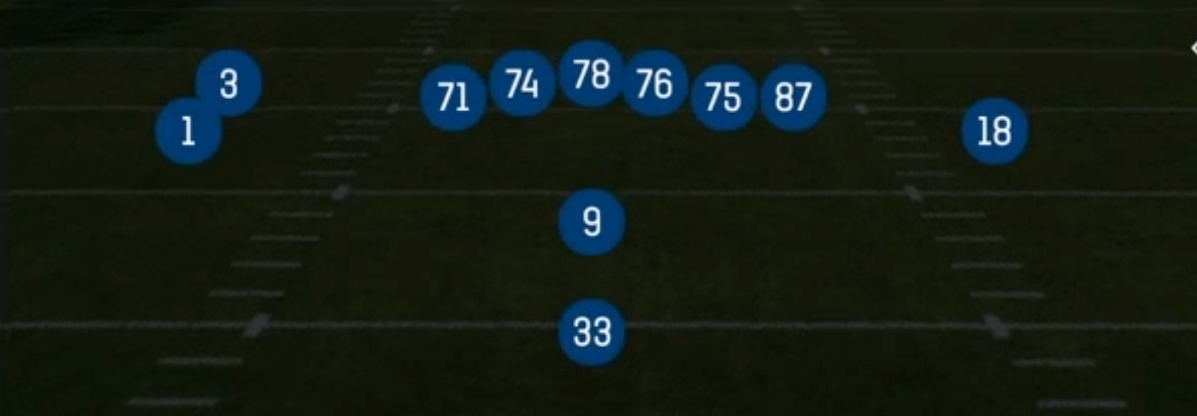
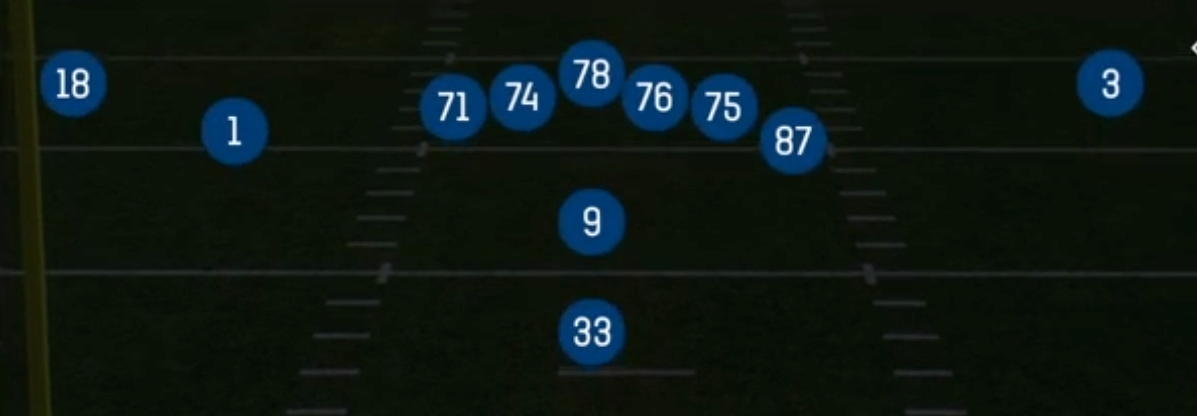
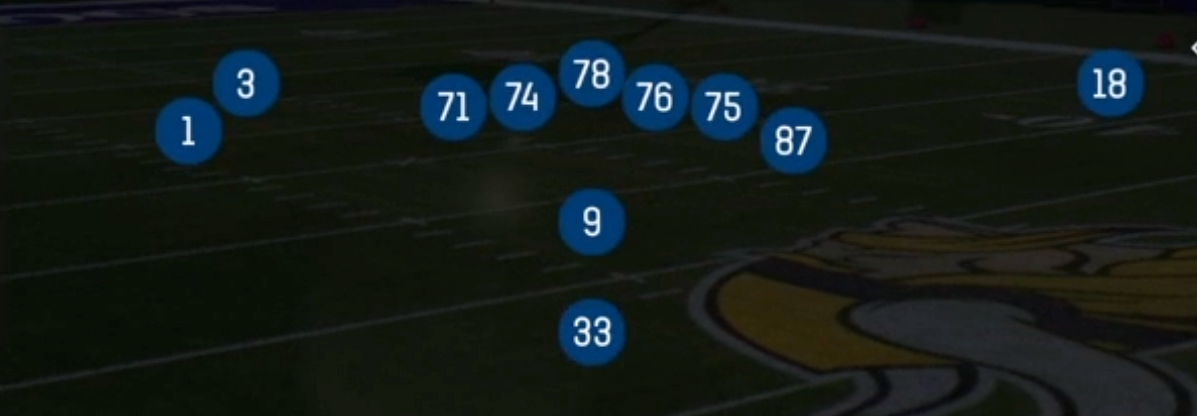
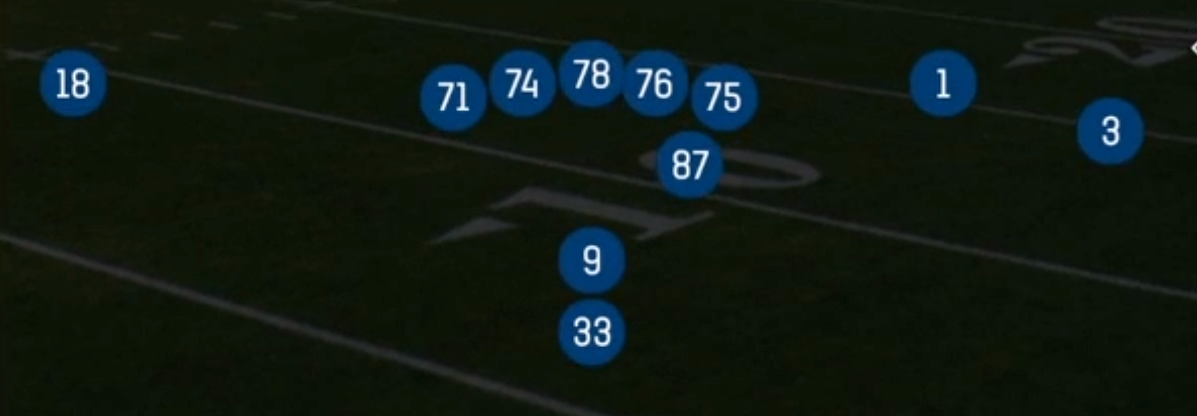
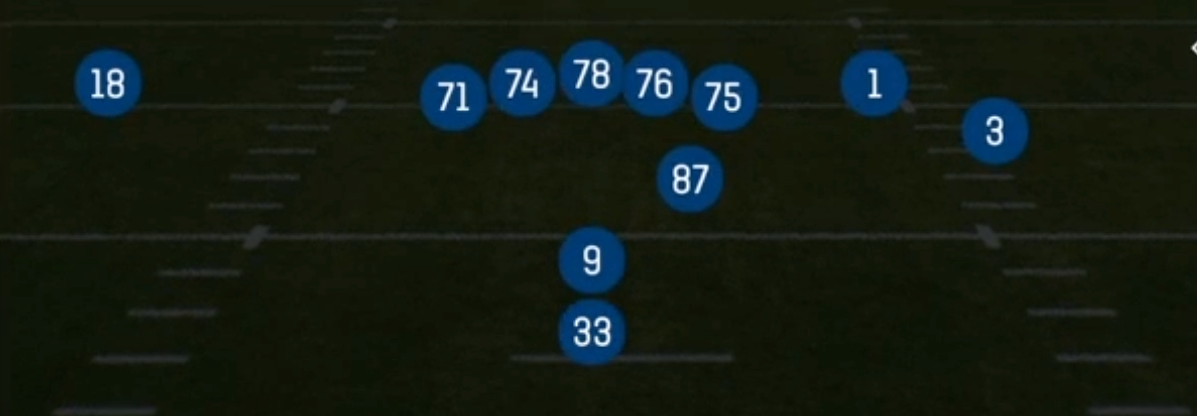
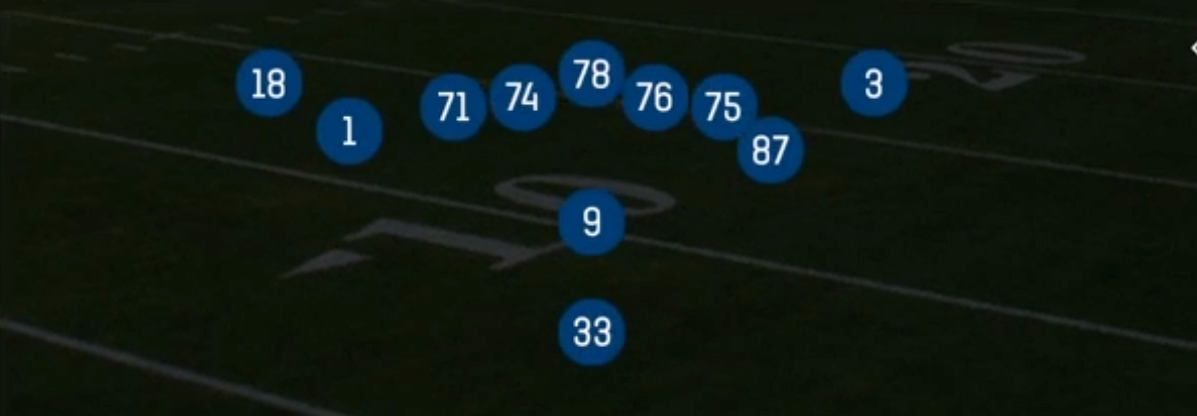
The Bunch TE set in the Pistol formation puts 11 personnel into a compressed three man cluster, with the tight end and two wide receivers stacked tight to one side while a lone receiver is isolated on the backside. The running back aligns directly behind the quarterback in the Pistol alignment. Standard Pistol sets spread receivers across the field. Bunch TE instead condenses the strong side, which creates natural rub and pick action, forces defenders to declare their coverage leverage, and gives the offense a numbers advantage at the point of attack on both runs and quick passes.
The Gadget tag reflects what separates this set from the rest of the formation. Jet Touch Pass, Jet Touch Pass Fk HB, and Fk Jet Inside Zone use jet motion from the bunch to stress edge defenders and linebackers horizontally. Fk Screen and HB Slip Screen punish aggressive pursuit. The downhill Pistol run game (HB Counter, Strong Power, HB Zone, HB Dive, HB Draw) works because the running back gets his read on the move, so the same look can hit inside or bounce outside. Speed Option adds a true option element that forces the edge player to commit.
In the passing game, the bunch creates layered combos like Spot Option, Stick, Flood, and Cross Drag. These give quick answers against both man and zone. The isolated backside receiver becomes a one on one matchup when the defense rotates coverage toward the bunch. That makes Verticals and PA Curls dangerous shot plays for a WR1 who wins against press. The tight end at the point or wing of the bunch creates mismatches against linebackers and safeties who have to fight through traffic to carry him.
Strengths
- The compressed bunch creates natural rubs on Spot Option, Stick, and Cross Drag, which makes it one of the most reliable man beater looks in the Pistol because defenders get picked trying to trail through traffic.
- Jet motion on Jet Touch Pass, Jet Touch Pass Fk HB, and Fk Jet Inside Zone freezes linebackers and pulls user defenders out of the middle, so the fake pairs set up easy cutback lanes and constraint plays.
- Flood and Spot Option high low the flat and curl defenders against Cover 3 and Cover 2 zones, with the corner route sitting behind the flat defender for a clean zone beater read.
- The Pistol run game gives a full downhill menu from one look (HB Counter, Strong Power, HB Zone, HB Dive), and the bunch side adds extra blockers at the edge, so defenses cannot sell out against the pass.
- The isolated backside receiver draws one on one coverage when safeties rotate toward the bunch, so Verticals and PA Curls become strong shot plays against single high looks.
Weaknesses
- The bunch compresses the field, so pressed or banjo coverage with a Cover 2 Man or Cover 4 look can clog releases and blow up timing on Stick and Spot Option.
- Overload blitzes and nano pressure from the backside edge go after the single tight end protection, especially on PA Curls and Verticals where the quarterback turns his back on play action.
- A user controlled linebacker or robber safety sitting in the short middle can undercut Cross Drag and the jet touch passes, which kills the quick game identity of the set.
- The gadget plays are tendency heavy. Once opponents see jet motion, they can shift linebackers to the motion side, set contain on the edge, and blow up screens with edge rushers and spies.
- With only one isolated receiver on the backside, defenses can bracket or cloud that side and force every read into the congested bunch, which limits big play options against two high shells.
Usage Tips
Before the snap, read the defenders over the bunch: off coverage and deep zone alignment signals Flood or Spot Option, while pressed defenders with no deep help signals Cross Drag or Stick to work the rub.
On early downs, open with Strong Power or HB Counter to establish the run. Once linebackers start triggering downhill, hit PA Curls or Fk Jet Inside Zone out of the same look to punish the overcommit.
When a user defender is shading the middle, audible to Speed Option or Jet Touch Pass to attack the perimeter, or hot route the bunch tight end to a quick out to pull him away from the hook zone.
On 3rd and short, lean on Stick for a quick completion. On 3rd and medium, Spot Option gives you a snag, flat, and corner triangle that covers most coverage shells in one read.
Check the backside matchup every snap. If the safety rotates toward the bunch and leaves your WR1 alone against a corner, audible to Verticals or hot route that receiver to a fade or slant for a one on one shot.
Plays (18)
 Cross DragDrag, Pass Play, Crosser +3
 Fk Jet Inside ZoneInside Zone, Motion, Zone Run +1
 Fk ScreenPlay Action, Screen Pass, Pass Play +5
 FloodFlood, Pass Play, Cover 3 Beater +5
 HB CounterCounter, Run Play, Power Run
 HB DiveDive, Run Play
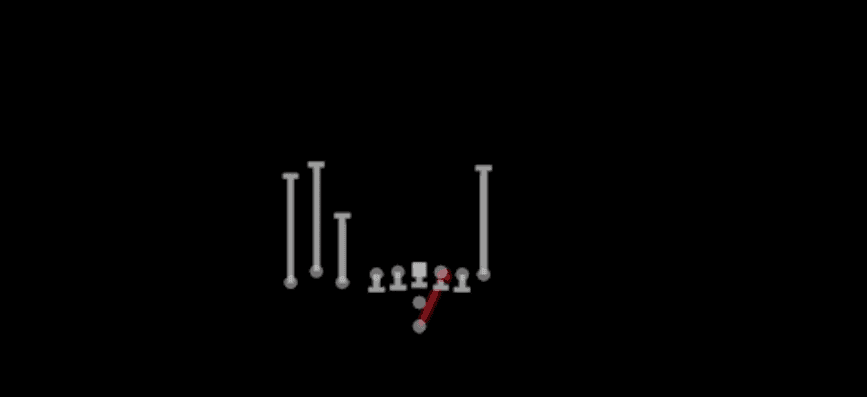 HB DrawDraw, Run Play
 HB Slip ScreenScreen Pass, Hb Screen, Pass Play +4
 HB ZoneInside Zone, Run Play, Zone Run
 Jet Touch PassMotion, Run Play
 Jet Touch Pass Fk HBMotion, Run Play
 PA CurlsPlay Action, Pass Play, Curl +2
 Speed OptionSpeed Option, Run Play
 Spot OptionOption Route, Spot, Pass Play +4
 StickStick, Stick Concept, Pass Play +3
 Strong PowerPower, Run Play, Power Run
 VerticalsFour Verts, Pass Play, Cover 2 Beater +7
 WR ScreenScreen Pass, Wr Screen, Pass Play +1