Playbooks

At a Glance
Overview
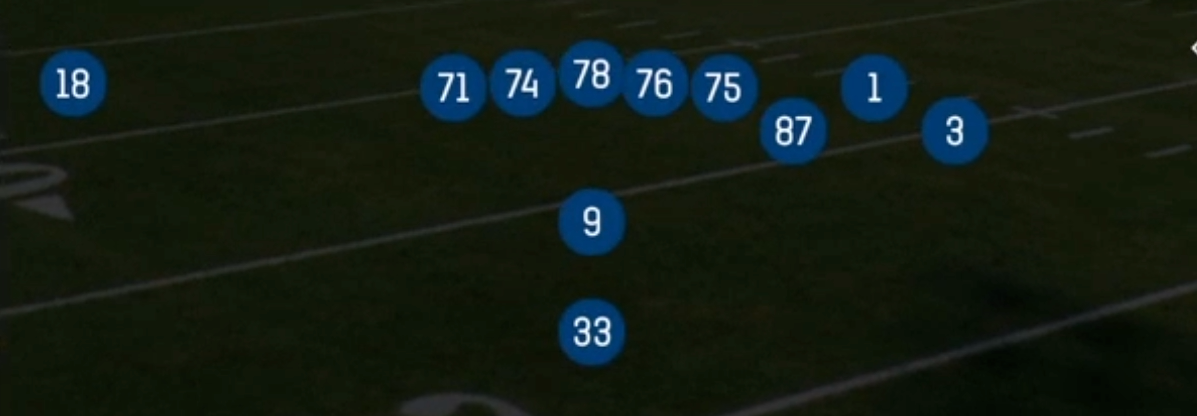
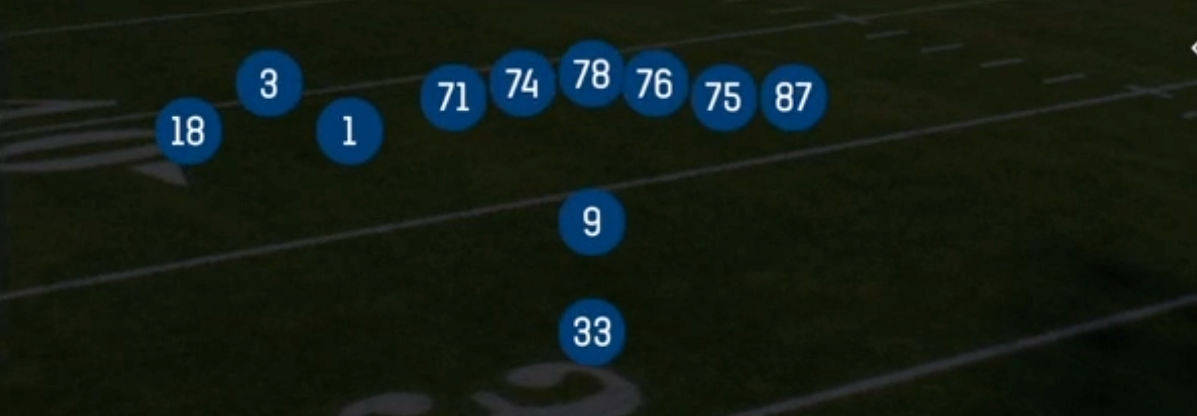
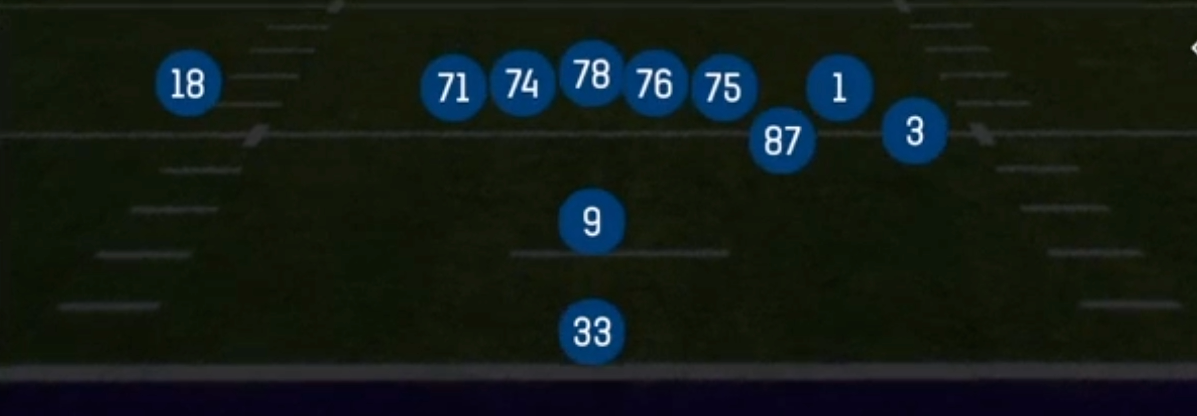
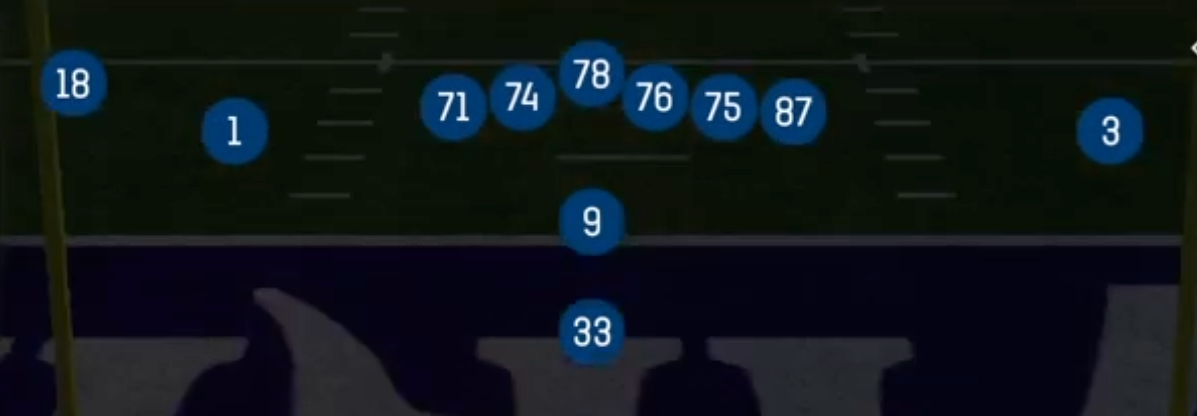
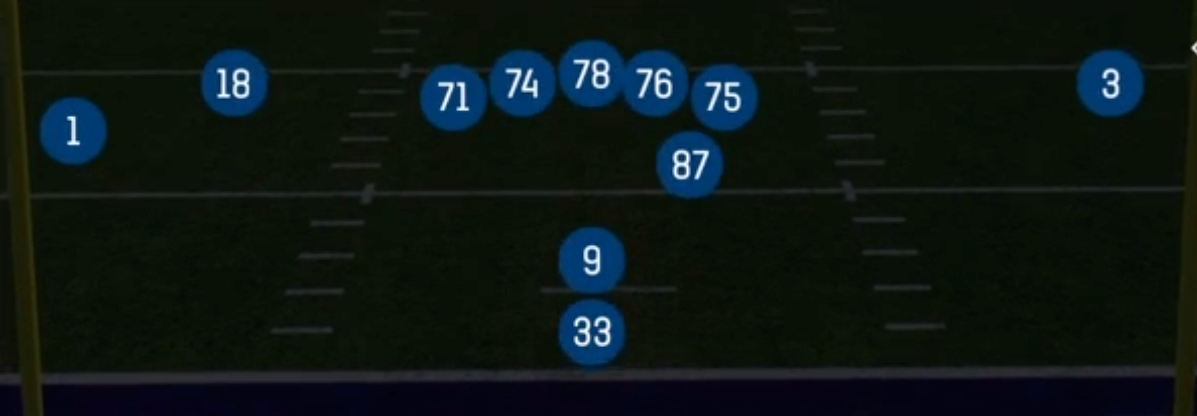
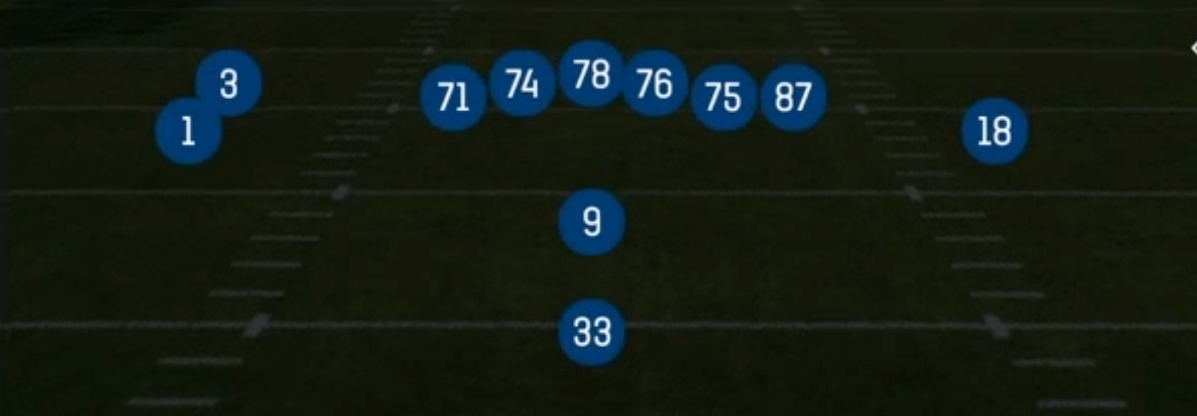
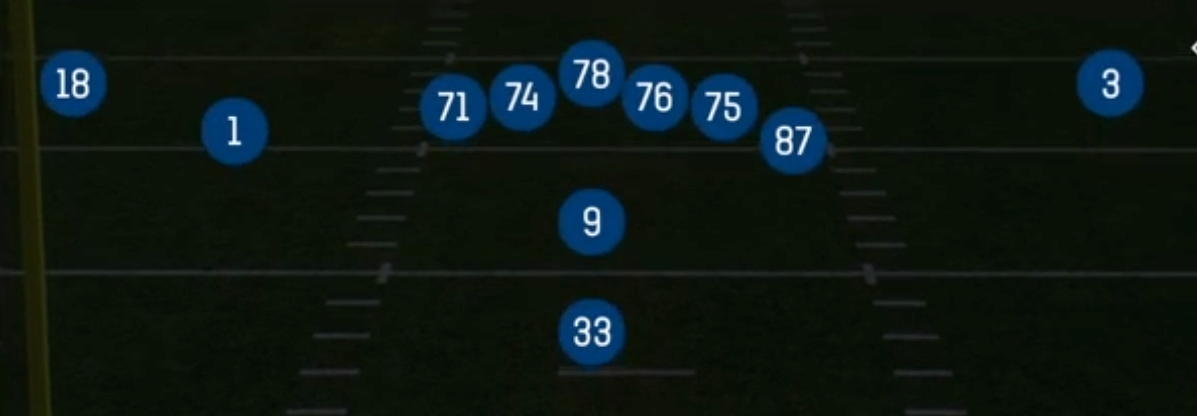
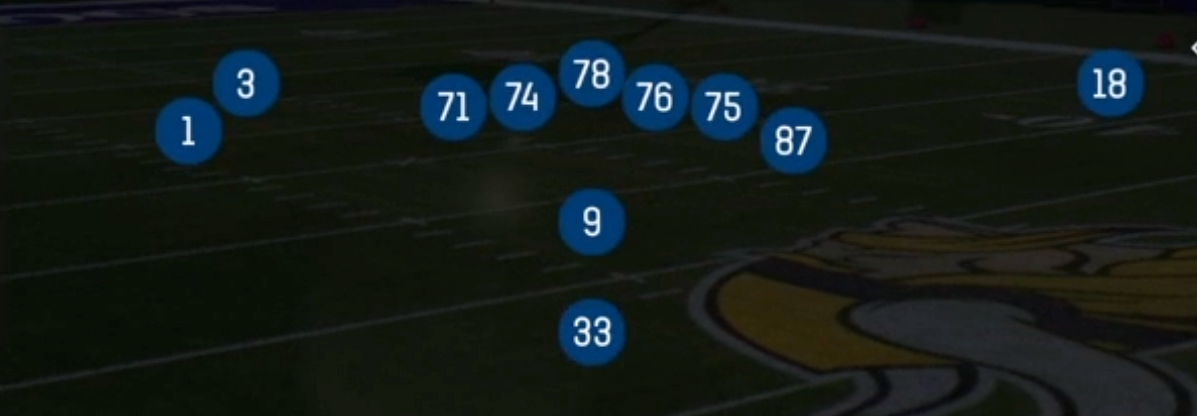
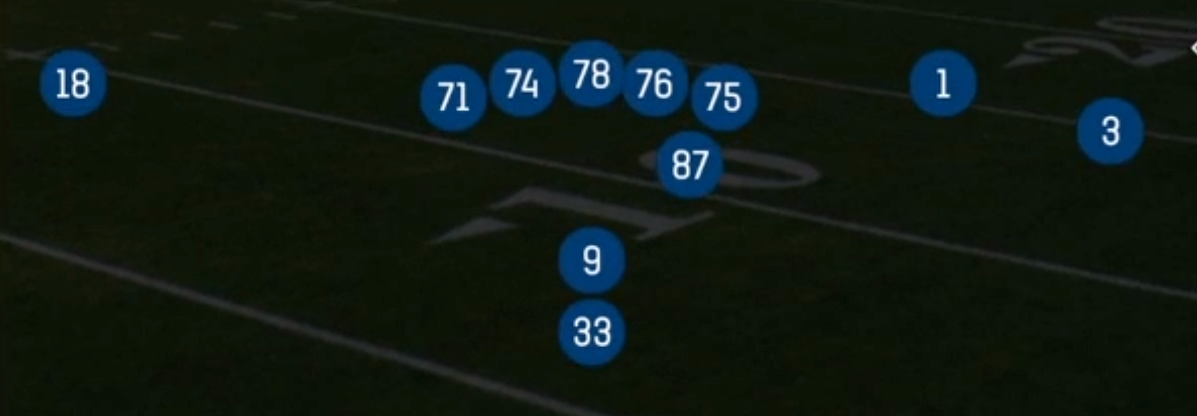
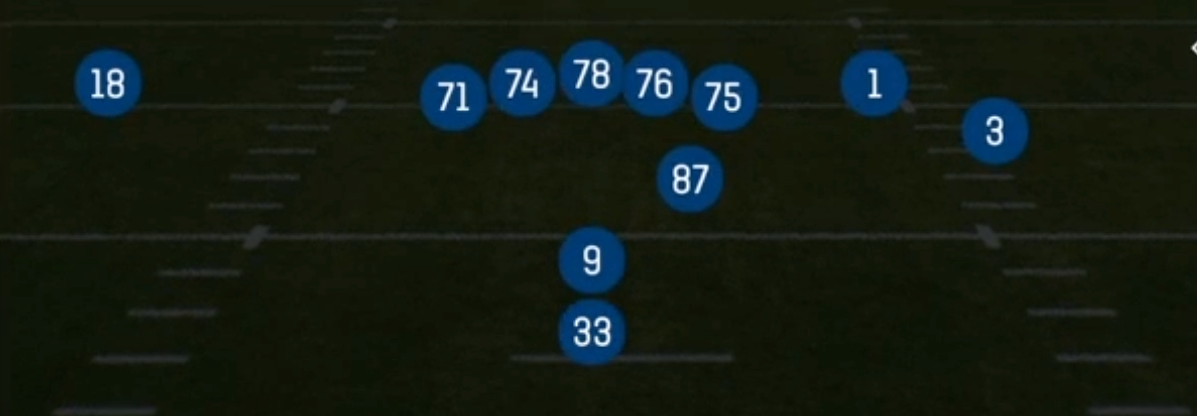
Pistol Tight Slots is a compressed 11 personnel look. The quarterback sits in the short pistol alignment with the halfback directly behind him, the tight end is attached to the core, and the slot receivers align with reduced splits just outside the tackles. Standard Pistol sets spread defenders horizontally. Tight Slots condenses the formation so defenders are forced inside the numbers, which opens huge grass to the sideline for outbreaking routes and releases like wheels, bench cuts, and outs. The tight alignment also creates natural bunch and stack relationships without true bunch spacing, so press defenders struggle to get clean hands on slot receivers.
The set's Gadget and SLWR tags matter. Tight Slots is built around getting your best slot receiver free off the line with switch releases and rub concepts. Bench Switch, Wheel Switch, and Mesh use crossing releases that pick man defenders and create natural traffic, while Stick Spacing and WR Stick N Out give you quick triangle reads against zone. Because the slots start close to the ball, a shifty slot receiver can win inside leverage on a linebacker or safety instead of a boundary corner, which is where this set generates its biggest matchup advantages.
The pistol backfield keeps the run game fully alive. HB Zone, Inside Zone Split, HB Dive, HB Draw, and Counter Y give you downhill and misdirection runs with an extra blocker sealing the edge on Counter Y and Inside Zone Split. When the defense tightens up to stop the run against condensed splits, PA Post Shot and HB Slip Screen punish overaggressive fronts and safeties who creep into the box.
Strengths
- Switch releases on Bench Switch and Wheel Switch create natural rubs that shred Cover 1 and Cover 0, especially when the defender playing the inside receiver trails over the top of the crossing release
- Compressed splits leave huge sideline grass against Cover 3 and Cover 4, so Bench and outbreaking stick routes attack the flat and curl zones before hook defenders can widen
- Mesh from tight alignment builds instant traffic over the middle, giving you a reliable man beater, and a drag can be hot routed into a slant to beat inside leverage
- A balanced run menu of HB Zone, Inside Zone Split, HB Dive, HB Draw, and Counter Y from the pistol keeps light boxes honest and sets up PA Post Shot against safeties biting on run action
- Stick Spacing and WR Stick N Out provide quick triangle reads that beat zone blitzes and Cover 2 with a fast release, reducing sack risk
Weaknesses
- Condensed alignments invite heat off the edge and nano blitzes because the slots cannot easily chip or leak out, so unblocked rushers often reach the quarterback before switch concepts develop
- A user controlled linebacker or safety sitting in the middle hook can undercut Mesh crossers and stick routes, since all tight splits funnel routes through the same shallow window
- Cover 2 Man with physical press on the slots disrupts switch release timing, and trailing underneath with safety help over the top takes away wheels and posts
- The set is limited to 13 plays with few deep vertical concepts beyond PA Post Shot, so opponents who play two high shells and rally downhill can cap your big play potential
- Opponents can key your tendencies because the run and pass looks are identical, but once they see you favor switch concepts they will sit in match coverage and bracket your top slot receiver
Usage Tips
Read the slot defenders pre snap: if they line up in press or head up with no depth, call Bench Switch or Wheel Switch for a rub, and if they sit off at depth, go Stick Spacing or WR Stick N Out for quick completions
On third and short, Mesh with the running back hot routed to a flat is one of the safest conversions in the set against both man and zone, and you can throw the first open crosser
Against loaded boxes, audible to HB Slip Screen or PA Post Shot to punish blitzers and safeties who fill the alley on run keys, and slide protection toward the pressure side before the snap
Use HB Zone and Inside Zone Split early to establish a light box read, then flip to Counter Y when backside linebackers overpursue the zone flow
In the red zone, the tight splits naturally compress routes, so lean on Bench and Bench Switch to attack the pylon while defenders are packed inside
Plays (13)
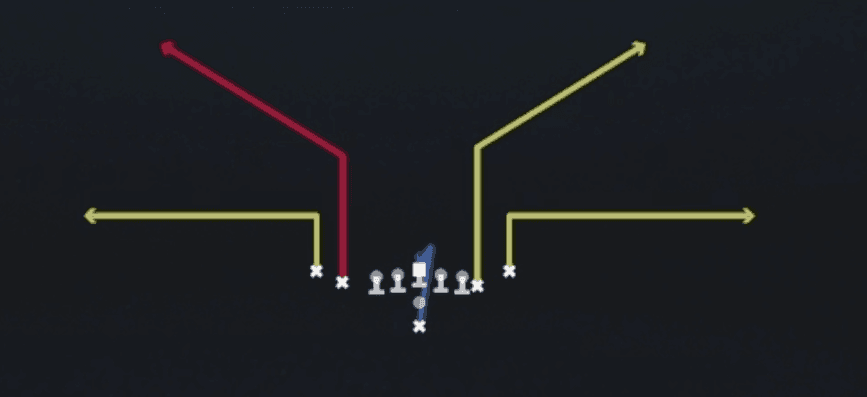 BenchBench, Pass Play, Block and Release +2
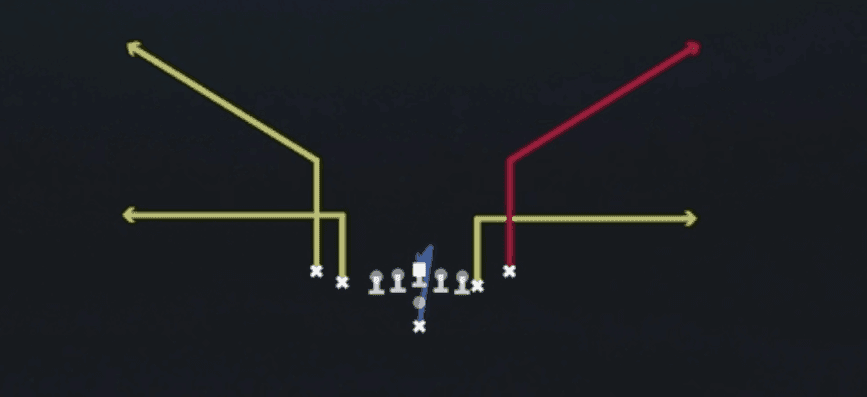 Bench SwitchBench, Pass Play, Block and Release +2
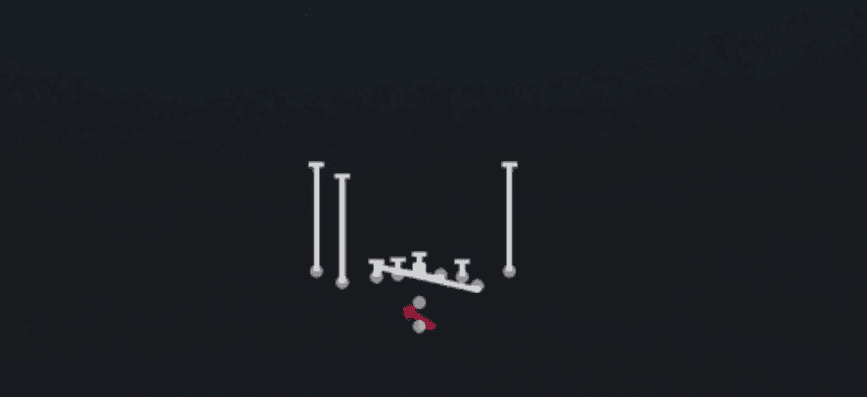 Counter YCounter, Run Play, Power Run
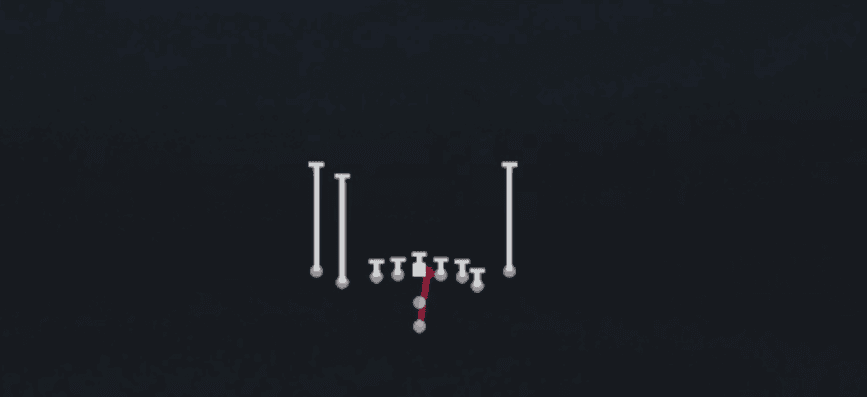 HB DiveDive, Run Play
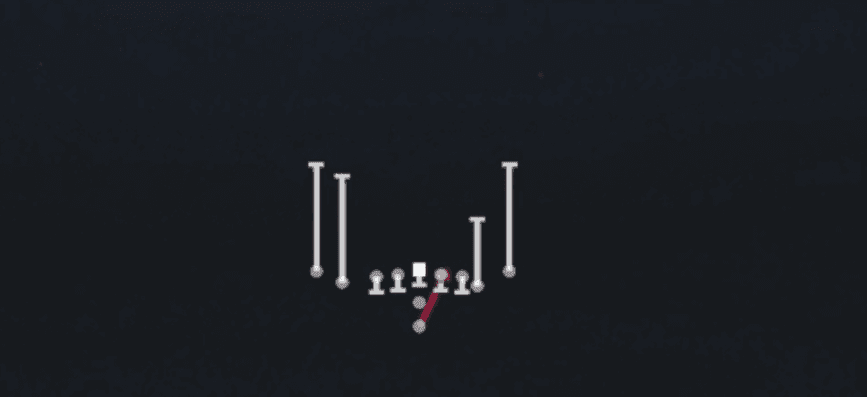 HB DrawDraw, Run Play
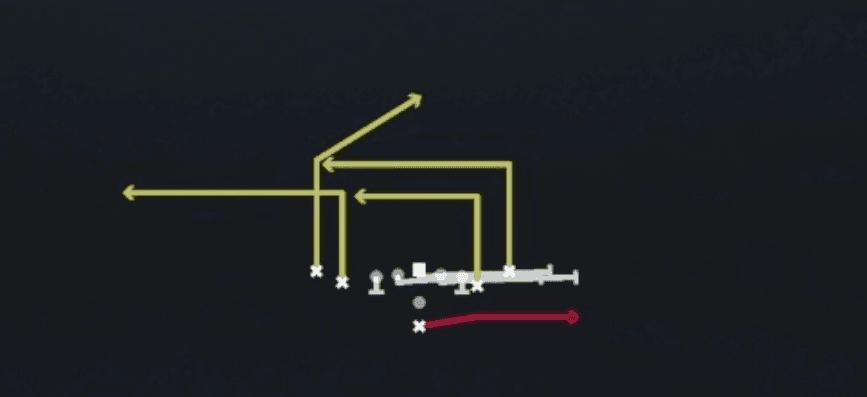 HB Slip ScreenScreen Pass, Hb Screen, Pass Play +3
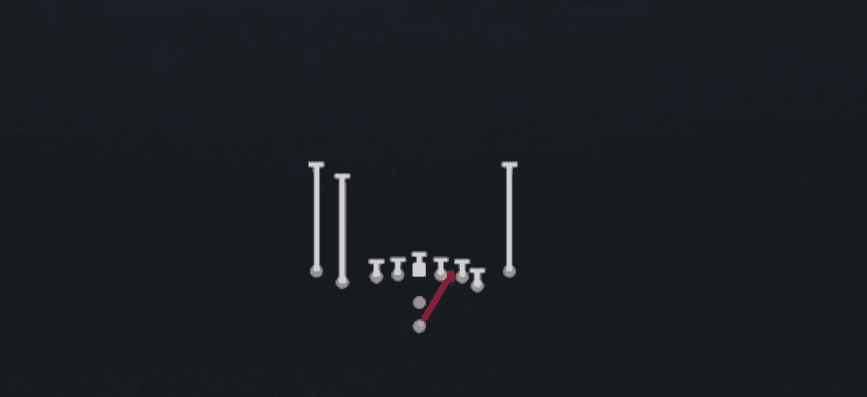 HB ZoneInside Zone, Run Play, Zone Run
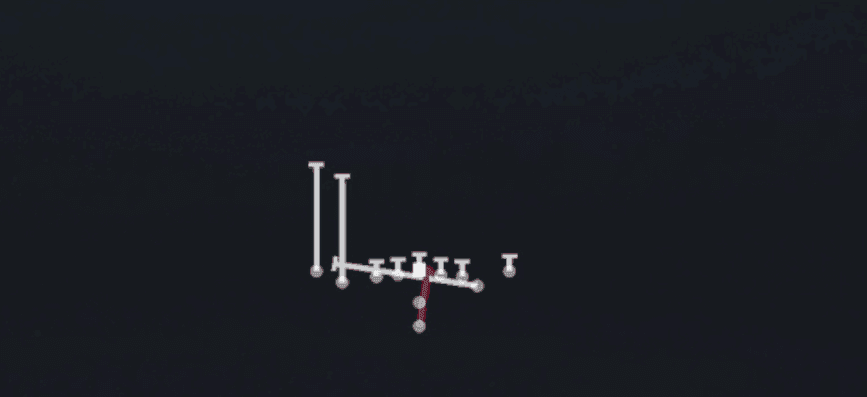 Inside Zone SplitInside Zone, Run Play, Zone Run
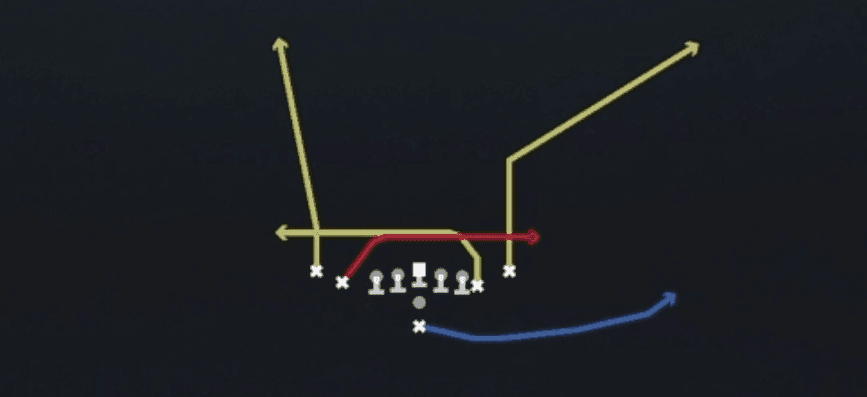 MeshMesh, Pass Play, Man Beater +5
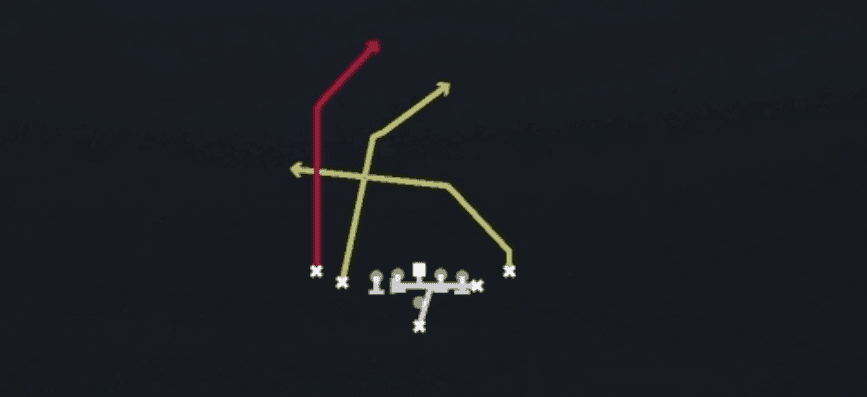 PA Post ShotPlay Action, Post, Pass Play +2
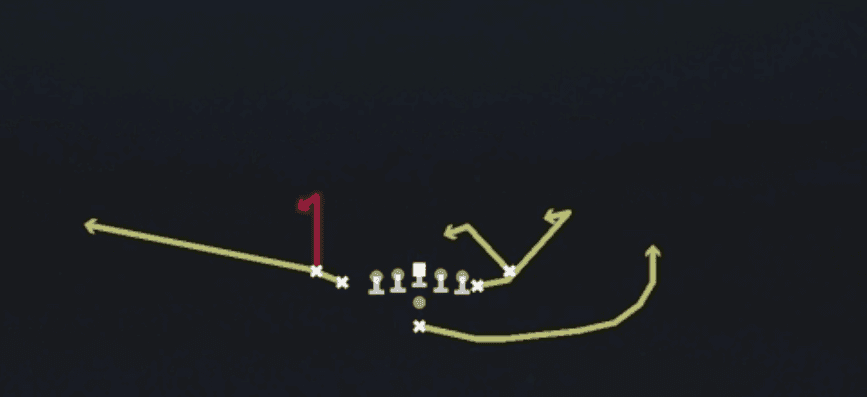 Stick SpacingStick, Spacing, Stick Concept +7
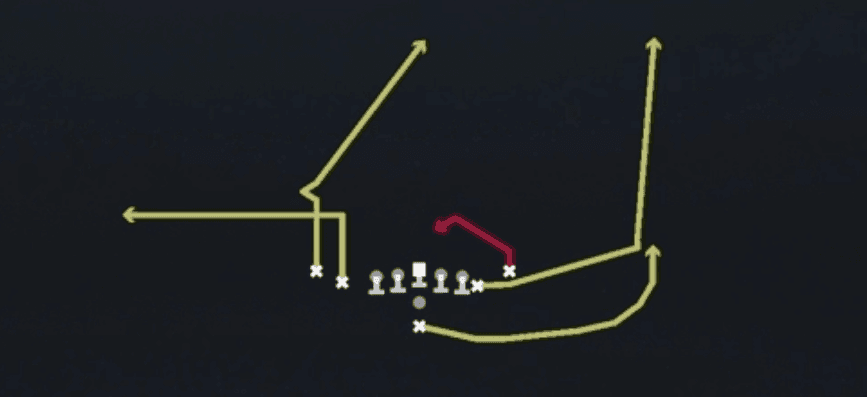 Wheel SwitchWheel, Pass Play, Post Corner +2
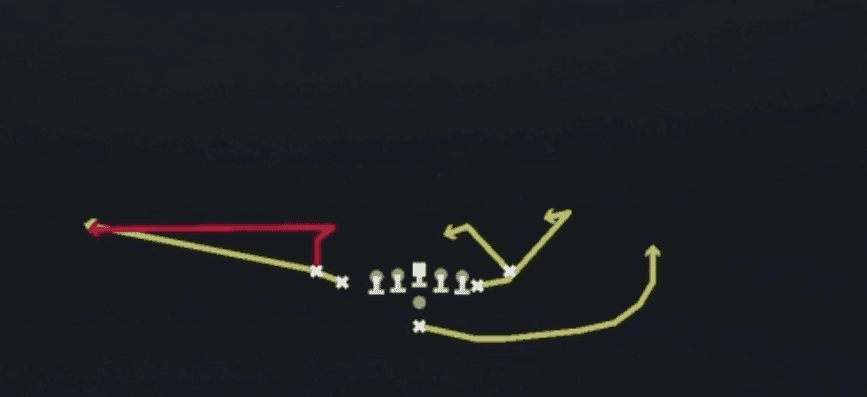 WR Stick N OutStick, Stick Concept, Pass Play +4