Playbooks

At a Glance
In 17 playbooks
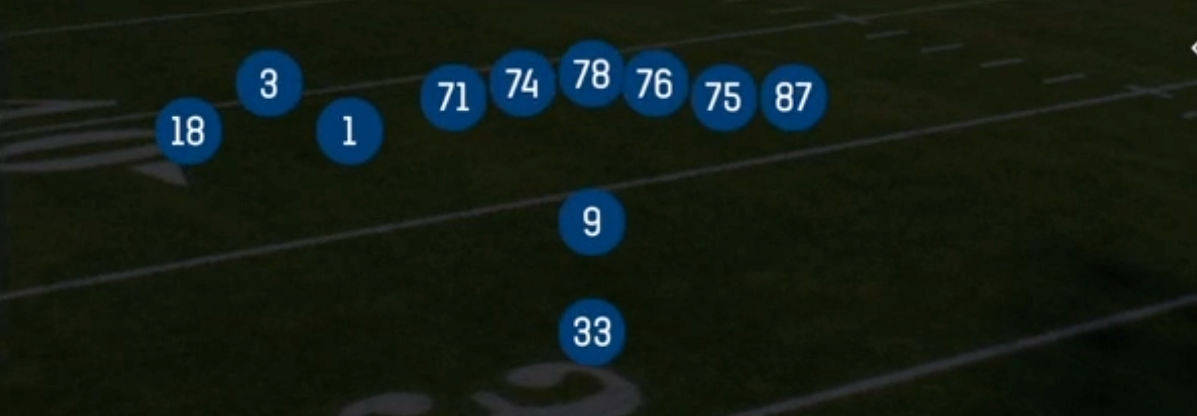
Overview
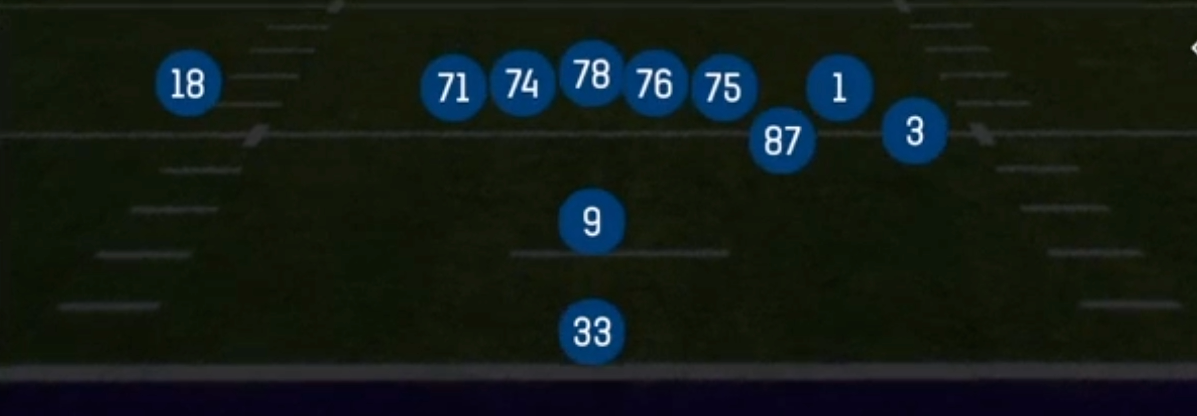
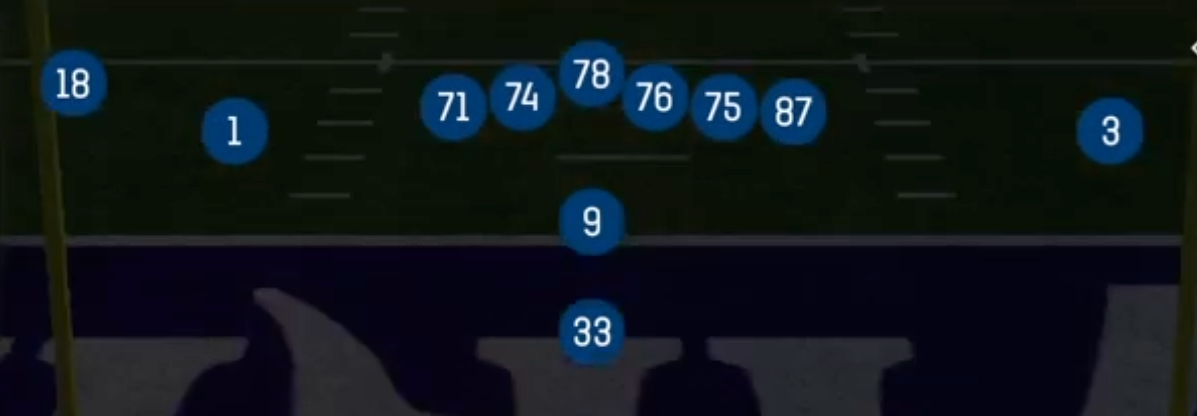
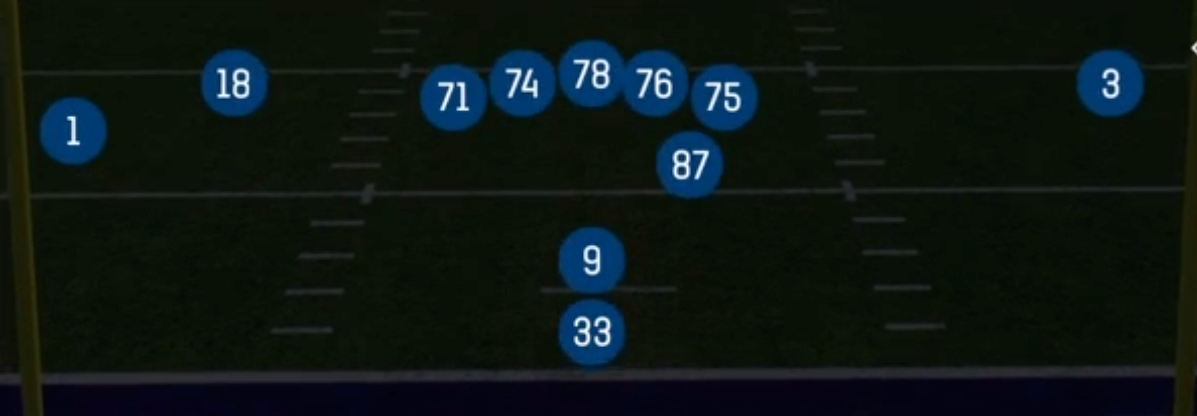
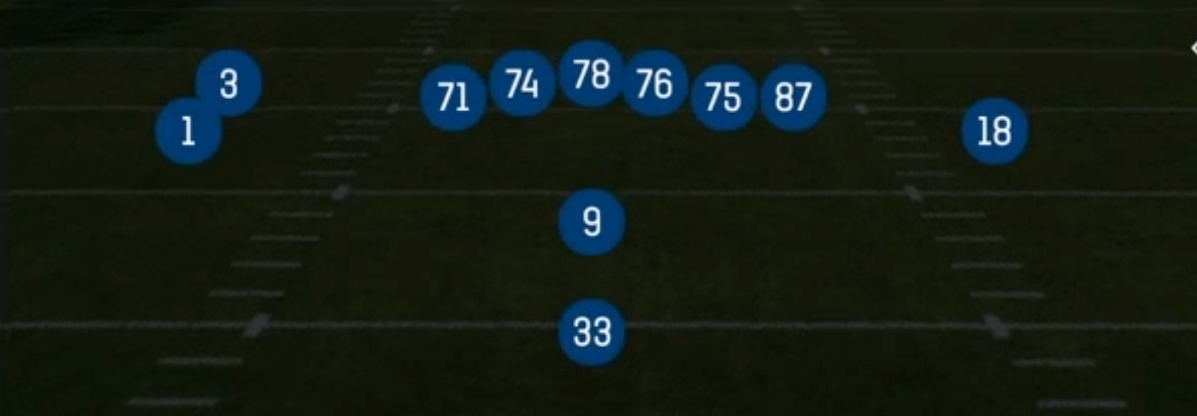
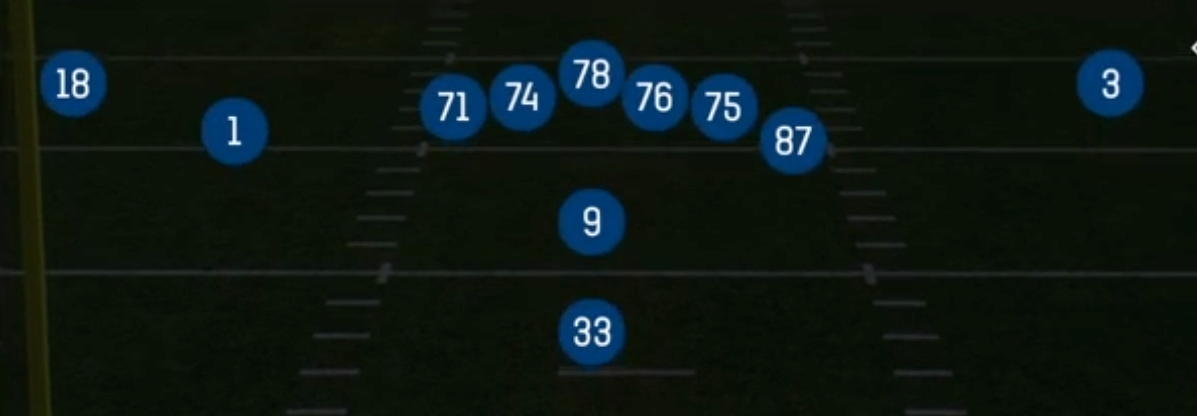
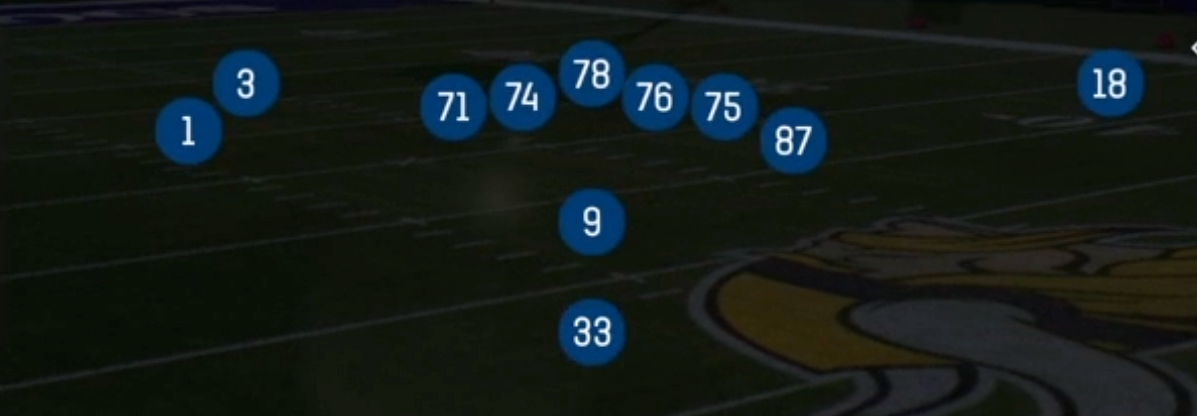
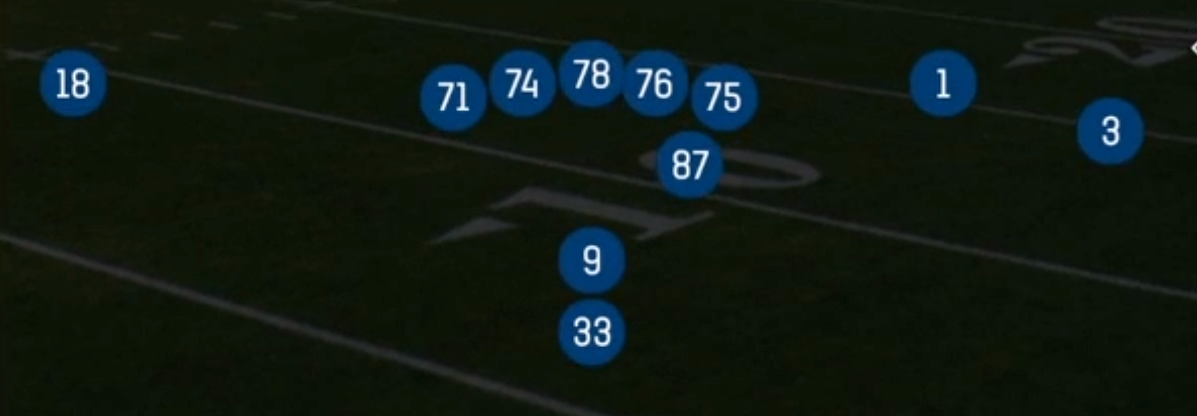
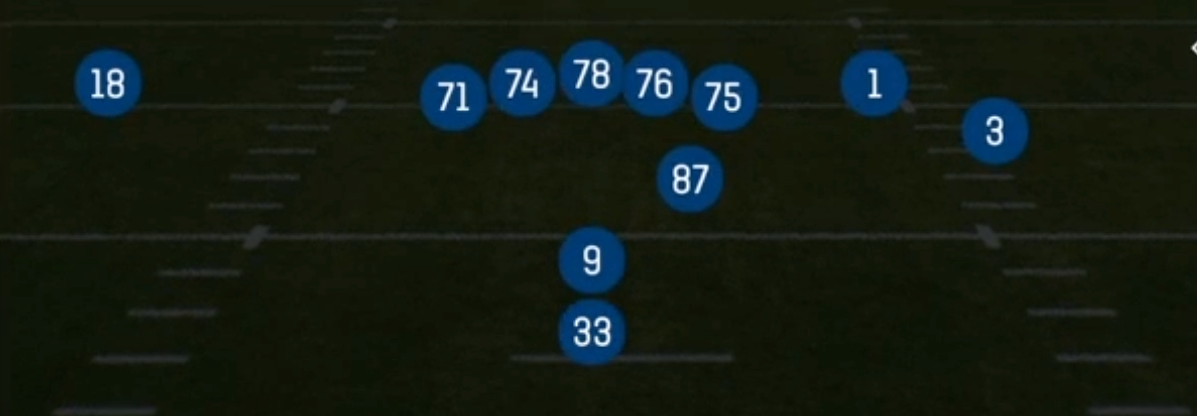
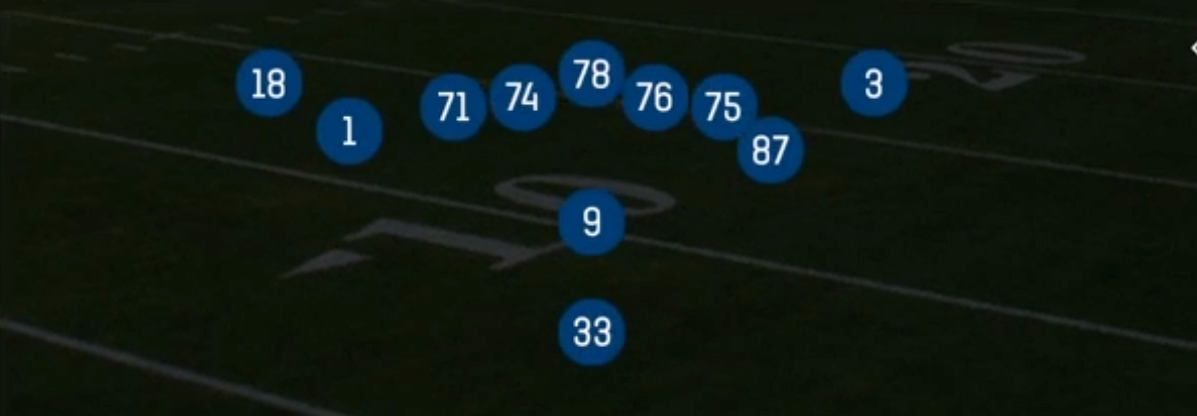
Pistol Bunch pairs the downhill run game of the Pistol backfield with a compressed three-man cluster to one side and an isolated single receiver backside. The RB aligns directly behind the QB at pistol depth, so the defense gets no pre-snap tell on run direction. The tight bunch creates natural stacks and picks that wide or spread sets in the formation cannot. Pistol Doubles and Pistol Trips stretch the field horizontally. Bunch does the opposite: it condenses the strong side, forcing defenders to declare leverage and communicate switches, which is where Madden coverage AI and user-controlled defenders break down.
Out of 11 personnel, the set gives you three pass catchers who can release off the line at different depths, plus a tight end who can block or leak into the flat. Because the cluster occupies so much of the strong side, the backside receiver often gets a one-on-one with the boundary corner and no safety help. That makes concepts like Flanker Drive, PA Deep In, and the backside dig in Seattle dangerous whenever the defense rolls coverage toward the bunch. The personnel package also keeps a legitimate run threat on the field, so linebackers cannot drop freely.
The Gadget tag reflects how much movement and misdirection this set carries. You get Dbl Mtn, Dash, and Hop motion variations, RPOs like Mtn RPO Read Y Slide and RPO Alert Zone Hitch, read options, and play-action boots. The quick game is covered by Curl Flat, Spacing, Mesh, and Slant Spacing, while HB Duo, Inside Zone Split, HB Counter, and Mtn Wide Zone give you a full run menu from an identical look. Few sets let you run pick concepts, zone-read RPOs, and gap runs without changing the pre-snap picture.
Strengths
- Natural rub and pick action from the compressed alignment makes Mesh, Mesh Slot Corner, and Slant Spacing elite man beaters, especially against Cover 1 and Cover 0 where defenders get caught in traffic trailing crossers.
- Spacing, Curl Flat, and Corner Strike flood the underside of Cover 3 and Cover 4 with high-low and horizontal stretches, giving you quick reads that punish hook and curl defenders who cannot cover two zones at once.
- The isolated backside receiver draws single coverage when defenses shade toward the bunch, so Flanker Drive, PA Deep In, and Seattle let you attack a lone corner with a dig or post while the cluster holds the safety.
- Motion variants like Dbl Mtn Duo Wrap, Dash Flood, and Hop Split Zone force defenses to adjust on the fly, often breaking man assignments or exposing a zone rotation before the snap so you can confirm coverage.
- The pistol backfield combined with RPOs such as Mtn RPO Read Y Slide and RPO Alert Zone Hitch lets you put a conflict defender in a bind, handing off against light boxes and throwing quick routes when linebackers crash the run.
Weaknesses
- The compressed bunch removes horizontal width, so a single user-controlled linebacker or robber sitting in the middle can take away Mesh crossers and the Spacing sit route without much effort.
- Pressure off the backside edge is a real problem because the lone receiver offers no quick hot outlet, and the RB is often tied up in play-action or read-option mesh when a nano blitz arrives off the weak side.
- Defenses that press the bunch with a Banjo or bracket style look, or simply stack defenders over the cluster, can jam releases and destroy the timing of the rub routes.
- Many motion plays take time to develop, and opponents who read the Dbl Mtn or Hop tendency can shift their coverage late or blitz into the motion side before the QB finishes the drop.
- With only one tight end, the run game can struggle against heavy fronts, and wide zone concepts like Mtn Wide Zone lose effectiveness when a defense plays an overload box with a spy linebacker patrolling the edge.
Usage Tips
Read the safety shell pre-snap: if you see one high safety with the corners pressing, check to Mesh or Slant Spacing for a man beater, and against two high or soft Cover 3 check to Spacing or Curl Flat to work the flats and hook zones.
Use motion as a coverage read, sending the Dash or Hop motion across the formation and watching whether a defender follows (man) or the zone bumps over, then pick the side of your route combo that the coverage leaves thin.
On 3rd and short, Mtn RPO Read Y Slide and RPO Alert Zone Hitch are high percentage calls because the quick hitch or slide route punishes crashing linebackers while the handoff punishes soft boxes.
Pair early run calls like HB Duo, Inside Zone Split, and HB Counter with the matching play-action looks such as PA Boot Slide, Hop PA Boot Slide, and PA Cross so defenders bite on the run key before your boot or deep crosser opens up.
When defenses start overloading the bunch side, hot route the backside receiver to a slant or streak, or call Flanker Drive and PA Deep In to exploit the isolated corner with no inside safety help.
Plays (37)
 Corner StrikeCorner, Pass Play, Flat
 Curl FlatFlat, Curl, Curl Flat +6
- Dash FloodCorner, Deep Cross, Crosser +3
- Dash Slot CornerCorner, Block and Release, Deep Cross +3
- Dash WR LeakDrag, Crosser, Flat +2
 Dbl Mtn Duo WrapDuo, Motion, Run Play +1
 Dbl Mtn HB StretchOutside Zone, Motion, Run Play +1
 Dbl Mtn PA StretchPlay Action, Motion, Pass Play +5
 Flanker DriveDrive, Pass Play, Cover 4 Beater +6
 HB CounterCounter, Run Play, Power Run
- HB DiveRun Play
 HB DiveDive, Run Play
 HB DrawDraw, Run Play
- HB DuoRun Play
 HB SlamDive, Run Play
 HB Slip ScreenScreen Pass, Hb Screen, Pass Play +4
- Hop PA Boot SlideCorner, Deep Cross, Crosser +4
- Hop Split ZoneRun Play
- Hop Zone WkRun Play
 Inside Zone SplitInside Zone, Run Play, Zone Run
- Lead Swing CurlsCurl, Swing, Post +1
- MeshOption Route, Post, Swing +2
- Mesh Slot CornerCorner, Curl, Option Route +2
- Mtn PA SlideDeep Cross, Crosser, Post +6
- Mtn RPO Read Y SlidePost, Flat, Wheel +2
- Mtn Wide ZoneRun Play
 PA Boot SlidePlay Action, Slide, Pass Play +4
- PA CrossCrosser, Block and Release, Deep Cross +5
 PA Deep InPlay Action, Pass Play, Post +4
 PA Pin DeepPlay Action, Pass Play, Comeback +4
 Read Option WkRead Option, Run Play
- RPO Alert Zone HitchHitch, Pass Play, Run Play
 SeattlePass Play, Four Verts, Go +9
 Slant SpacingSlant, Spacing, Pass Play +5
 SpacingSpacing, Pass Play, Cover 3 Beater +5
 TE AngleAngle, Pass Play, Out +4
- Wide ZoneRun Play