Playbooks
Quick Reference
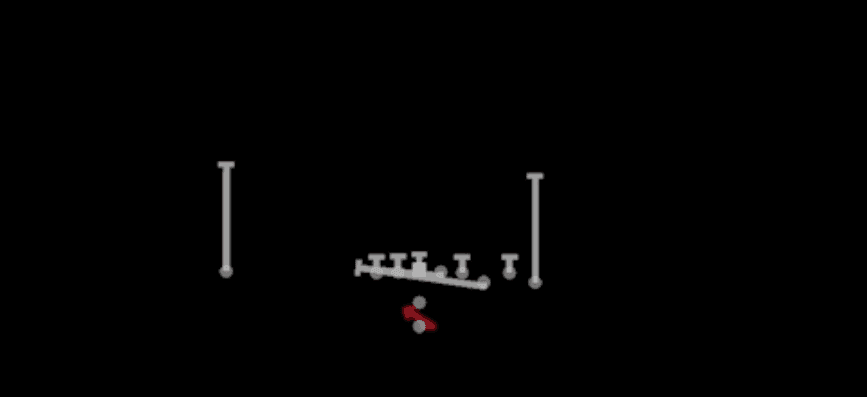
Receiver routes
Depth-chart slots are shown as they line up in the base package for this set.
| Player | Side | Route |
|---|---|---|
| HB1 | Middle | Swing |
| WR3 | Right | Option Route |
| WR1 | Left | Option Route |
| WR2 | Right | Post |
| TE1 | Right | Wheel |
Read progression
- WR1 left, Option Route
- WR3 right, Option Route
- TE1 right, Wheel
- WR2 right, Post
- HB1, SwingCheck-down
Breakdown
Mesh out of Pistol Bunch 11 personnel is a classic man beater built around two crossing routes sitting at shallow depth that pick each other's defenders off, creating natural rub traffic against man coverage. The bunch alignment adds an extra layer of natural pick potential at the snap, freeing up the mesh crossers or a shallow drag against tight man technique, while a deeper dig or corner route from the third bunch receiver stresses zone defenders who sink to help. The primary read progression starts with the mesh crossers underneath, moving to the drag or shallow option if the first crosser is taken away, and finally working to the deep route breaking behind the shallow traffic if the underneath defenders collapse and vacate the middle of the field.
Defensive Reads
Man coverage with no safety help over the top is the biggest green light since the bunch alignment naturally rubs off man defenders trailing the crossers. Watch for a user lurking in the shallow zone or spying the mesh point, since a smart defender sitting in the middle of the field can jump the crossing routes and bait a turnover. Cover 3 with a hard sink from the middle linebacker can take away the shallow crossers, so be ready to climb to the deeper route or check down late in the progression. Pre-snap, look at safety depth and alignment over the bunch since a rotated safety cheating toward the bunch side signals a possible zone blitz or Cover 3 buzz that will clog the intermediate throwing lanes. Blitz packages that bring pressure off the edge opposite the bunch can rush the quarterback before the mesh fully develops, so recognize overload fronts pre-snap and be ready to get the ball out on the first crosser quickly.
Usage Tips
Attack man coverage first since the mesh concept thrives on natural picks created by the bunch alignment and crossing routes.
Check the depth of the linebackers pre-snap because shallow zone droppers sitting at five yards or less will clog the mesh point and force you to climb the ladder to the deeper route.
Hot route the backside receiver into a quick out or speed out if you diagnose Cover 2 or Cover 4 shells, giving you a fast answer outside the mesh traffic against zone drops.
Pair this play with Mesh Slot Corner in your call sheet since both plays share a similar pre-snap look but attack different levels, keeping defenders guessing between the shallow mesh and the deeper corner breaking route.
Use this on second and medium to second and long situations where defenders are more likely to play off man or matchup zone, giving your receivers room to work through traffic without getting jumped at the mesh point.
Other Plays in Bunch
 Corner StrikeCorner, Pass Play, Flat
 Curl FlatFlat, Curl, Curl Flat +6
- Dash FloodCorner, Deep Cross, Crosser +3
- Dash Slot CornerCorner, Block and Release, Deep Cross +3
- Dash WR LeakDrag, Crosser, Flat +2
 Dbl Mtn Duo WrapDuo, Motion, Run Play +1
 Dbl Mtn HB StretchOutside Zone, Motion, Run Play +1
 Dbl Mtn PA StretchPlay Action, Motion, Pass Play +5
 Flanker DriveDrive, Pass Play, Cover 4 Beater +6
 HB CounterCounter, Run Play, Power Run
- HB DiveRun Play
 HB DiveDive, Run Play
 HB DrawDraw, Run Play
- HB DuoRun Play
 HB SlamDive, Run Play
 HB Slip ScreenScreen Pass, Hb Screen, Pass Play +4
- Hop PA Boot SlideCorner, Deep Cross, Crosser +4
- Hop Split ZoneRun Play
- Hop Zone WkRun Play
 Inside Zone SplitInside Zone, Run Play, Zone Run
- Lead Swing CurlsCurl, Swing, Post +1
- Mesh Slot CornerCorner, Curl, Option Route +2
- Mtn PA SlideDeep Cross, Crosser, Post +6
- Mtn RPO Read Y SlidePost, Flat, Wheel +2
- Mtn Wide ZoneRun Play
 PA Boot SlidePlay Action, Slide, Pass Play +4
- PA CrossCrosser, Block and Release, Deep Cross +5
 PA Deep InPlay Action, Pass Play, Post +4
 PA Pin DeepPlay Action, Pass Play, Comeback +4
 Read Option WkRead Option, Run Play
- RPO Alert Zone HitchHitch, Pass Play, Run Play
 SeattlePass Play, Four Verts, Go +9
 Slant SpacingSlant, Spacing, Pass Play +5
 SpacingSpacing, Pass Play, Cover 3 Beater +5
 TE AngleAngle, Pass Play, Out +4
- Wide ZoneRun Play