Playbooks

Overview
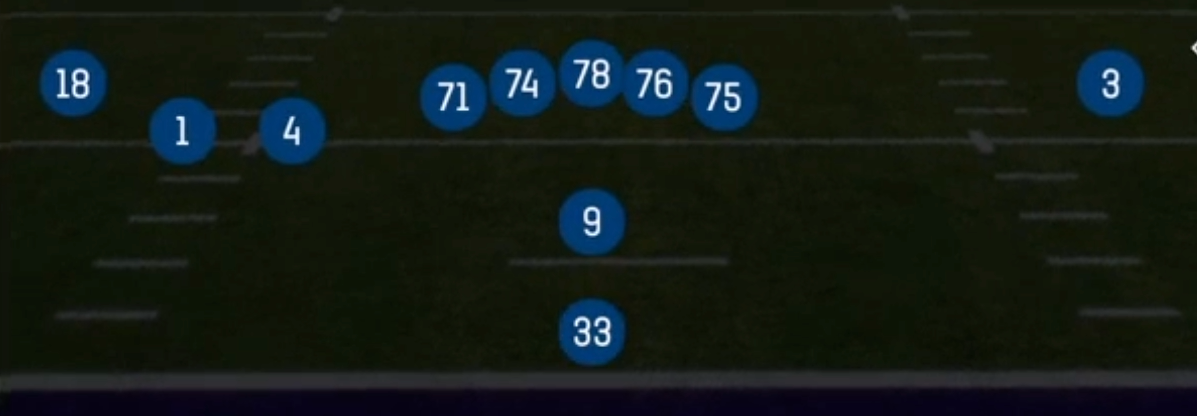
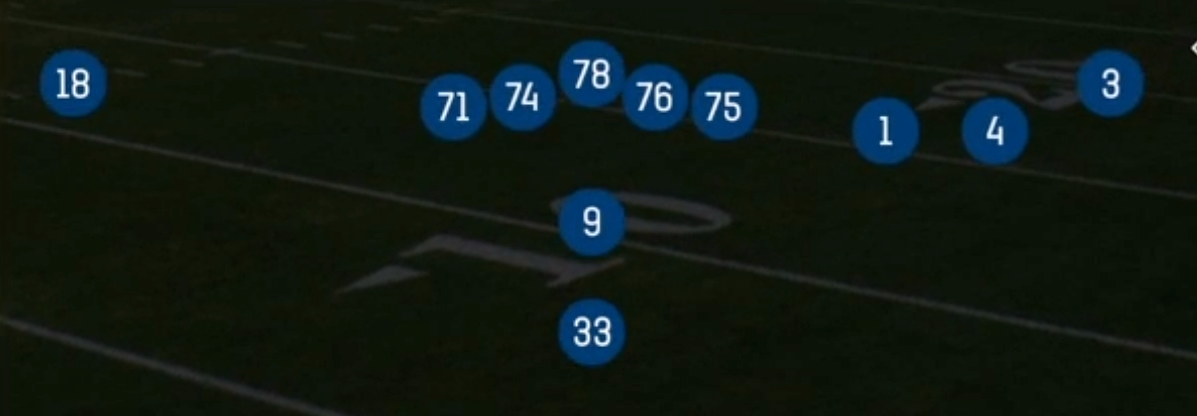
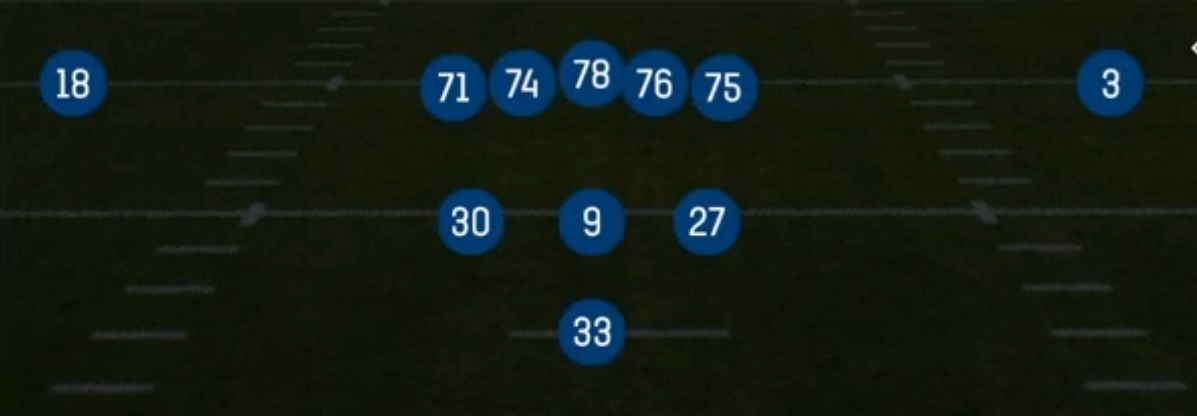
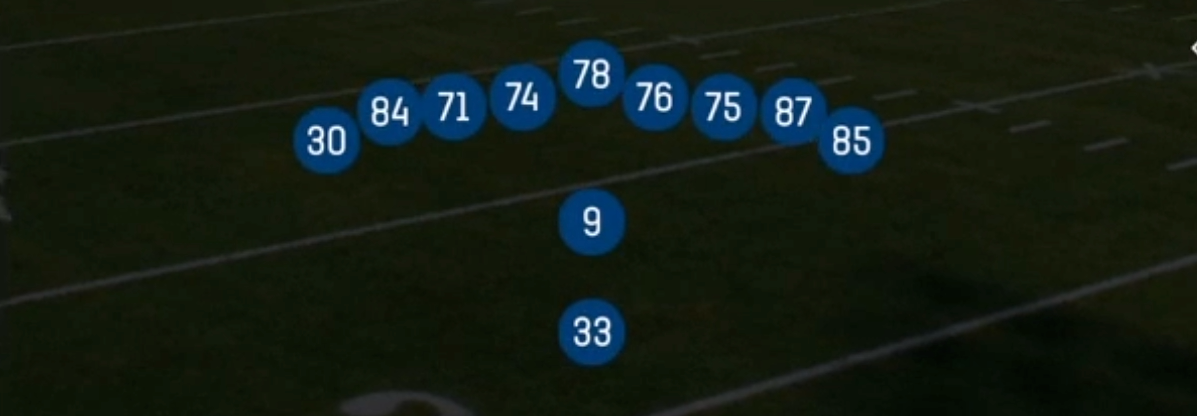
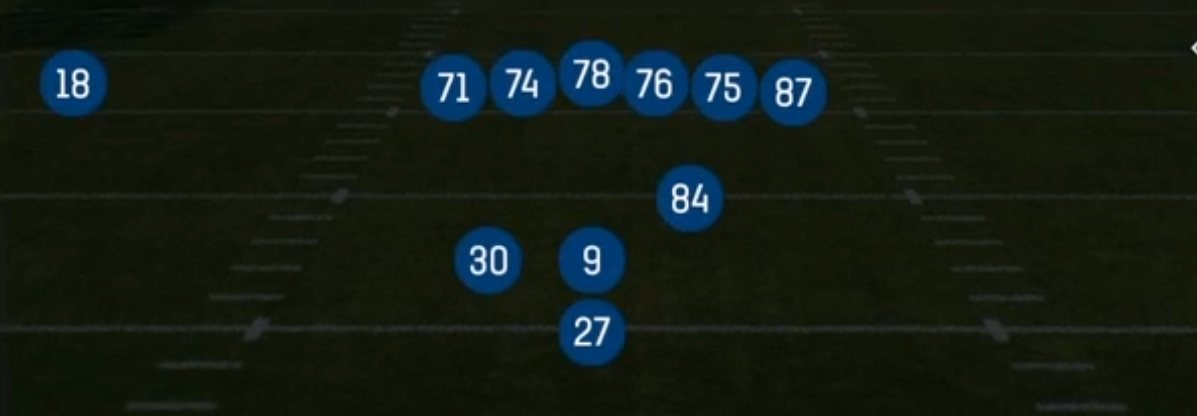
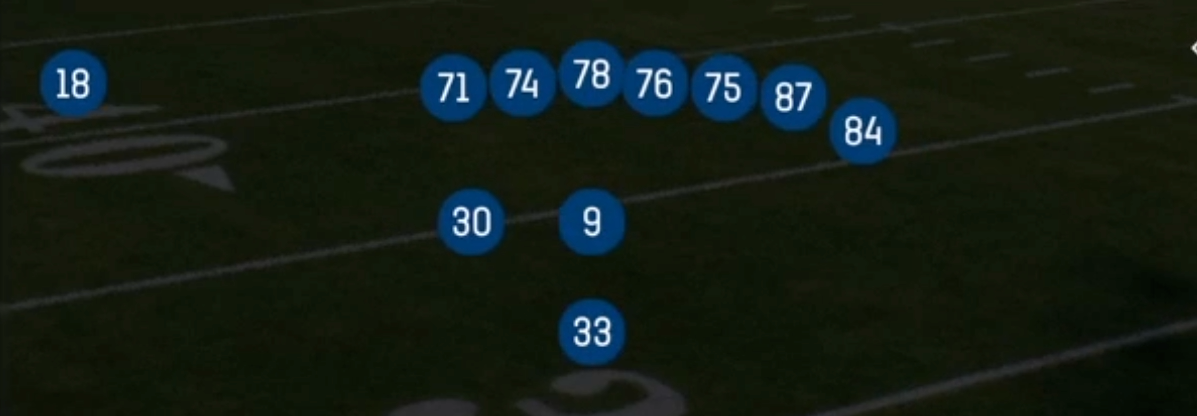
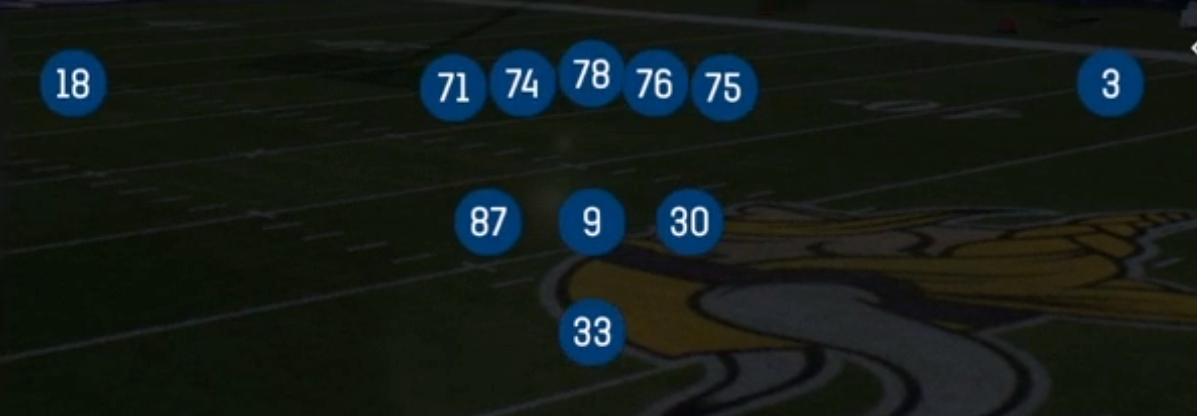
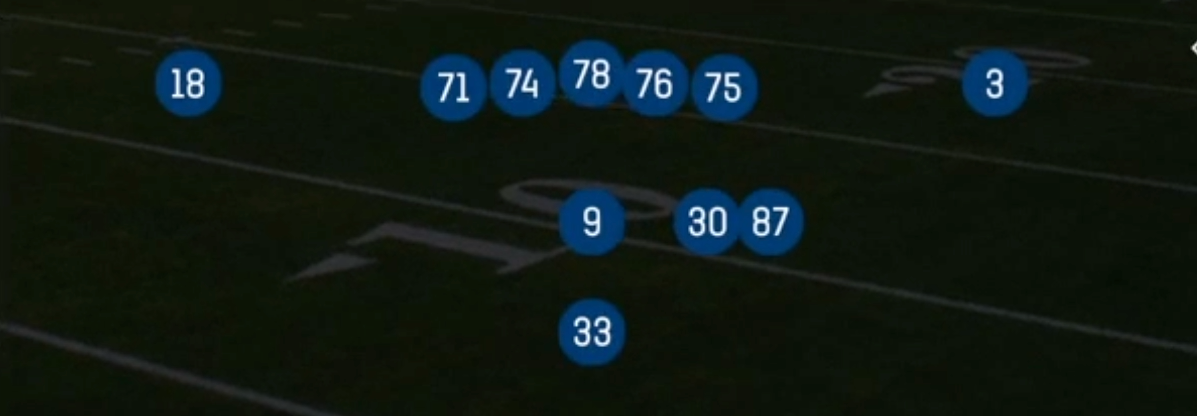
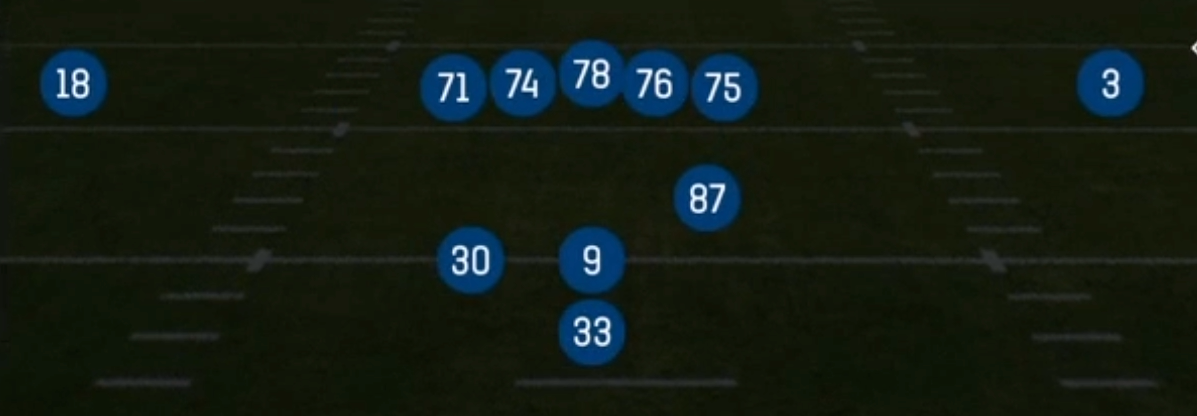
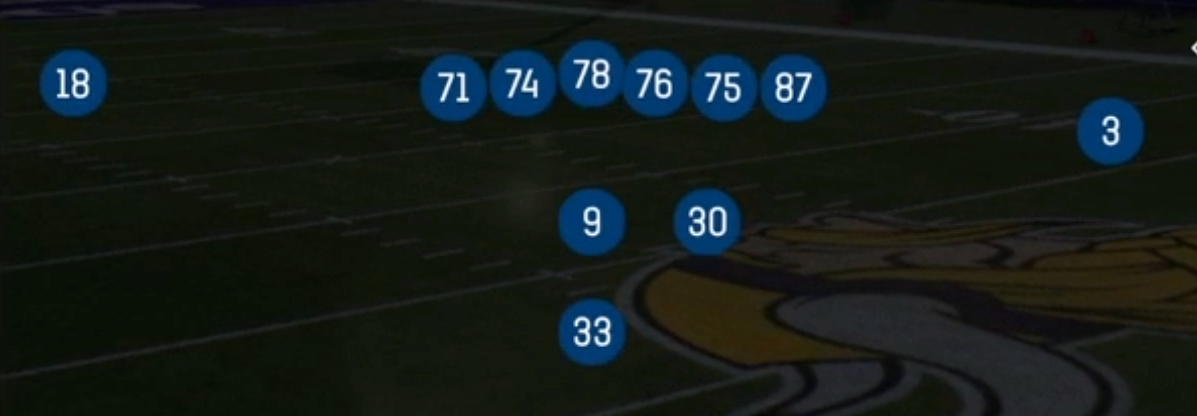
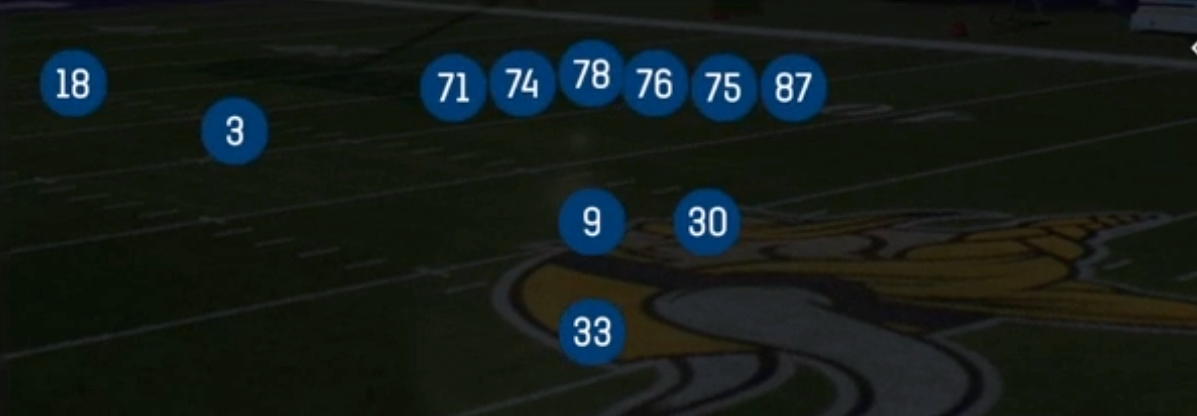
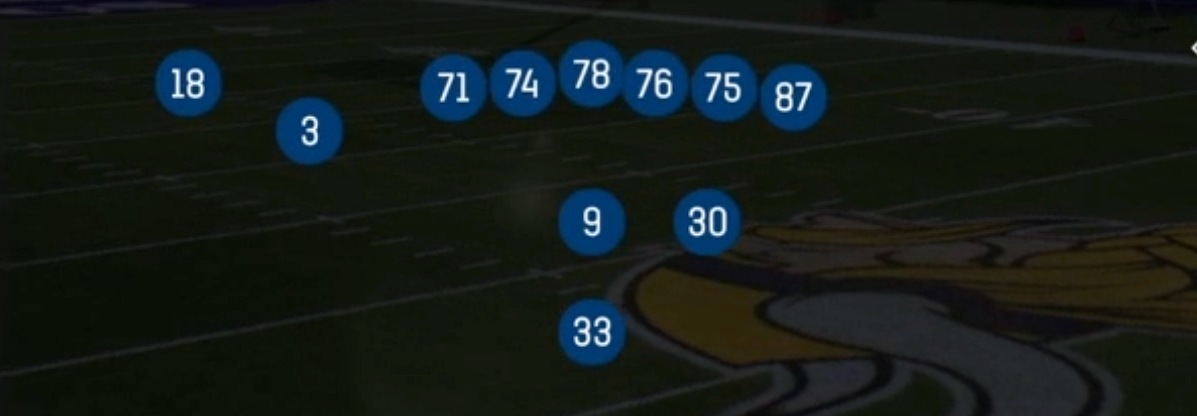
The Spread set in the Pistol formation puts four wide receivers in a balanced 2x2 alignment. The quarterback sits at pistol depth, roughly four yards behind center, with a single halfback directly behind him. Heavier Pistol sets use tight ends or stacked looks. This 10 personnel package removes every in-line blocker and spreads the defense horizontally, so the opponent must either sub into nickel or dime or accept linebackers covering slot receivers. The set keeps the downhill run threat that separates Pistol from Shotgun, which makes it one of the most balanced four-wide looks in the game.
The play list is built around Run and Shoot concepts. RNS Switch Streak, RNS Switch Smash, RNS 60 X Option, RNS 60 H Y Option, and RNS Y Stick feature option routes that convert based on man or zone leverage. With two receivers on each side, you can attack either half of the field with mirrored reads. Switch releases create natural rubs against press man. The SLWR tag reflects how often the slot is the primary read. Y Cross, Y Shallow Cross, Y Stick, and Y Corner isolate the Y slot on linebackers, nickel corners, or safeties rolled down into the box.
The 3DRB and Gadget tags round out the set. HB Slip Screen, Speed Option, and Read Option let a pass-catching back punish defenses that drop eight. Jet Pass Fk Zone, Zone Fake Jet, and Jet Touch Pass use jet motion to pull pursuit away from the play side. RPO Alert Dive Out, RPO Alert Dive Hitches, Zone Alert Bubble, and Zone Alert X Smoke give you built-in answers to box count and press alignment. Every snap forces the defense to declare whether it is defending the run or the pass.
Strengths
- RNS option routes in RNS 60 X Option, RNS 60 H Y Option, and RNS Hook automatically sit down in zone windows or break away from man leverage, so you get a correct answer against both Cover 3 and Cover 1 without an audible.
- Four Verticals and RNS Switch Streak put two seam threats from the 2x2 slots on a single-high safety, which stresses Cover 3 buzz and Cover 1 robber looks and creates a clean read off the middle safety.
- The 10 personnel spacing empties the box against nickel and dime, and Pistol depth keeps HB Counter, HB Dive, Read Option, and Speed Option downhill against six-man boxes with undersized defenders.
- RPO Alert Dive Out, RPO Alert Dive Hitches, Zone Alert Bubble, and Zone Alert X Smoke give you quick pass options that punish loaded boxes and soft press corners before the blitz can arrive.
- Quick Slants, Slant Bubble, Y Shallow Cross, and RNS Switch Smash create natural rubs and switch releases that beat Cover 0 and Cover 1 man, especially when you motion a slot pre-snap to confirm man coverage.
Weaknesses
- With no tight end, the set relies on five linemen and the halfback in protection, so Cover 0 blitzes and nano overloads off the edge can reach the quarterback before RNS option routes finish their breaks.
- The balanced 2x2 alignment is easy to scout. A user-controlled robber or middle hook defender sitting on the Y Stick, Y Cross, and RNS Hook windows can erase your best intermediate reads.
- Slot receivers are poor perimeter blockers, so HB Stretch, Wide Zone, and Wide Zone Wk struggle to seal the edge when the defense stays in base or rotates a safety down to set the edge.
- PA Boot, PA Deep In, and PA Wheelie Curls need extra time to develop with minimal protection, and a contain defender or edge rusher assigned to QB contain blows up the rollout.
- In the red zone the compressed field limits Four Verticals and RNS Streak, and without a tight end you lose the size mismatch that fades and corner routes usually rely on inside the 10.
Usage Tips
Count the box pre-snap. Against five or fewer defenders, audible to HB Counter, HB Dive, or Read Option. Against six or more with a single-high shell, check to RNS Switch Streak or Four Verticals to attack the seams.
Against Cover 2 or press man, go to Fade Smash or RNS Switch Smash and read the corner route against the flat defender. Against Cover 3, Slot Outside and Y Corner flood the sideline behind the flat defender.
On 3rd and short, lean on Speed Option, Quick Slants, and Y Stick for fast completions. On 3rd and medium, RNS 60 X Option and RNS Curl Flat give you a sticks-level option route with a flat outlet.
When you see a nano blitz or Cover 0 look, hot route the halfback to block or to a quick slant, or audible to Slant Bubble or Zone Alert X Smoke so the ball comes out before pressure arrives.
Use Jet Pass Fk Zone and Zone Fake Jet early to condition the defense to flow with jet motion, then call Jet Touch Pass or PA Wheelies to punish linebackers who overpursue the fake.
Plays (44)
 Fade SmashFade, Smash, Pass Play +5
 Four VerticalsFour Verts, Pass Play, Cover 2 Beater +5
 HB CounterCounter, Run Play, Power Run
 HB DiveDive, Run Play
- HB DiveRun Play
 HB DrawDraw, Run Play
 HB SlamDive, Run Play
 HB Slip ScreenScreen Pass, Hb Screen, Pass Play +2
 HB StretchOutside Zone, Run Play, Zone Run
 Jet Pass Fk ZoneMotion, Run Play
 Jet Touch PassMotion, Run Play
 PA BootPlay Action, Pass Play, Comeback +4
 PA Deep InPlay Action, Pass Play, Flat +3
- PA Wheelie CurlsCurl, Flat, Wheel +2
- PA WheeliesFlat, Post, In +3
 Quick SlantsSlant, Pass Play, Flat
 Quick Slot OutQuick Pass, Out, Pass Play +5
 Read OptionRead Option, Run Play
 RNS 60 H Y OptionOption Route, Pass Play, Fade +1
 RNS 60 X OptionOption Route, Pass Play, Deep Cross +2
 RNS Curl FlatCurl, Curl Flat, Pass Play +4
 RNS HitchesPass Play, Option Route, Streak
 RNS HookPass Play, Go, Corner +6
 RNS StreakStreak, Pass Play, Option Route +1
 RNS Switch SmashSmash, Pass Play, Cover 2 Beater +4
 RNS Switch StreakStreak, Pass Play, Post +2
 RNS Y StickStick, Stick Concept, Pass Play +5
- RPO Alert Dive HitchesHitch, Run Play, Pass Play
- RPO Alert Dive OutOut, Streak, Run Play +1
 Slant BubbleSlant, Pass Play, Bubble Screen
- Slants Y OutSlant, Out, Pass Play +2
 Slot OutsidePass Play, Quick Pass, Hitch +6
 Speed OptionSpeed Option, Run Play
 Speed OutOut, Speed Out, Pass Play
 Wide ZoneOutside Zone, Run Play, Zone Run
 Wide Zone WkOutside Zone, Run Play, Zone Run
 Y CornerCorner, Pass Play, Flat +3
 Y CrossY Cross, Pass Play, Crosser +5
 Y Shallow CrossShallow Cross, Pass Play, Crosser +5
 Y StickStick, Stick Concept, Pass Play +5
 Zone Alert BubblePass Play, Bubble Screen, RPO +2
 Zone Alert X SmokePass Play, Quick Pass, Bubble Screen +5
 Zone Fake JetMotion, Run Play
 Z UnderPass Play, Motion, Quick Pass +8