Playbooks

At a Glance
Overview
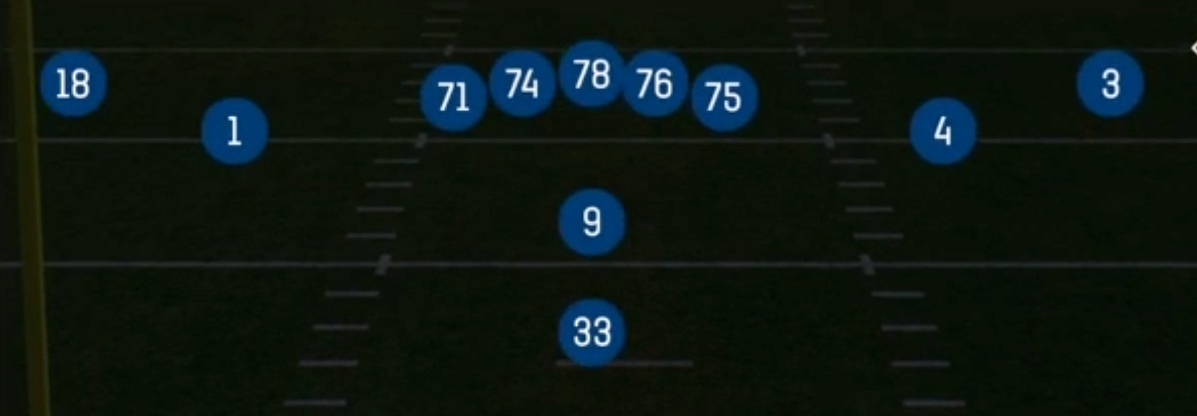
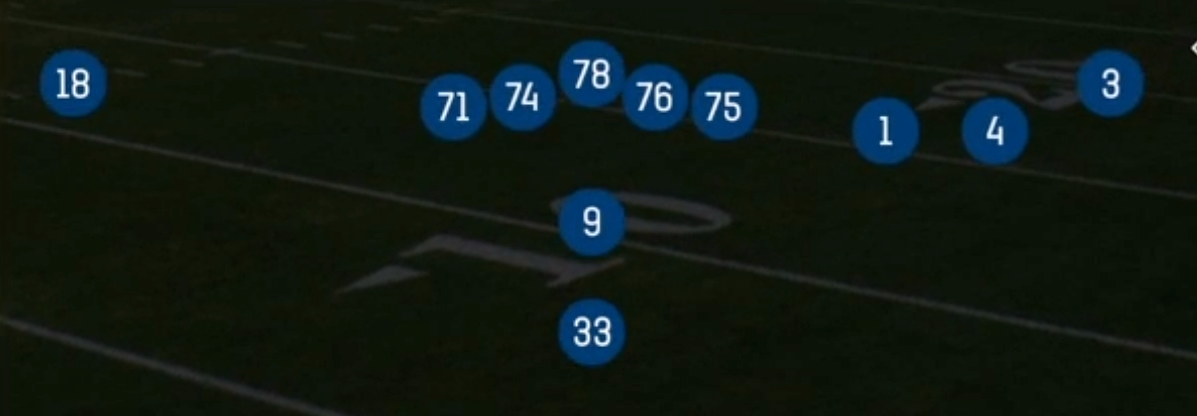
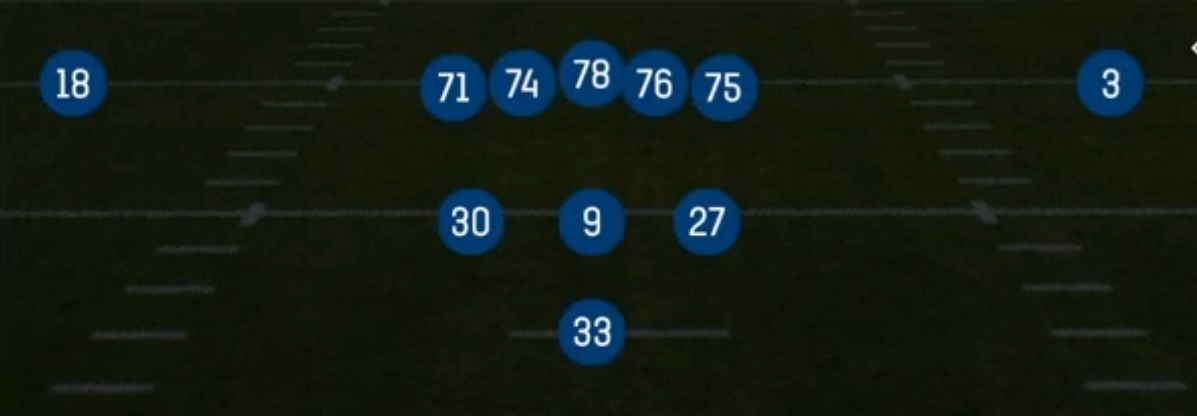
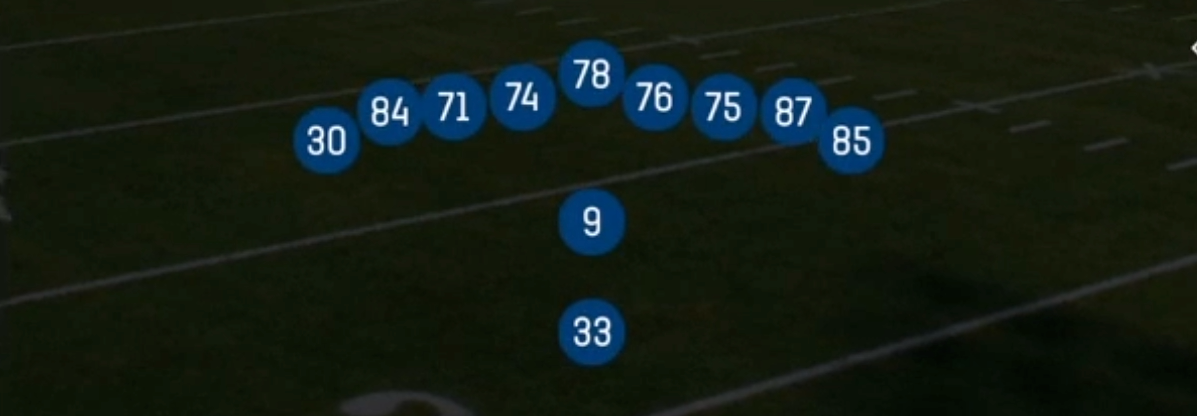
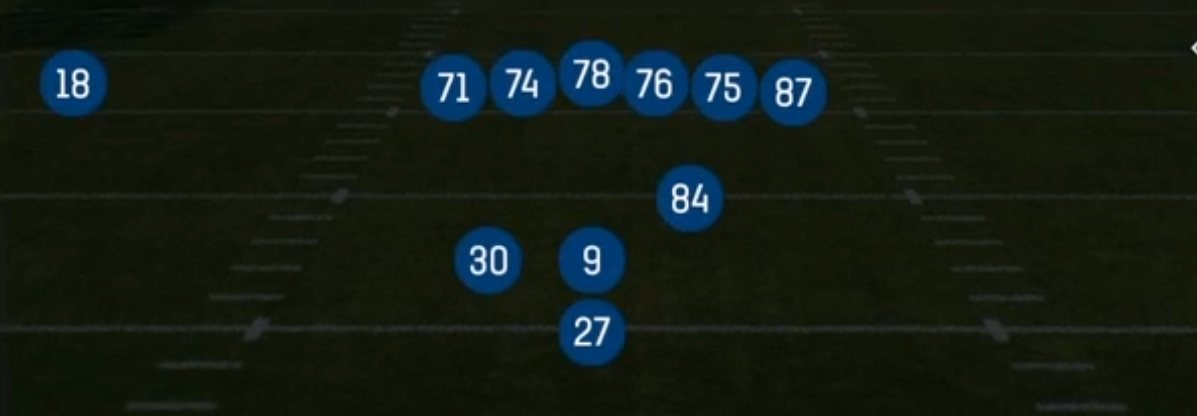
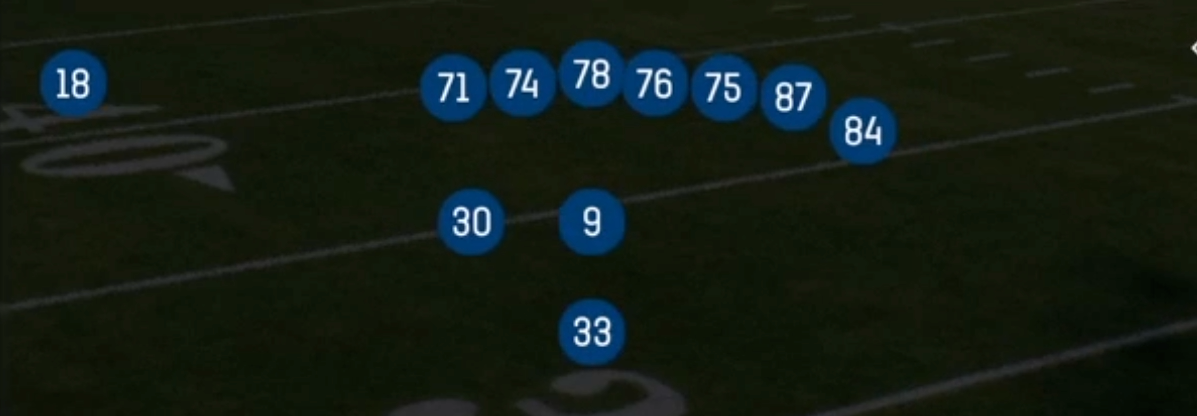
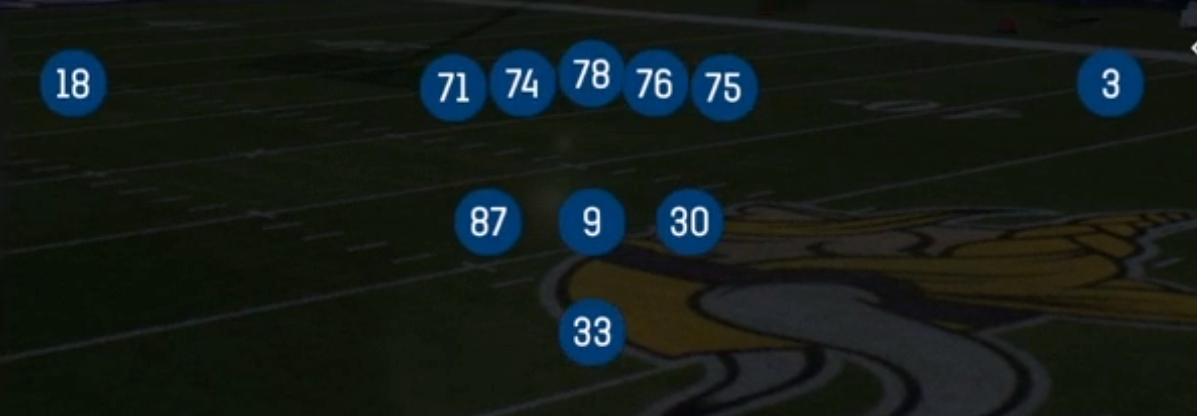
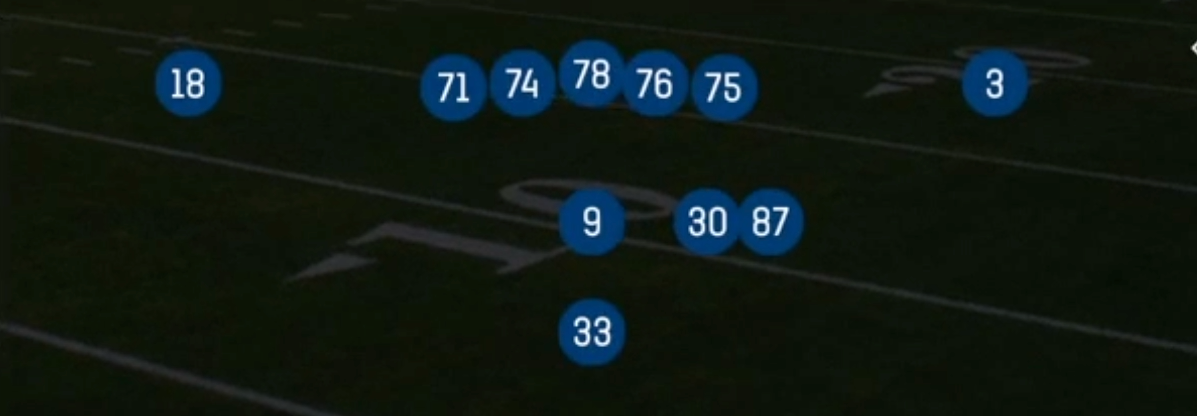
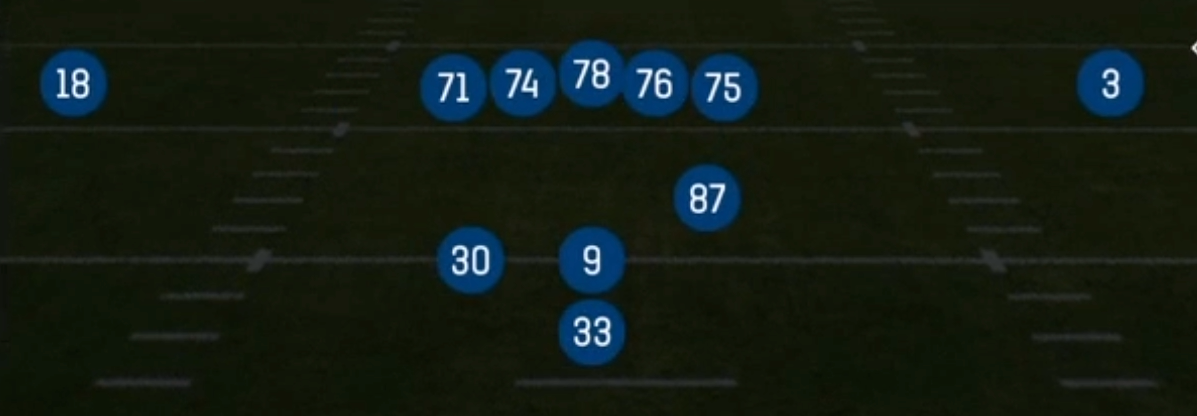
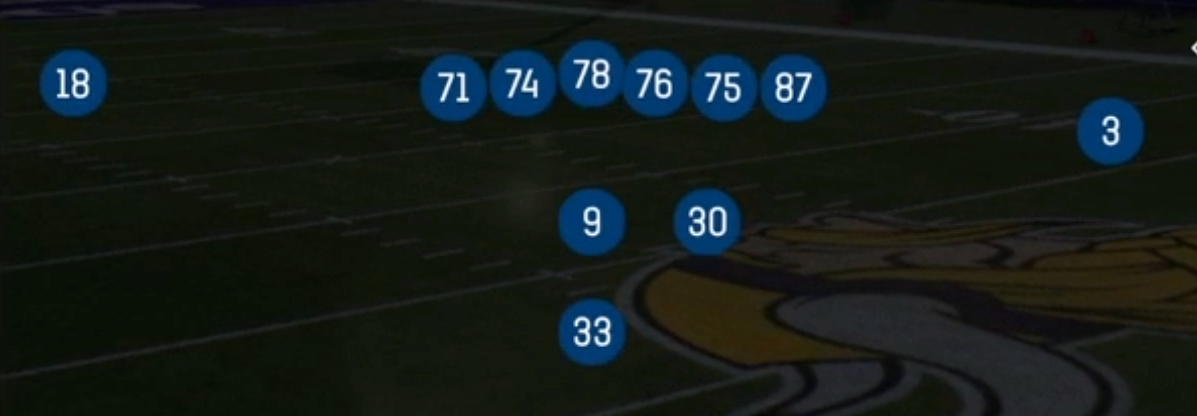
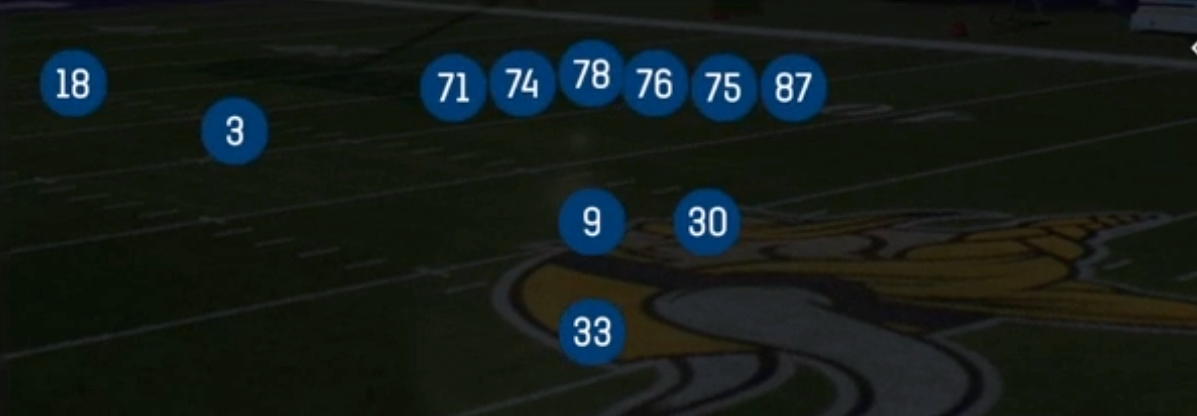
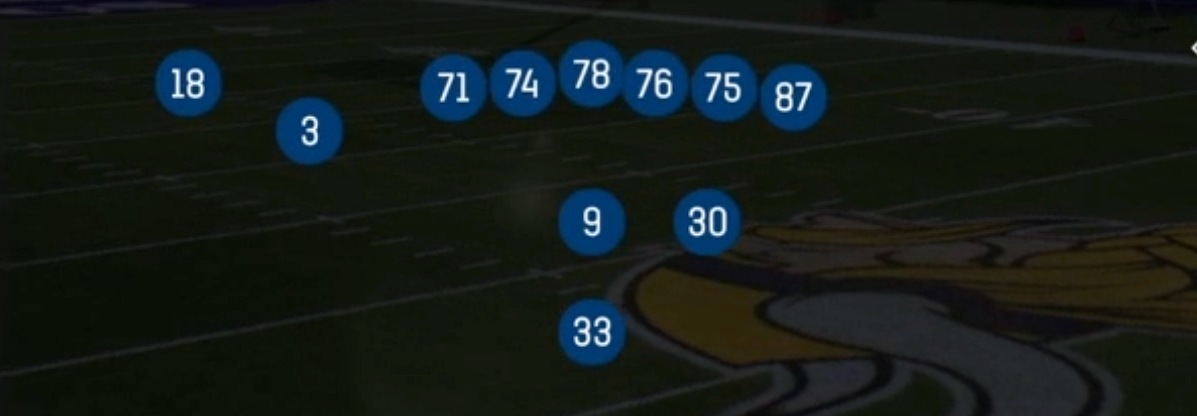
Trips Left Open in the Pistol is a 10 personnel spread look that puts three receivers to the left side of the formation, isolates a single receiver backside to the right, and keeps the halfback aligned directly behind the quarterback in the Pistol alignment. The Open tag means there is no tight end and no attached blocker on the line, so the defense has to declare early. Either it rolls coverage to the three receiver side and leaves the backside X in true one on one, or it plays balanced and gives you a numbers advantage to the trips side. That structure separates it from the tighter, heavier Pistol sets, which lean on inline blockers for the downhill run game.
Because the back sits behind the QB instead of offset, the run game stays balanced and the defense cannot key the back's alignment for run direction. You get HB Counter, HB Slam, HB Draw, Read Option and both dive variations with genuine two way run threats, all paired with a quick passing menu built around the trips side. RPO Alert Bubble, RPO Read Bubble and RPO Zone Alert Bubble tie the run to a bubble screen outside, so you punish defenses that leave the trips grouped with only two defenders or cheat a linebacker into the box.
The passing tree is deep for a single set: Mesh Dig and Inside Smash for man coverage, Flood, Flood Post and Out N Under for zone, Stick and Y Stick for quick completions, and Four Verticals plus PA Verticals to stress Cover 3 and single high safety looks. The Gadget and SLWR tags matter here. Putting your quickest slot receiver at the inside trips spot gives you a mismatch against linebackers and nickel corners on option routes, stick routes and the mesh crossers, while your best X sits alone on the backside against press or off man.
Strengths
- The backside X is isolated in true one on one when defenses rotate coverage toward trips, making Four Verticals, PA Verticals and simple hot route fades or slants a reliable man beater against your best receiver.
- RPO Alert Bubble, RPO Read Bubble and RPO Zone Alert Bubble exploit numbers counts: if the defense has fewer than three defenders over trips, throw the bubble, and if a linebacker widens to cover it, hand off into a lighter box.
- Flood, Flood Post and Out N Under create three level stretches to the trips side that shred Cover 3 and Cover 4 cloud looks, attacking the flat defender with high and low reads on the same side.
- Mesh Dig and Inside Smash give strong man beaters, with the crossers creating natural rubs from the trips alignment and the SLWR on the inside able to generate separation from linebackers and slower nickel defenders.
- The Pistol back alignment keeps HB Counter, HB Slam, HB Draw and Read Option equally threatening to both sides, so defenses cannot cheat pre snap based on where the halfback lines up.
Weaknesses
- 10 personnel with no tight end leaves only five linemen and the back to protect, so overload blitzes and nano blitzes from the boundary side can get home before deep concepts like Four Verticals or PA Deep In develop.
- A user controlled linebacker or safety sitting in the middle hook can sit on Stick, Y Stick and the mesh crossers, forcing you to hold the ball and giving the pass rush time to arrive.
- Defenses in dime or quarters can match the four receivers with speed on the field while still stuffing interior runs like HB Dive and Close HB Dive, because you have no extra blocker to create a numbers advantage in the box.
- Rotating Cover 2 man or bracketing the backside X with a safety takes away your isolation read and funnels throws into the trips side where the defense can play leverage on the outside routes.
- Play action out of an empty looking spread shell is less convincing against savvy opponents, so PA Boot and PA Ctr Waggle can be sniffed out if you have not established the run game first.
Usage Tips
Count defenders to the trips side before every RPO: with two or fewer, throw RPO Alert Bubble or RPO Read Bubble outside, and with three or more, give the ball or hot route the backside X to a slant for a quick one on one throw.
When you read single high safety with the backside corner in press, audible to Four Verticals or PA Verticals and throw the backside go or the seam opposite the middle safety's leverage.
On 3rd and short to medium, lean on Stick, Y Stick and Mesh Dig, putting your SLWR at the inside trips position so the option route or crosser works against a linebacker instead of a corner.
If opponents blitz heavily off the edge, hot route the halfback to block or motion a trips receiver to identify man versus zone, then take HB Slip Screen or a quick bubble to punish the overload.
Once the defense loads the box with a sixth or seventh defender to stop HB Counter and Read Option, come back with PA Boot, PA Ctr Waggle and PA Deep In to hit the flood and crossing routes behind vacated linebackers.
Plays (24)
 Close HB DiveDive, Run Play
 Counter Alert FlatCounter, Flat, Run Play +2
 FloodFlood, Pass Play, Cover 3 Beater +4
 Flood PostPost, Flood, Pass Play +5
 Four VerticalsFour Verts, Pass Play, Cover 2 Beater +7
 HB CounterCounter, Run Play, Power Run
 HB DiveDive, Run Play
 HB DrawDraw, Run Play
 HB SlamDive, Run Play
 HB Slip ScreenScreen Pass, Hb Screen, Pass Play +2
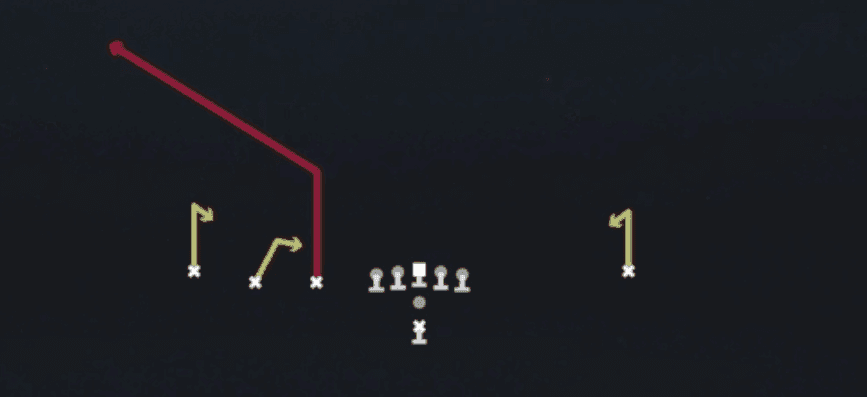 Inside SmashSmash, Pass Play, Cover 2 Beater +2
 Mesh DigDig, Mesh, Pass Play +7
 Out N UnderOut, Pass Play, Fade +2
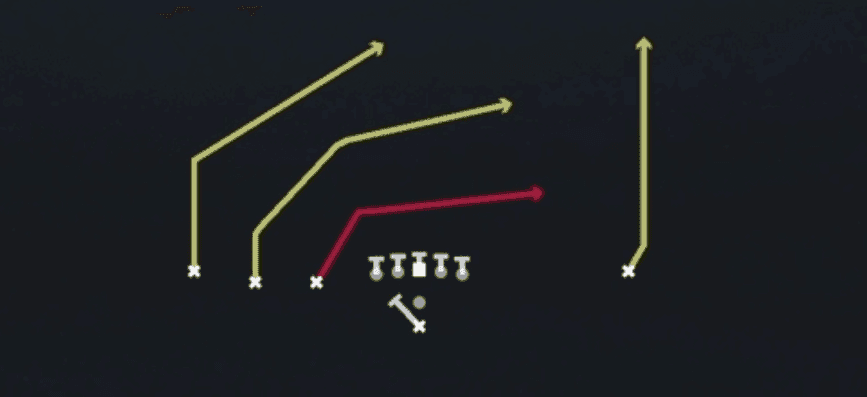 PA BootPlay Action, Pass Play, Deep Cross +3
 PA Ctr WagglePlay Action, Pass Play, Deep Cross +3
 PA Deep InPlay Action, Pass Play, Comeback +3
 PA VerticalsPlay Action, Four Verts, Pass Play +8
 Read OptionRead Option, Run Play
 RPO Alert BubbleRPO, Pass Play, Run Play
 RPO Read BubbleRPO, Pass Play, Run Play +1
- RPO Zone Alert BubbleRPO, Pass Play, Run Play +1
 ScatScat, Pass Play, Bubble Screen +3
 StickStick, Stick Concept, Pass Play +3
 Y StickStick, Stick Concept, Pass Play +4