Playbooks

At a Glance
Overview
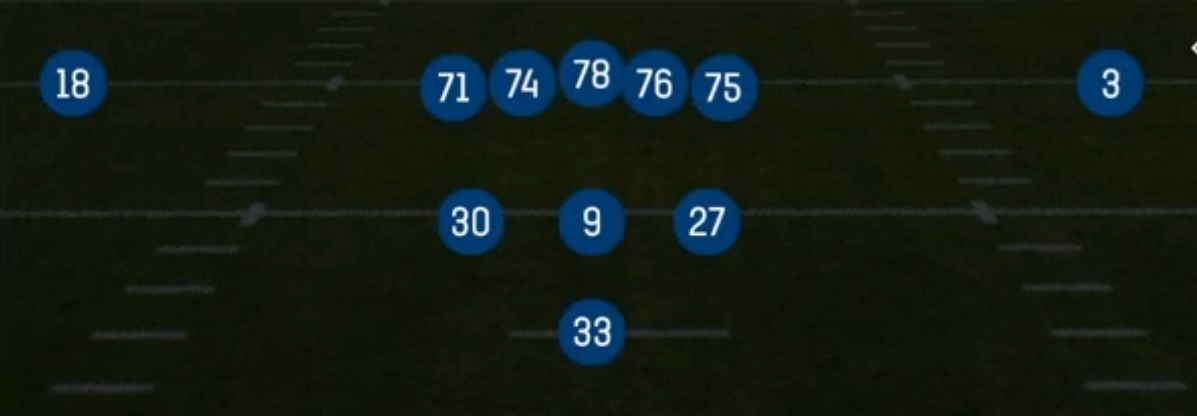
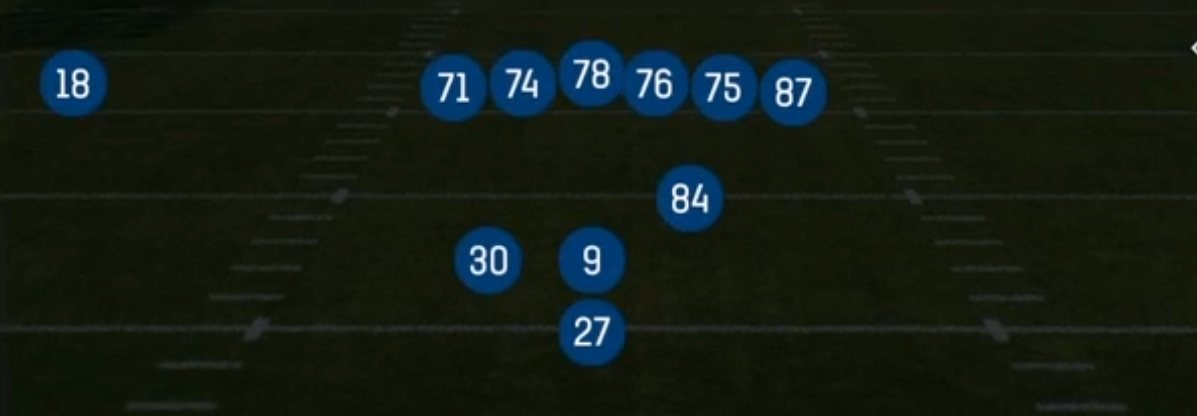
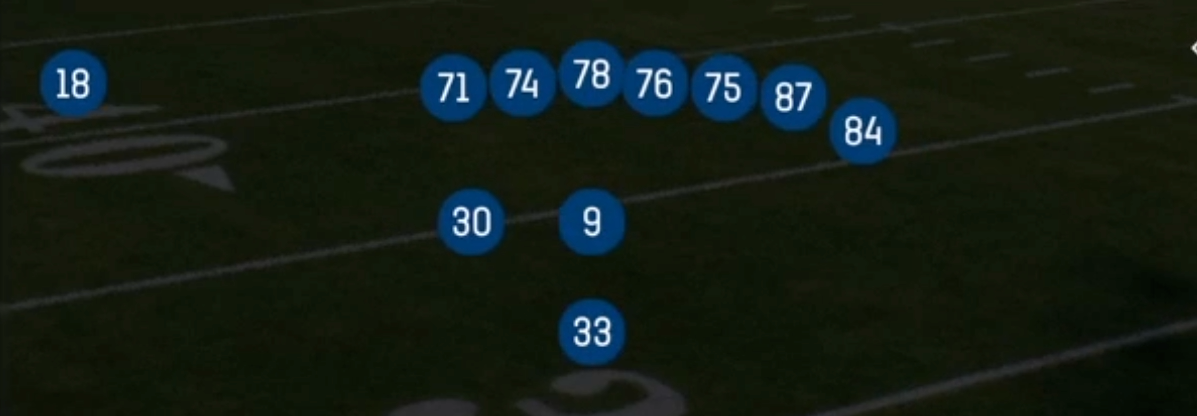
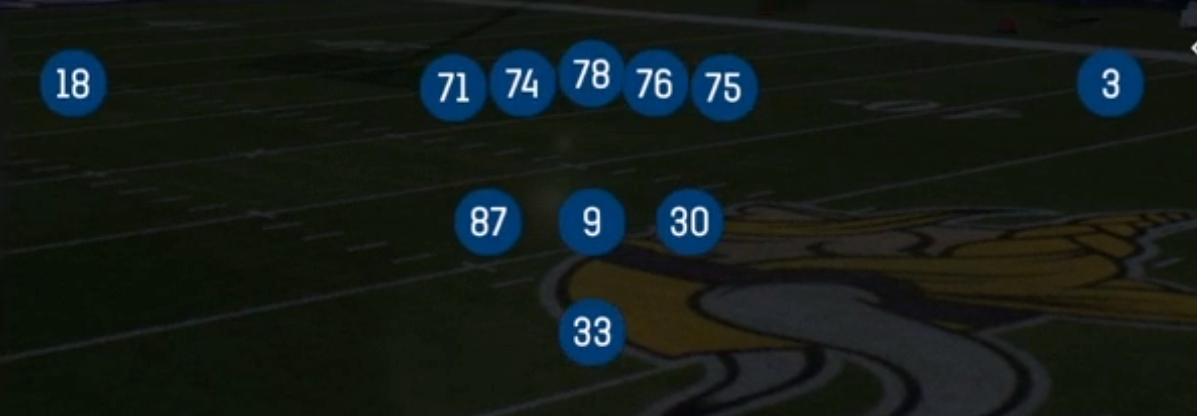
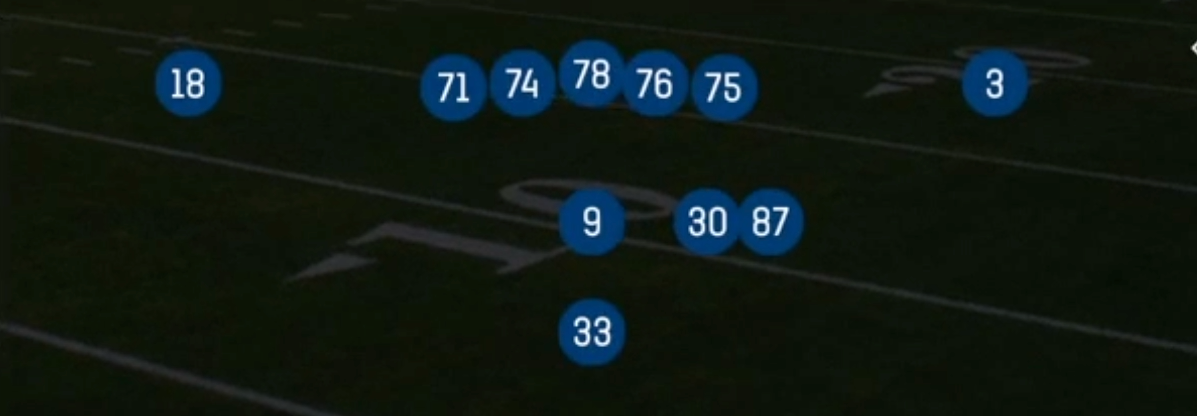
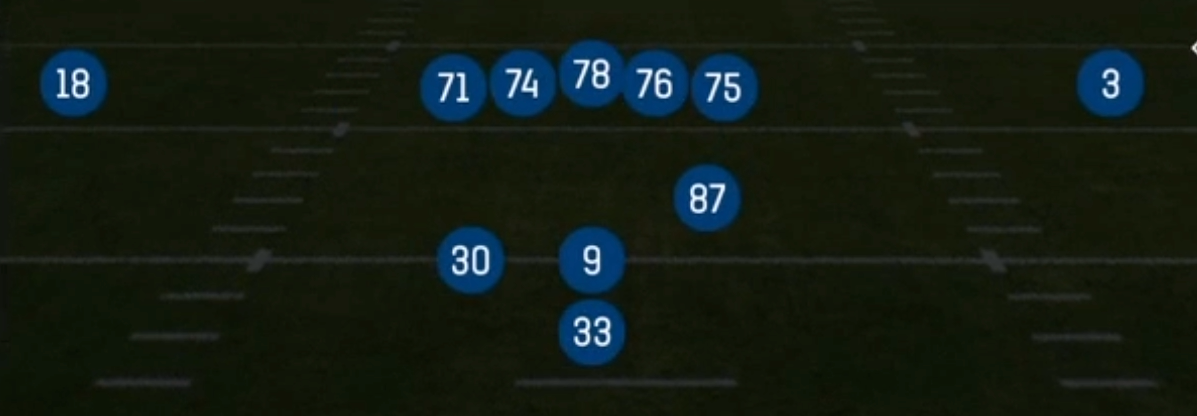
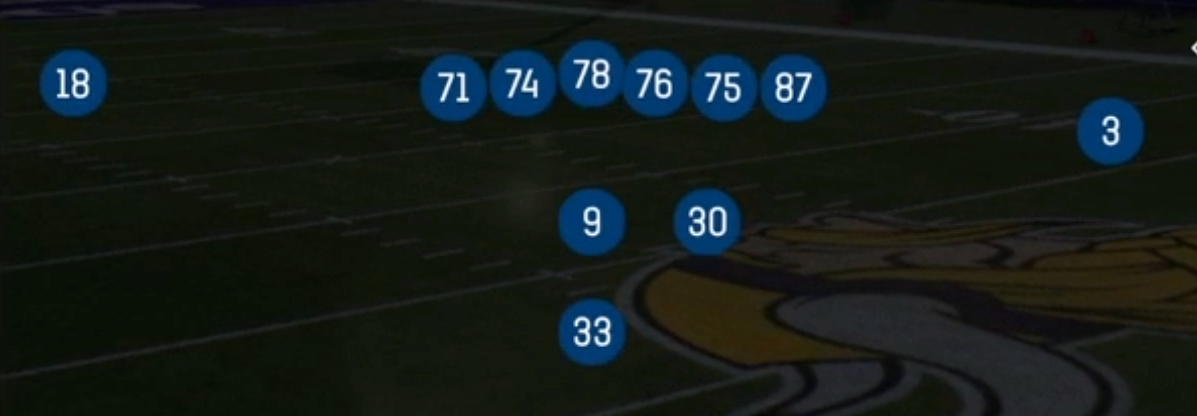
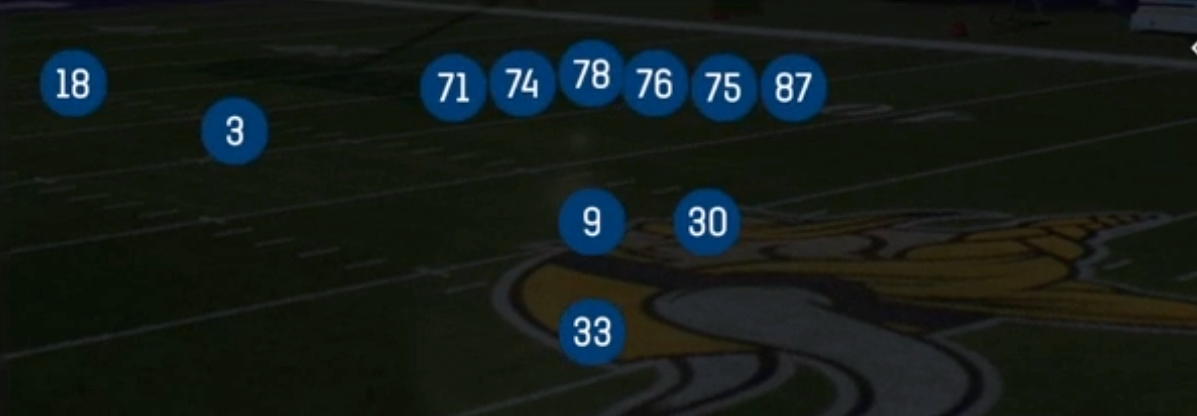
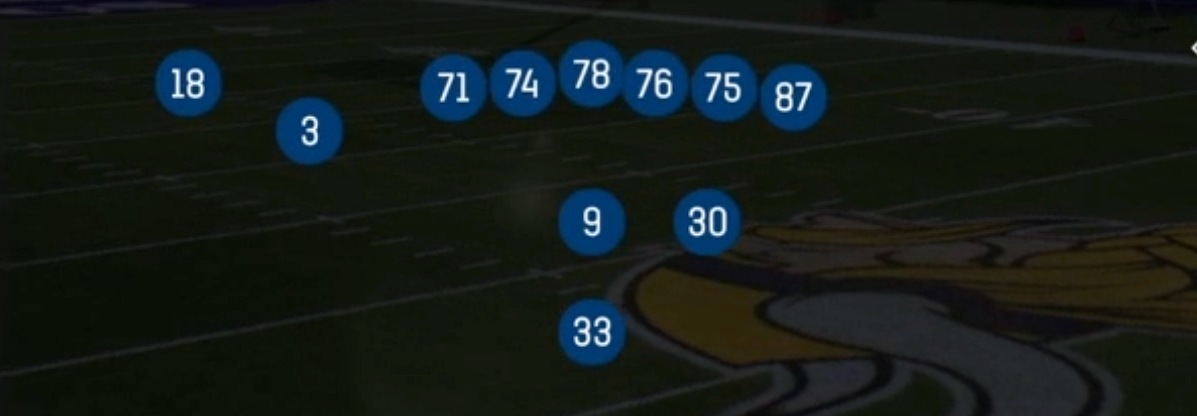
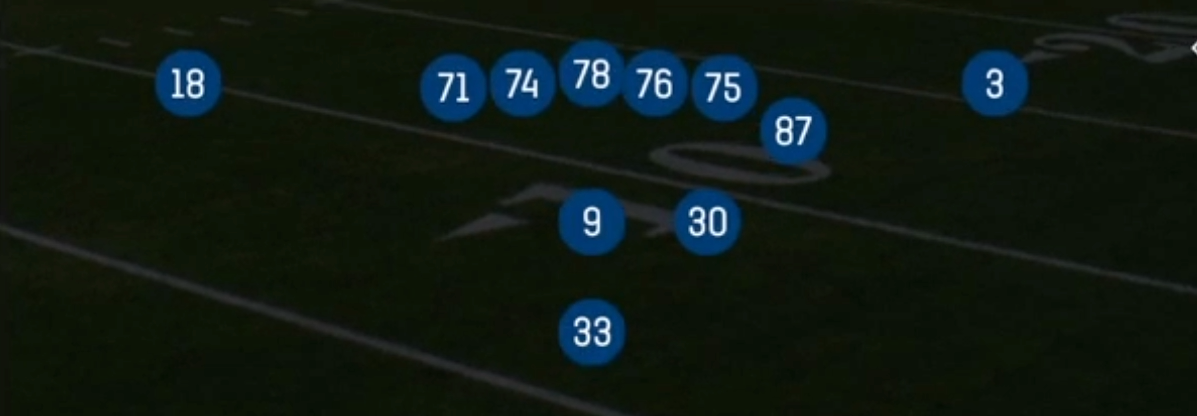
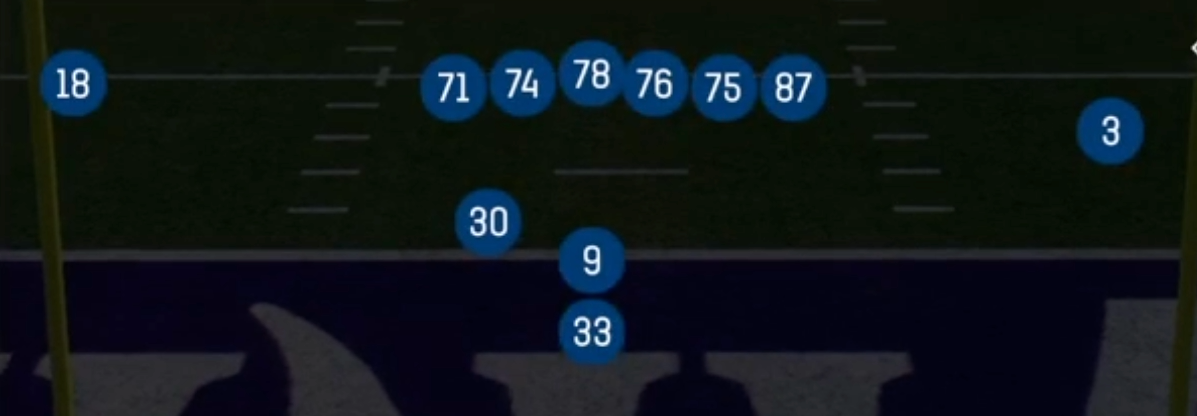
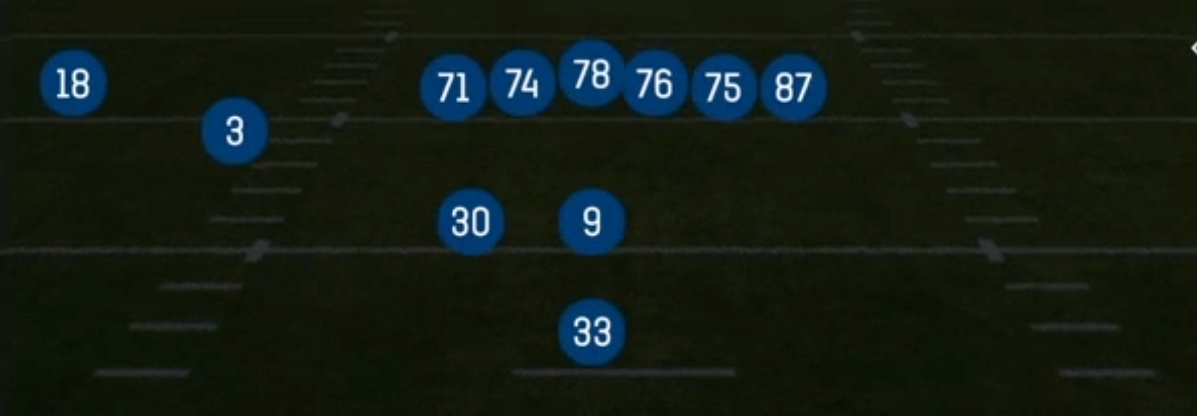
Ace Double Wing is the heaviest personnel look in the Pistol formation, running 23 personnel with two backs and three tight ends split as wing bodies flanking the tackles. Instead of the standard Pistol sets that lean on a single back with two or three receivers spread wide, this set collapses everything inside the numbers and stacks bodies at the point of attack. The quarterback sits four yards deep with the halfback directly behind him, which preserves the two way run read while keeping the wings close enough to insert as extra blockers, pullers, or short area route runners.
The play art here is run first and unapologetic about it. Mtn Duo, Mtn HB Power O, Strong Power, HB Dive, Split Zone, Wide Zone Wk, and HB Stretch give you the full downhill menu, and the wing alignments mean you get an extra hat on the edge without motioning anyone. From there the option game layers on top: Read Option, Read Option Wk, and Speed Option all read the unblocked edge defender, and because the defense has to stack the box against the heavy look, that edge player is usually a linebacker sliding down rather than a rangy safety. HB Counter and the play action package (Mtn PA Power Spot, PA Boot, PA Ctr Waggle) sell the same downhill footwork before flipping the field.
The matchup advantage comes from personnel mismatch in both directions. Load up 23 personnel and the defense answers with base or goal line, which means linebackers and safeties are covering tight end bodies on Mesh Spot and Mtn PA Power Spot. If the opponent stays in nickel to keep speed on the field, you are running Duo and Power O at undersized defenders. The SLWR tag matters because your slot receiver body aligned in a wing spot becomes the isolated target on spot and mesh concepts, running short crossers against linebackers who cannot mirror in space.
Strengths
- Mesh Spot is a legitimate man beater from a heavy look, with the mesh crossers rubbing off each other and the spot sitter settling in the hole, so opponents who bring man pressure against a run formation get punished immediately.
- Mtn PA Power Spot marries the Power O footwork to a spot concept, and because the wing bodies chip before releasing, linebackers who trigger on the pull are left recovering into their zone drop.
- The option package (Read Option, Read Option Wk, Speed Option) forces the edge defender to declare while you have an extra wing blocking down, so single high shells with a linebacker walked out cannot both fit the run and squeeze the pull.
- Wide Zone Wk and HB Stretch stretch the front horizontally with two extra blockers on the perimeter, which is death against defenses that slant inside or run pinch fronts to stop Duo.
- PA Boot and PA Ctr Waggle get the quarterback outside the tackle box on the same run keys, and against Cover 3 the boot flood puts three levels on the sideline with the flat defender outnumbered.
Weaknesses
- No true vertical threat from the base alignment. Every receiver body starts inside the numbers, so a user safety can sit at fifteen yards and read the quarterback without ever worrying about a deep outside shot.
- Interior blitz pressure and A gap nano looks give you problems because the wings are aligned outside the tackles, and by the time they insert, the free rusher is already at the quarterback's feet on any play action.
- Play action from a run heavy set is easy to bait. Opponents who recognize your Pistol heavy tendency will user a linebacker to sit in the spot window and jump every short crosser on Mesh Spot.
- Cover 2 Man and heavy man coverage with a spare defender clog the short area where every route in this set lives, and there is no isolated one on one outside to bail you out.
- Goal line and 3-4 Odd fronts with everyone crowding the box neutralize the numbers advantage on Duo and Dive, forcing you into option reads against defenders who are already downhill.
Usage Tips
Live in this set on second and short, third and short, and inside the ten. The 23 personnel forces a base or goal line answer, and Mtn Duo, Strong Power, and HB Dive all get positive yardage against defenders who are guessing gap fits.
Check the second level pre snap. If you see two high with linebackers stacked, Wide Zone Wk and HB Stretch have edge numbers. If you see a walked out defender over your wing, kill to Read Option or Read Option Wk and make him wrong.
Set up Mesh Spot and Mtn PA Power Spot with at least four or five run calls first. The concepts only hit when the linebackers are triggering downhill, and the pull action on Power Spot is what pulls them out of the throwing window.
Hot route a wing to a corner or a fade when you get man coverage from a linebacker. That is the free matchup this set creates, and it turns a short area concept into a second level shot.
Use PA Boot and PA Ctr Waggle against pressure heavy opponents. Getting the quarterback outside the tackle box beats interior blitzes that would otherwise blow up your dropback play action, and the flood levels punish rotating zone.
Plays (15)
 HB CounterCounter, Run Play, Power Run
 HB DiveDive, Run Play
 HB StretchOutside Zone, Run Play, Zone Run
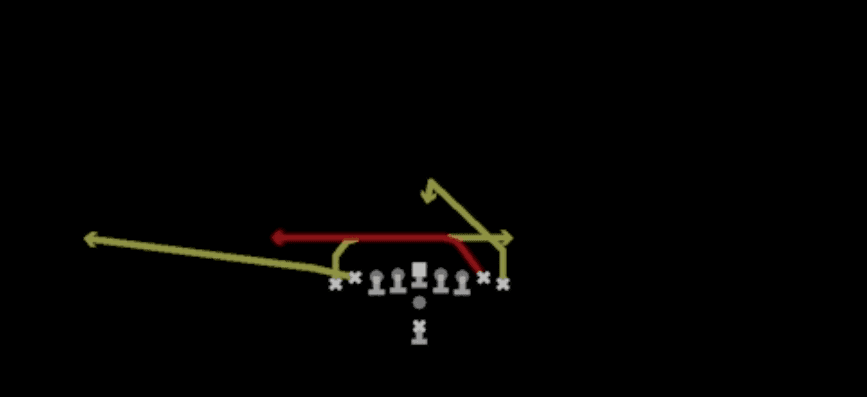 Mesh SpotSpot, Mesh, Pass Play +6
 Mtn DuoDuo, Motion, Run Play +1
 Mtn HB Power OPower, Motion, Run Play +1
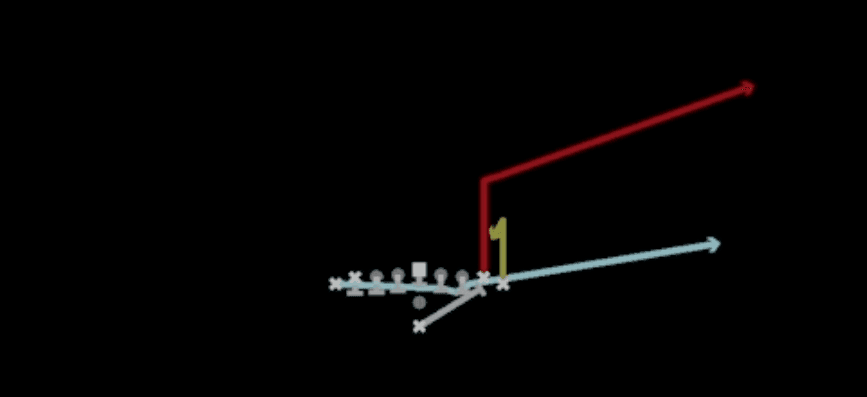 Mtn PA Power SpotPlay Action, Spot, Motion +5
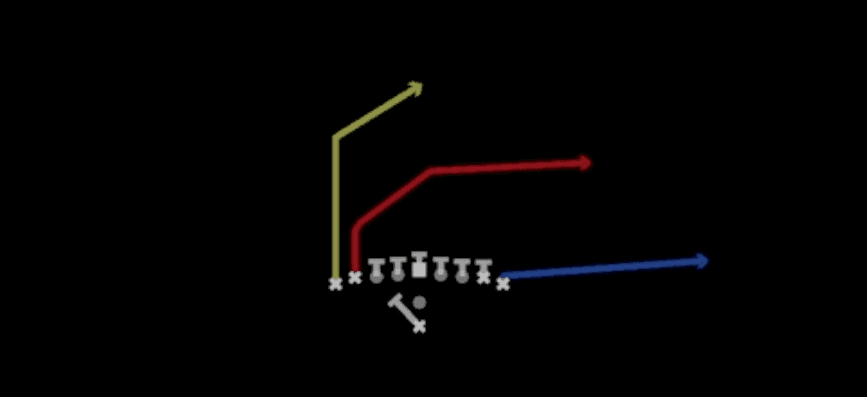 PA BootPlay Action, Pass Play, Block and Release +3
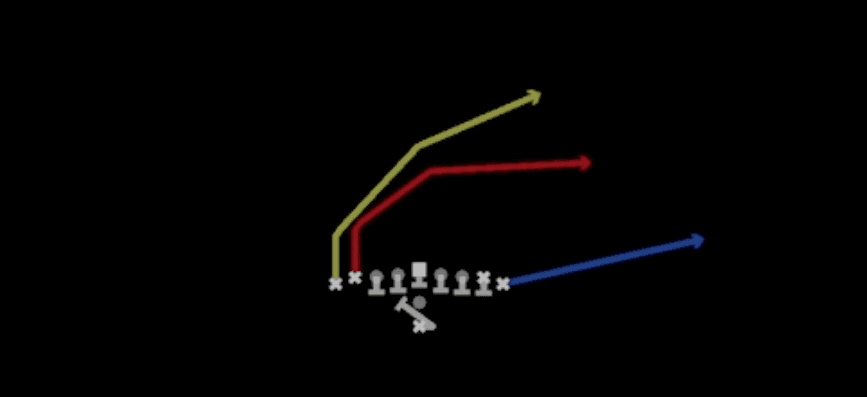 PA Ctr WagglePlay Action, Pass Play, Block and Release +2
 Read OptionRead Option, Run Play
 Read Option WkRead Option, Run Play
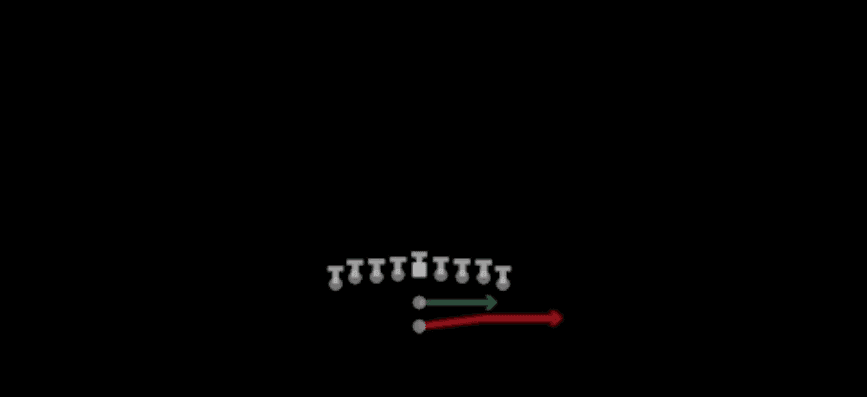 Speed OptionSpeed Option, Run Play
 Split ZoneInside Zone, Run Play, Zone Run
 Strong PowerPower, Run Play, Power Run
 Wide Zone WkOutside Zone, Run Play, Zone Run