Playbooks

At a Glance
In 15 playbooks
Overview
Spread Y-Flex Wk is a 2x2 Shotgun set built from 11 personnel. The tight end is detached from the core and flexed into the slot, and the running back aligns to the weak side of the quarterback. Standard Shotgun sets anchor the TE on the line. This set splits him out and spreads the defense horizontally, so the offense can read coverage pre-snap. The defense has to show its hand. It can match the flexed Y with a linebacker, bring in a nickel or dime defender (which weakens the box), or roll a safety down, and each answer tells you whether you are facing man or zone before the snap.
The matchup value comes from the Y. Put an athletic receiving TE in the flex and you get a mismatch against slower linebackers on stick, seam, and cross concepts. Against smaller nickel corners, you win with size on option routes and in the red zone. The weak side back gives you a quick checkdown and a live screen threat. The 3DRB tag rewards a back who can win on swings, angles, and slip screens. The SLWR and Gadget tags reflect a menu that features slot receivers and motion-based deception. That includes Orbit, Mtn, and H Mtn variations that shift leverage and create free releases.
The play menu is deep. It includes RPOs (RPO Peek Slant, RPO Read Bubble, RPO Zone Peek, RPO Alert Screen), classic zone beaters (Smash Corners, Flanker Dig, PA Dagger, Mtn Bench), and man beaters (Quick Slants, Double Slants, Mtn Whip Cross, Slot Fades). Vertical shots like Four Verticals, Hitch Seam, and Double Post keep safeties honest. A compact run package of Inside Zone, HB Mid Draw, and HB Base punishes light boxes, which makes this one of the more complete spread sets available in Shotgun.
Strengths
- The flexed Y produces a pre-snap coverage tell. If a linebacker walks out over the TE, you likely have man and a mismatch, so Mtn Y Stick, Orbit Y Stick, and Spot Y Cross isolate the Y on a slower defender.
- The zone beaters are elite. Smash Corners and Mtn Bench high-low the flat defender against Cover 2 and Cover 4, and Flanker Dig and PA Dagger attack the void behind hook defenders against Cover 3.
- The man beaters carry built-in rub and leverage concepts. Mtn Whip Cross, Double Slants, Quick Slants, and Slot Fades beat press man, and the motion versions force defenders to bump or trail through traffic.
- The RPO package (RPO Peek Slant, RPO Read Bubble, RPO Zone Peek, RPO Alert Screen) turns nickel and dime boxes into free yards. Give the Inside Zone handoff against six or fewer in the box, or throw the slant or bubble when the overhang crashes.
- The weak side back is a real receiving weapon for 3DRB builds. HB Slip Screen, Mtn HB Slip Screen, Smash HB Angle, and Mtn HB Swing punish aggressive blitzes and spy-free man coverage on the back.
Weaknesses
- Protection is thin with the TE detached. Base looks give you only a five-man line plus the RB, so weak side overloads and nano blitzes off the edge can get home before deeper concepts like Four Verticals or Vert Comebacks develop.
- The run game is limited and mostly between the tackles. Inside Zone, HB Mid Draw, and HB Base lack a true edge threat, and defenses that stay in nickel with a disciplined user can stuff runs without committing extra defenders.
- A user-controlled hook or middle linebacker can erase much of the menu. Stick, Y Cross, Shallow Cross, and Inside Cross all funnel throws through the short middle, so a user sitting in the throwing lane baits interceptions.
- The motion variations telegraph intent against savvy opponents. Heavy use of Mtn and H Mtn plays lets defenders read shifting leverage and adjust with man align, press, or a late cloud roll.
- If your TE lacks route running and speed, the core mismatch disappears. Defenses can then match the Y with a physical linebacker or safety and play aggressive two-high shells without fear.
Usage Tips
Read the defender over the flexed Y before the snap. A linebacker aligned outside means man, so check to Mtn Y Stick or Spot Y Cross. A corner or safety walking over signals zone or a nickel look, so audible to Smash Corners or Flanker Dig.
On 1st and 10 against nickel and dime, lean on RPO Zone Peek and RPO Peek Slant. Count the box: hand off to Inside Zone with six or fewer defenders, and pull for the slant when the overhang triggers downhill.
On 3rd and medium against Cover 3, run PA Dagger or Mtn Bench. Hot route the weak side back to a block if you see a crowded weak side edge, to buy time for the dig or corner to clear.
Against heavy blitz and press man, change up with HB Slip Screen, RPO Alert Screen, or Quick Slants. Slant the slot receivers on hot routes for quick releases, and use Mtn Whip Cross to create natural rubs.
In the red zone, pair Redzone HB Scissors and Slot Fades with a big Y in the flex. Streak the Y on a hot route against single high, or throw the back shoulder to your tallest target against a smaller nickel.
Plays (50)
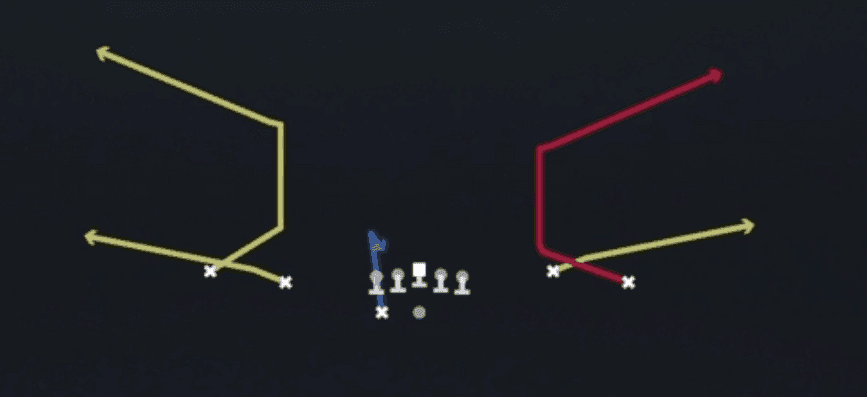 Corner StrikeCorner, Pass Play, Block and Release +1
 Double CrossCrosser, Pass Play, Post +4
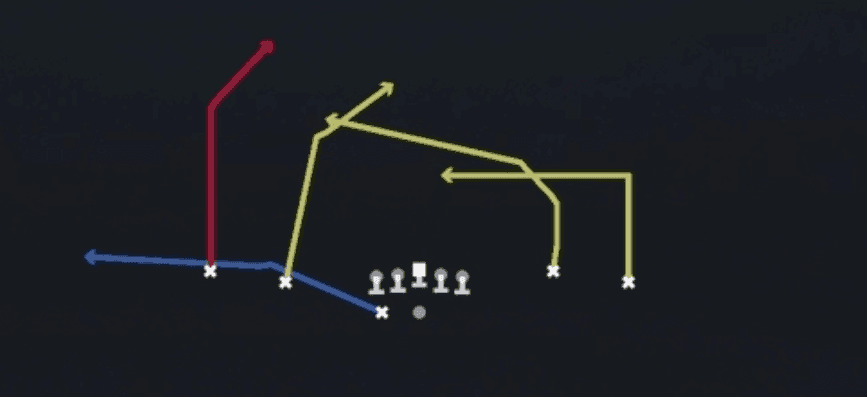 Double PostPost, Double Posts, Pass Play +6
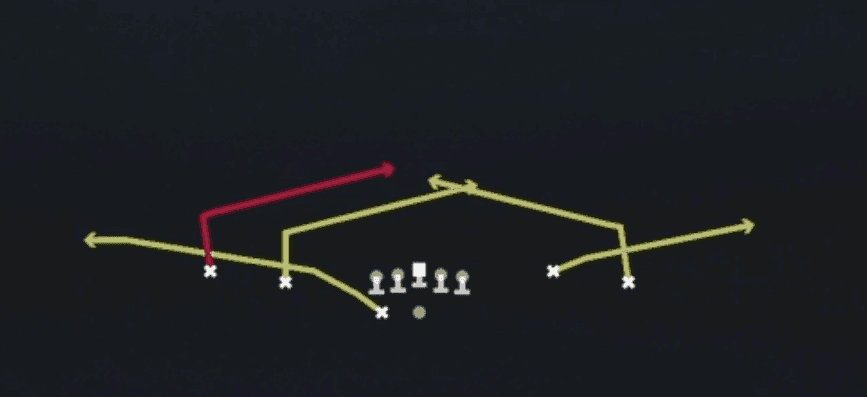 Double SlantsSlant, Pass Play, Flat
- Flanker DigDig, Pass Play, Curl +5
 Four VerticalsFour Verts, Pass Play, Cover 2 Beater +5
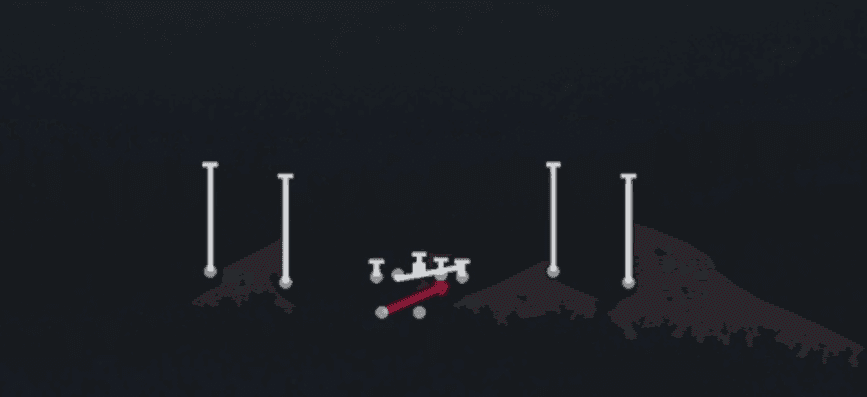 HB BaseDive, Run Play
- HB Mid DrawDraw, Run Play
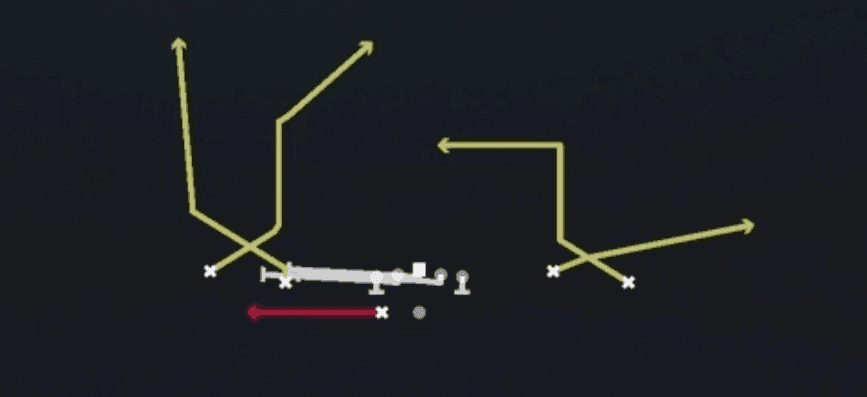 HB Slip ScreenScreen Pass, Hb Screen, Pass Play +4
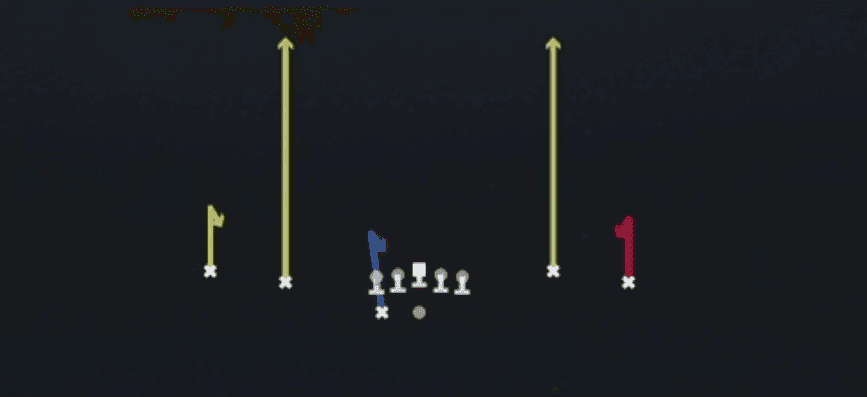 Hitch SeamHitch, Seam, Pass Play +2
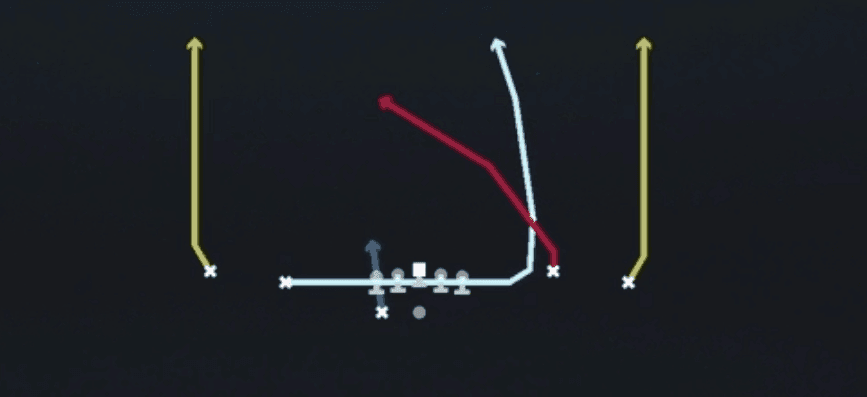 H Mtn Four VerticalsFour Verts, Motion, Pass Play +8
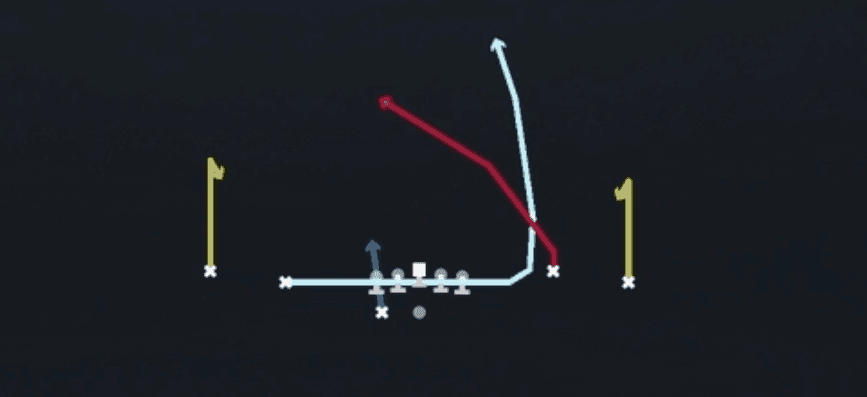 H Mtn Middle DivideMotion, Curl, Deep Cross +4
- H Mtn Y StickStick, Flat, Hitch +3
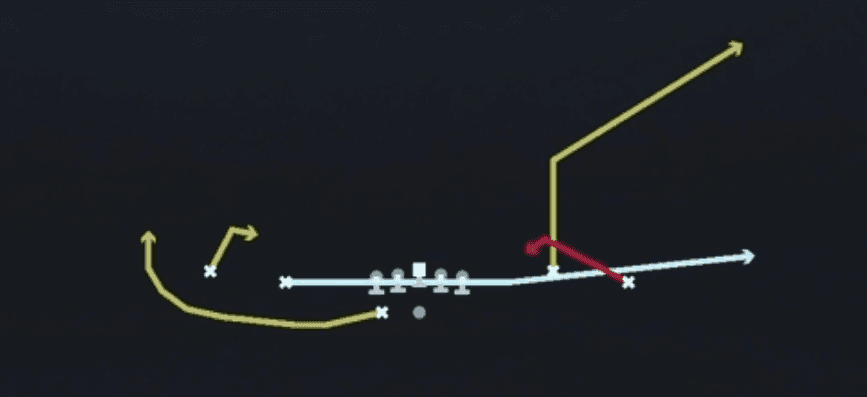 H Mtn Z SpotSpot, Motion, Pass Play +5
- H Shallow CrossShallow Cross, Crosser, Block and Release +5
- H StickStick, Fade, Hitch +3
- Inside CrossCrosser, Pass Play, Block and Release +3
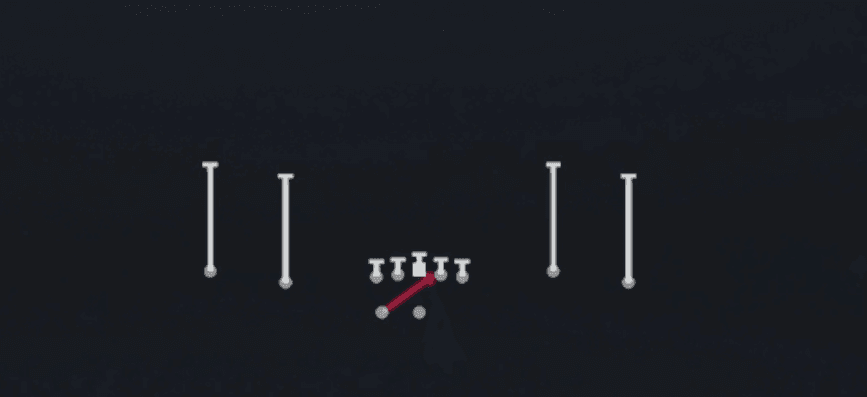 Inside ZoneInside Zone, Run Play, Zone Run
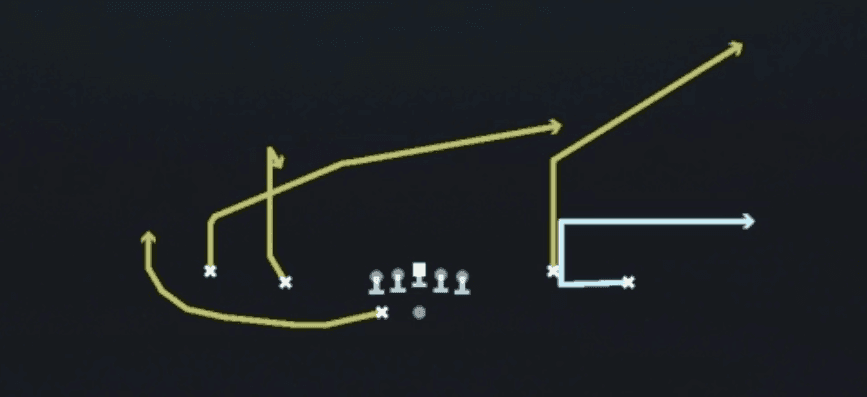 Mtn BenchMotion, Bench, Pass Play +6
 Mtn Bench CurlsMotion, Curl, Bench +4
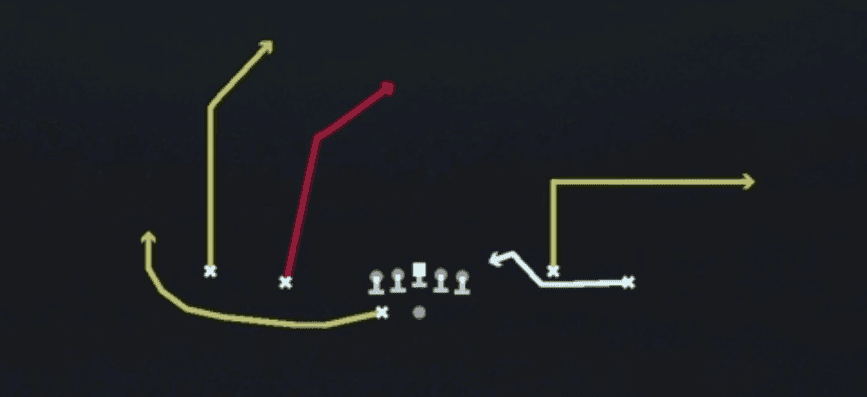 Mtn Double PostPost, Double Posts, Motion +5
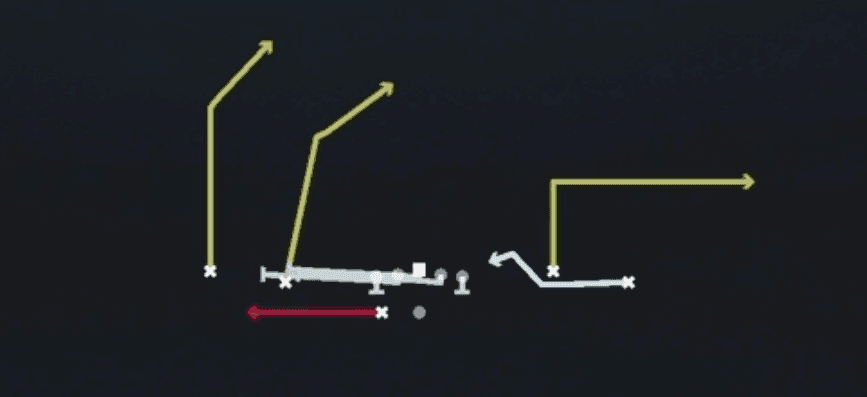 Mtn HB Slip ScreenScreen Pass, Hb Screen, Motion +3
- Mtn HB SwingSwing, Out, Streak +1
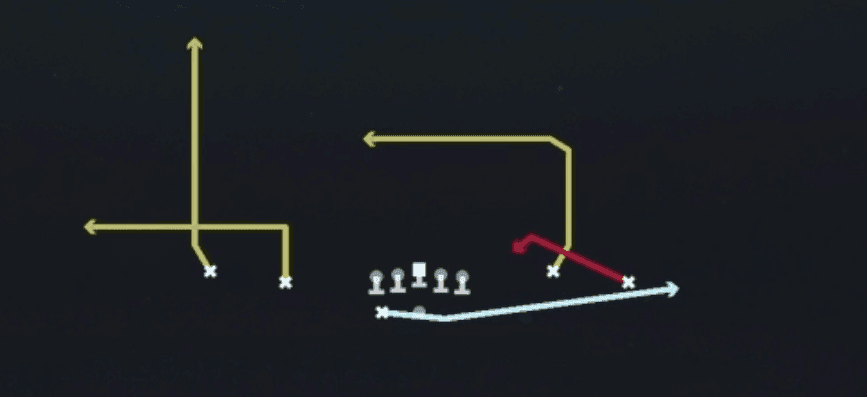 Mtn Spot DigDig, Spot, Motion +6
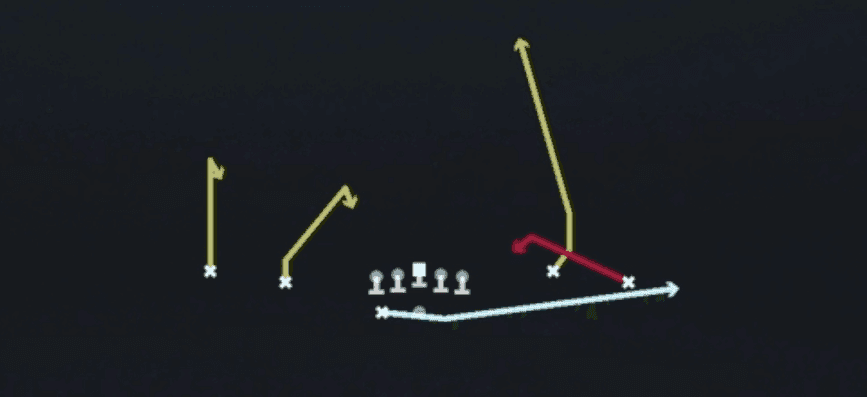 Mtn Spot Y SeamSeam, Spot, Motion +5
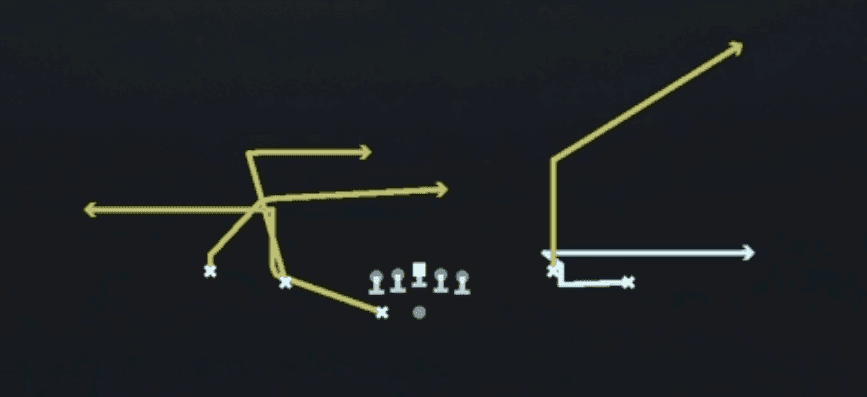 Mtn Whip CrossWhip, Motion, Pass Play +6
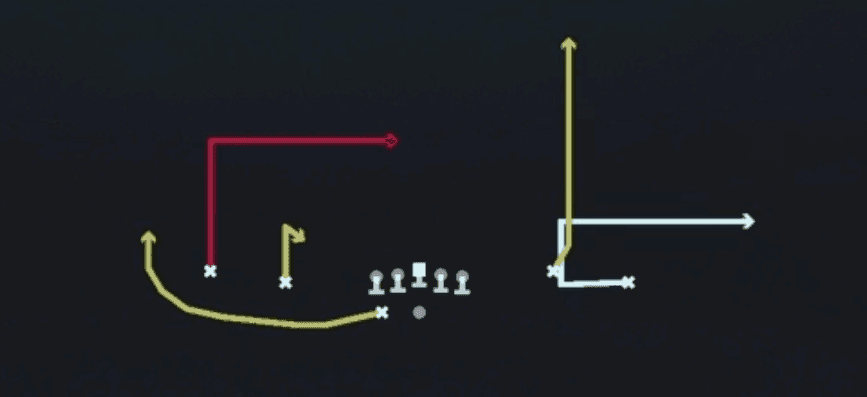 Mtn X ReplaceMotion, Dig, Hitch +4
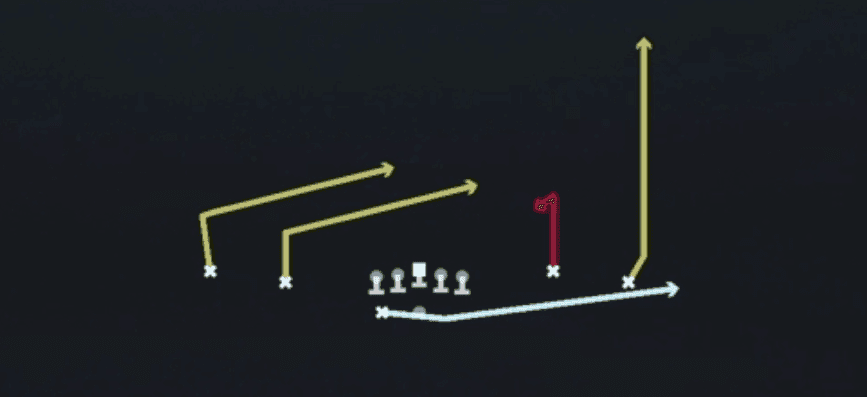 Mtn Y StickStick, Stick Concept, Motion +5
- Mtn Z SpotCorner, Slant, Swing +1
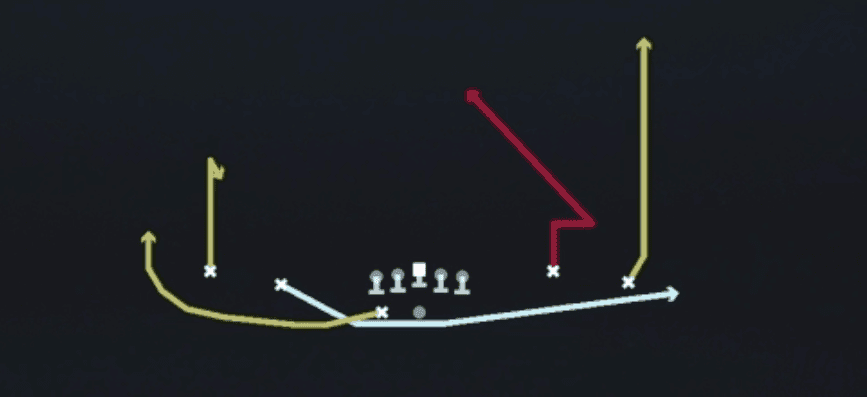 Orbit Stick N NodStick, Stick Concept, Motion +5
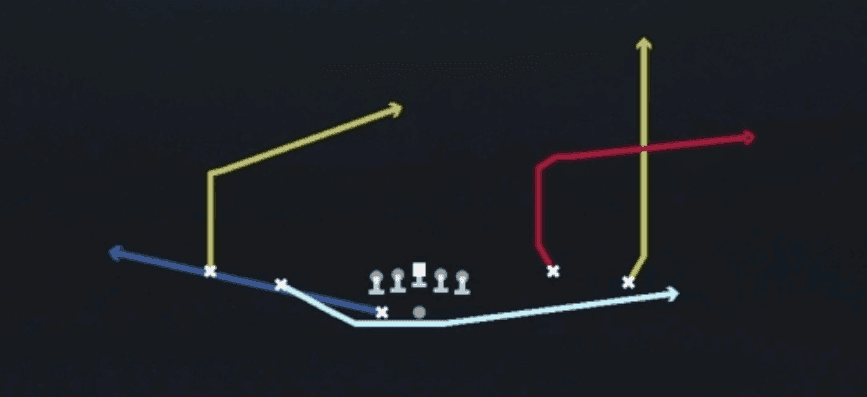 Orbit Y SailSail, Motion, Pass Play +7
 Orbit Y StickStick, Stick Concept, Motion +6
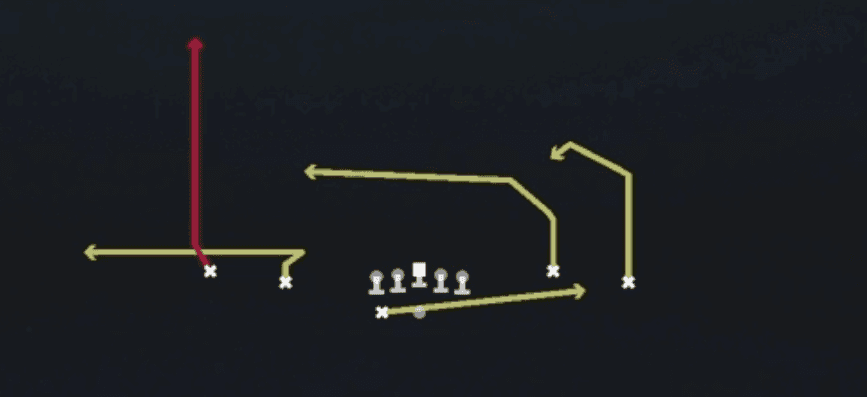 PA CrossPlay Action, Pass Play, Crosser +5
 PA DaggerPlay Action, Dagger, Pass Play +7
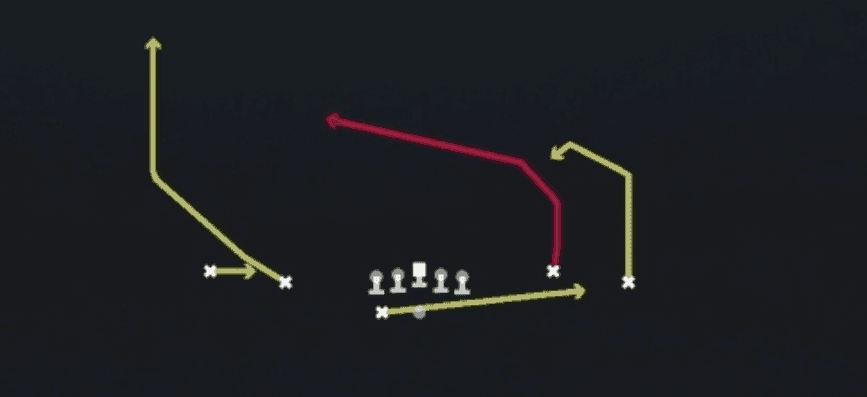 PA Y CrossPlay Action, Y Cross, Pass Play +6
- Quick SlantsSlant, Pass Play, Flat
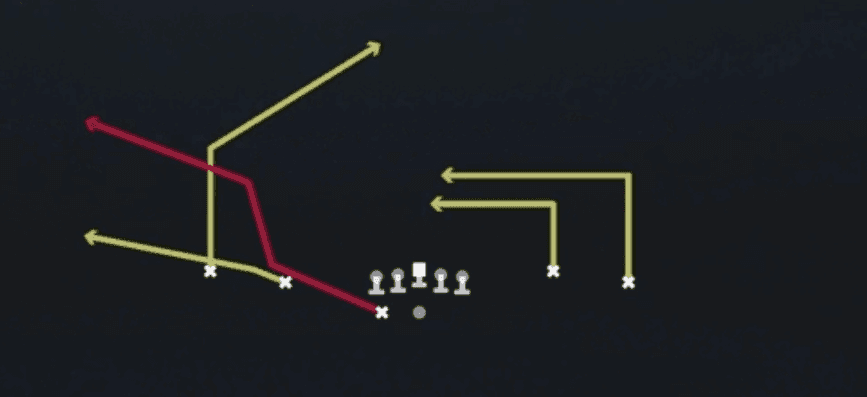 Redzone HB ScissorsScissors, Pass Play, Cover 2 Beater +5
- RPO Alert ScreenScreen Pass, Bubble Screen, Pass Play +1
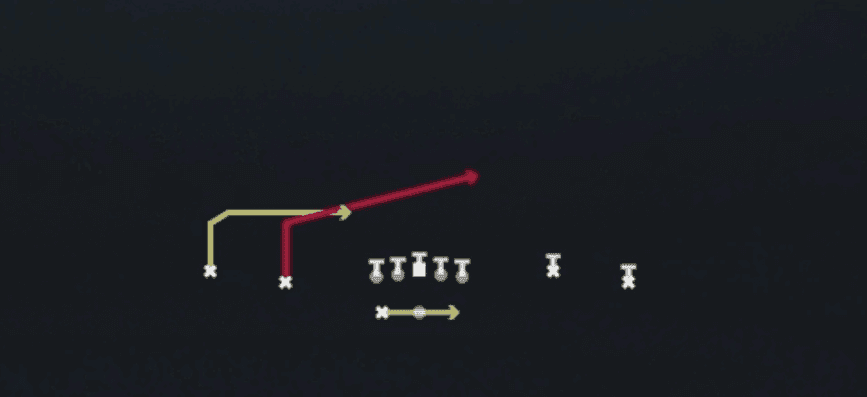 RPO Peek SlantRPO, Slant, Pass Play +1
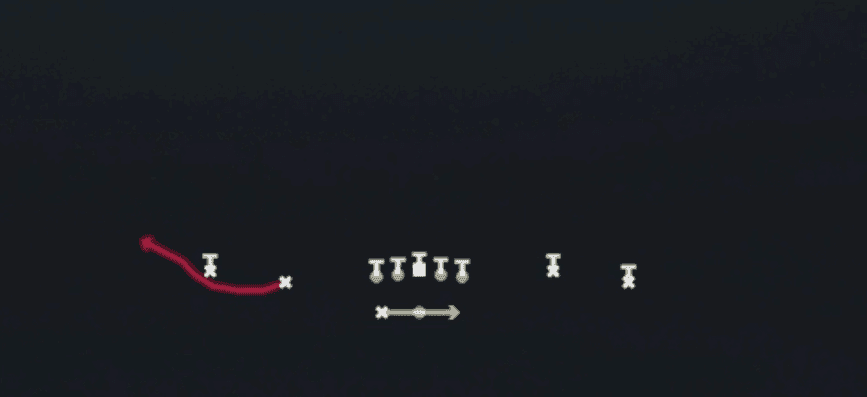 RPO Read BubbleRPO, Pass Play, Run Play +1
- RPO Zone PeekRPO, Pass Play, Run Play +2
- Slot CrossCrosser, Deep Cross, Dig +4
- Slot FadesFade, Hitch, Streak +1
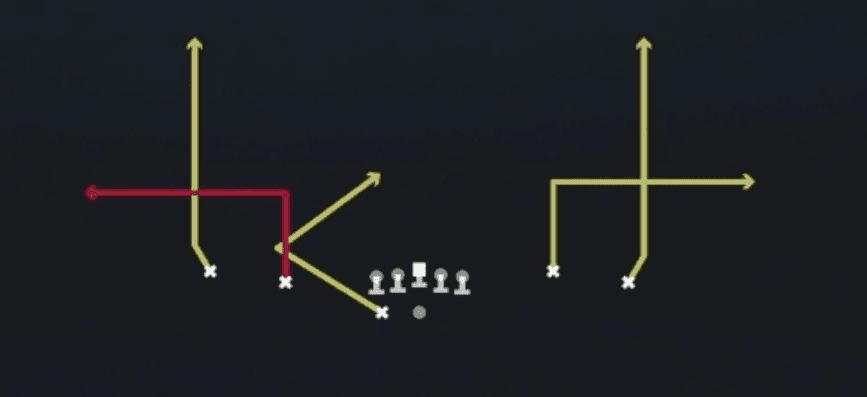 Slot OutsOut, Pass Play, Angle +3
- Smash CornersCorner, Smash, Pass Play +3
- Smash HB AngleAngle, Corner, Hitch +1
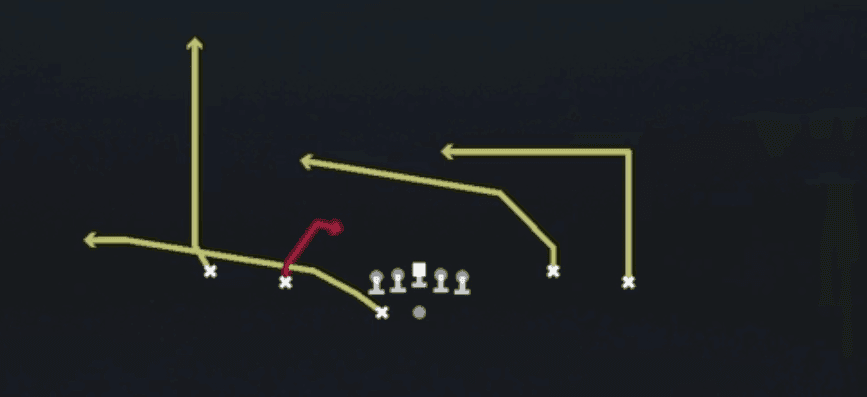 Spot Y CrossSpot, Y Cross, Pass Play +6
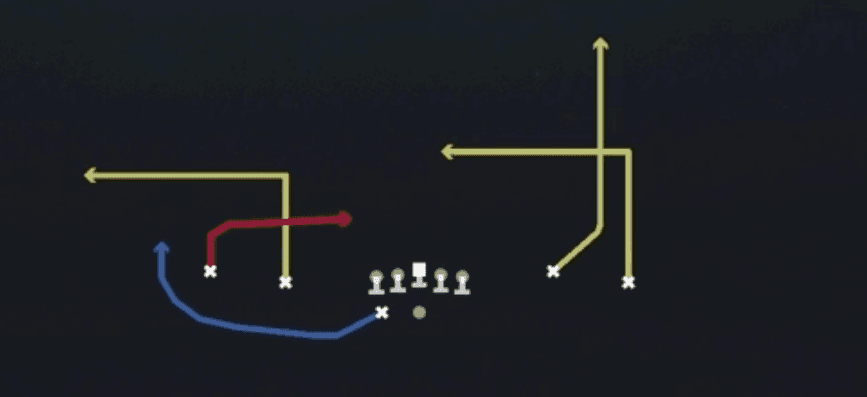 UnderPass Play, Quick Pass, Out +10
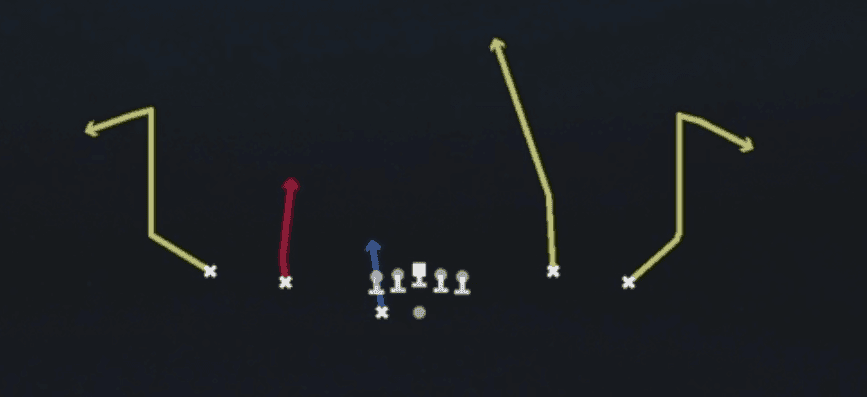 Vert ComebacksComeback, Pass Play, Option Route +2
- X SpotCorner, Flat, Slant +1









