Playbooks
Quick Reference
In 2 playbooks
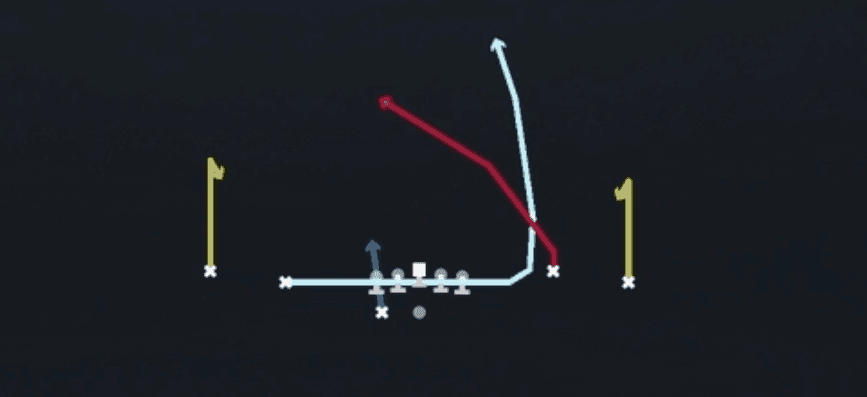
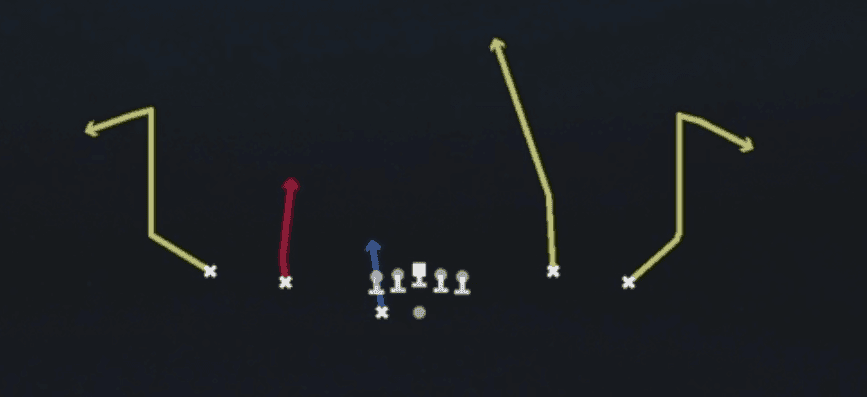
Receiver routes
Depth-chart slots are shown as they line up in the base package for this set.
| Player | Side | Route |
|---|---|---|
| HB1 | Left | Option Route |
| WR3 | Left | Wheel |
| WR1 | Left | Curl |
| WR2 | Right | Curl |
| TE1 | Right | Deep Cross |
Read progression
- TE1 right, Deep Cross
- WR3 left, Wheel
- WR1 left, Curl or WR2 right, Curl
- HB1 left, Option RouteCheck-down
Breakdown
H Mtn Middle Divide is a mountain-motion play-action style pass concept out of Shotgun Spread Y-Flex Wk that features a vertical divide combo attacking the middle of the field. The Y (TE/H) runs a deep post that breaks off a vertical stem while the outer receiver climbs a straight vertical seam up the numbers, creating a two-level stretch on any single high safety. The center and interior linemen slide protect while the backside blocker holds the edge, and the read progression starts with the inside vertical seam before working down to the post breaking across the middle, making this a man beater designed to split coverage down the seams.
Defensive Reads
Pre-snap, check safety alignment: a single high safety is a green light to attack the post and seam combo since the defender cannot cover both verticals. Watch the cornerback depth on the seam route side, since press man leaves the corner vulnerable to a speed release straight up the field. Post-snap, key the middle linebacker's drop, as a fast drop into the throwing lane can jump the post route if the quarterback stares it down too long. This concept struggles against Cover 4 or Cover 2 shells with two deep safeties, since both verticals run into help over the top. Be wary of user-controlled defenders sitting in a lurk technique in the middle of the field, as they can undercut the post route if the quarterback does not manipulate them with eyes first.
Usage Tips
Use the pre-snap motion to identify if the defense shifts into man or zone, since motion adjustments often expose blitz packages or reveal a single high safety look.
Take advantage of Cover 3 or Cover 1 shells where the post route can split the safety and the vertical seam clears out the flat defender.
If you see two deep safeties, hot route the post into a dig or hitch to avoid throwing into the deep half against a natural double team.
This play works best on second and long or third and medium situations where you need a chunk gain and defenses are more likely to sit back in zone.
Pair this call with H Stick or Slot Outs earlier in a drive to set up quick game tendencies, then hit Middle Divide off the same motion look for a big play once the defense bites on the short stuff.
Other Plays in Spread Y-Flex Wk
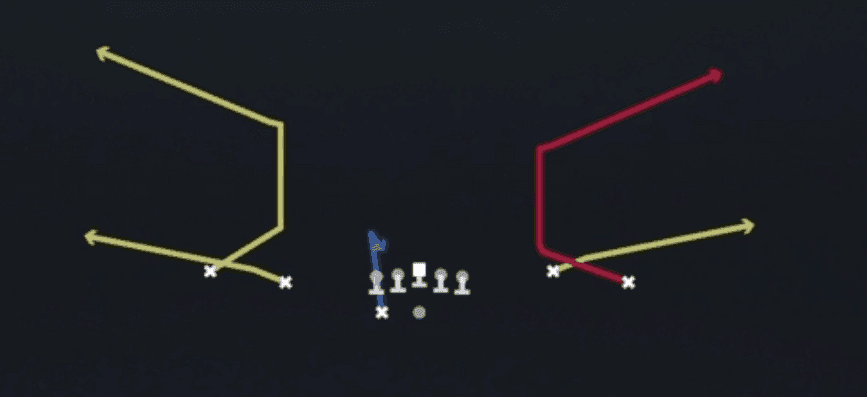 Corner StrikeCorner, Pass Play, Block and Release +1
 Double CrossCrosser, Pass Play, Post +4
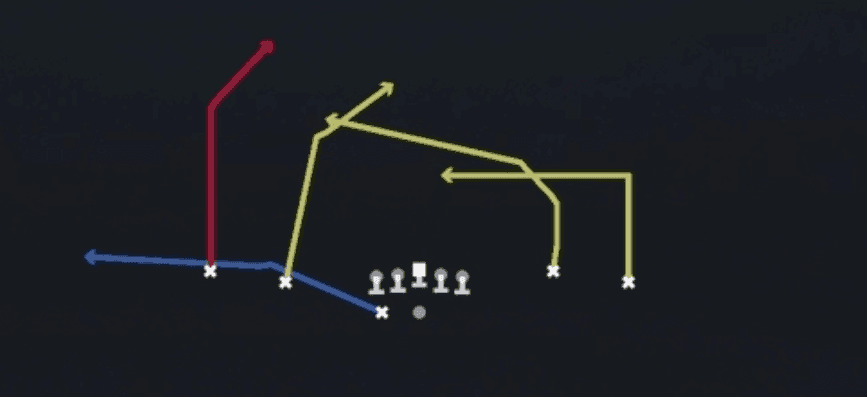 Double PostPost, Double Posts, Pass Play +6
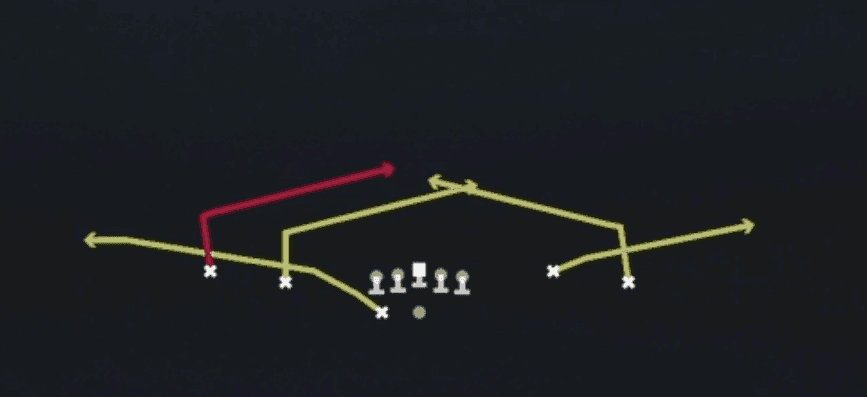 Double SlantsSlant, Pass Play, Flat
- Flanker DigDig, Pass Play, Curl +5
 Four VerticalsFour Verts, Pass Play, Cover 2 Beater +5
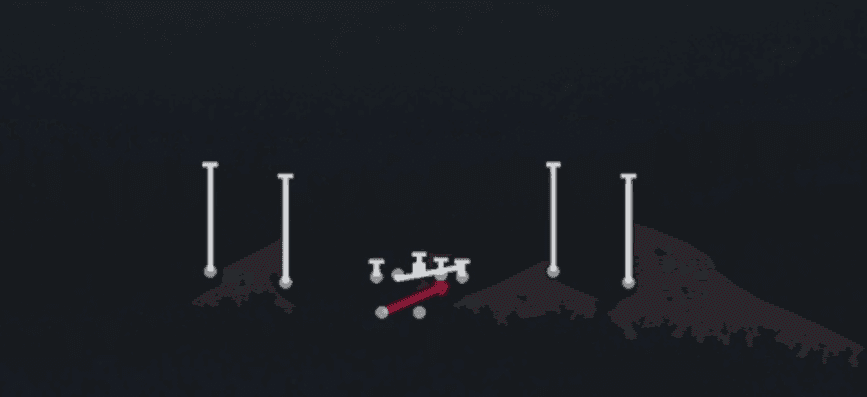 HB BaseDive, Run Play
- HB Mid DrawDraw, Run Play
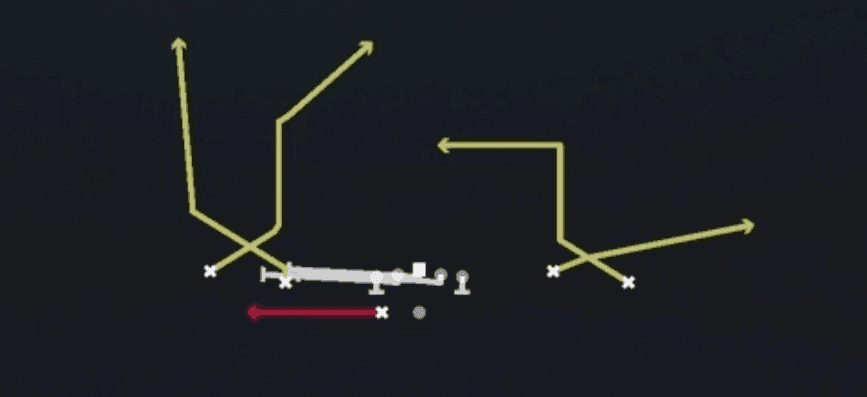 HB Slip ScreenScreen Pass, Hb Screen, Pass Play +4
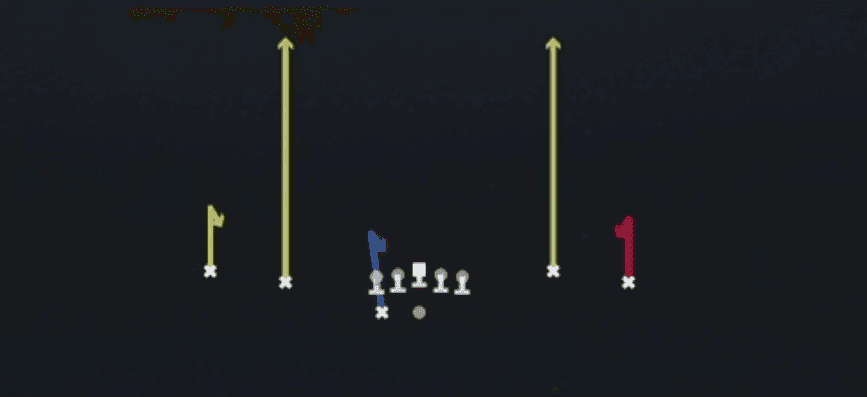 Hitch SeamHitch, Seam, Pass Play +2
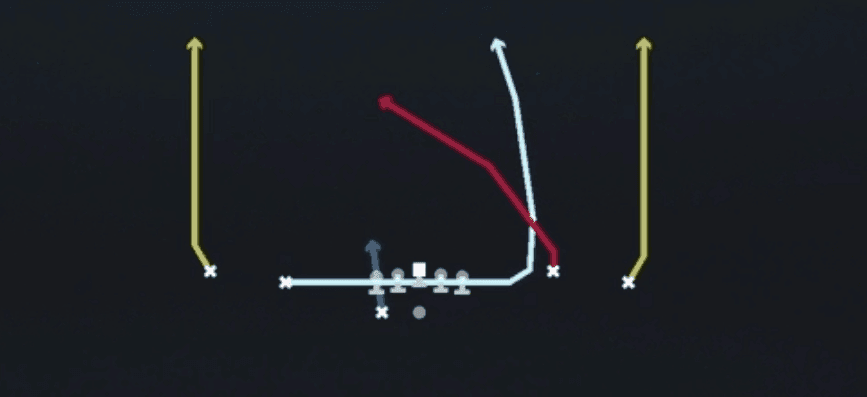 H Mtn Four VerticalsFour Verts, Motion, Pass Play +8
- H Mtn Y StickStick, Flat, Hitch +3
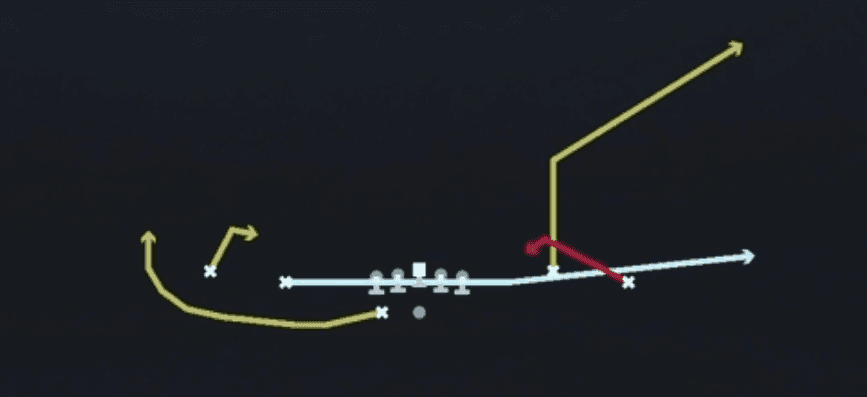 H Mtn Z SpotSpot, Motion, Pass Play +5
- H Shallow CrossShallow Cross, Crosser, Block and Release +5
- H StickStick, Fade, Hitch +3
- Inside CrossCrosser, Pass Play, Block and Release +3
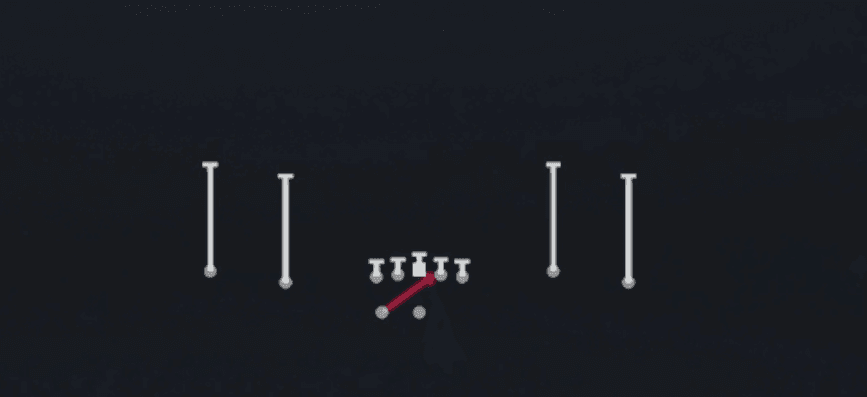 Inside ZoneInside Zone, Run Play, Zone Run
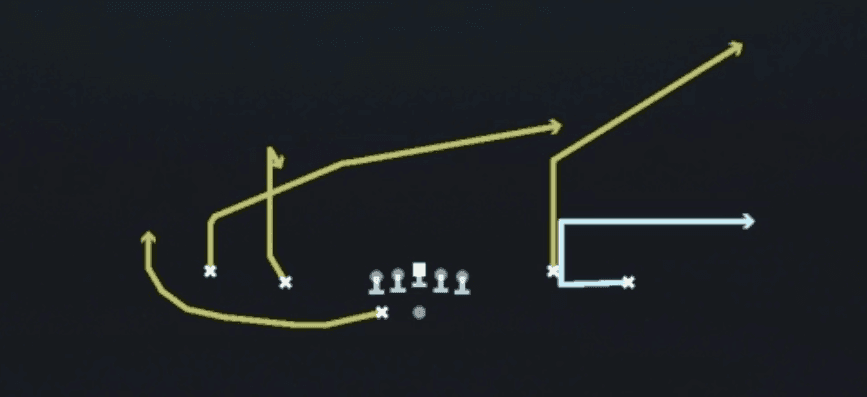 Mtn BenchMotion, Bench, Pass Play +6
 Mtn Bench CurlsMotion, Curl, Bench +4
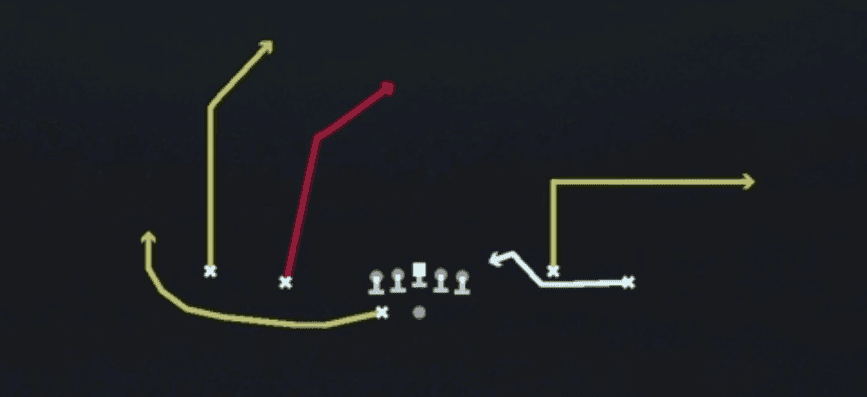 Mtn Double PostPost, Double Posts, Motion +5
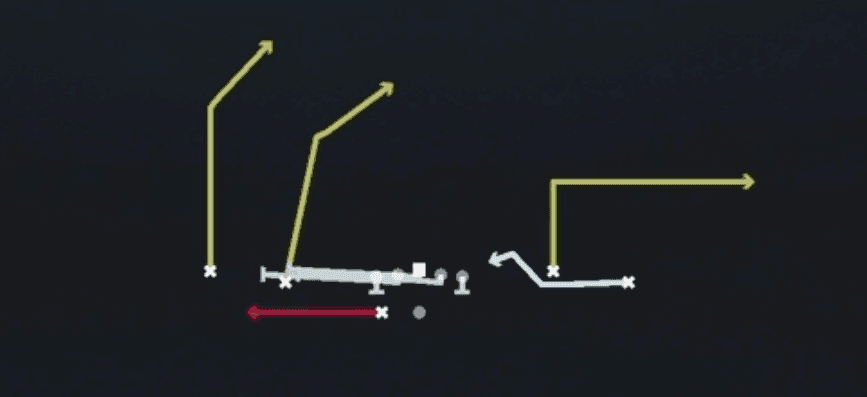 Mtn HB Slip ScreenScreen Pass, Hb Screen, Motion +3
- Mtn HB SwingSwing, Out, Streak +1
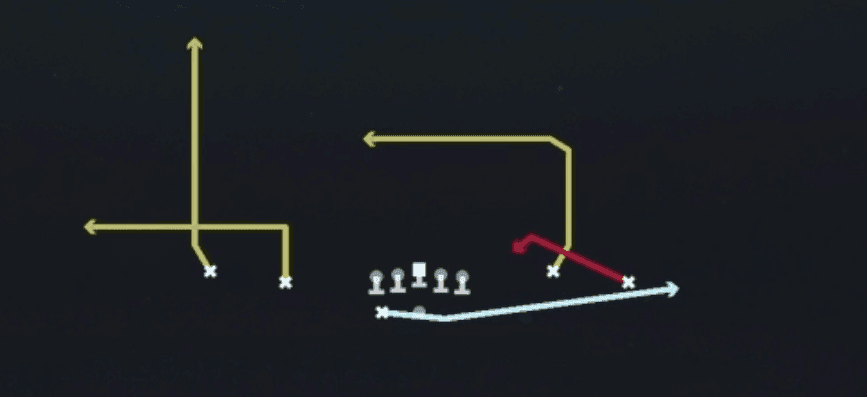 Mtn Spot DigDig, Spot, Motion +6
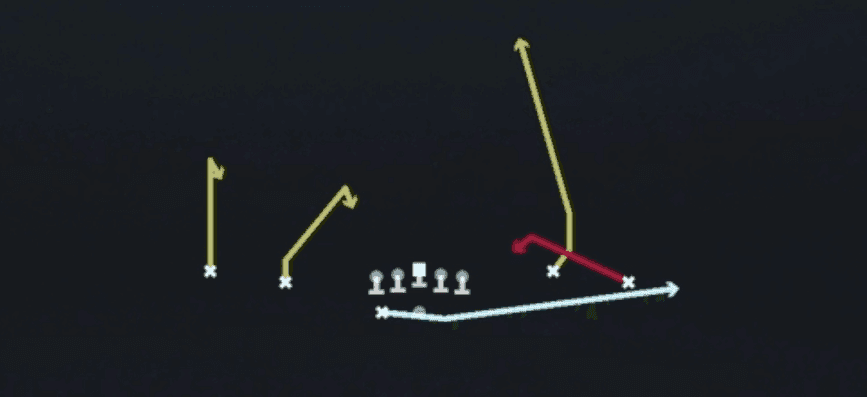 Mtn Spot Y SeamSeam, Spot, Motion +5
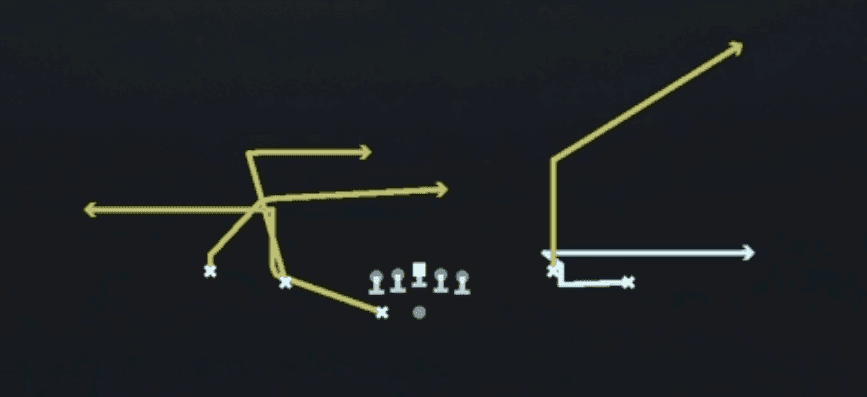 Mtn Whip CrossWhip, Motion, Pass Play +6
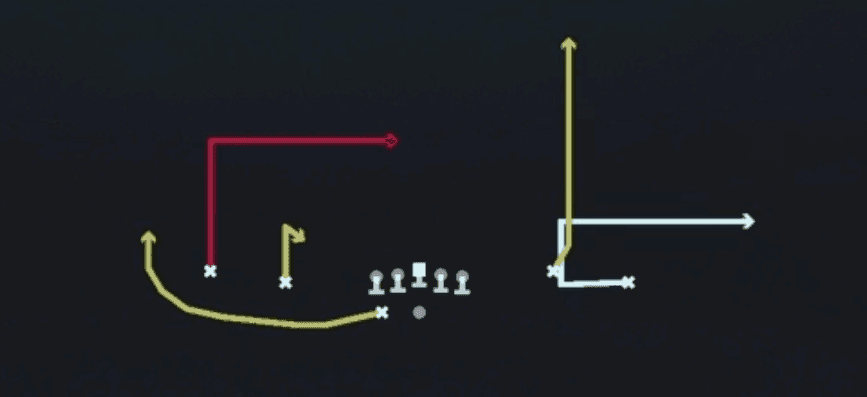 Mtn X ReplaceMotion, Dig, Hitch +4
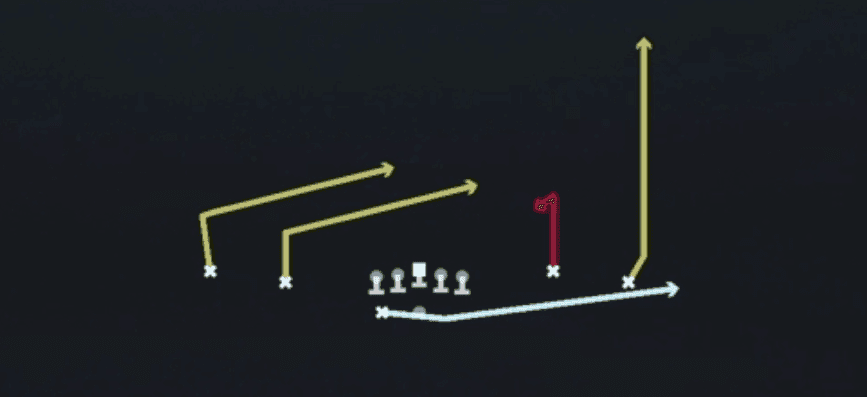 Mtn Y StickStick, Stick Concept, Motion +5
- Mtn Z SpotCorner, Slant, Swing +1
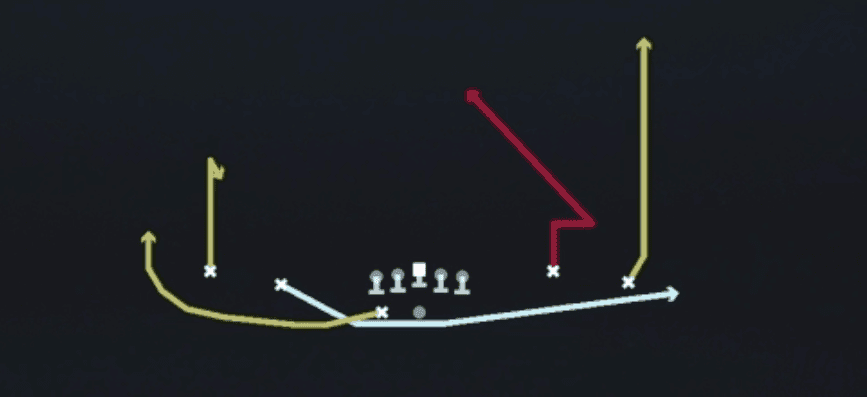 Orbit Stick N NodStick, Stick Concept, Motion +5
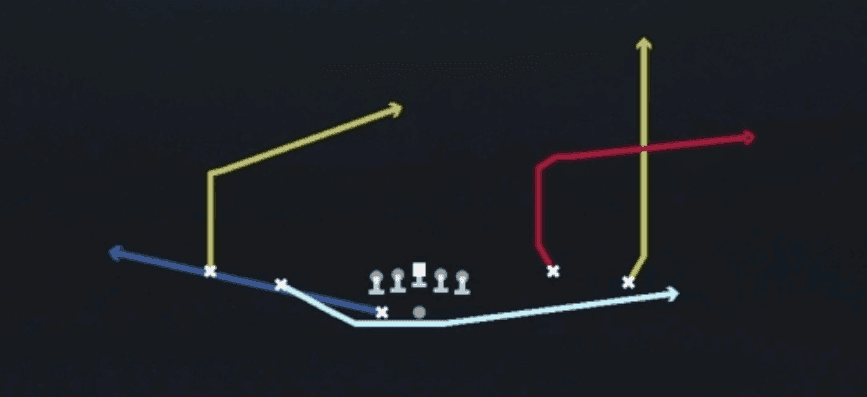 Orbit Y SailSail, Motion, Pass Play +7
 Orbit Y StickStick, Stick Concept, Motion +6
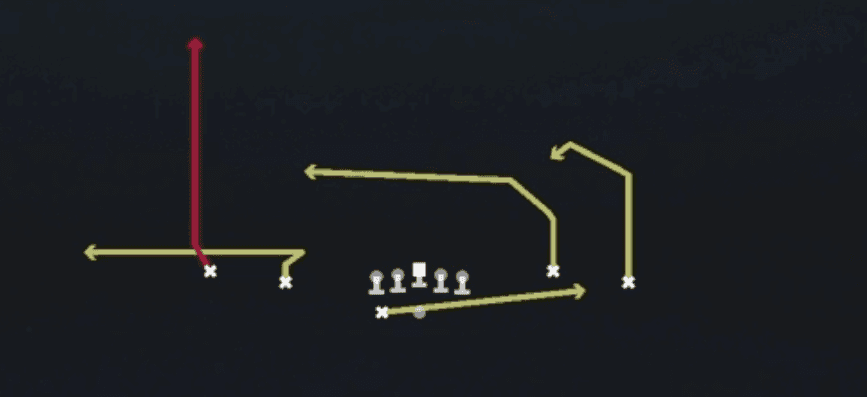 PA CrossPlay Action, Pass Play, Crosser +5
 PA DaggerPlay Action, Dagger, Pass Play +7
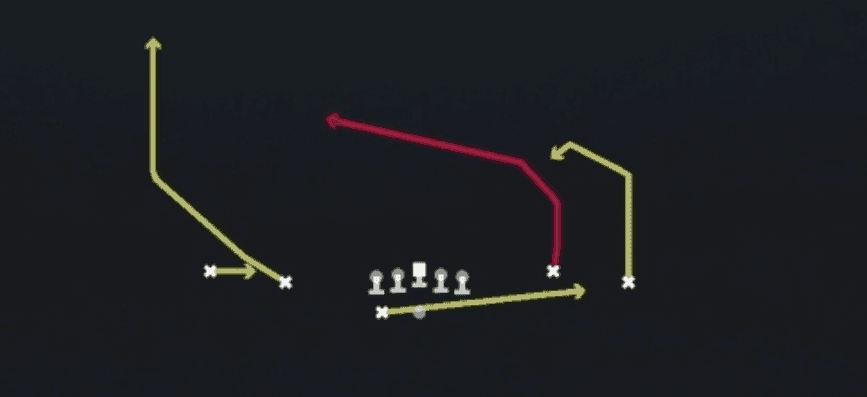 PA Y CrossPlay Action, Y Cross, Pass Play +6
- Quick SlantsSlant, Pass Play, Flat
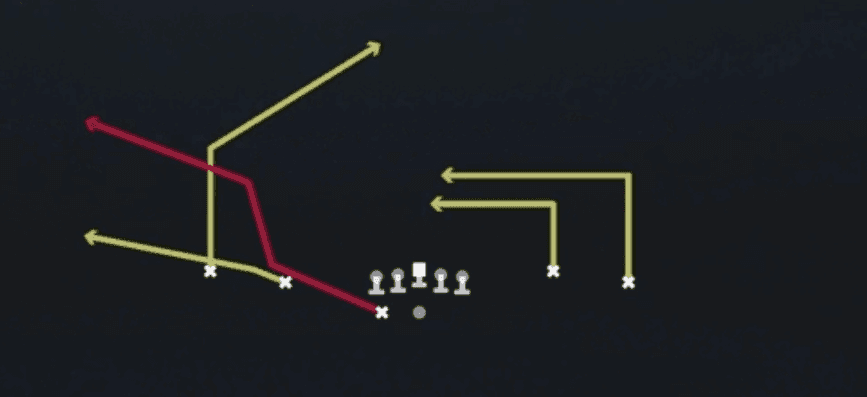 Redzone HB ScissorsScissors, Pass Play, Cover 2 Beater +5
- RPO Alert ScreenScreen Pass, Bubble Screen, Pass Play +1
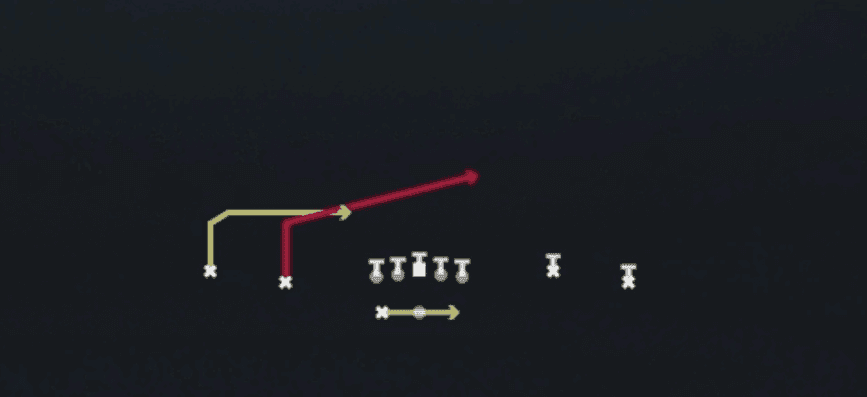 RPO Peek SlantRPO, Slant, Pass Play +1
 RPO Read BubbleRPO, Pass Play, Run Play +1
- RPO Zone PeekRPO, Pass Play, Run Play +2
- Slot CrossCrosser, Deep Cross, Dig +4
- Slot FadesFade, Hitch, Streak +1
 Slot OutsOut, Pass Play, Angle +3
- Smash CornersCorner, Smash, Pass Play +3
- Smash HB AngleAngle, Corner, Hitch +1
 Spot Y CrossSpot, Y Cross, Pass Play +6
 UnderPass Play, Quick Pass, Out +10
 Vert ComebacksComeback, Pass Play, Option Route +2
- X SpotCorner, Flat, Slant +1