Playbooks
Quick Reference
In 13 playbooks
Receiver routes
Depth-chart slots are shown as they line up in the base package for this set.
| Player | Side | Route |
|---|---|---|
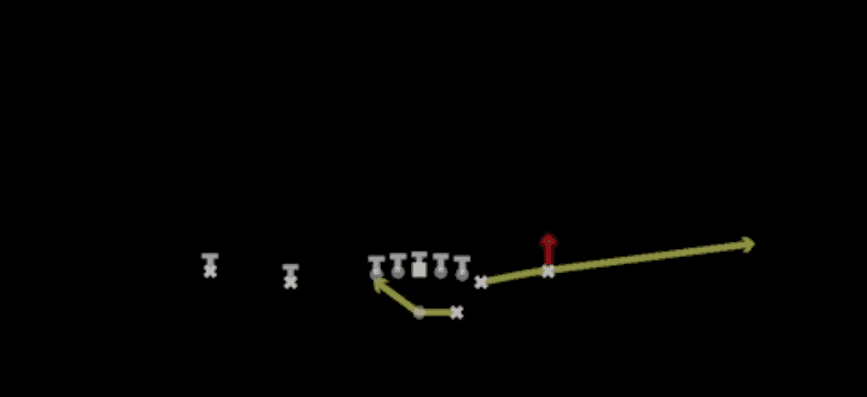
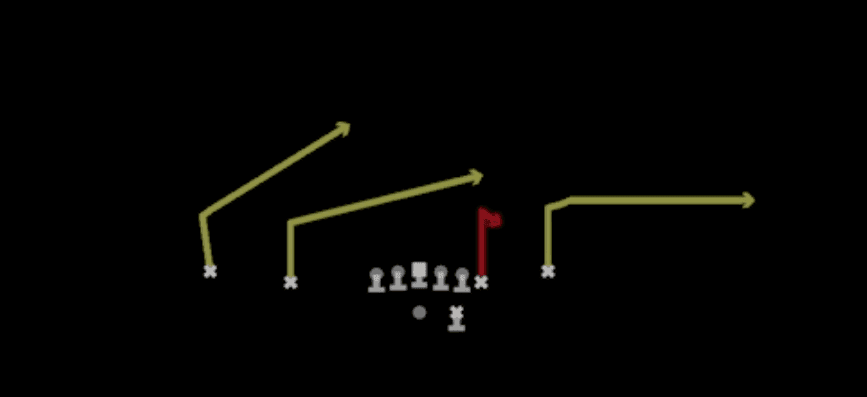
| SLWR | Left | Bubble Screen |
| WR1 | Left | Run Block |
| WR2 | Right | Out |
| TE1 | Right | Run Block |
Read progression
- WR2 right, Out
- SLWR left, Bubble Screen
Breakdown
RPO Zone Alert Omaha is a run pass option out of Shotgun 11 personnel that pairs an inside zone run with a quick alert route package read at the line of scrimmage. The Omaha alert tag lets the quarterback change the perimeter concept pre-snap based on the numbers or leverage the defense shows, typically flashing a hitch or quick out to the alert receiver while the offensive line executes zone blocking for the running back. This is a zone beater and light box exploiter first, with the pass option serving as a hot key against overaggressive linebacker flow, and the primary read progression starts with the alert defender (the man responsible for the flashed receiver) before working down to the mesh point handoff read on the play side linebacker or force defender.
Defensive Reads
Pre-snap, check safety depth and leverage over the alert receiver, if the safety is rolled down into the box or shows single high with no help over the slot, the quick alert throw is live. Watch the play side linebacker's alignment and depth, a linebacker sitting wide and shallow signals he is keying the run fit and will vacate space for the alert route. Post-snap, identify if the defense is running a zone blitz or nano blitz off the edge, since fast interior pressure can beat the blocking scheme before the quarterback has time to process the alert key. This play struggles against disciplined Cover 3 or Cover 4 shells where the underneath zone defender sits directly on the alert route and the play side linebacker stays home in the run gap, taking away both options. Blitz packages that bring extra defenders through the alert route's throwing lane while maintaining run gap integrity, such as a scrape exchange or contain blitz, are the primary counters that shut this play down.
Usage Tips
Use pre-snap motion or a quick glance to count the box before the snap and pull the ball if you see six or more defenders stacked in the run fit. Key the play side linebacker and the alert defender simultaneously, if either flows hard to stop the run or crashes down, immediately throw the hot route to the alert receiver for an easy conversion. This play shines on second and short or third and short because both the run and quick pass options are high percentage answers against base fronts. Hot route the backside slot into a quick out or speed cutoff if you face a defense that plays soft zone shells like Cover 3 or Cover 4, since the alert route alone may get squeezed by an underneath zone defender sitting on it. Pair this call with RPO Zone Snag or RPO Zone Peek Glance later in a series so the defense has to respect both the zone run action and multiple perimeter alert options, forcing linebackers to hesitate on run fits. Against man coverage looks, consider switching to RPO Peek Stick or RPO Peek Spot in the same set since Omaha's alert route is more effective versus zone drops than tight man coverage.
Other Plays in Normal Y Off Close
 Cheat Flat X PostFlat, Post, Motion +3
 Cheat Inside ZoneInside Zone, Motion, Run Play +1
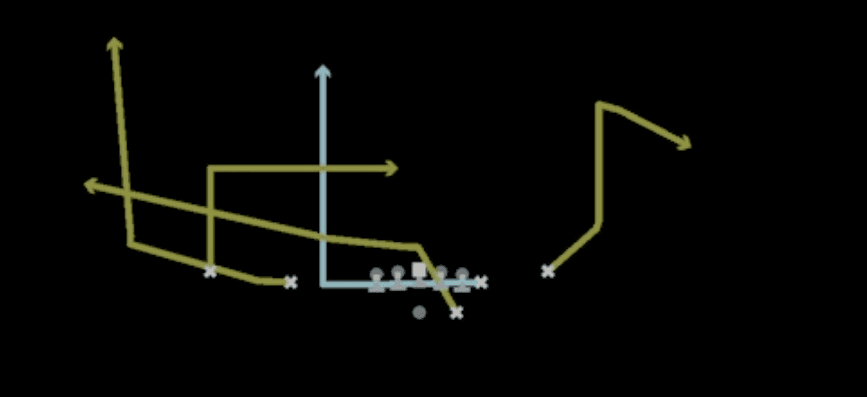 Cheat Slash Wheel InWheel, Motion, Pass Play +3
 Cheat Slot FadeFade, Motion, Pass Play +4
 Cheat TE AngleAngle, Motion, Pass Play +5
 Cheat TE ScreenScreen Pass, Te Screen, Motion +3
 Double SlantSlant, Pass Play, Post +2
 Empty Mtn HB SwingSwing, Motion, Pass Play +1
 Empty Mtn Jailbreak ScreenScreen Pass, Wr Screen, Motion +5
 Empty Mtn Spot ReplaceSpot, Motion, Pass Play +5
 EscapePass Play, Flood, Corner +10
- Exit HB Cross ScreenScreen Pass, Crosser, Corner +3
- Exit PA SmashCorner, Deep Cross, Crosser +6
- Exit RPO Zone HitchesHitch, Fade, Pass Play +1
- Fake Jet Y WheelPlay Action, Wheel, Motion +3
 Fk Jet Y WheelPlay Action, Wheel, Motion +1
- Flood H PostPost, Corner, Curl +2
 Inside ZoneInside Zone, Run Play, Zone Run
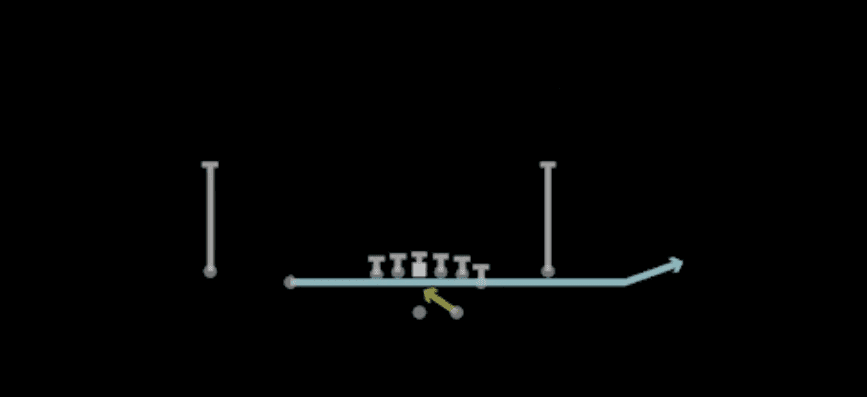 Jet Pass Fk ZoneMotion, Run Play
 Jet Touch PassMotion, Run Play
 Mesh SpotSpot, Mesh, Pass Play +7
 Mtn Angle Y WheelWheel, Angle, Motion +5
- Mtn Dash FloodCorner, Deep Cross, Crosser +3
 Mtn HB AngleAngle, Motion, Pass Play +4
 Mtn HB SwingSwing, Motion, Pass Play +1
- Mtn Inside ZoneRun Play
- Mtn PA BootBlock and Release, Corner, Deep Cross +5
- Mtn Slot Shallow CrossShallow Cross, Crosser, Curl +5
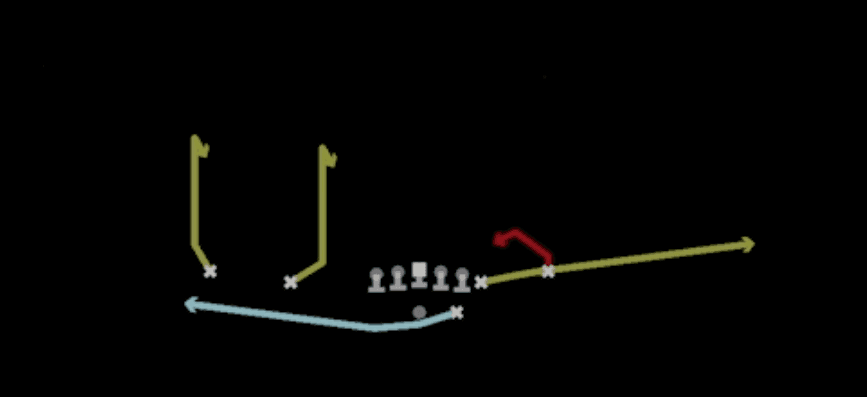 Mtn Snag CurlsSnag, Snag Concept, Motion +5
 Mtn Switch CornerCorner, Motion, Pass Play +4
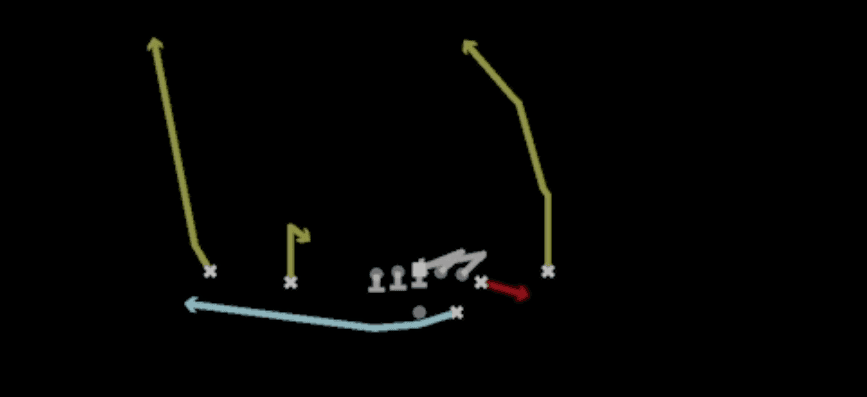 Mtn TE Middle ScreenScreen Pass, Te Screen, Motion +7
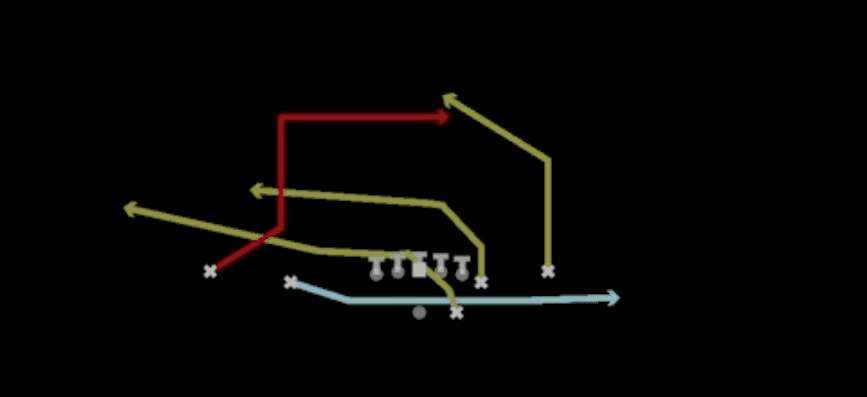 PA Jet SweepSweep, Jet Sweep, Play Action +7
 PA SnagPlay Action, Snag, Snag Concept +5
 Power ReadPower, Run Play, Power Run
 Read Counter BashCounter, Run Play, Power Run
 Read OptionRead Option, Run Play
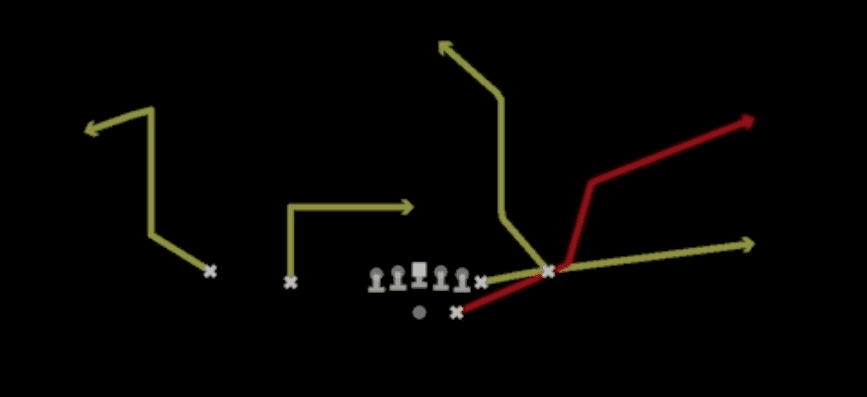 Redzone ScissorsScissors, Pass Play, Cover 2 Beater +6
 Reload HB SweepSweep, Motion, Run Play
 Reload Mesh SpotSpot, Mesh, Motion +8
 Reload PA CrossPlay Action, Motion, Pass Play +6
- Reload PA Deep SailCorner, Post, Flat +7
- Reload PA Shake BubblePlay Action, Motion, Pass Play +5
- Reload Quick HB TrailAngle, Corner, Deep Cross +4
- Reload RPO Zone SnagSnag, Bubble Screen, Flat +2
 RPO Alert Cheat BubbleRPO, Motion, Pass Play +3
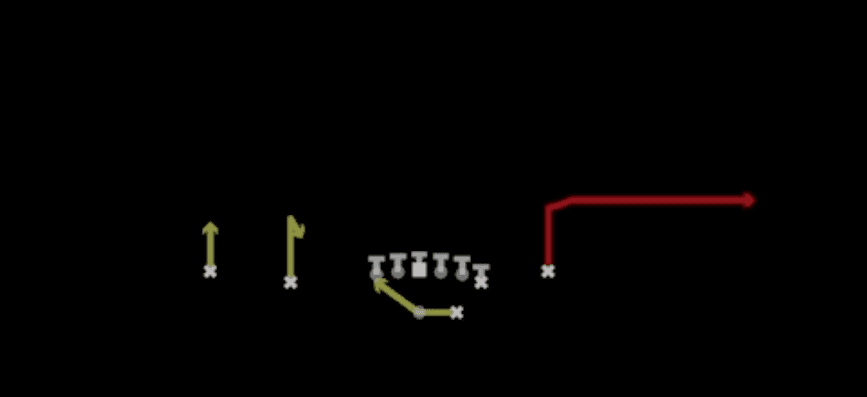 RPO Alert OutRPO, Out, Pass Play +1
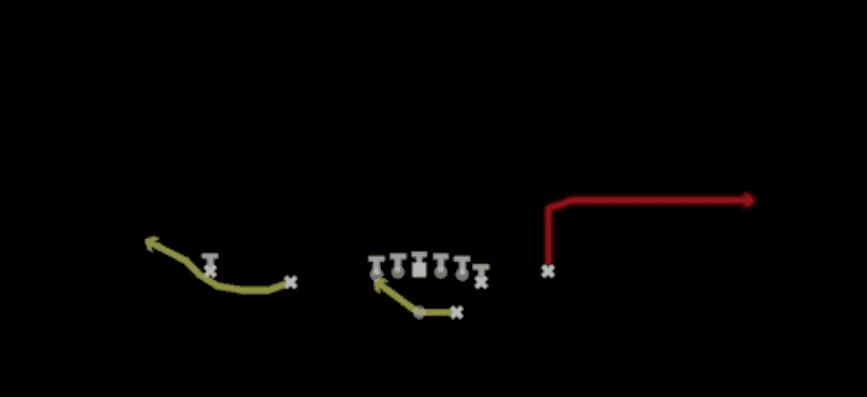 RPO Alert OutRPO, Out, Pass Play +1
 RPO Glance PostRPO, Post, Pass Play +1
 RPO Peek SpotRPO, Spot, Pass Play +2
 RPO Peek StickRPO, Stick, Stick Concept +2
- RPO Zone Omaha HitchRPO, Hitch, Pass Play +3
- RPO Zone Peek GlanceRPO, Pass Play, Run Play +2
- RPO Zone SnagRPO, Snag, Snag Concept +6
- RPO Zone StickRPO, Stick, Stick Concept +3
- RZ Cross HB ChoiceCrosser, Option Route, Corner +3
- Same Side ZoneRun Play
 Wheel SwitchWheel, Pass Play, Post Corner +2
 Y-SailSail, Pass Play, Cover 2 Beater +6
 Y StickStick, Stick Concept, Pass Play +3
 Y-Stick DigDig, Stick, Stick Concept +5
 Zone Fake JetMotion, Run Play