Playbooks

At a Glance
Overview
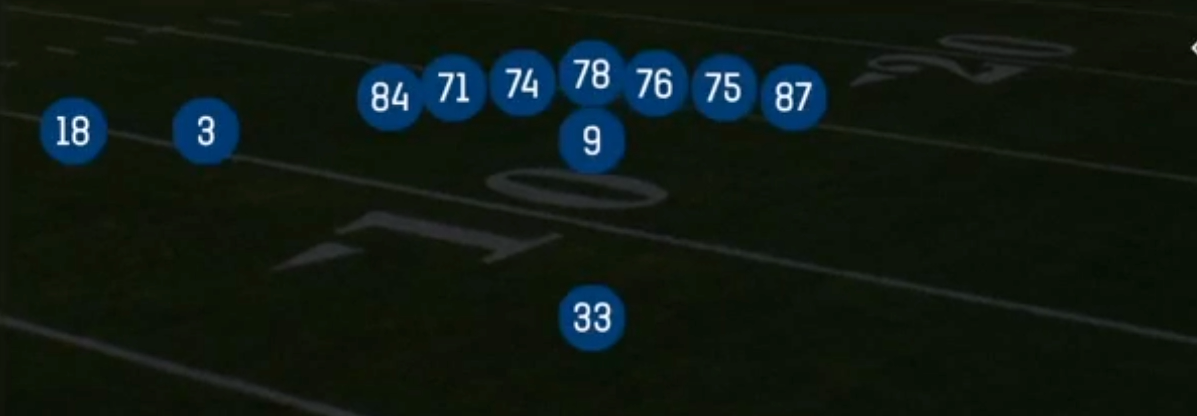
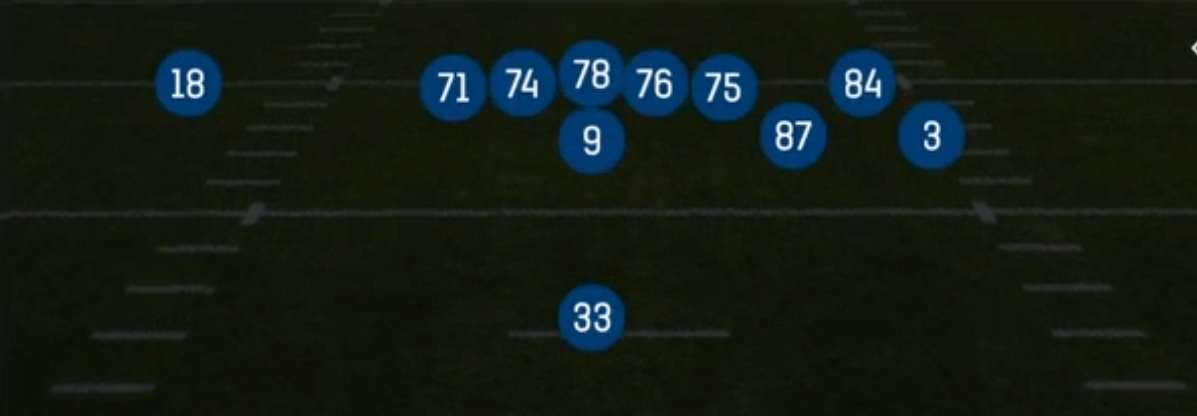
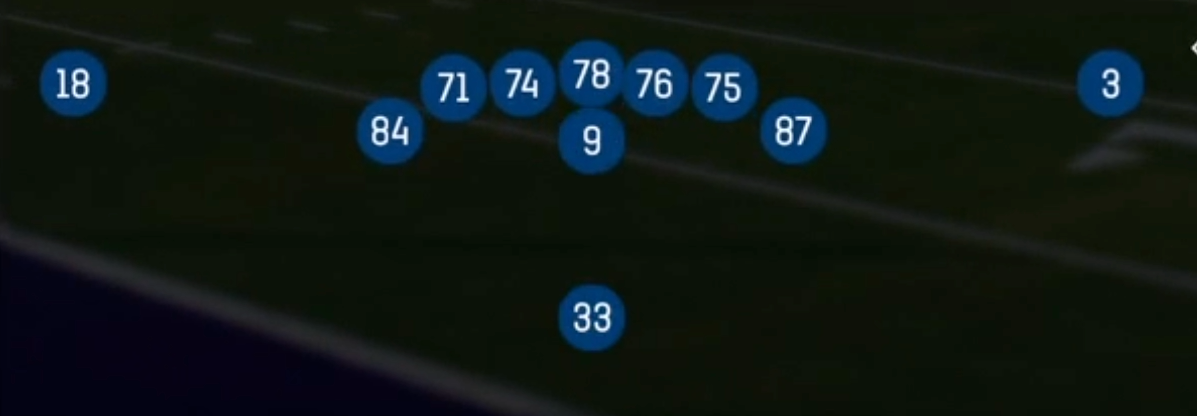
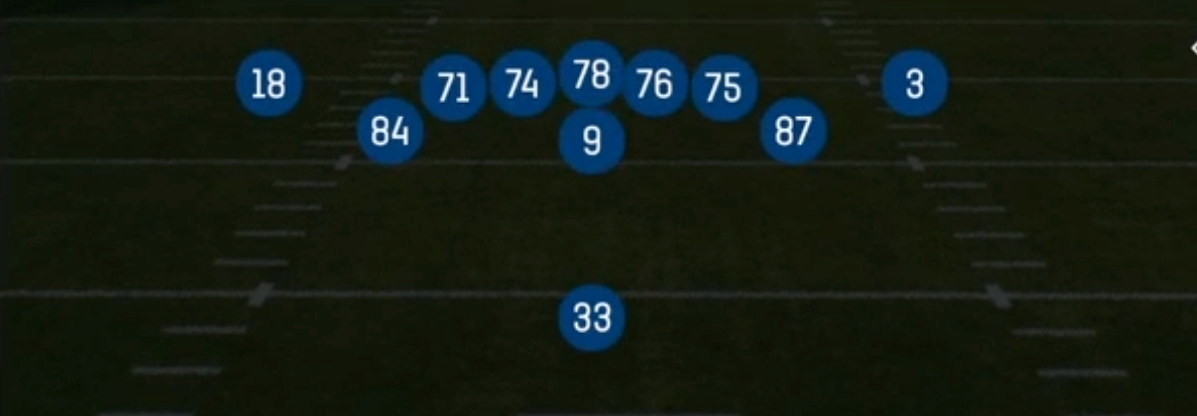
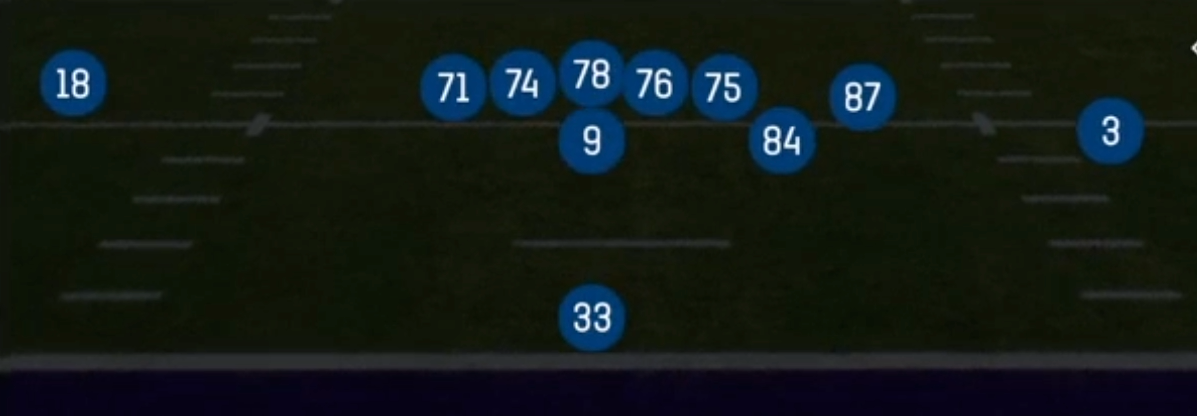
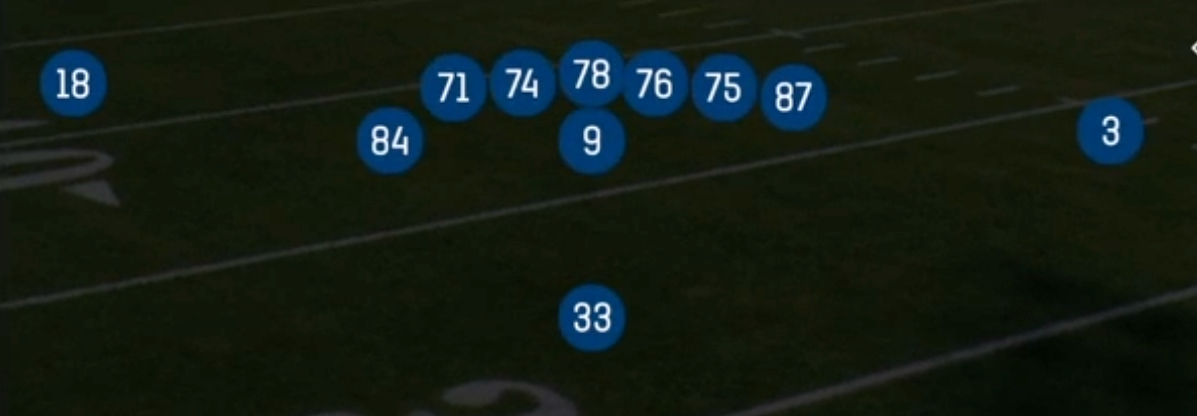
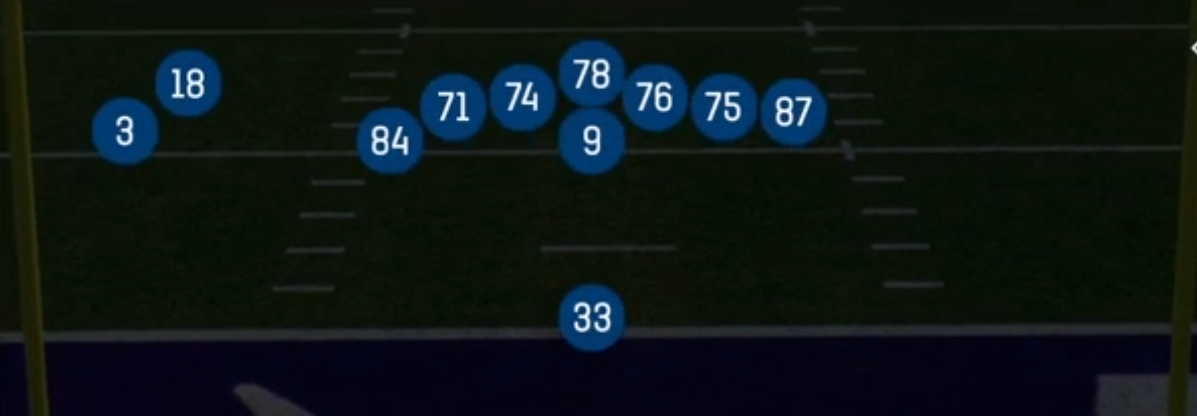
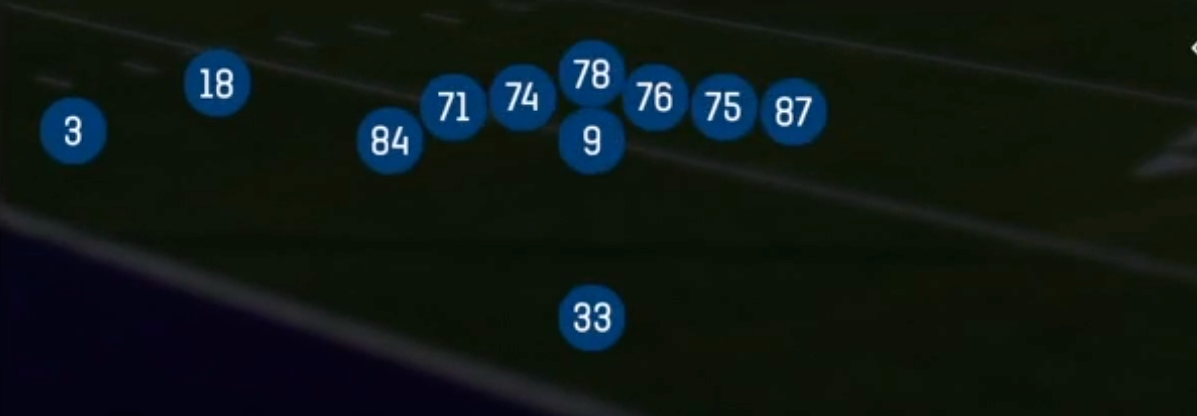
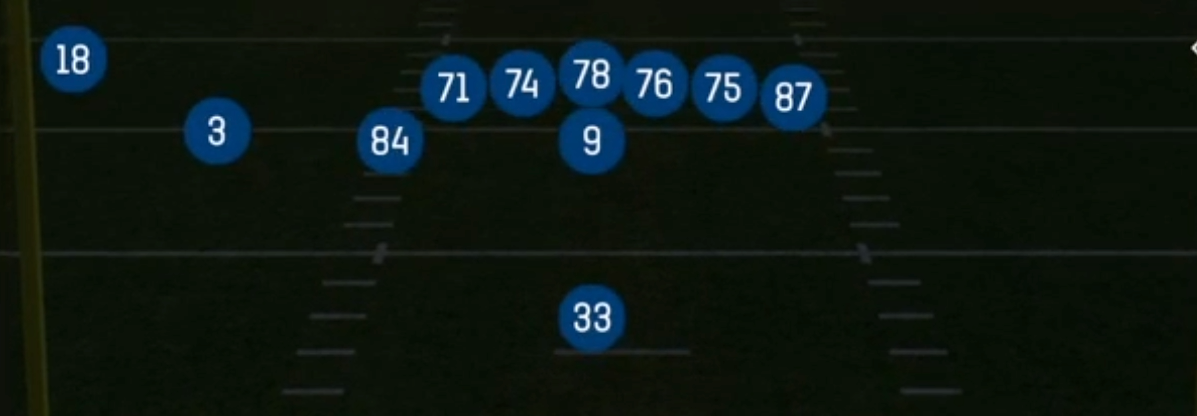
Singleback Wing Close is a 12 personnel set that stacks the formation with an inline Y tight end and a second tight end aligned as a wing just off the edge of the tackle, while the two wide receivers pull in to reduced, close splits near the core. Unlike Singleback Ace, which balances the tight ends on both sides, or the spread-out 11 personnel looks, Wing Close compresses the formation and creates a heavy strength side that forces defenses to declare their run fits before the snap. The condensed splits give the receivers a two-way go on the corner and create natural rub and crossing lanes that wider alignments cannot replicate.
The wing tight end is the engine of this set. He can climb as a lead blocker on Duo and HB Mid Zone, seal the backside on Wide Zone, or release as a leaky receiver on play-action concepts like PA TE Flood and PA Cross Y Delay. Because the defense has to respect the extra gap created by the wing, safeties roll down into the box. That opens the play-action shot game (PA Fk Toss Wheel, PA Y-Drag Wheel, Mtn Out N Up) and punishes aggressive safety play with Corndog and Wheel combinations against single-high rotations.
The Mtn package is what separates Wing Close from a standard heavy set. Cheat motion brings a receiver across the formation to create stacks, reveal man versus zone, and shift the strength before the snap. Paired with gadget calls like HB Toss Fk Reverse and Pitch WR Reverse, plus RPO Alert Lookie, this set lets a power runner or 3DRB punish linebackers who overpursue while keeping a complete answer for every coverage shell out of the same look.
Strengths
- The wing tight end creates an extra gap on the strength side, so Duo, HB Mid Zone, and Wide Zone generate numbers advantages when the defense stays in two-high or base nickel against 12 personnel.
- Mtn Corndog Trail and Mtn Corndog Mesh pair a corner route with an underneath in-breaking route, a legitimate Cover 3 and Cover 4 beater that high-lows the flat defender and stresses the curl zone, while the Cheat motion reveals man coverage pre-snap.
- Close splits give receivers inside leverage and free releases, so Mtn Cheat WR Out, Mtn Cheat WR Comeback, and DBL Outs become strong man beaters because corners cannot press effectively without getting beat to the sideline.
- The play-action menu is deep: PA Fk Toss Wheel and PA Y-Drag Wheel attack Cover 1 and Cover 3 with wheel routes off run action, and PA TE Flood gives a three-level flood read that punishes defenders who bite on the zone fake.
- Gadget calls like HB Toss Fk Reverse, Pitch WR Reverse, and Mtn Corndog Toss punish users who flow hard to the strength side, making this set ideal for keeping aggressive user linebackers honest.
Weaknesses
- The compressed alignment brings every defender closer to the ball, so Cover 0 and edge pressure from Nickel and Dime packages can blow up zone runs before the back reaches the mesh point and overwhelm slow-developing play-action.
- With both tight ends in the core and the receivers in tight splits, there is limited horizontal stretch, so defenses can play Cover 2 Man or Cover 6 with hard flat defenders and squeeze passing windows against Stick X-Dig and short concepts.
- Motion-heavy Mtn plays telegraph intent; skilled opponents key the Cheat motion direction and user the flat or curl defender on the side the motion goes, taking away Mtn Cheat WR Wheel and Mtn Cheat WR Out.
- Play-action shots like Mtn PA Z Slide and PA Cross hold the quarterback in the fake long enough that a nano blitz off the backside edge gets home before the deep crossers clear.
- The 12 personnel group limits receiver speed on the field, so if your tight ends lack route running or your WR2 is slow, defenses can substitute bigger linebackers and win physically in man coverage without fear of being out-run.
Usage Tips
Check the box count pre-snap: with six or fewer defenders in the box against 12 personnel, audible to Duo or HB Mid Zone and let the wing kick the edge; with seven or eight, check to PA Fk Toss Wheel or Mtn Out N Up to attack the single-high safety.
Use the Cheat motion on Mtn Corndog plays as a coverage read. If a defender follows the motion across, it is man coverage, so throw the corner or the whip route; if the defense bumps and shifts, it is zone, so work the dig or trail route underneath.
On 3rd and short, run RPO Alert Lookie and read the flat defender: if he stays inside, throw the bubble or alert, and if he widens, hand it off to your power HB into a light box.
Hot route the wing tight end to a block on PA TE Flood or PA Cross Y Delay when you see a pressure look off the edge, keeping the flood intact while buying extra time for the deep crosser.
In the red zone, pair RZ PA Crossers with a slant or streak hot route on the backside receiver to create a pick concept against man coverage, and save HB Toss Fk Reverse for when the defense starts crashing the strong side after successful zone runs.
Plays (27)
 DBL OutsOut, Pass Play, Angle +2
 DuoDuo, Run Play, Power Run
 HB DiveDive, Run Play
- HB Mid ZoneRun Play
 HB Toss Fk ReverseToss, Reverse, Trick Play +1
 HB Zone TossInside Zone, Toss, Run Play +1
 HB Zone WkInside Zone, Run Play, Zone Run
 Mtn Cheat WR ComebackComeback, Motion, Pass Play +4
 Mtn Cheat WR OutMotion, Pass Play, Drag +3
 Mtn Cheat WR WheelWheel, Motion, Pass Play +2
- Mtn Corndog MeshBlock and Release, Drag, Crosser +2
- Mtn Corndog TossRun Play
- Mtn Corndog TrailCurl, Drag, Crosser +4
 Mtn Out N UpOut, Out And Up, Motion +6
- Mtn PA Sprint HB FlatFlat, Block and Release, Drag +4
 Mtn PA Z SlidePlay Action, Slide, Motion +6
 Mtn Zone AlertMotion, Slant, Pass Play
 PA CrossPlay Action, Crosser, Pass Play +4
 PA Cross Y DelayPlay Action, Crosser, Delay +5
 PA Fk Toss WheelToss, Play Action, Wheel +5
 PA TE FloodPlay Action, Flood, Pass Play +6
 PA Y-Drag WheelPlay Action, Wheel, Drag +5
 Pitch WR ReverseToss, Reverse, Trick Play +1
- RPO Alert LookieSlant, Pass Play, Run Play
- RZ PA CrossersCrosser, Deep Cross, Drag +3
- Stick X-DigDig, Stick, Corner +4
 Wide ZoneOutside Zone, Run Play, Zone Run