Playbooks

At a Glance
In 21 playbooks
Overview
Spread Y-Slot Wk is a 2x2 Shotgun set built from 11 personnel. The tight end detaches from the formation and lines up in the slot inside a wide receiver, and a slot receiver and the X mirror him on the opposite side. The Wk tag means the running back sits offset toward the weak side, away from the TE slot. Other Shotgun sets keep the tight end attached or stack him in trips. This one widens the defense horizontally and forces the defensive coordinator to declare how he wants to handle a flexed TE. If he stays in base, the Y gets a linebacker in space. If he goes nickel or dime to cover the Y, you have a light box against Inside Zone, HB Counter, and the Mtn Buck Sweep family.
The offset back is what separates this set from a standard Spread Y-Slot. With the RB weak, the defense has to respect run action toward the two-receiver side without the TE, and your mesh points on Read Option, Cake Read Option, and the RPO Zone Peek and RPO Power Peek calls give you both a run threat and a quick throwing window on every snap. The 3DRB tag shows up in HB Slip Screen, HB Screen, Mtn HB Swing, Wheelies, and Mtn Dbl Pass HB Screen, so a receiving back becomes a real weapon from the backfield. The SLWR tag rewards a shifty slot receiver on Double Slants, Slot Outs, WR Under, and Spot Y Cross.
The Gadget tag covers Mtn Fk Double Pass, Mtn Fk Dbl Pass, Redzone HB Scissors, and Mtn Switch Seams, which punish defenders who chase motion and eye the backfield. The play list runs deep, with vertical shots (Four Verticals, Double Post, X Dagger, Corner Strike), West Coast timing (Quick Slants, Curl Combo, Mtn All Curl), and layered crossers (H Shallow Cross, Double Cross, Mtn PA Cross). That depth lets one personnel grouping run an entire game plan without substituting and tipping your intentions.
Strengths
- The flexed TE creates a mismatch you can read pre-snap. If a linebacker aligns over the Y, call Spot Y Cross, H Cross, or PA Bubble Y Over and attack him on the crosser. If a safety or nickel walks down, check to Inside Zone or Mtn Inside Zone Split against a six-man box.
- The RPO menu includes RPO Peek Slant, RPO Read Bubble, RPO Read WR Screen, RPO Zone Peek, Mtn RPO Zone Peek, and RPO Power Peek. It punishes cover 1 and cover 3 buzz defenders who trigger on run action, and it gives you a free read that keeps drives on schedule.
- The man beaters are elite. Double Slants, Quick Slants, Inside Cross, Double Cross, and Mtn Switch Seams create natural rubs out of the 2x2 alignment. Adding a slant or drag hot route to the slot WR gives you a pick concept against press man.
- The zone beaters stretch every shell. Smash Corners and Corner Strike attack cover 2 corners. Dagger, X Dagger, and PA Dagger put the post safety in conflict in cover 3. Curl Outs and Mtn All Curl sit in the windows of cover 4 match.
- Motion variants (Mtn Buck Sweep, Mtn G Down, Mtn Z Spot, Mtn In N Up) let you shift into a condensed look. They reveal man versus zone when you watch whether a defender travels with the motion man, and they give you leverage runs off the pulling guard.
Weaknesses
- With the TE detached and only five linemen in pass protection plus a single back, the protection is thin. Nano blitz looks off the edge and cover 0 overload pressures toward the weak side back can get home before deep concepts like Four Verticals or Double Post develop.
- The running game suffers against a heavy box. If the defense stays in base and walks a safety down while playing the Y with a linebacker, you lose the extra blocker that power runs rely on, and HB Off Tackle and HB Base become low percentage calls.
- A user-controlled middle linebacker or robber safety sitting in the hook zone can erase Spot Y Cross, H Shallow Cross, Inside Cross, and the peek throws on the RPO calls, which are the set's bread and butter.
- The offset back tips run direction on zone reads and buck sweeps. Sharp opponents who shade their line strength or slant toward the back's side will blow up Read Option and Mtn Buck Sweep before the mesh point.
- Gadget plays like Mtn Fk Double Pass and Redzone HB Scissors have long developing play art. A disciplined defense with contain rushers and QB spy assignments turns them into sacks or negative plays.
Usage Tips
Before the snap, identify who is covering the Y. A linebacker means throw to the TE with Spot Y Cross or H Cross. A safety or nickel means run Inside Zone or the Mtn Buck Sweep toward the lighter side.
On 1st and 10 and 2nd and medium, lean on the RPO calls. Read the conflict defender and throw the peek or bubble if he crashes on the run, and hand off if he widens with the receiver.
Against cover 2 on 3rd and medium, call Smash Corners or Corner Strike and hot route the RB to a flat or swing to hold the flat defender and open the corner route. Against cover 3, call Dagger or X Dagger and look for the dig under the seam clearing the post safety.
When the opponent shows heavy blitz or cover 0, audible to Quick Slants, Double Slants, or HB Slip Screen, or slide protection toward the pressure and block the RB. Keep a quick-game man beater on your audible wheel for every game.
Save the Gadget plays (Mtn Fk Double Pass, Redzone HB Scissors, Mtn Switch Seams) until you have established Mtn Buck Sweep and HB Counter. Then run them from the same motion look, so the defense bites on the run key and you get a free explosive play or red zone touchdown.
Plays (56)
 Cake Read OptionRead Option, Run Play
 Corner StrikeCorner, Pass Play, Block and Release +1
 Curl ComboCurl, Pass Play, Flat +1
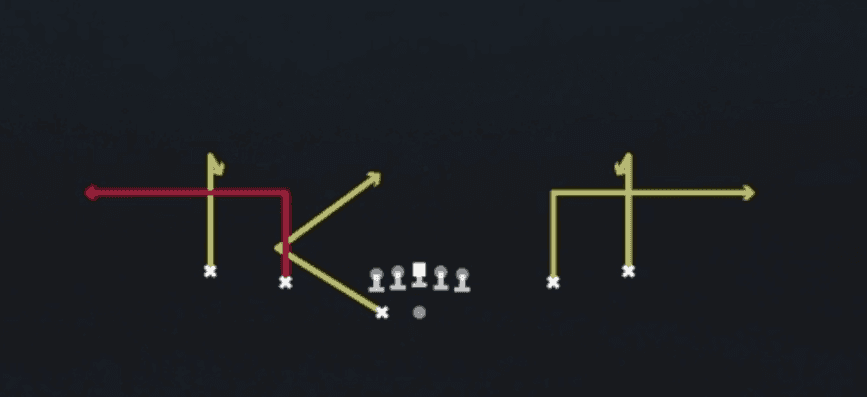 Curl OutsCurl, Pass Play, Out +3
 DaggerDagger, Pass Play, Cover 2 Beater +7
 Double CrossCrosser, Pass Play, Post +4
 Double PostPost, Double Posts, Pass Play +6
- Double ScreenScreen Pass, Bubble Screen, Swing +1
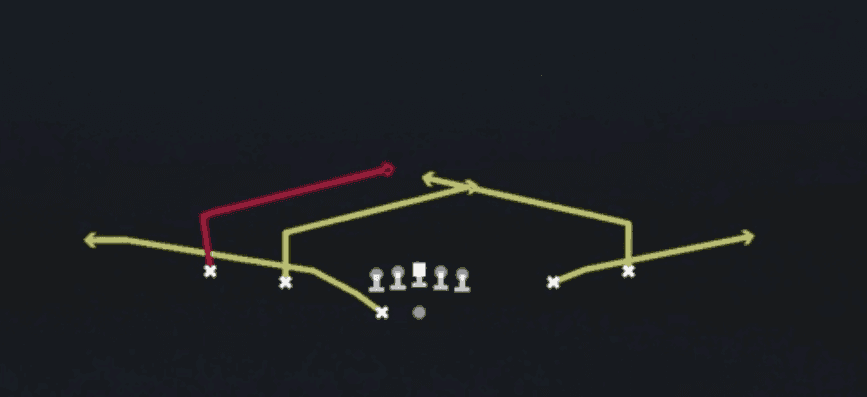 Double SlantsSlant, Pass Play, Flat
 Four VerticalsFour Verts, Pass Play, Cover 2 Beater +5
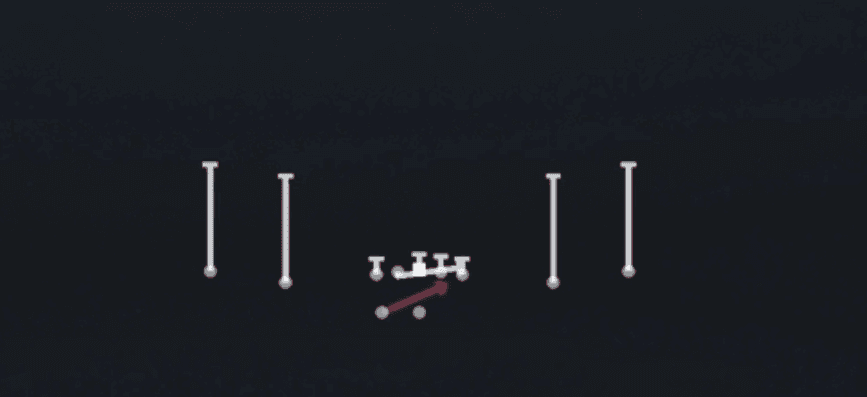 HB BaseDive, Run Play
 HB CounterCounter, Run Play, Power Run
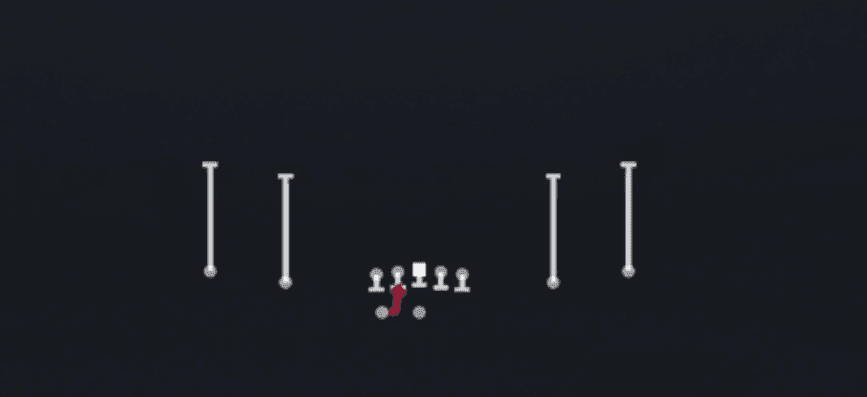 HB Mid DrawDraw, Run Play
 HB Off TackleOff Tackle, Run Play
- HB ScreenScreen Pass, Curl, Fade +4
 HB Slip ScreenScreen Pass, Hb Screen, Pass Play +2
- H CrossCrosser, Corner, Deep Cross +4
 Hitch SeamHitch, Seam, Pass Play +2
 H Shallow CrossShallow Cross, Pass Play, Crosser +5
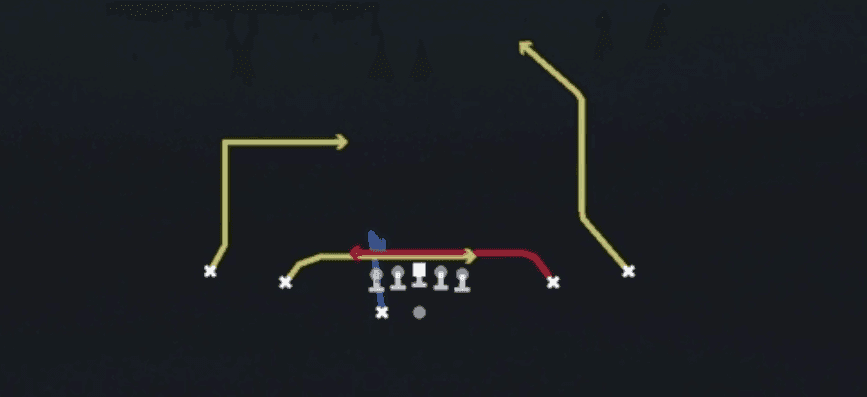 Inside CrossCrosser, Pass Play, Block and Release +3
 Inside ZoneInside Zone, Run Play, Zone Run
 Mtn All CurlCurl, All Curls, Motion +3
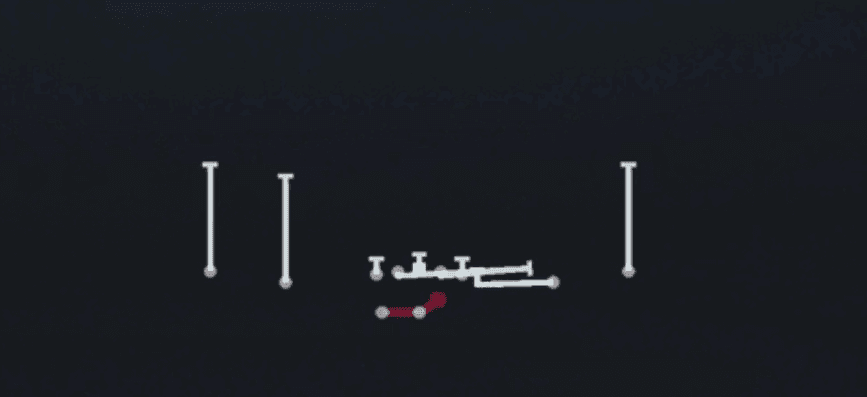 Mtn Buck SweepSweep, Motion, Run Play
- Mtn Buck Sweep(y Stops)Sweep, Motion, Run Play
 Mtn Dbl Pass HB ScreenScreen Pass, Hb Screen, Motion +2
- Mtn Fk Dbl PassMotion, Bubble Screen, In +3
 Mtn Fk Double PassMotion, Trick Play
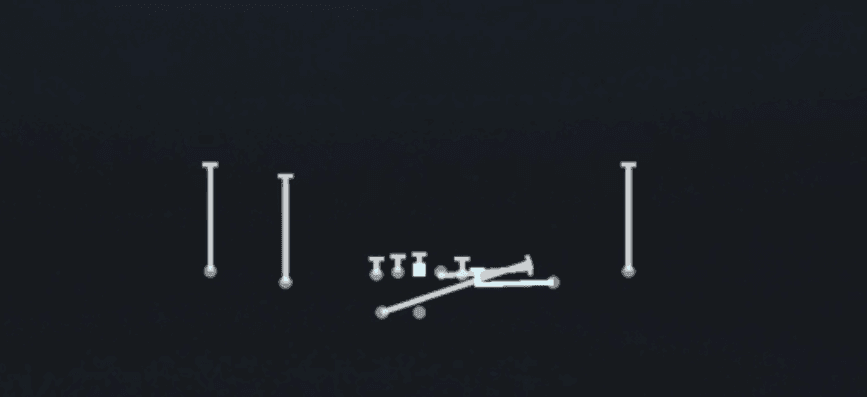 Mtn G DownMotion, Run Play
 Mtn HB CounterCounter, Motion, Run Play +1
- Mtn HB SwingSwing, Out, Streak +1
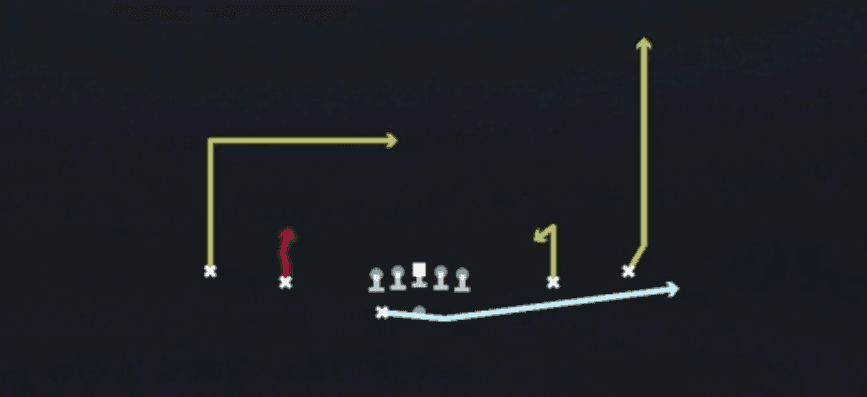 Mtn H OptionOption Route, Motion, Pass Play +4
 Mtn In N UpMotion, Pass Play, Drag +4
 Mtn Inside Zone SplitInside Zone, Motion, Run Play +1
 Mtn PA CrossPlay Action, Motion, Pass Play +5
 Mtn RPO Zone PeekRPO, Motion, Pass Play +3
 Mtn Switch SeamsMotion, Seam, Pass Play +4
- Mtn Z SpotCorner, Out, Swing +1
 PA Bubble Y OverPlay Action, Pass Play, Bubble Screen +5
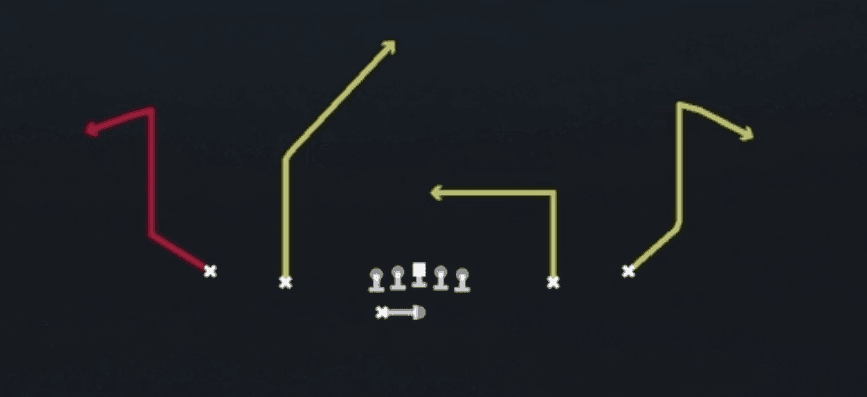 PA ComebacksPlay Action, Pass Play, Comeback +2
 PA DaggerPlay Action, Dagger, Pass Play +7
 PA ReadPlay Action, Pass Play, Comeback +5
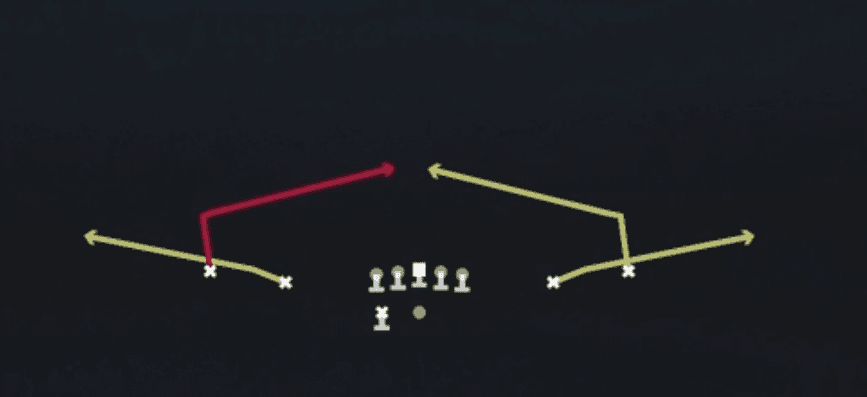 Quick SlantsSlant, Pass Play, Flat
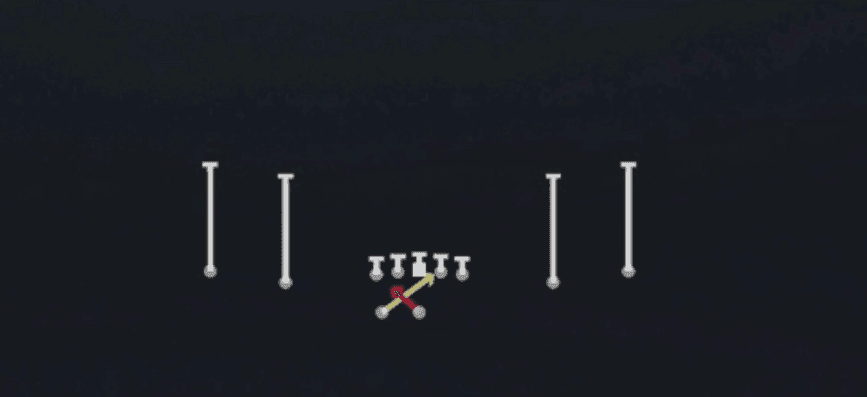 Read OptionRead Option, Run Play
 Redzone HB ScissorsScissors, Pass Play, Cover 2 Beater +5
 RPO Peek SlantRPO, Slant, Pass Play +1
- RPO Power PeekIn, Slant, Pass Play +1
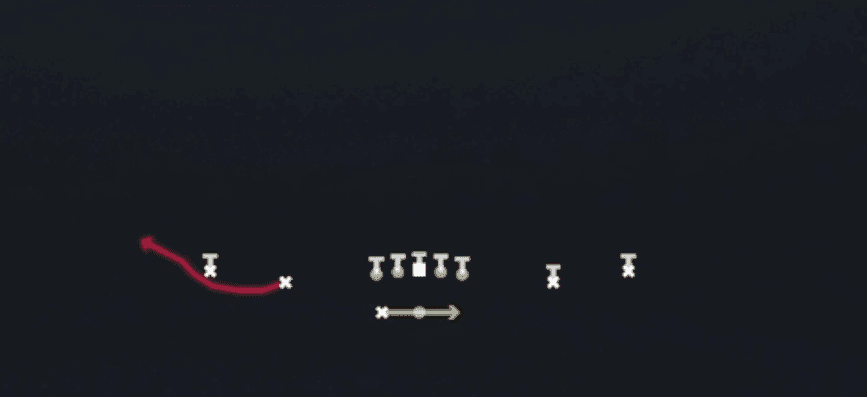 RPO Read BubbleRPO, Pass Play, Run Play +1
 RPO Read WR ScreenScreen Pass, Wr Screen, RPO +3
- RPO Zone PeekRPO, Pass Play, Run Play +2
 Slot OutsOut, Pass Play, Angle +3
 Smash CornersSmash, Pass Play, Cover 2 Beater +5
 Spot Y CrossSpot, Y Cross, Pass Play +6
 Vert ComebacksComeback, Pass Play, Option Route +2
- WheeliesOption Route, Post, In +2
 WR UnderPass Play, Quick Pass, Out +9
 X DaggerDagger, Pass Play, Cover 2 Beater +7









